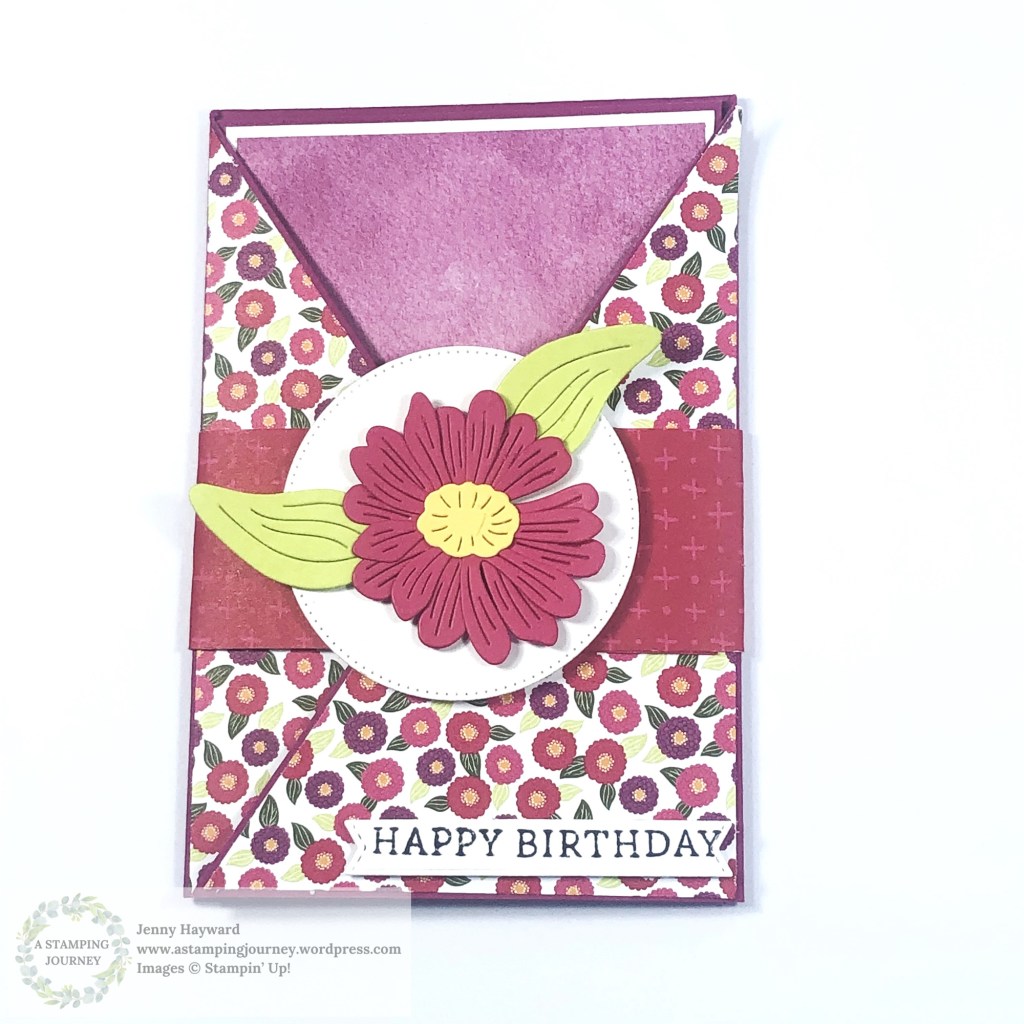
You can make a wrapper to keep it closed up – or you can leave it off.
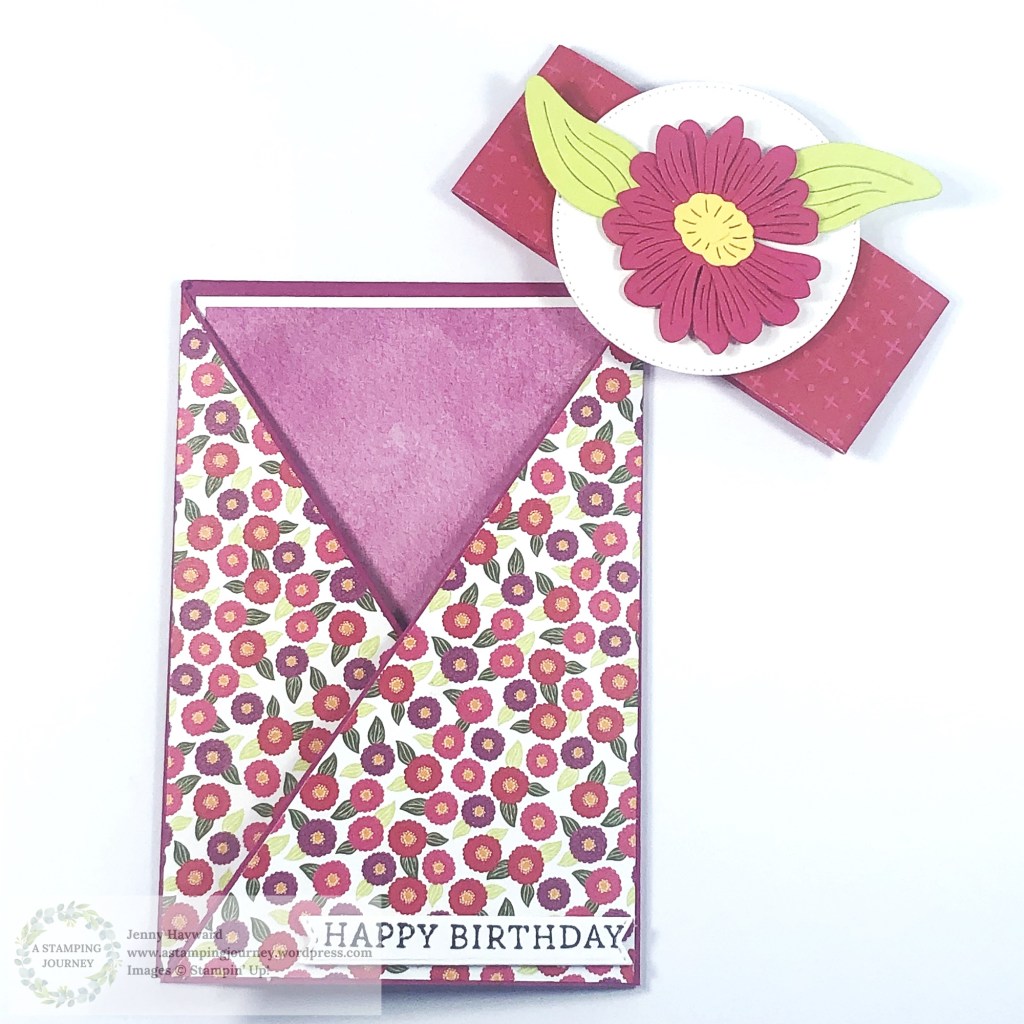
But then you open it…
Here’s the video to follow along with.
The written Tutorial will be sent out in my newsletter next week. Have you subscribed to my newsletter yet? I send out a Free Project Tutorial each week to keep you inspired. You can find the link for that in the right hand column. And there is a bonus Tutorial when you first subscribe.
Happy Crafting,
Jenny
Need some crafty supplies and you are in Australia? Head to my Online Store -> HERE.
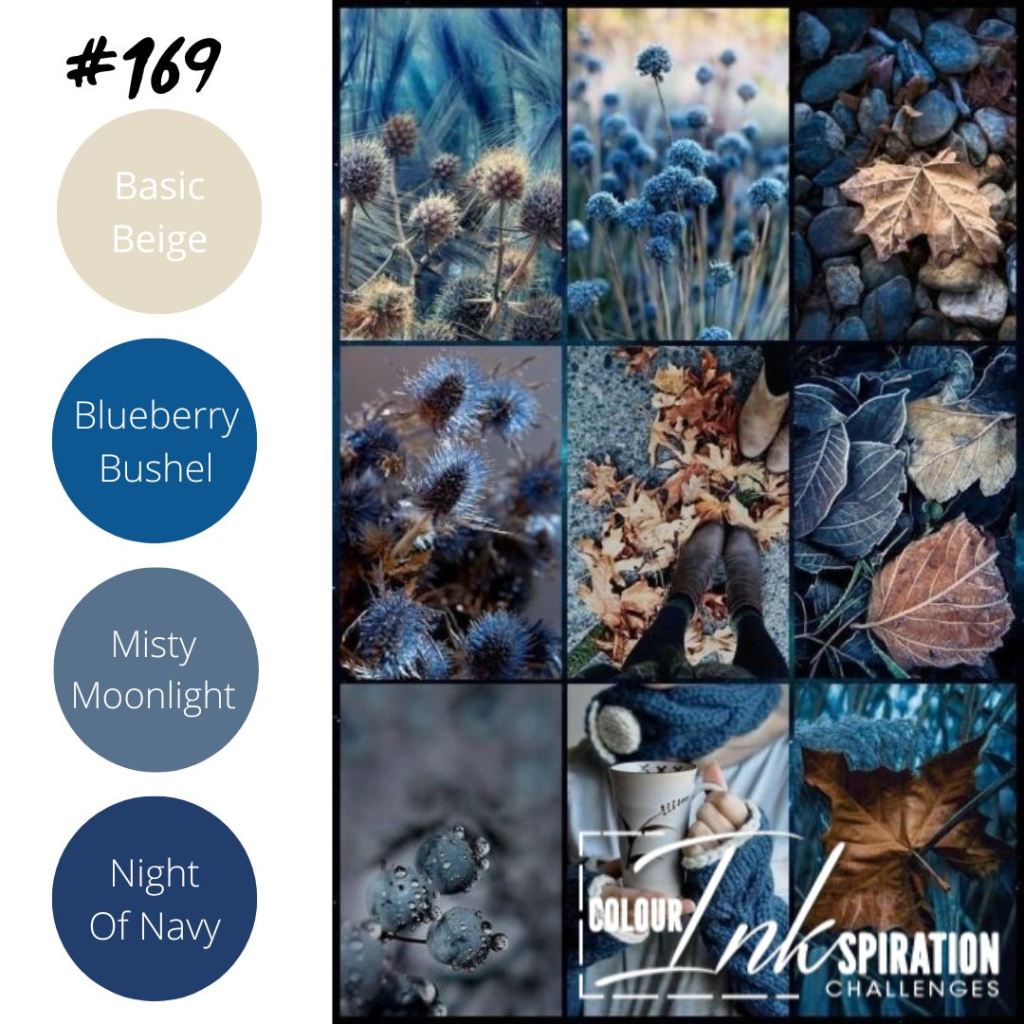
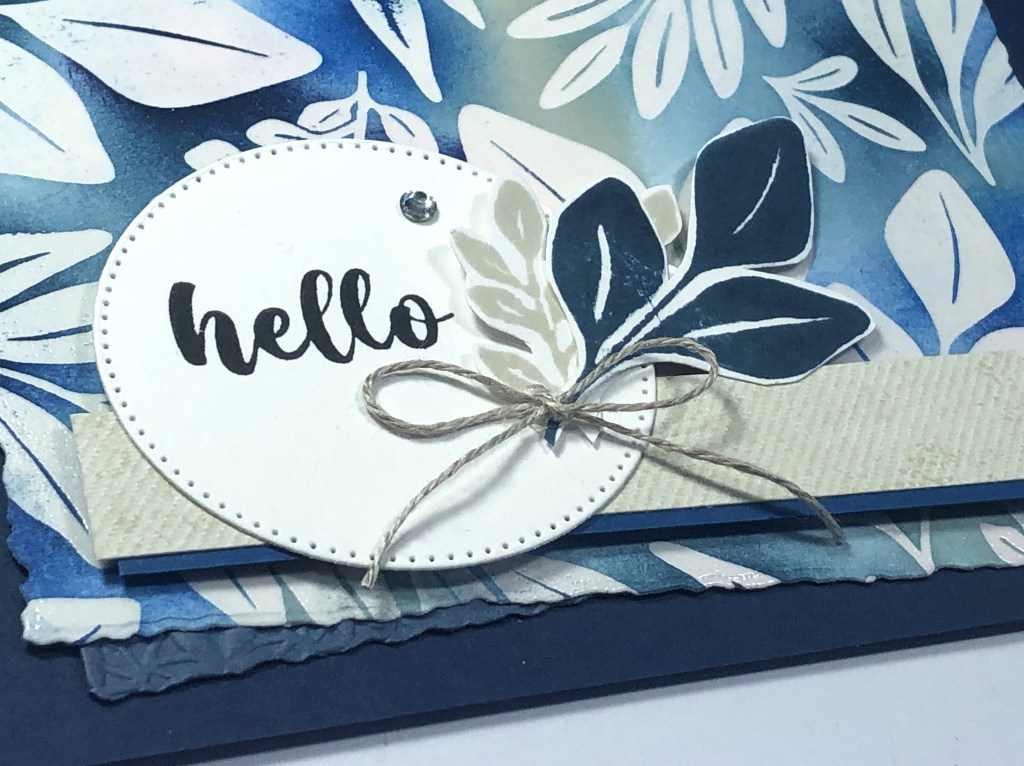
I had a little play over the weekend just for me. I checked out the Colour Inkspirations Challenge and created along with the colours for this week.
The CI 169 colours for this week were: Basic Beige, Blueberry Bushel, Misty Moonlight and Night of Navy.
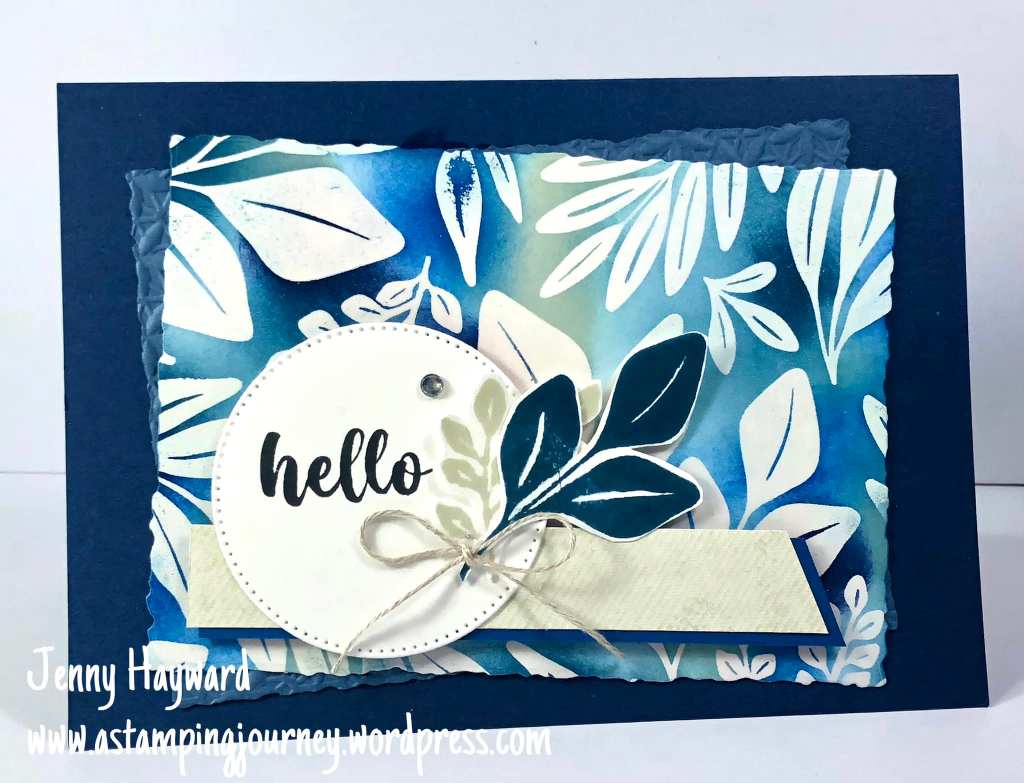
I had the Leaf Collection stamp out from other creating so thought I would try these colours with this stamp. This is the result.
I used the Emboss Resist Technique and then sponged over the different colours in different areas over the white card. It gives it a Batik style to the look.
To do this technique – Ink up the stamp in Versamark. Press the stamp on to the card and pour over the Clear Embossing Powder. Heat to melt the powder. Then with the Blending Brushes rub over ink in different parts. You will get some ink on the Embossed areas but that’s ok. Wipe off the excess ink with a tissue.
Heat Embossing is one of my favourite techniques.
You can join in with this colour challenge. Head to the Facebook group there. If you are not already a member then request to join. Then add your projects too. There is a different colour challenge every 2 weeks.
Happy Crafting,
Jenny
Need to order supplies and you are in Australia. I would love to serve you. Head to my store -> HERE. Or contact me directly.
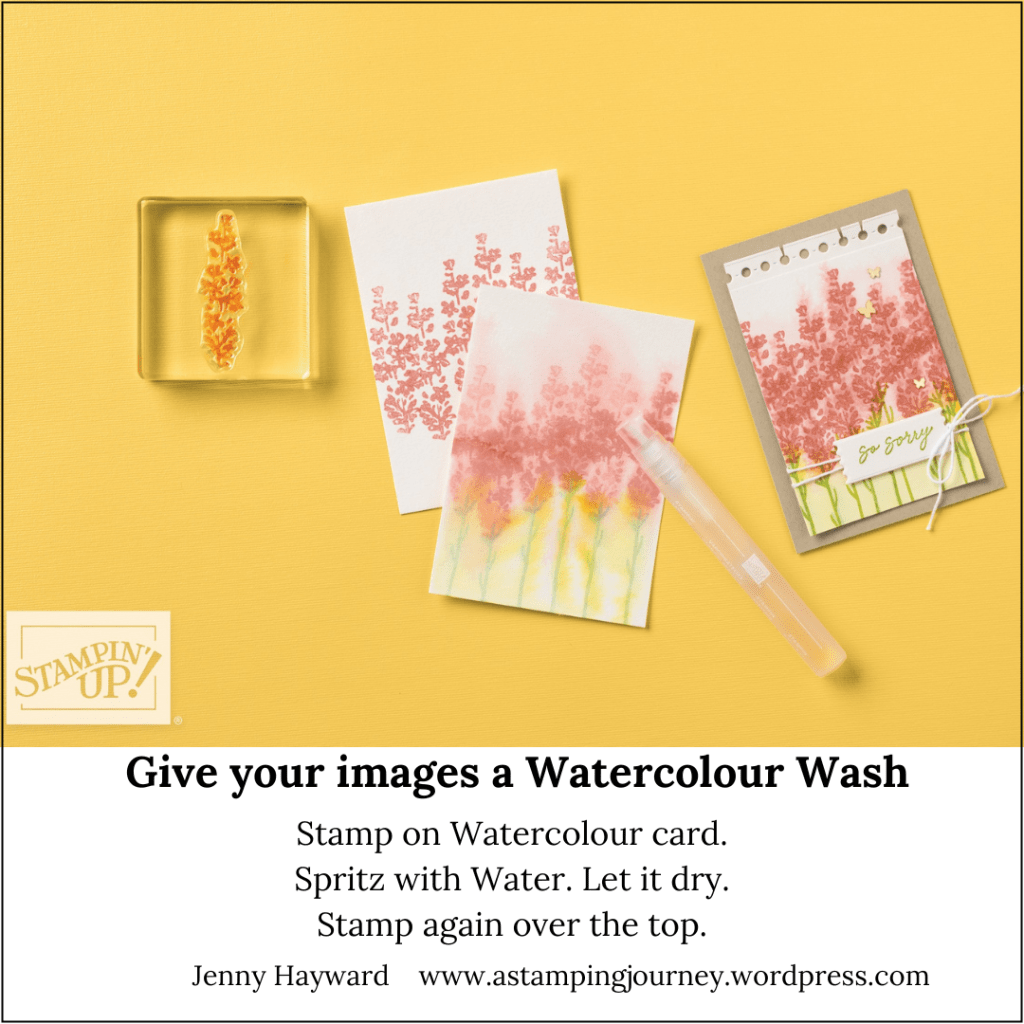
Wednesday’s WOW! #163 – A Watercolour Wash on your images.
You might have tried Watercolour Washing over your card to create a background, but have you tried giving your stamped images a wash? It creates a really soft look.
Stamp your image on to Watercolour Paper. This one uses the Painted Lavender stamp set. Spritz over the image lightly with water. Allow to dry for a short time. Then stamp over the washed area again with the same image. You will get a mottled look with a wash in the background. It looks really lovely.
Hope you get to try it out. I have added this image below so you can save it to try later.
Happy Crafting,
Jenny
In Australia and need supplies? I would love to serve you.
Head to my store -> HERE. Please use the Host Code: JTRANKN3
OR contact me and I can help you out.
Don’t forget it’s Bonus Day. When you order over $90 in one order you will receive a $9 bonus voucher to redeem in August.
I shared a post recently of a card I CASED from the Annual Catalogue. Head back 2-3 posts back on my blog if you missed it. I thought I would share more of the card here now.
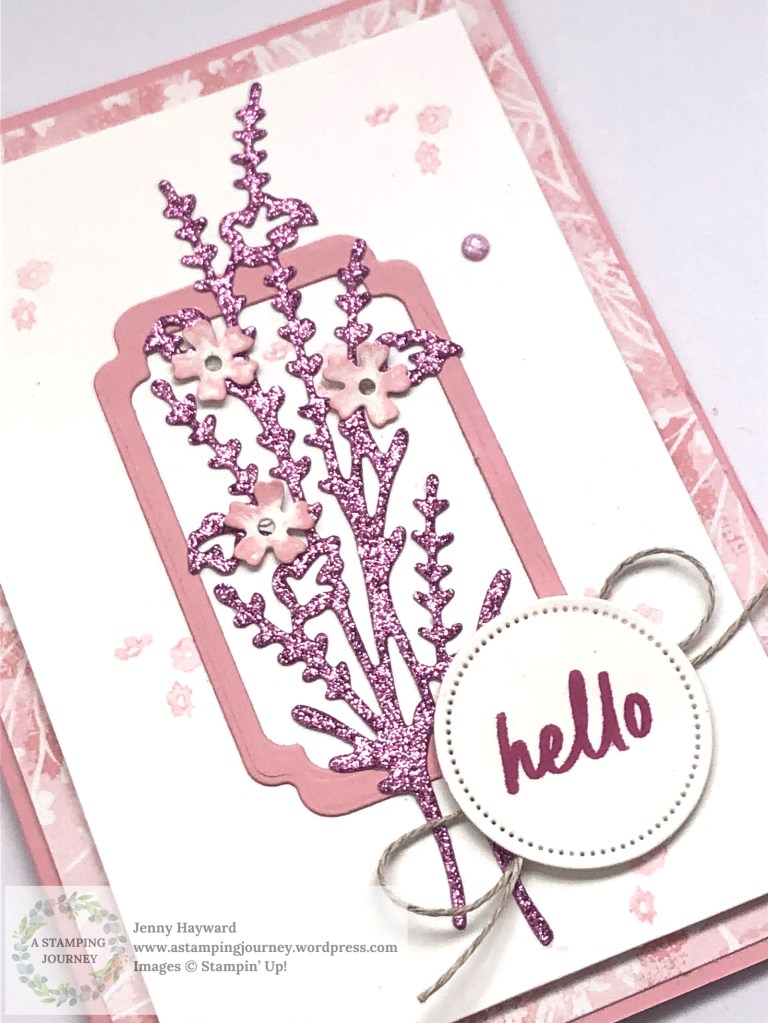
This is the card created copying one from page 53 of the Annual Catalogue.
I have used the Flowers of Beauty Stamps and Dies. I diecut the leafy stem from the Petunia Pop Glimmer Paper which adds a lovely sparkle. You can see that below.
The small flowers were diecut with one of the dies and then some Pretty in Pink Ink dabbed on the edges of the petals.
Don’t forget to use your Catalogue for inspiration when you are stuck. It is a great resource that we overlook.
The Flowers of Beauty are at the moment unavailable which is a shame BUT they will be back very soon. So you can grab your set then. Or if you would like me to let you know when they are back please comment or email me and I can notify you as soon as they are.
If you are in Australia and Need any supplies then you can head to my store -> HERE. Please use the Host Code: 7M7V93KG
Or contact me directly.
Now off you go and grab your catalogue. Have a flick through and see what card inspires you to create.
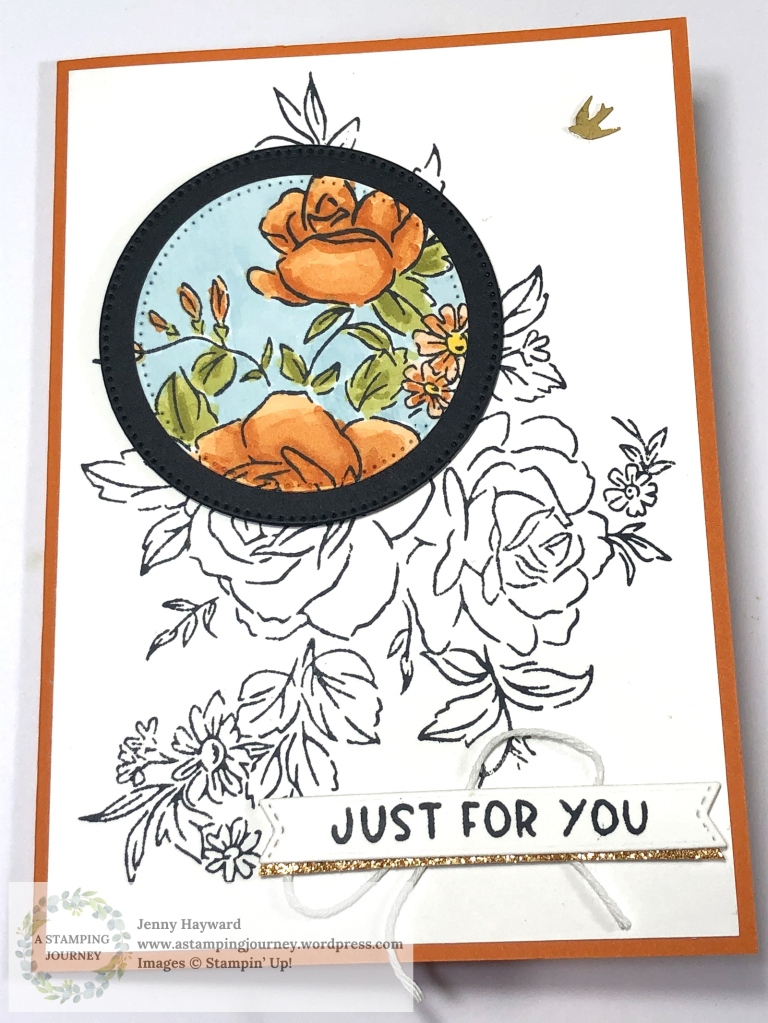
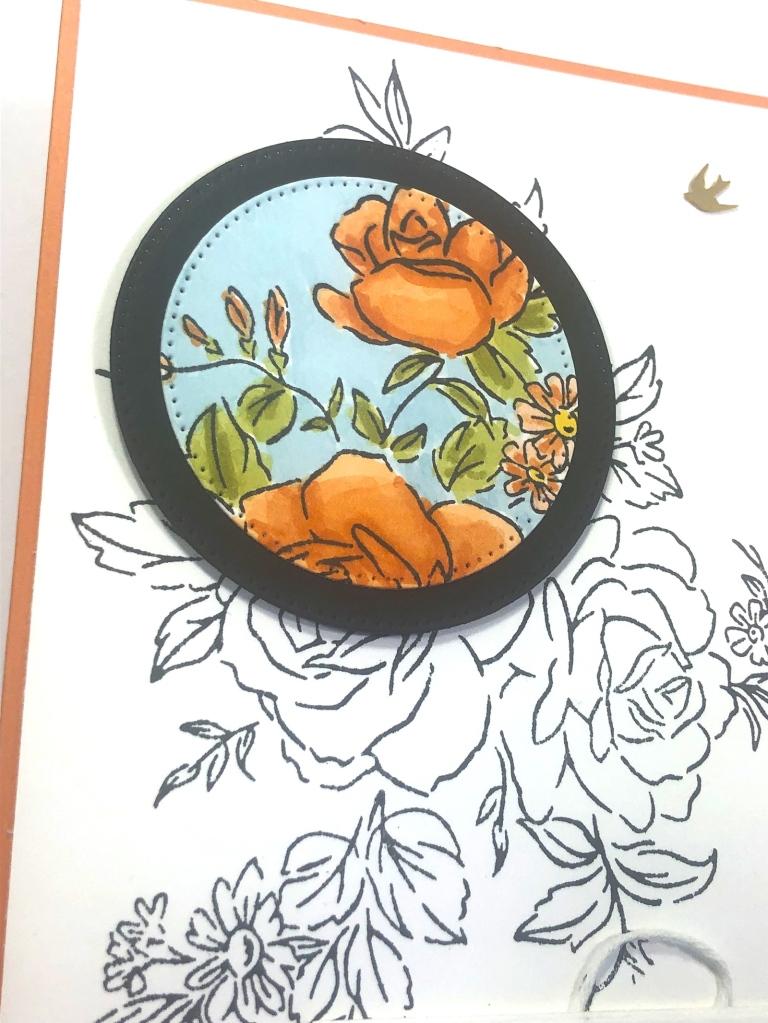
For one of our cards in our “Beauty Class” last week we played with the Spotlighting technique with the Layers of Beauty.
To create the Spotlighting Technique, firstly stamp the large flower and diecut a circle out in an area on the flower. The Stylish Shapes dies were used for that. Instead of using the masks to colour the flowers on the diecut circle we coloured them with the Stampin’ Blends.
Colouring the background area with the Balmy Blue Stampin’ Blends helps to make the flowers POP. Adding a black circle mat behind the coloured circle part helps to make it POP too.
During the class while others were working on their projects I created a different version of the card by turning the card the other way.
This one has added sparkle too with the In Color Glimmer Specialty Paper.
Here is a close-up of the Spotlight area.
What do you think? Maybe try the Spotlighting Technique yourself.
The Layers of Beauty is a lovely bundle. For this one I have only used the Stamps which work so well in themselves.
You can see the full bundle in my store -> HERE. BONUS – They are 10% off this month which is awesome!
If you are in Australia you can shop for them directly there if you would like to add them to your crafty supplies. OR Contact me and I can help you out.
I shared a card just last post with the Layers of Beauty Bundle. That gorgeous bundle is so popular right now.
After a request I have put together a video in creating the card and shared some tips in using the masks particularly. They are fun to use but there might be some little points to look out for when using them.
This is the card.
You can follow along with the video here or it is now on Youtube.
Hope you find them helpful.
Happy Crafting,
Jenny
Need some supplies and you are in Australia? I would love to help you out. You can shop in my store -> HERE OR contact me directly.
I love Fun Folds. I have a cool Fun Fold card for you today AND a video to help you create it.
It’s a Front Panel Gatefold Card.
You have the Front of the card. Just like any regular looking card really. I have used the Stippled Roses Stamp Set for this one.
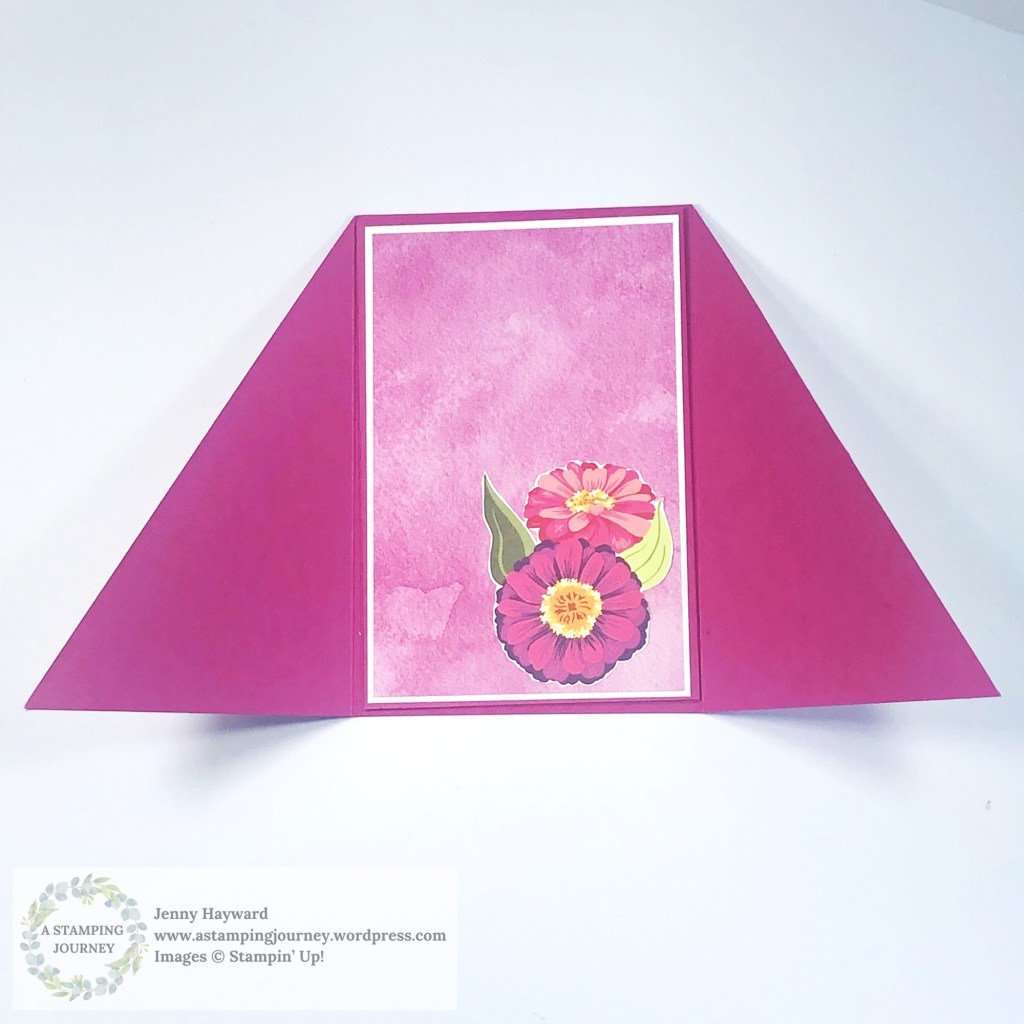
But lift the front and you have a Gatefold. It gives a little extra WOW! to the card. For this one I have used the Unbounded Beauty Designer Series Paper on the side panels.
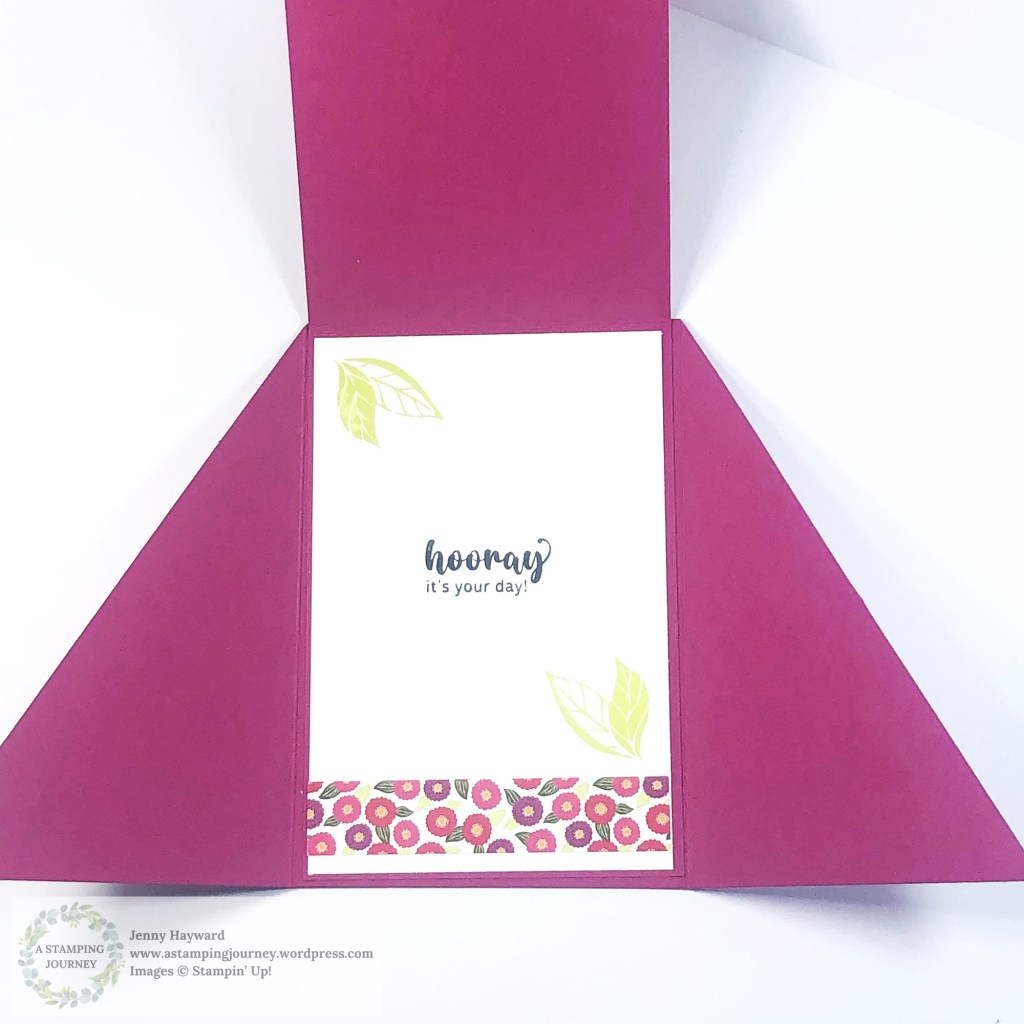
Then open the 2 flaps and you have the inside. With a little stamping and a strip of the paper it adds to the specialness.
What do you think?
You can follow along with the Video to make your own.
The measurements are included in the video. Stop or pause or rewind. If you prefer the written version I’m sending that out in my newsletter next week.
If you are not a subscriber to my newsletter please consider it.
I send out a Free Tutorial each week with a bonus one when you first subscribe. You can find the tab to subscribe in the right hand column on my blog.
Hope you get to make one.
Happy Crafting,
Jenny
Need some supplies and you are in Australia?
Contact me directly
OR
Head to my store -> HERE. Please use the Host Code: R4QU9DB3
The new catalogue began this week. Woo Hoo! Have you checked it out yet?
This week I was part of the Crafty Collaborations Beginners Stamping series. It’s a large number of videos with tips for the Beginner crafter. They may even help the “well-seasoned” stamper too.
You can follow along with these videos -> HERE. Take your time and work through them. You can come back to them anytime too. AND it’s free!
It will take you through the basics of the types of stamps, inks, adhesives. Also, Cutting and scoring your cards (which I created a video for). That’s always tricky! Then goes through some simple techniques to try.
Head over and check in on it.
As part of this series there is also a number of videos with some more Simple designs. Simple stamping can be a challenge even for the more advanced stamper.
Continue on with that video series and you will find them.
I have added my video here for you to check out. This one is Cutting and Scoring your card in Metric.
I have added the Imperial Cutting and Scoring too as I know many of my followers here are from the US.
This is the project I created for my Simple stamping card.
I will add my video below here on the Simple Stamping project you can create. This simple card is above. For the Stepped Up version check below.
I created a Stepped Up version. Adding a little more texture and elements. Of course you could go way more avid but a few additions can really add to your project already.
I have used the Spotlight on Nature Stamp set.
You can see the added texture and elements here. I think a little glitter should be added to the butterfly.
So with a few steps you can take your card to the next level.
This Spotlight on Nature stamp set is really gorgeous for any level of crafter.
It does come as a Bundle too with some gorgeous shape dies great layering.
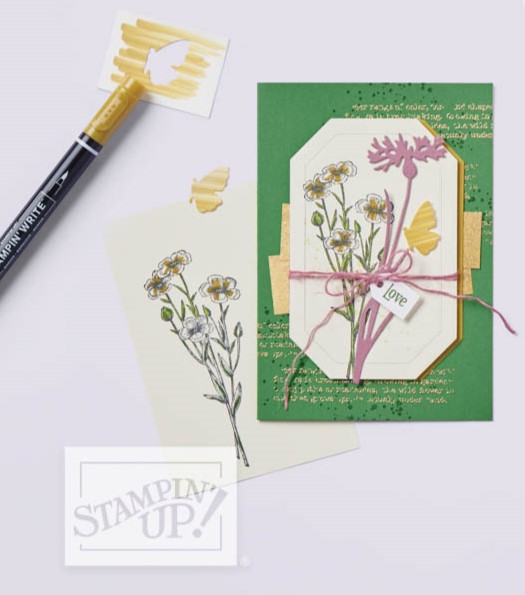
Wednesday’s WOW! #161 – Creating your own Embellishments.
Do you want to know a fun way of creating your own embellishments or accents? So easy. Let me show you.
Colour a piece of card with your Stampin’ Write Markers. You want to use the Markers rather than the Stampin’ Blends as you don’t want the colour to blend. It gives you the mottled, rough look.
Once you colour your card diecut it or punch it out and add it to your projects. It will give added texture to them.
See how it looks below.
This card is using the Quiet Meadow stamp set. What dies or punches could you use with this effect?
Hope you get to try it yourself.
Happy Crafting,
Jenny
Need supplies for your crafting and you are in Australia? You can head to my store -> HERE. Please use the Host Code: RWTF7DW9
OR Contact me directly.
Don’t forget the Last Chance and Clearance Rack items to save on your crafting supplies.
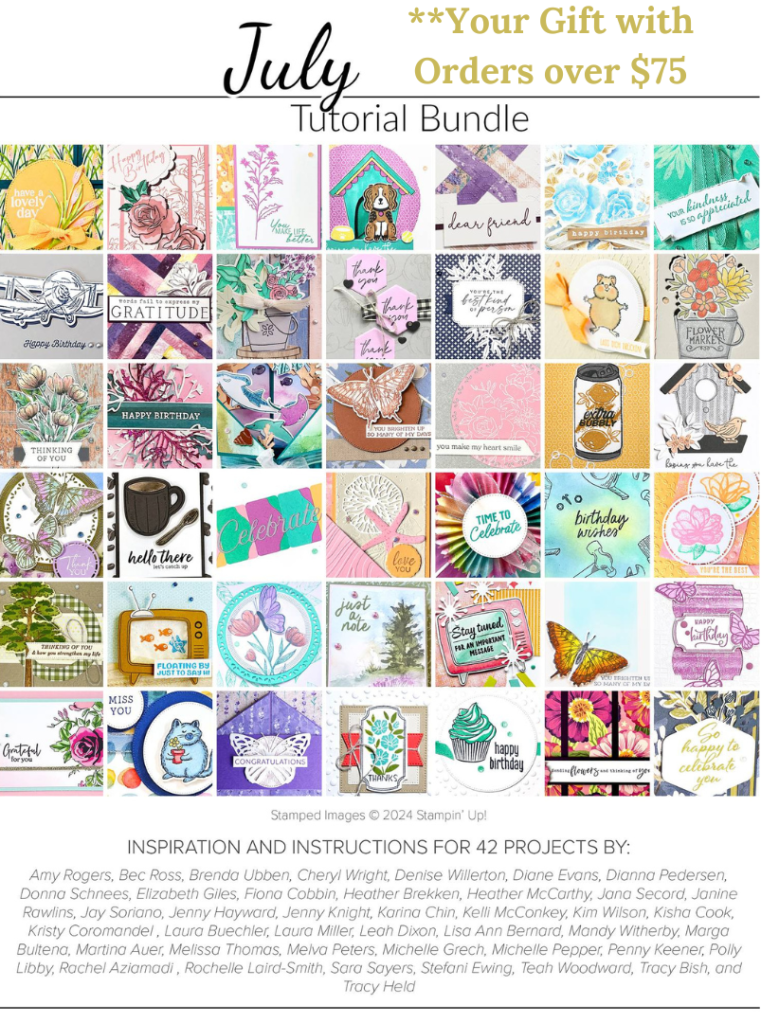
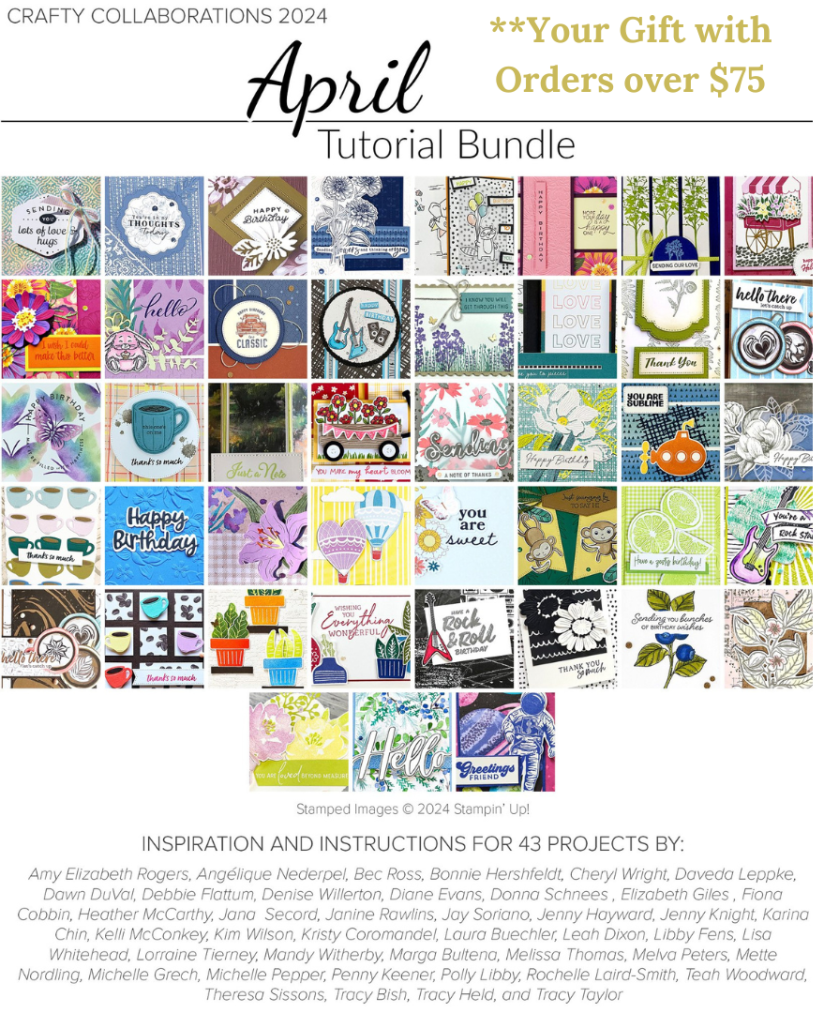
When your order is over $75 AUD. You will receive a Bonus Tutorial Bundle of over 40 projects. That will keep you inspired for some time.
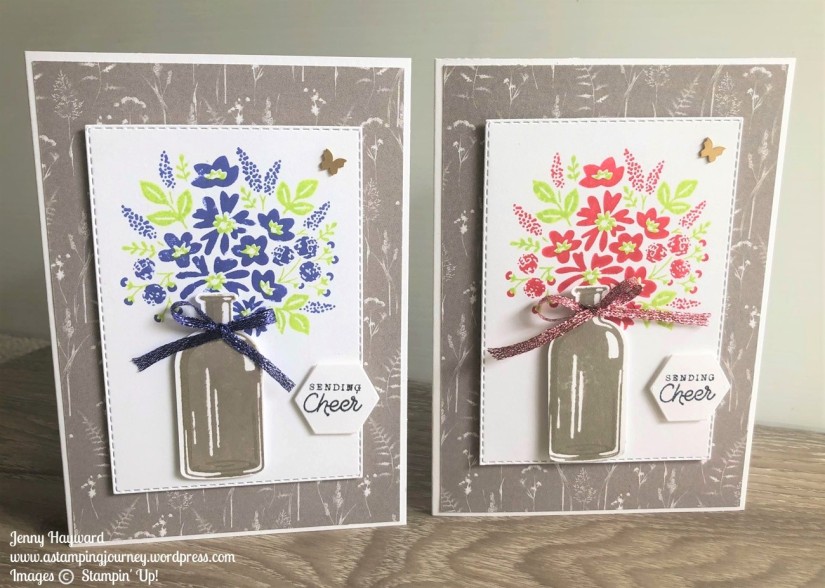
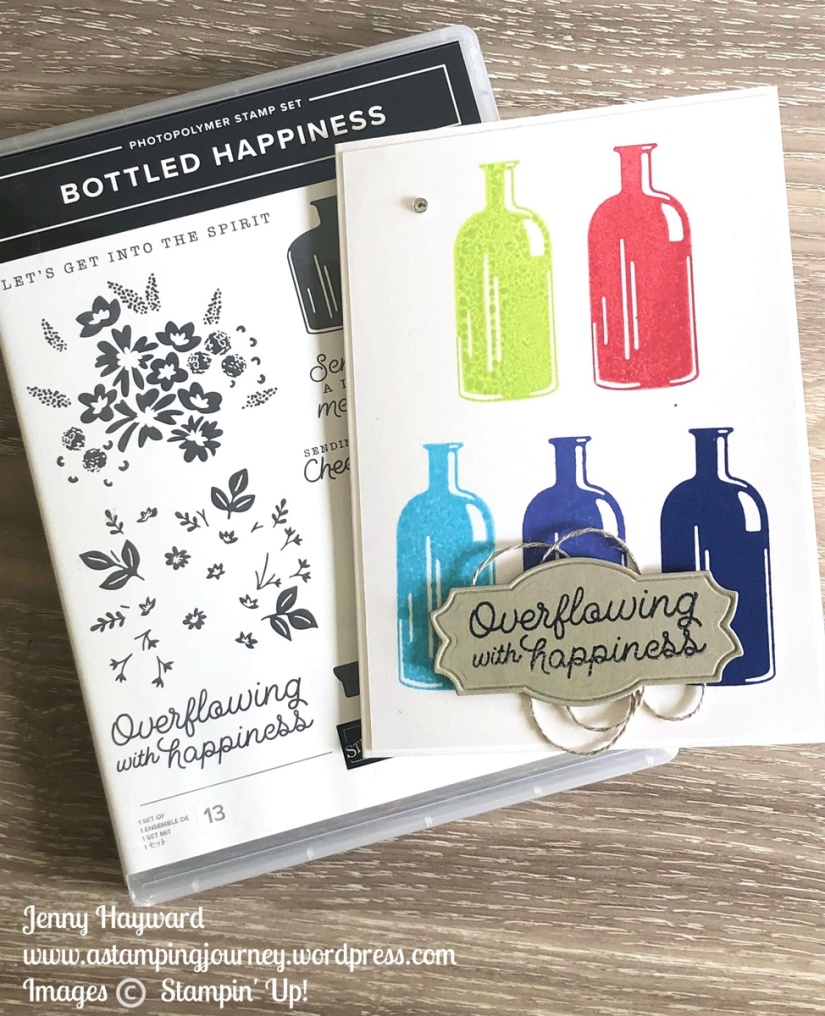
Another Farewell. This time with the Bottled Happiness Stamp set. I wasn’t gonig to get this set in the beginning. But I did have fun playing with it. And the stamped bottles can be punched with the co-ordinating Vintage Bottle Punch.
This one below is the same card with different colour flowers.
Fun and funky with this one.
I created this card for a colour inspiration. The two tone flowers were create by first inking in Petal Pink Ink and then using a Dauber to dab on some Sweet Sorbet ink.
This one below features the 2022-2024 In Colors which we farewell too. What colour will you be sad to see leave?
If you want to this one you may want to grab it quickly. Just over 1 week to go and then it’s GONE!
If you need this or any other supplies head to my store -> HERE. Please use the Host Code: RWTF7DW9
OR Contact me directly.
Happy Crafting,
Jenny
Receive a Tutorial Bundle of over 40 Projects when you order over $75 with me. There are lots of inspirational projects to keep you creating for some time.