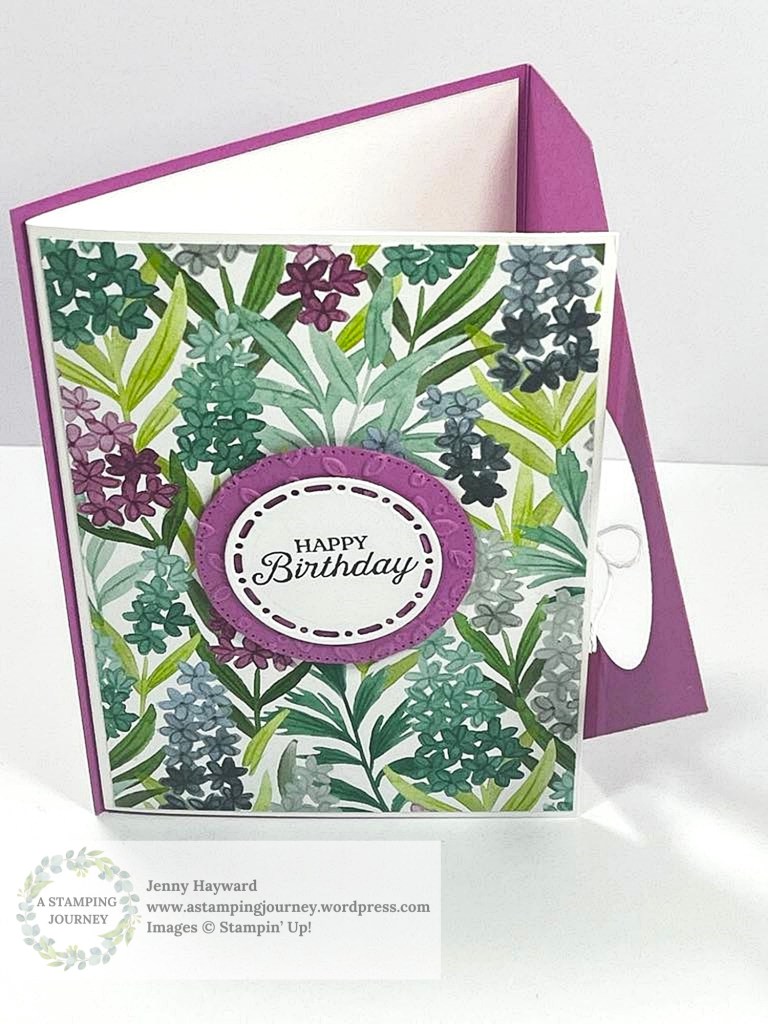
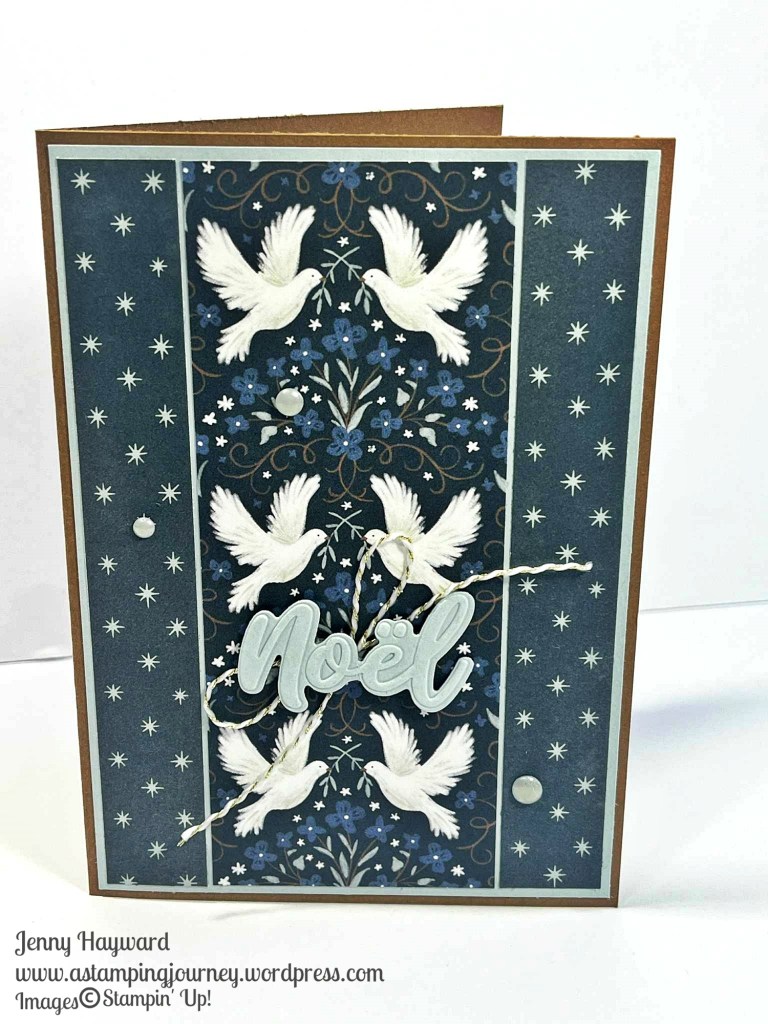
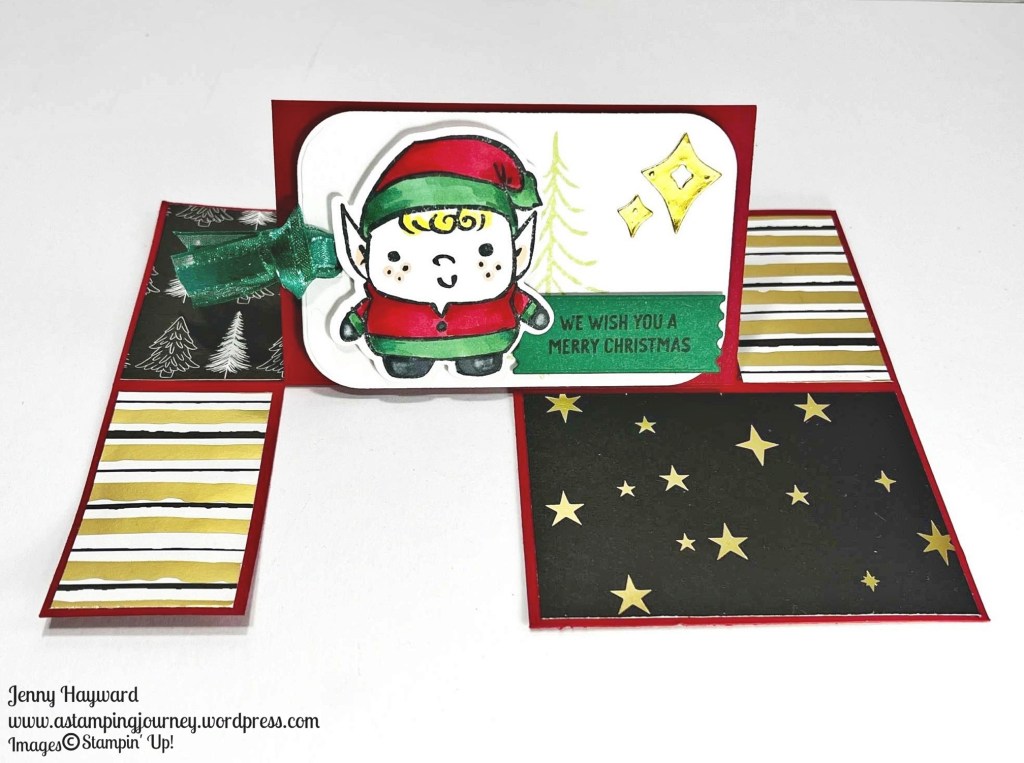
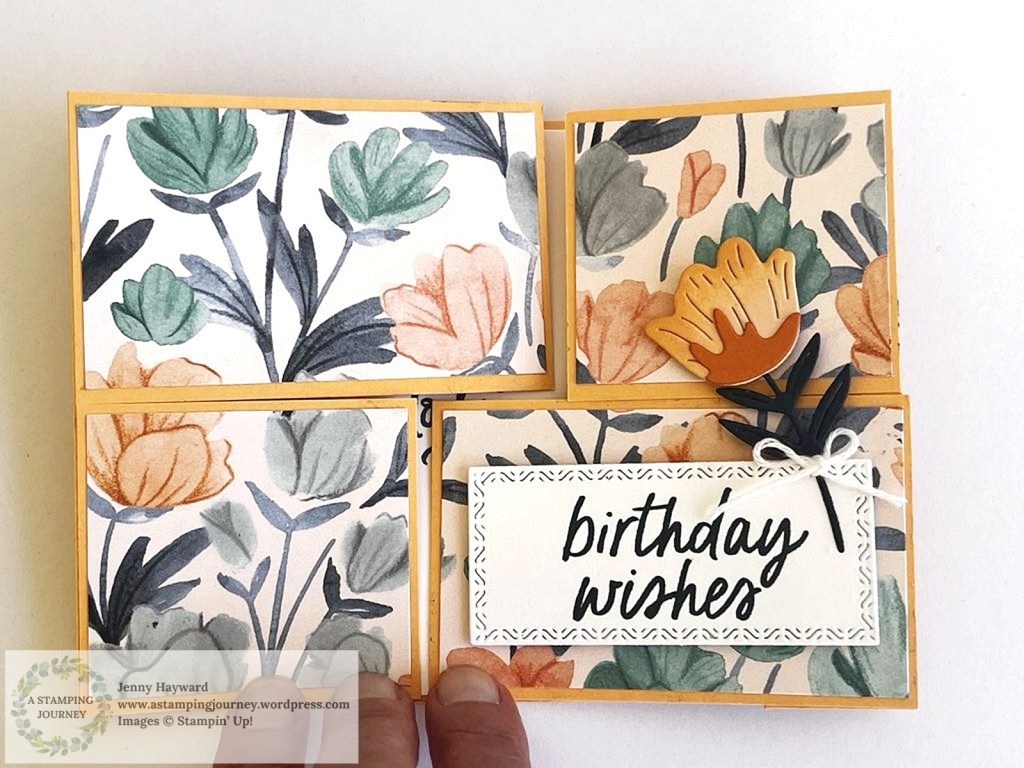
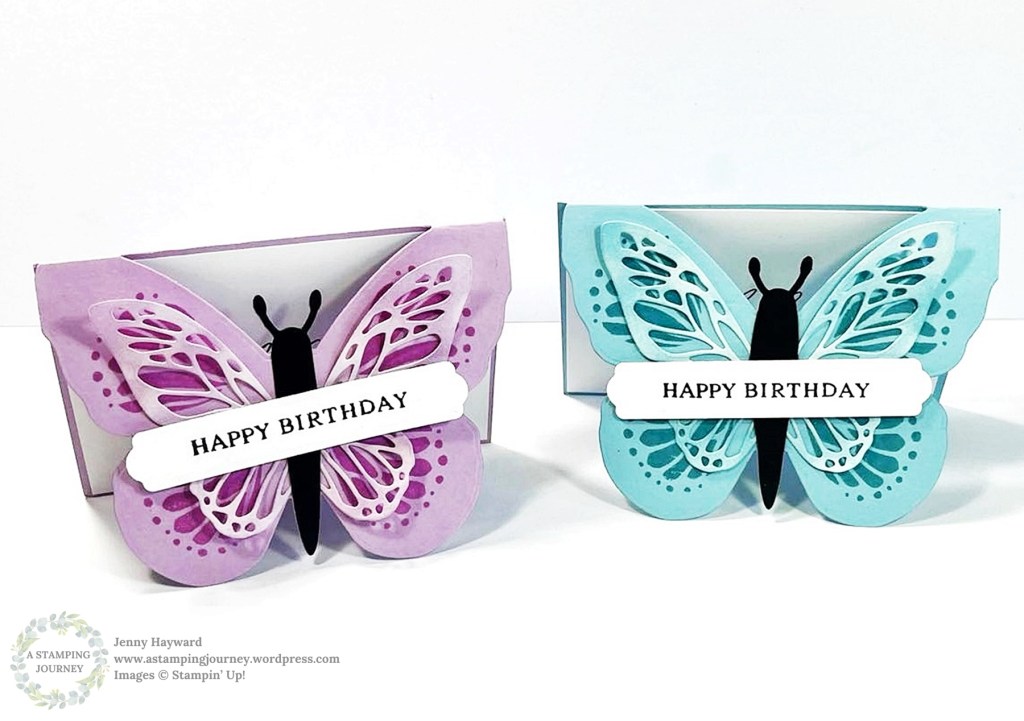
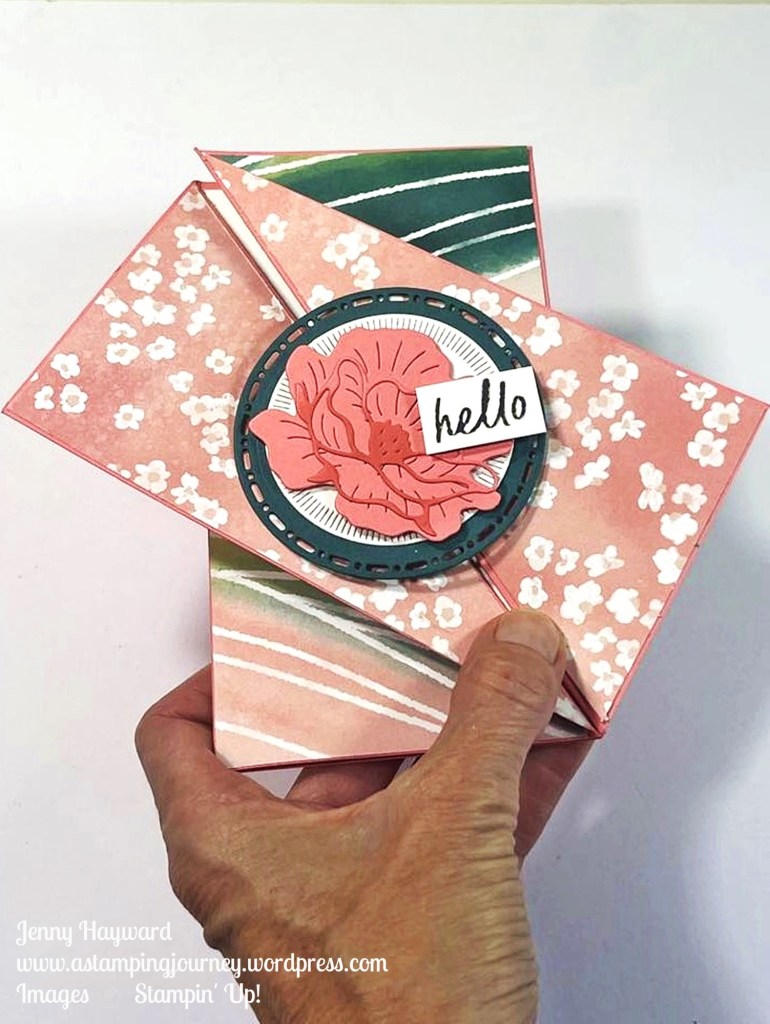
This card might look complicated but it’s really not. It’s called a Diagonal Gatefold Card. You can create it with the card and paper you like. For this one I have used the Painted Illusions Designer Series Paper.
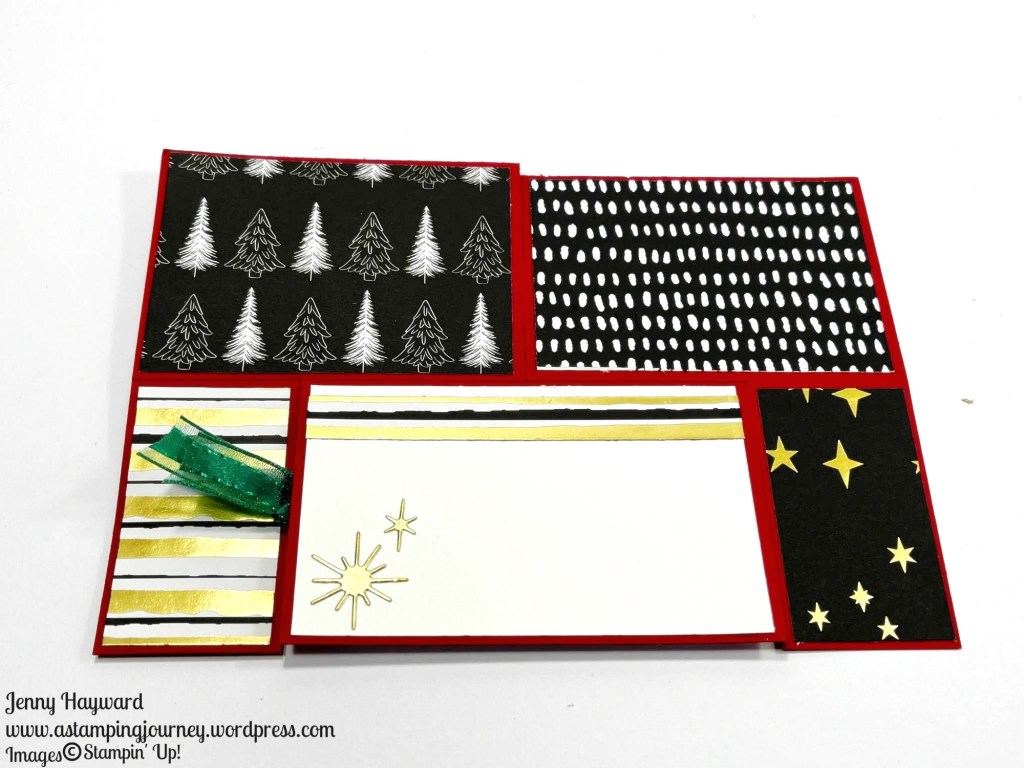
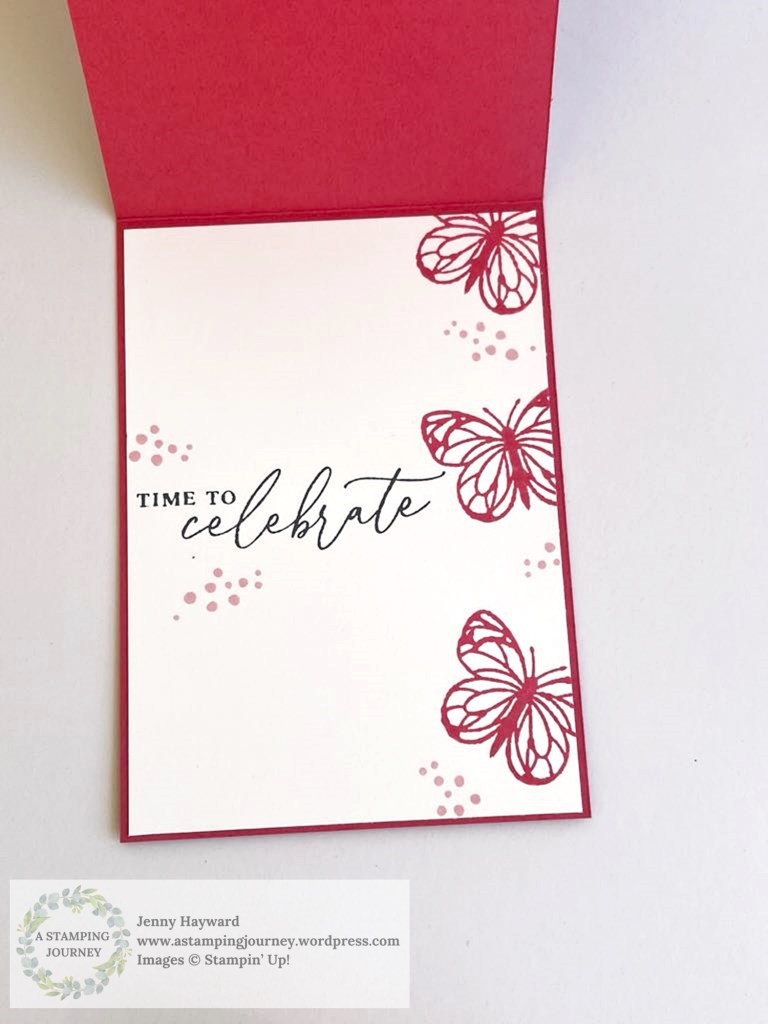
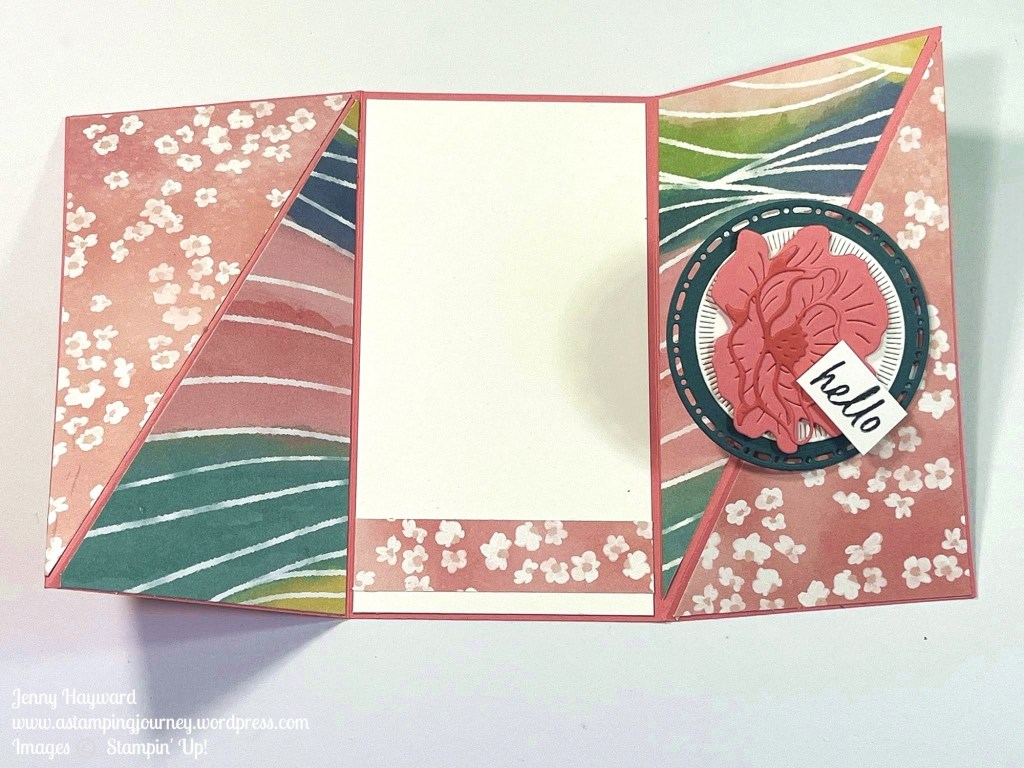
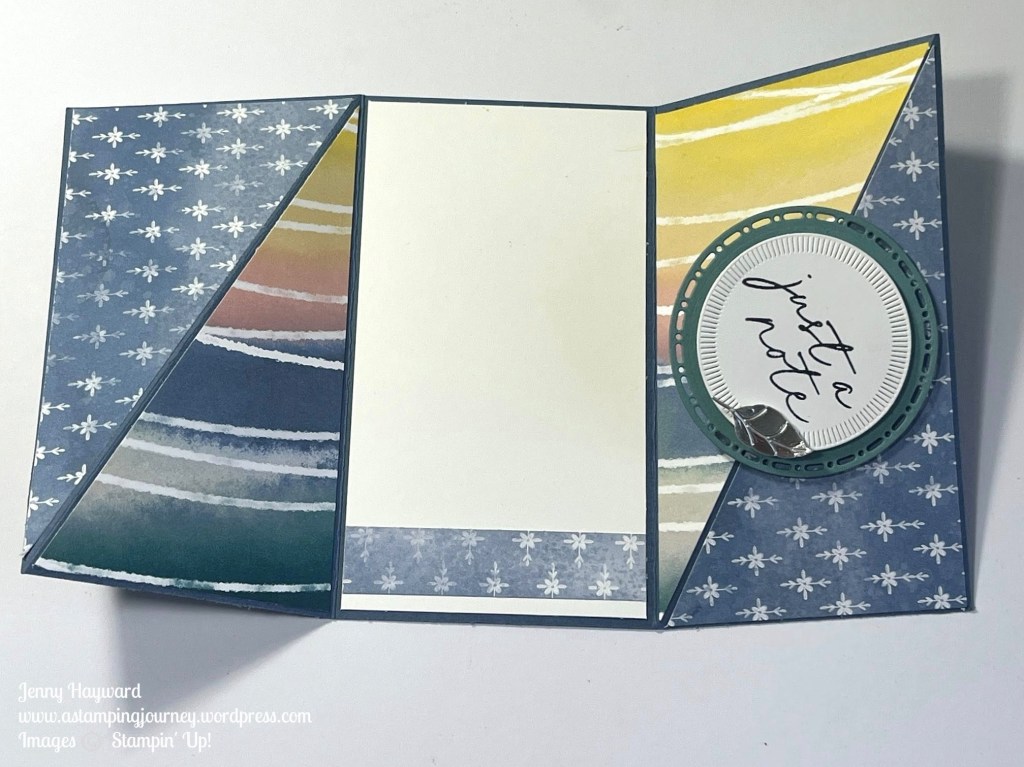
You open it out. This is the inside. I love the angled look.
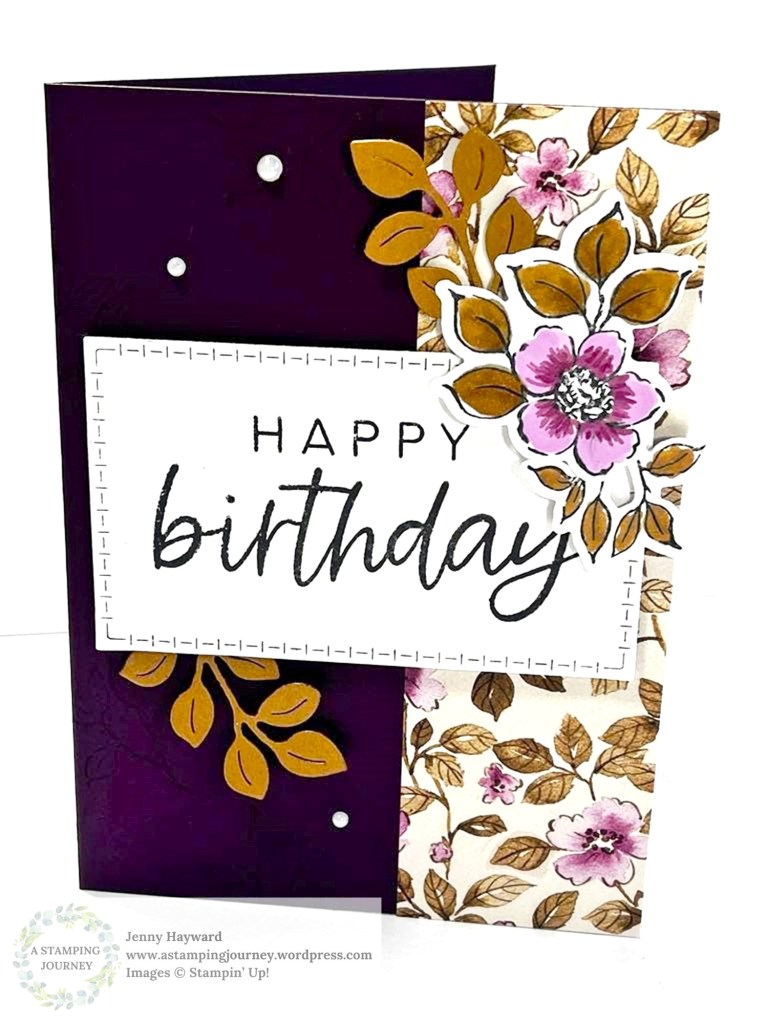
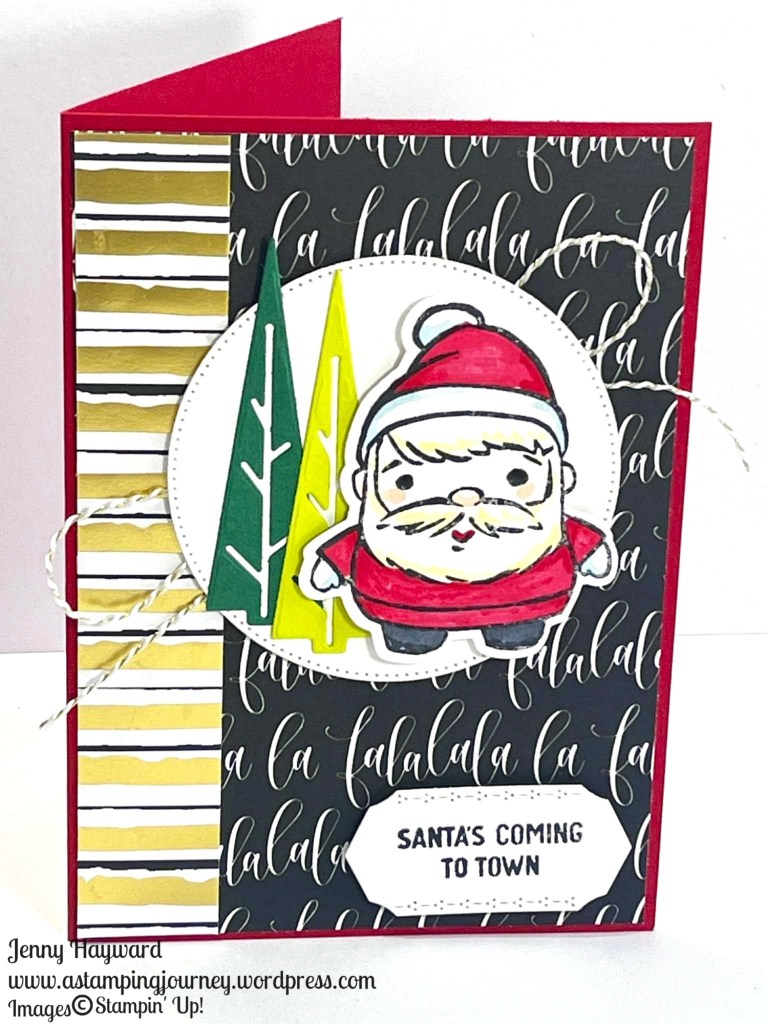
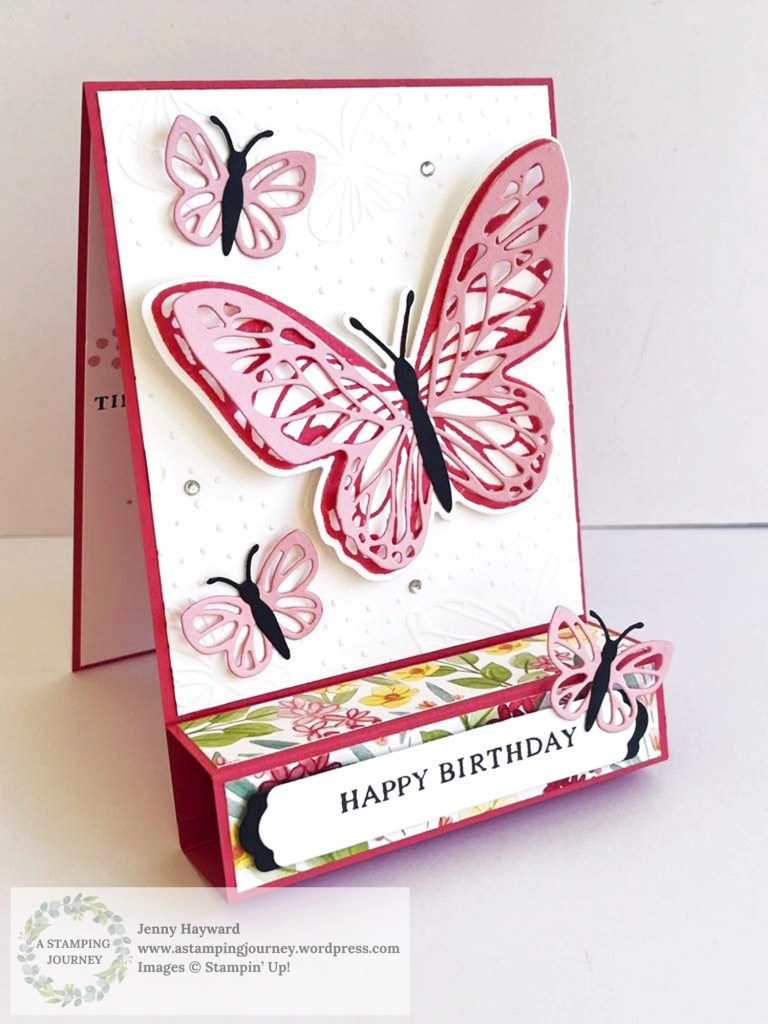
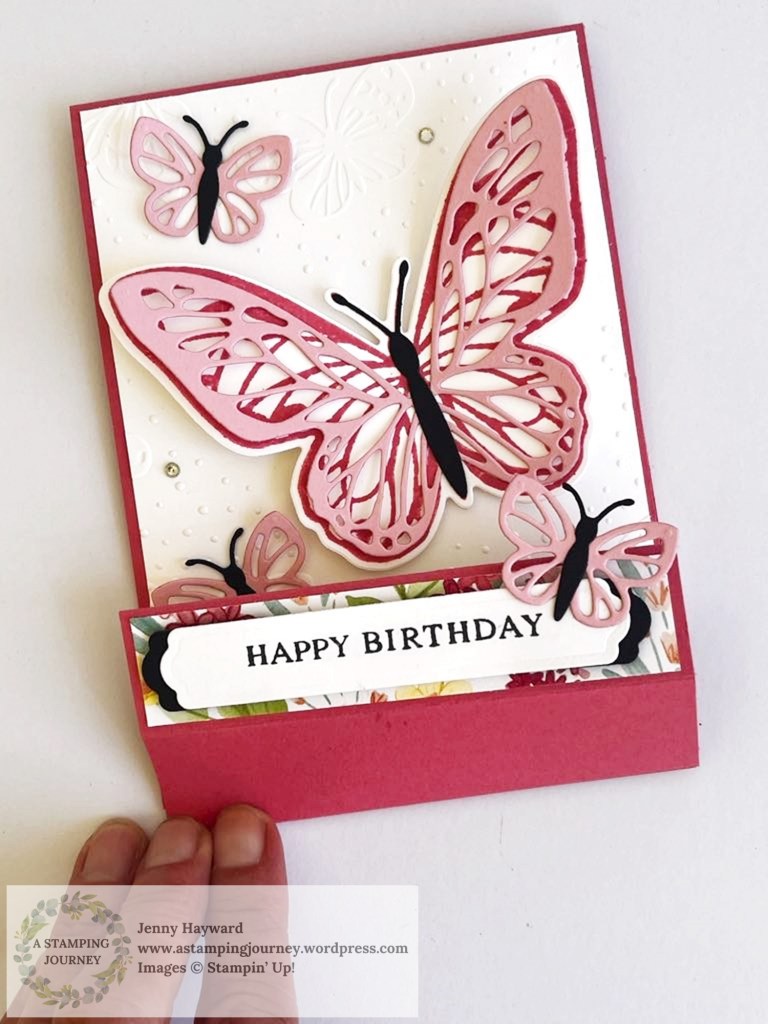
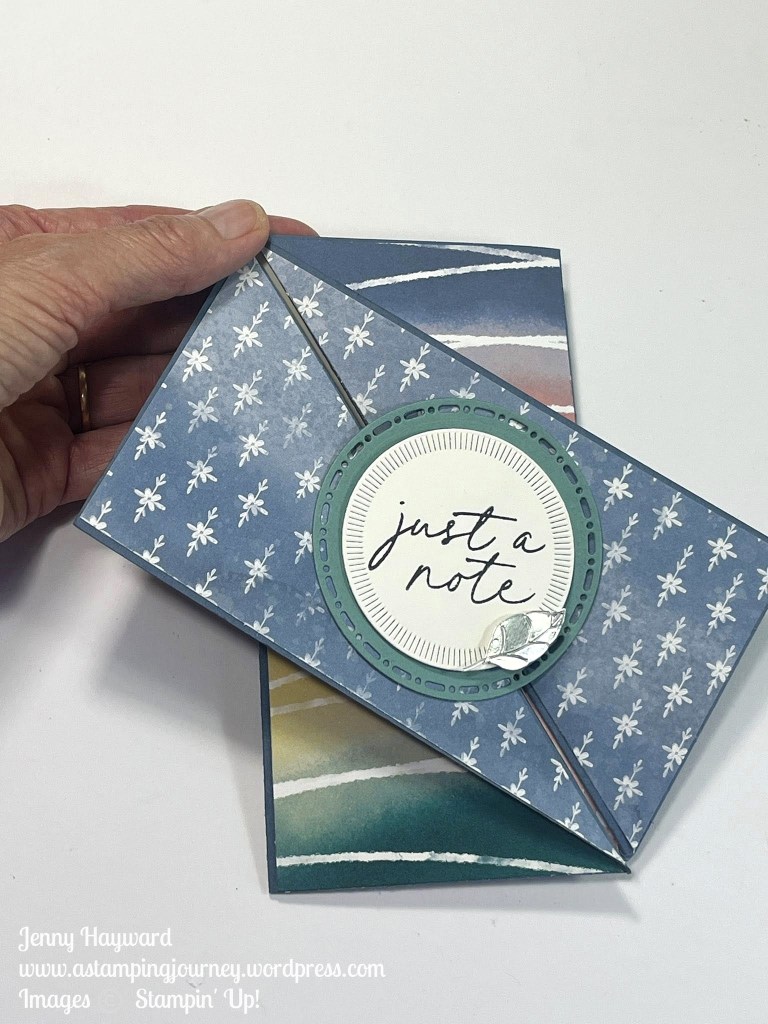
Here is another one using the same paper pack, but just doing that that can change it up a lot by using different colours.
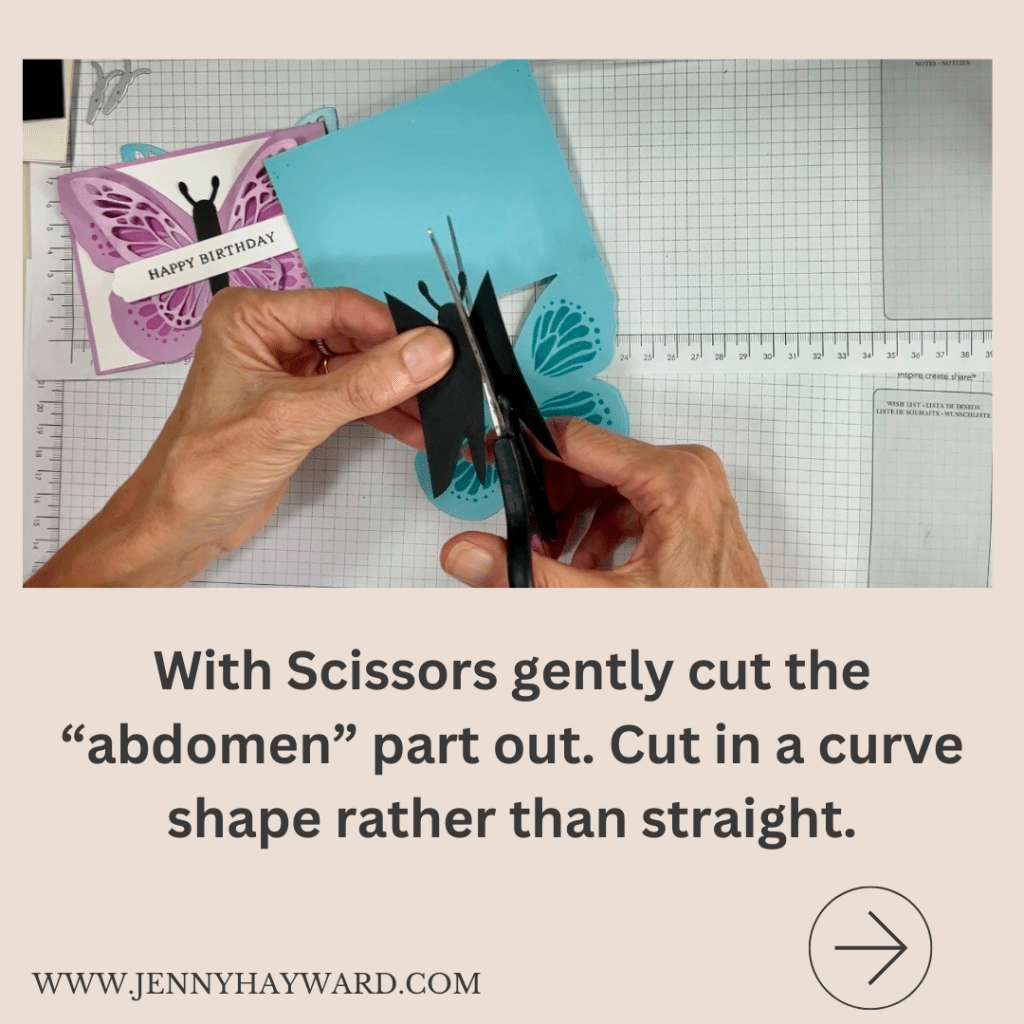
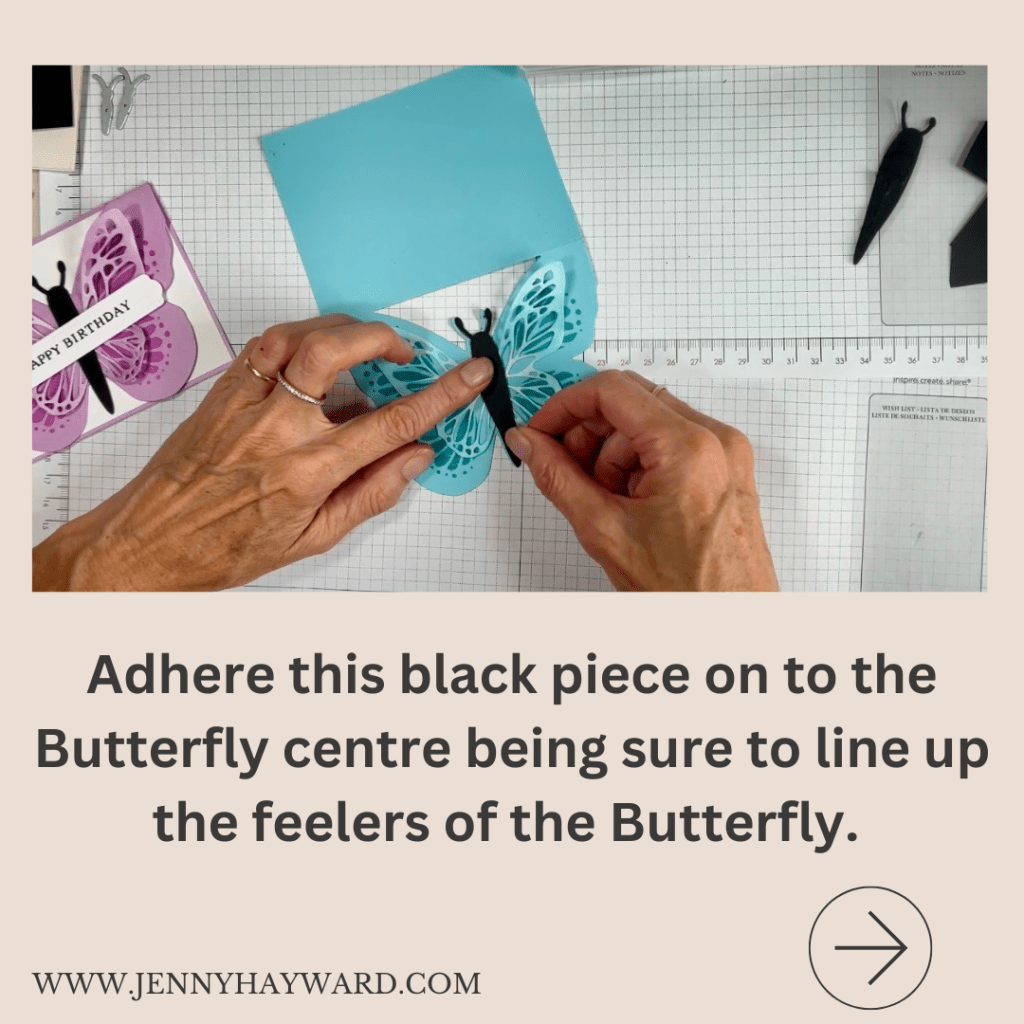
It really is easy and I can show you. I share the measurements in Metric and Inches for you.
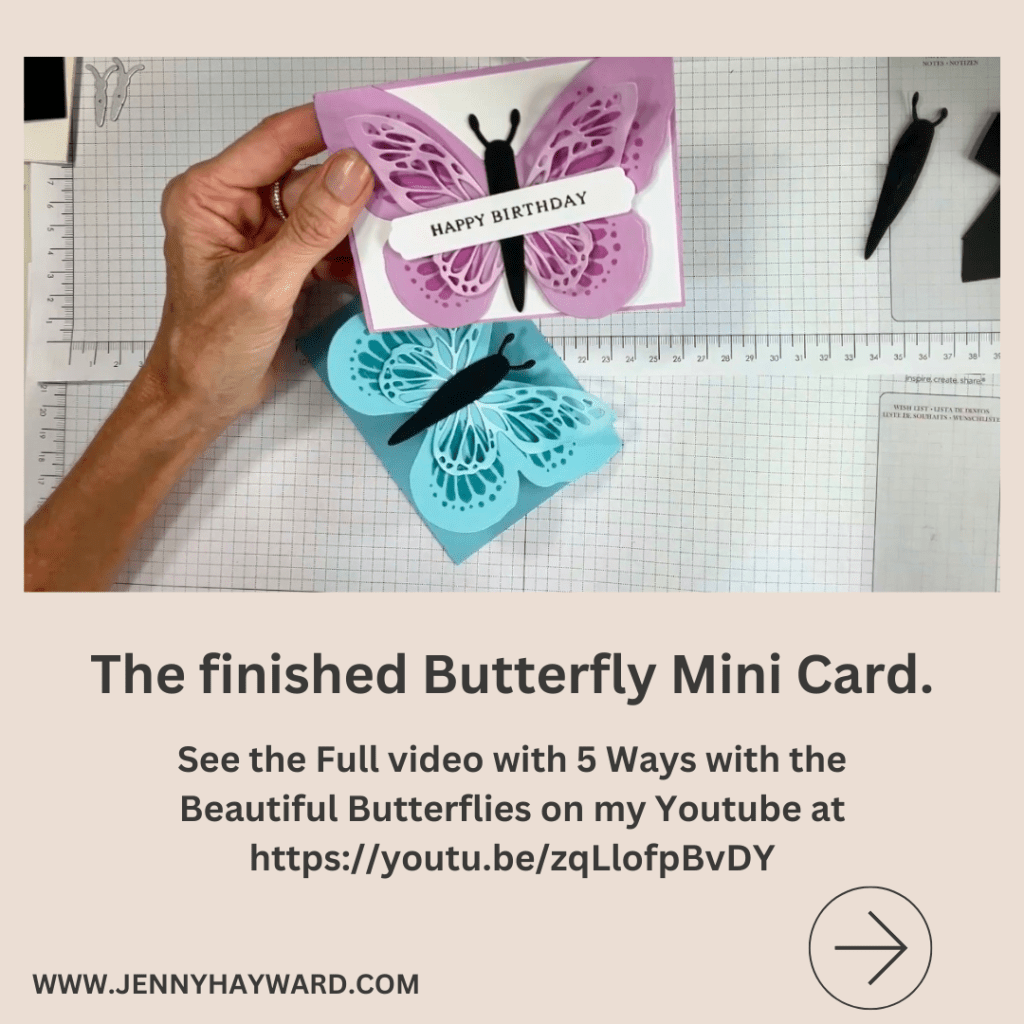
Follow along with the Video -> HERE.
Hope you get to try one yourself.
The Painted Illusions Paper is this month’s Product of the Month.
Happy Crafting,
Jenny