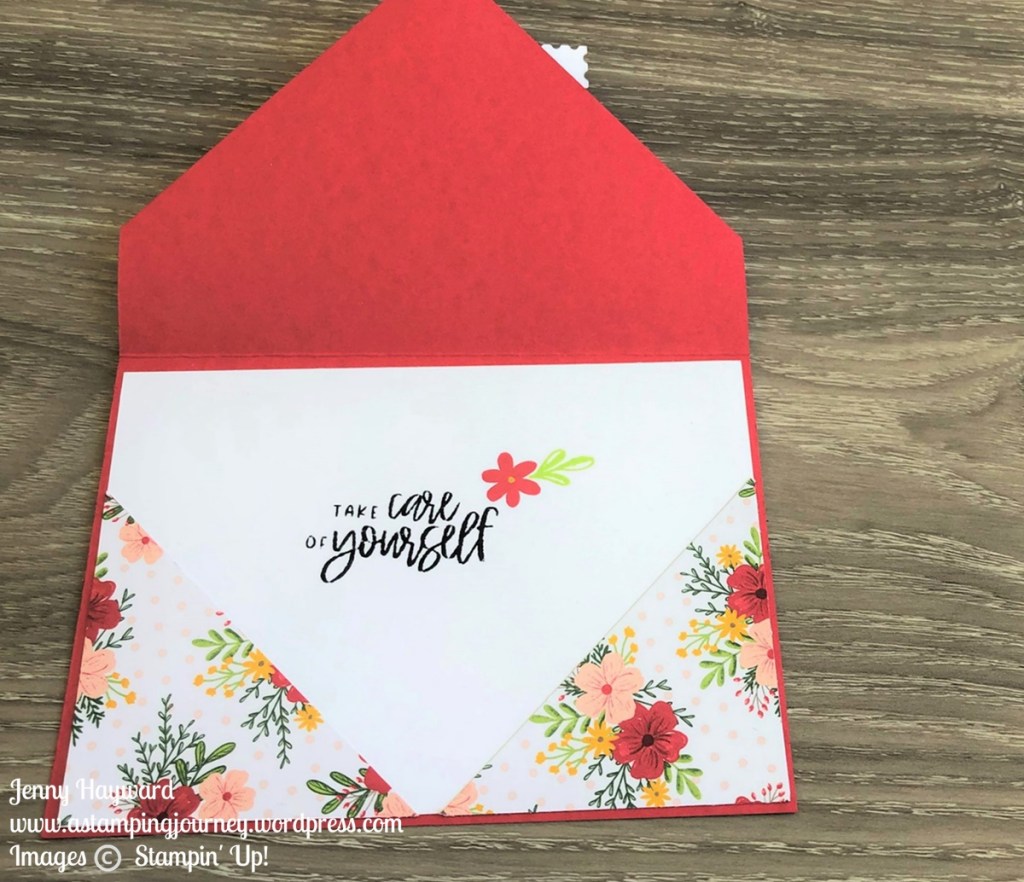
cards, Stampin' Up!, Videos

A DOTTY PEEKABOO WINDOW CARD WITH IRRESISTIBLE BLOOMS!

Today is a great Fold card with a little interesting window. It makes such a fun addition. And I have a video to share some tips when you create it.

I have used the Irresistible Blooms Bundle and Hello Irresistible Designer Series Paper.

This is the card.
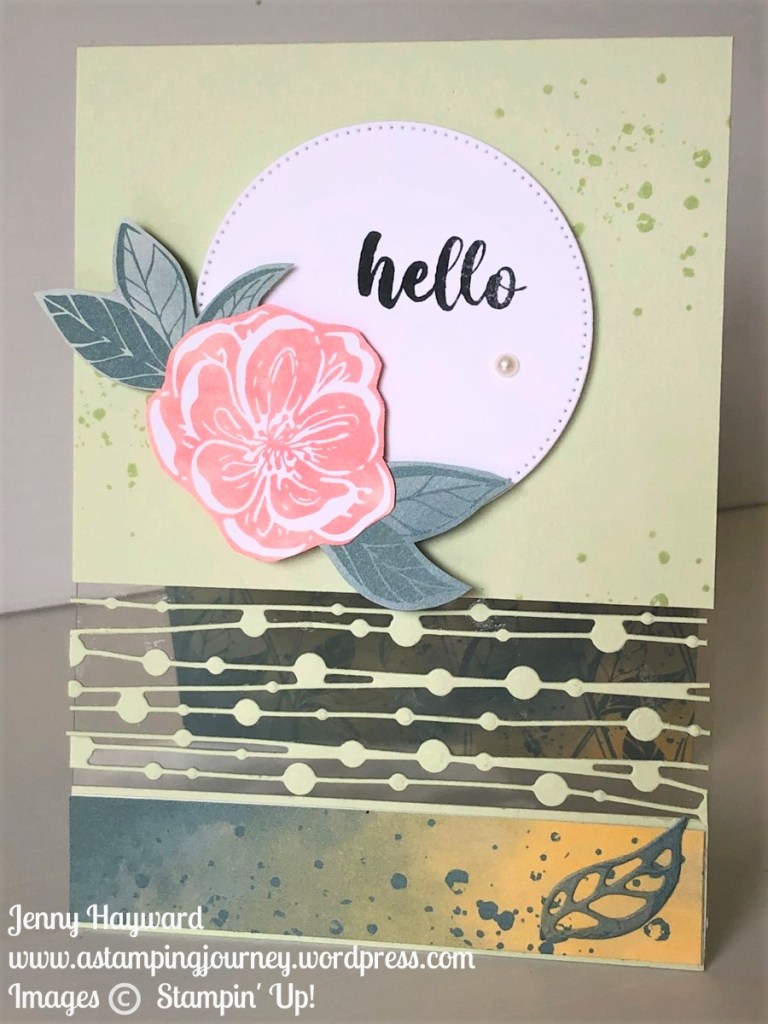
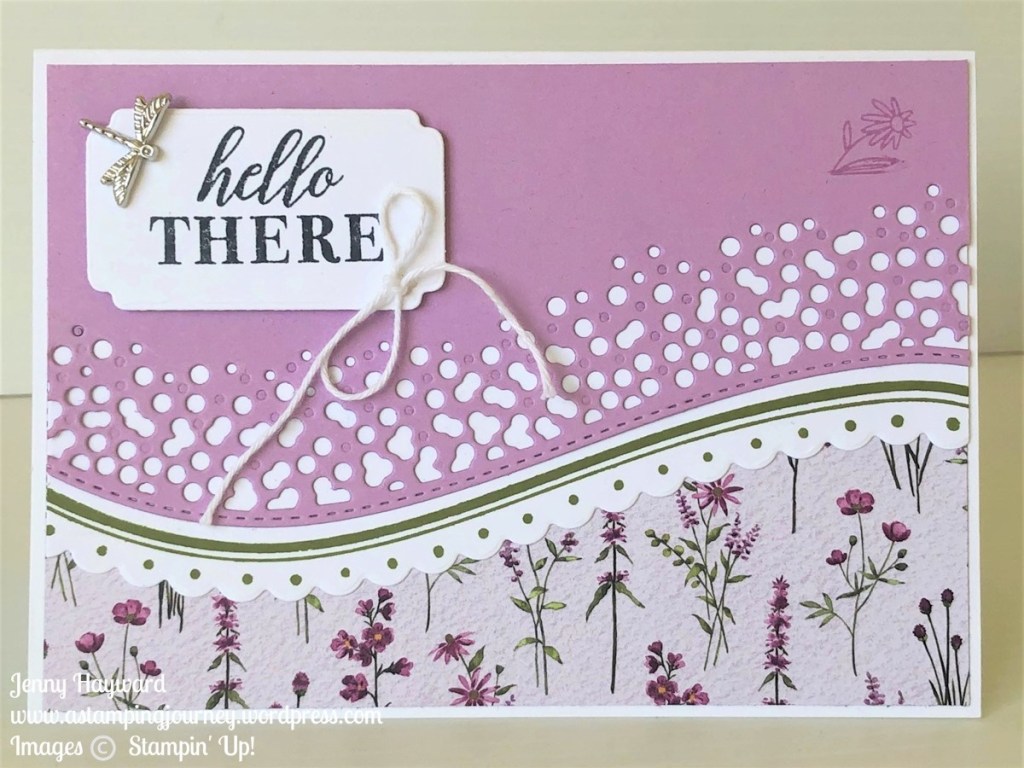
Don’t you just love that “dotty” strip. It’s so cool!

And for the inside of the card.

Just a tip with this paper. The Paper colours include Pretty Peacock and Lost Lagoon. These were current as In Colors a few years back.

Why have they included these now???

Well they are coming back. Yes! They will be part of the Regular Colour Collections starting in the new catalogue in May.

Watch out! It looks like a little Colour Refresh is happening. More on that in the coming weeks. It will be all revealed on the 29th March.

I share a tip in this video. If you don’t have the those colours as yet. I found using the Evening Evergreen and stamping off one time. It matched so close. But Evening Evergreen will be going at the end of this current catalogue. It’s a good short term fix for now.

So watch the video below. (If you are catching this in an email post and the video doesn’t show, head to my blog directly Or head to my Youtube Channel (HERE) and view the video there.

If you haven’t subscribed already to my Youtube Channel I would love for you to. You will keep up with all those crafty videos that you can go back to anytime. Thanks for that.

Happy Crafting,

Jenny

Need some supplies and you are in Australia? I would love to serve you.

Head to my store -> HERE. Please use the Host code: B47Q7JP2

Or contact me directly.

Thanks for shopping with me.

cards, Catalogues, Sale-A-Bration, Videos

AROUND THE BEND WITH DAINTY FLOWERS + VIDEO!

I have had more fun playing with the Around the Bend Bundle. I’m loving these stamps and dies.

Today’s project comes with a video with 9+ Tips in using this bundle when putting together this card.

The paper is the gorgeous Dainty Flowers Designer Series Paper available for Sale-A-Bration. I love the pretty prints in this paper and I think it works so well.

Here is the card.

You can watch the video below especially look out for the 9+ Tips in using the dies and lining them up with the Stamps. I think you will find that helpful in putting the card together.

You can find the Around the Bend Bundle in my store -> HERE. And when you purchase them you could choose the Dainty Flowers Paper as your Sale-A-Bration pick. Or check the other choices out. There are some great ones and now there is some Catalogue products listed.

In Australia and need crafting supplies? Head to my store at the link above and shop. Please use the Host Code: 73TFR9BD

Or contact me directly.

Happy Shopping,

Jenny

cards, Catalogues, Classes, Stampin' Up!, Techniques, Tutorials, Videos

AROUND THE BEND FOR THE 2023 MINI CATALOGUE GLOBAL LAUNCH PARTY!

It’s all happening now with the 2023 Mini Catalogue going Live. Have you checked it out yet??

I mentioned I was involved with the Global Catalogue Launch Party with Demonstrators from around the world. It’s such an exciting time to share with you.

Let me show you the the card I made.

For my project I shared a card with the Around the Bend Bundle and the gorgeous Fancy Flora Designer Series Paper.

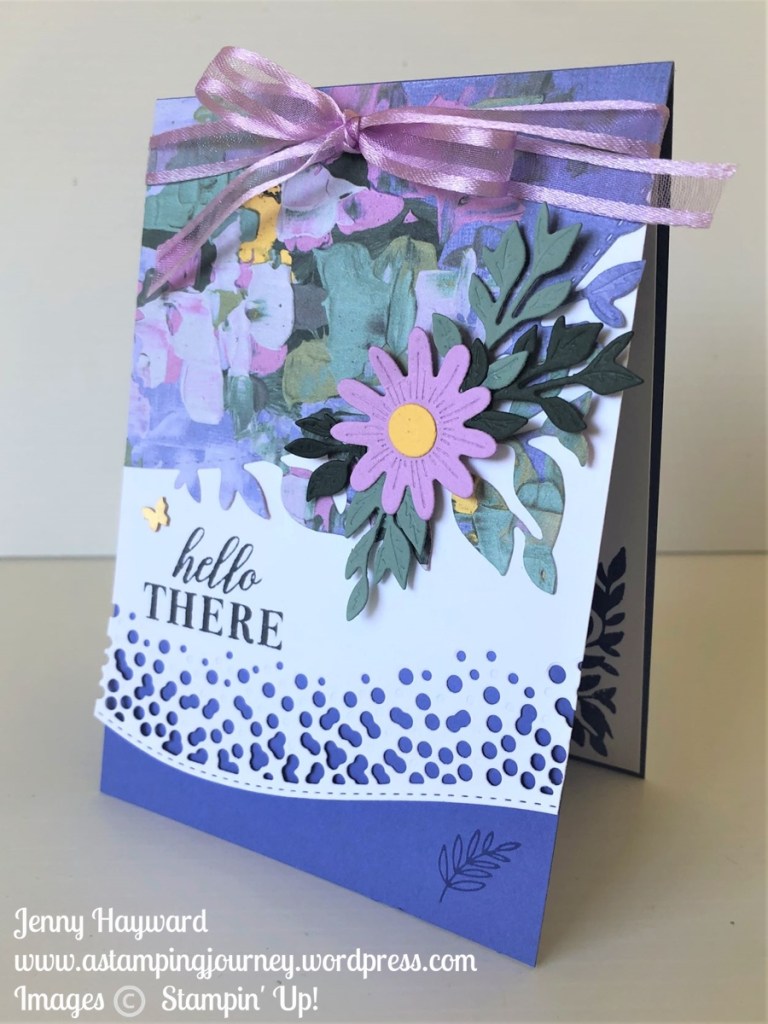
I love the detail in these curvy dies. It creates such a cool edge. And there are some other great curvy dies as well.

Here is the inside of the card. Don’t forget that.

Want to catch the YouTube video to follow along? Check it out below.

If you haven’t joined in with the Global Launch Party you can still catch the replays.

Head to the Facebook group -> HERE.

There are lots of presentations. So many to inspire you so I hope you follow along.

Happy Crafting,

Jenny

In Australia? I would love to serve you with your crafting supplies.

Head to my store -> HERE. Please use the Host Code: RCWF4TJP

OR contact me directly by email or phone and I can help you with ordering.

3D projects, cards, Christmas, Classes, Personal Ramblings, Stampin' Up!, Videos

TOP PICKS FROM 2022!

It’s been another busy year of crafting here. Thanks for following me along.

I thought I would take a few minutes and share my favourite projects from the past year. So come on a little journey with me. And click on the heading of the project to take you back to the original post and read more about them. Even catch the video of many of them.
Friendly Hello Fun Fold

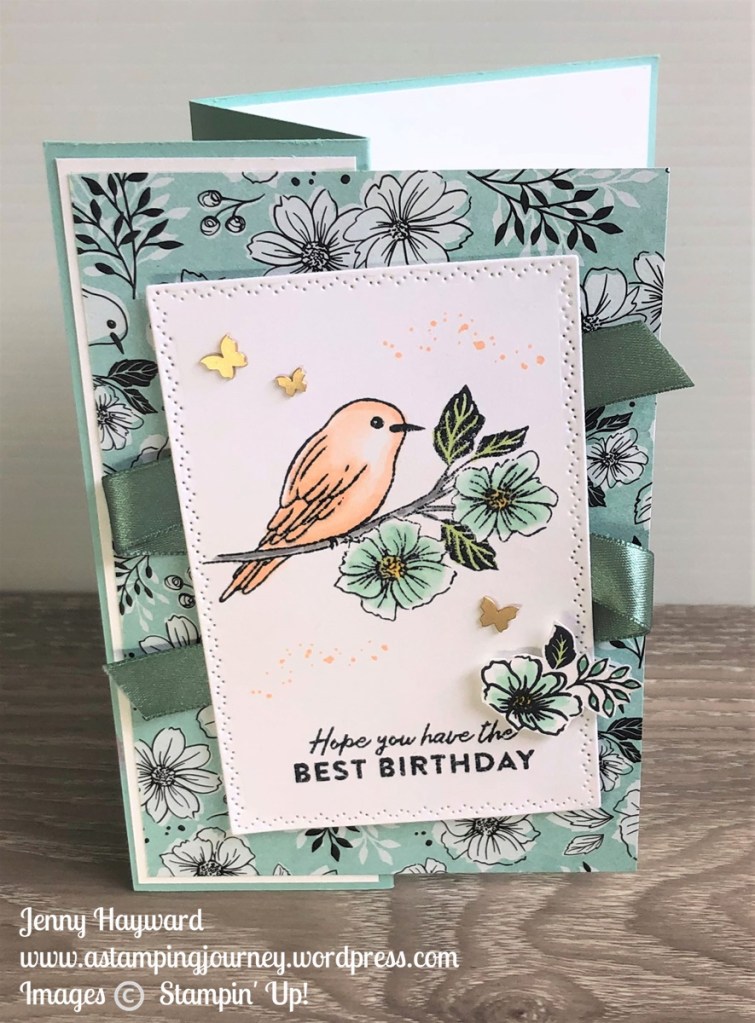
I loved this gorgeous Friendly Hello Paper available for Sale-A-Bration in January. And this is great fold to show both sides of the gorgeous paper. (Must try that again).

Driving By Slider Card

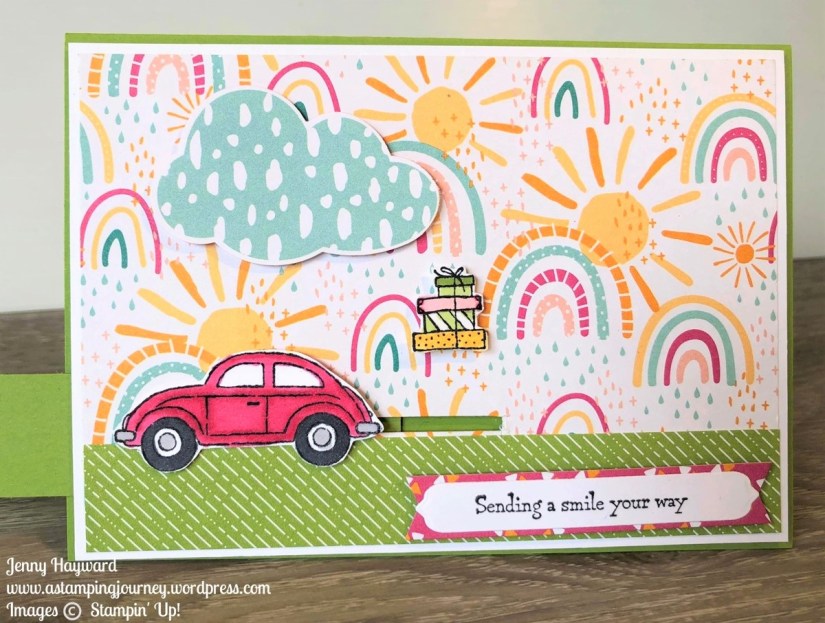
This was a great stamp set to create a Slider card. But you can try this with any of your stamps. What about that Sunshine and Rainbows paper. So bright and Happy. 🙂

Waves of Inspiration (Moon Effect)

I have loved creating with the Waves of Inspiration stamp set and I was so excited when I discovered how to create the moon effect with the stamps.

Half Fold Let’s Set Sail

Let’s face it – Male cards are hard to make aren’t they?? We had a great Masculine Cards Class earlier in the year. The Let’s Set Sail stamps and punch were fun to use.

Wild and Sweet Watercolouring

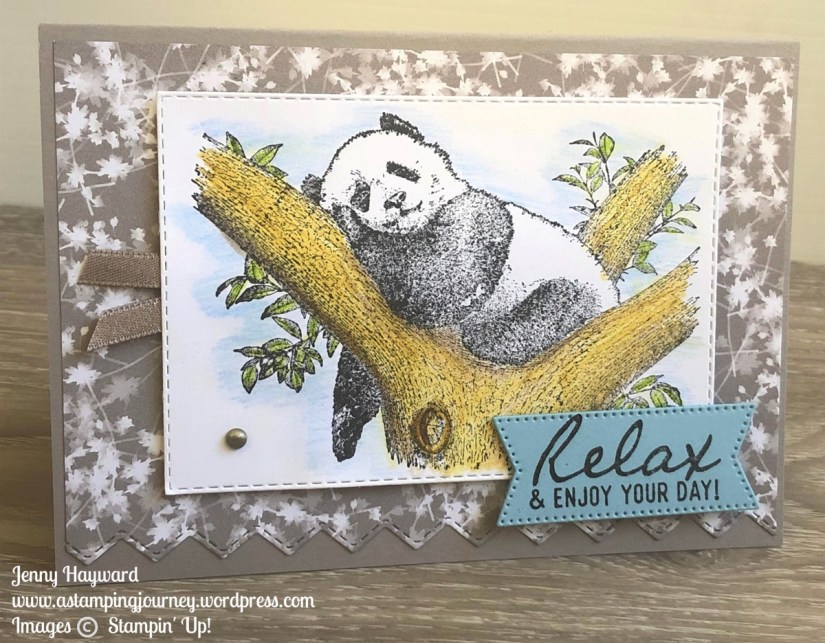
The Wild and Sweet Stamp set was one of my top picks from the new catalogue in May. I don’t do a lot of colouring but I loved colouring this cute Koala. I shared some tips colouring this image in the video for this card.

Tunnel Cards with Hues of Happiness

The Hues of Happiness was another of my top picks from the catalogue. I think many people also loved this suite. The Tunnel cards I created with this has been very popular.

Winter Crafternoon with Cup of Tea Bundle

The most popular event this year with the Winter Crafternoon. It was such a fun time crafting together followed by a Devonshire Tea. Watch out for more events in the new year.

A Pocket Card with Cup of Tea Bundle

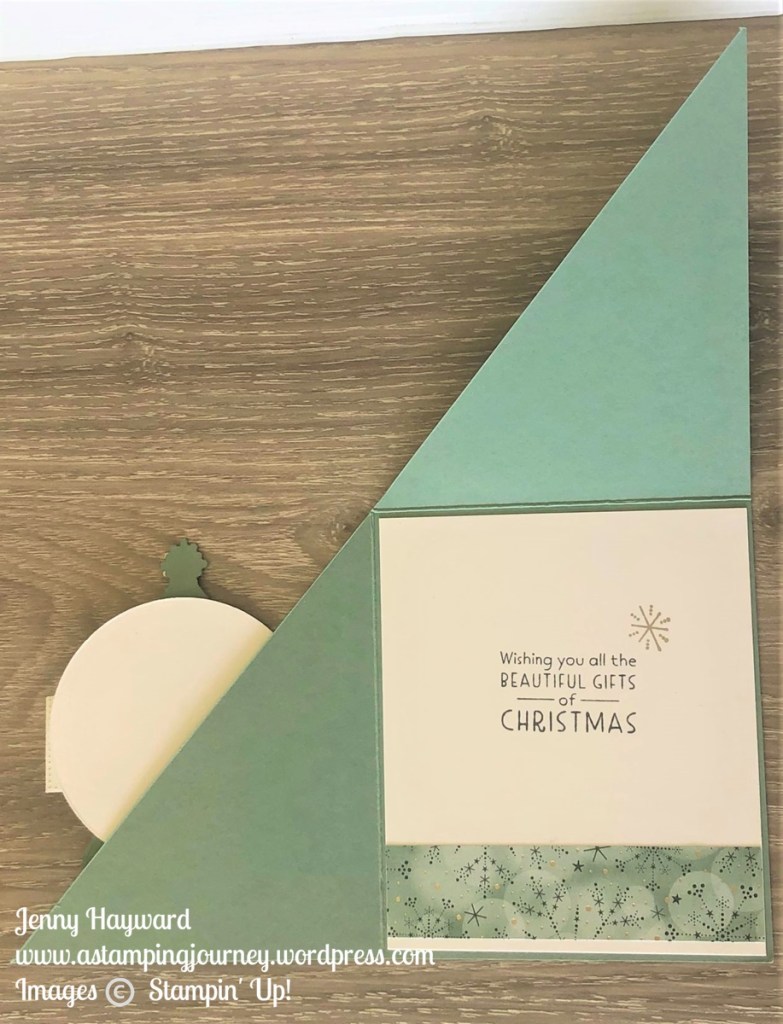
Christmas Lights Diagonal Fold

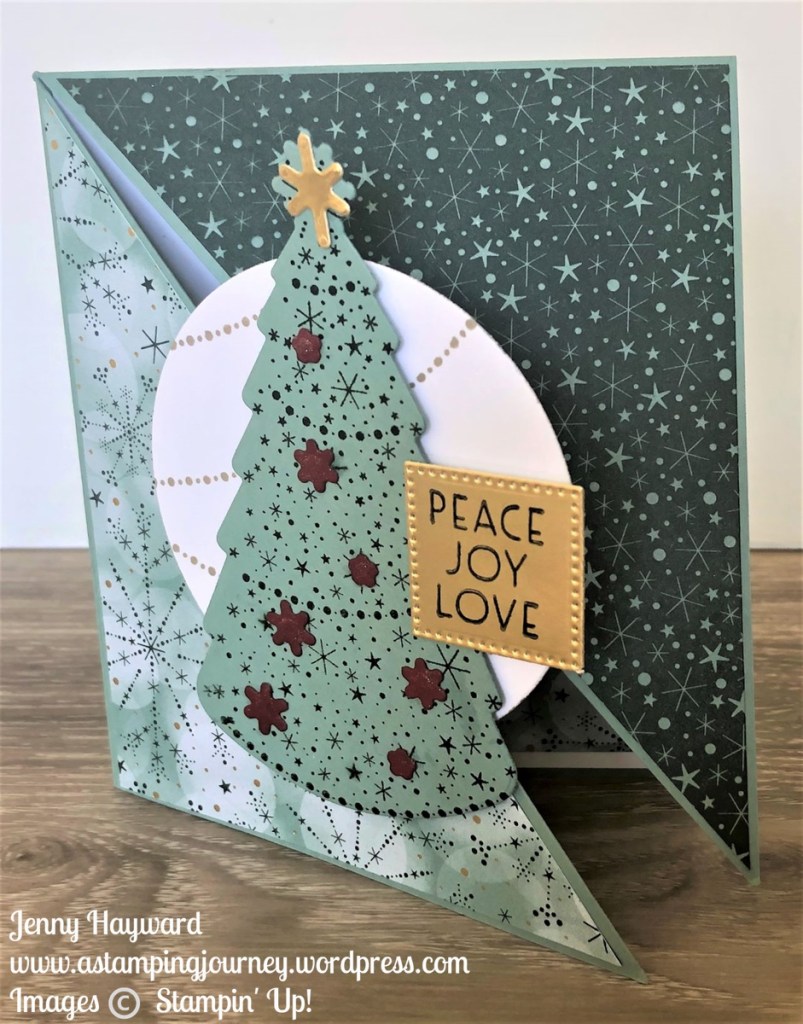
Another very popular Fun Fold from this year was the Diagonal Fold Card with the Christmas Lights Bundle. Lots of people have shared their versions with me which has been so great.

Hello Hippest Hippos Half Fold Easel Card

Is there a theme here with Fun Folds that are my favourite projects for the year. I do love a Fun Fold card. This one was the Half Fold Easel Card with the Hippest Hippos Stamp set for Sale-A-Bration.

Adventurous Journey for the adventurer

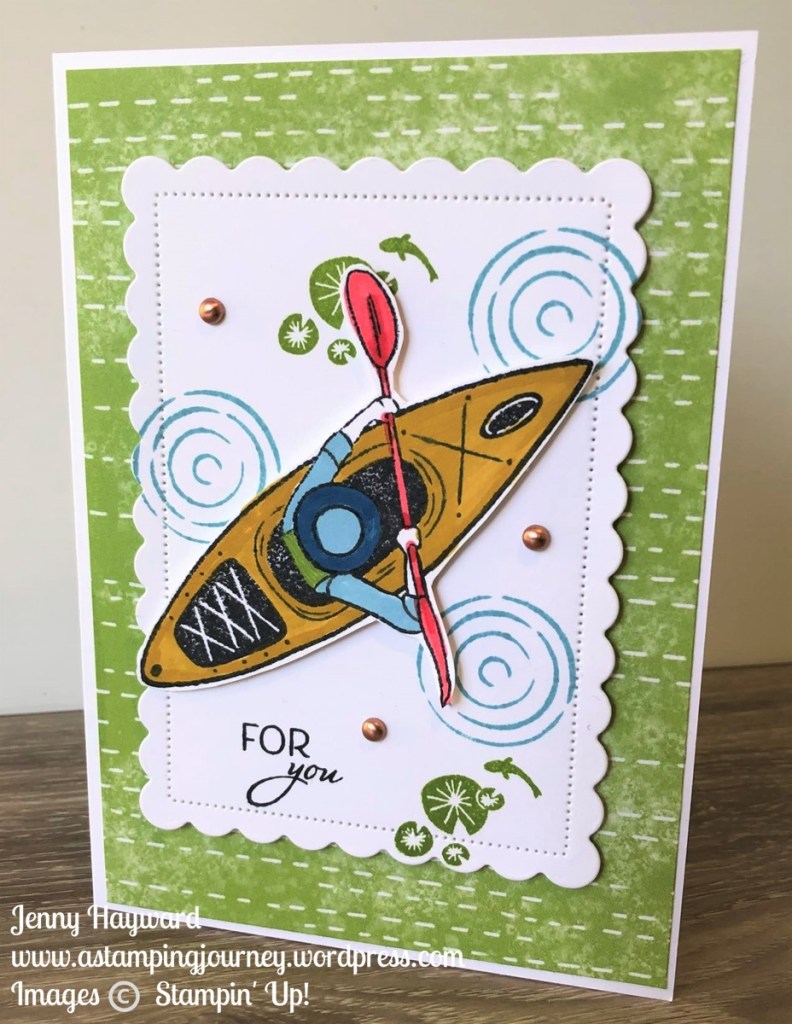
Another great stamp set for the Male cards or the adventurer is the Adventurous Journey stamp set. We had a great class with this stamp set.

Merriest Moments Candle for the 12 Days of Christmas series

It was great to be part of a collaboration to share you some fantastic Christmas projects. I kicked the 12 days series off with my project, A candle with the Merriest Moments stamps and dies. You just have to go back to that post and start the 12 Days of Christmas to check out all the projects.

I hope you have enjoyed looking back at these projects. I can’t wait to share more with you in the coming year.

To lots of creating in 2022. Come and join in with me and follow along.

Jenny

cards, Stampin' Up!, Tutorials, Videos

FITTING FLORETS PANEL FOLD CARD + VIDEO!

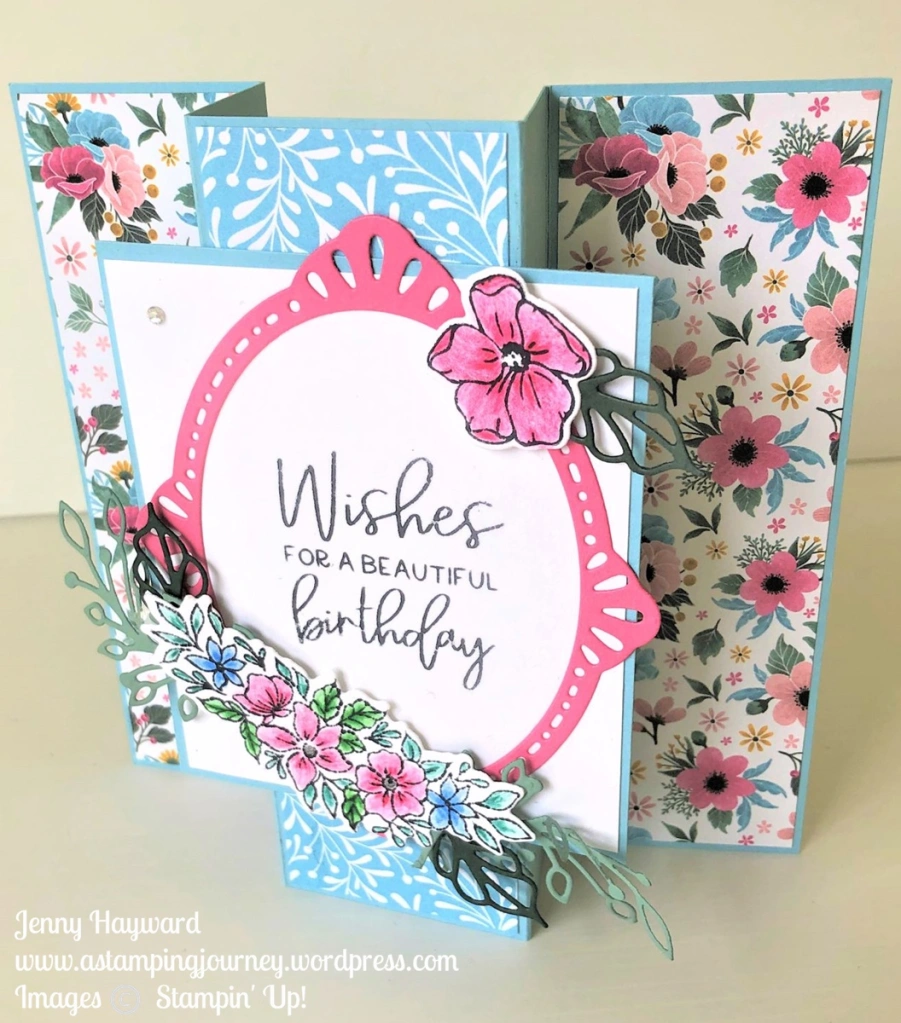
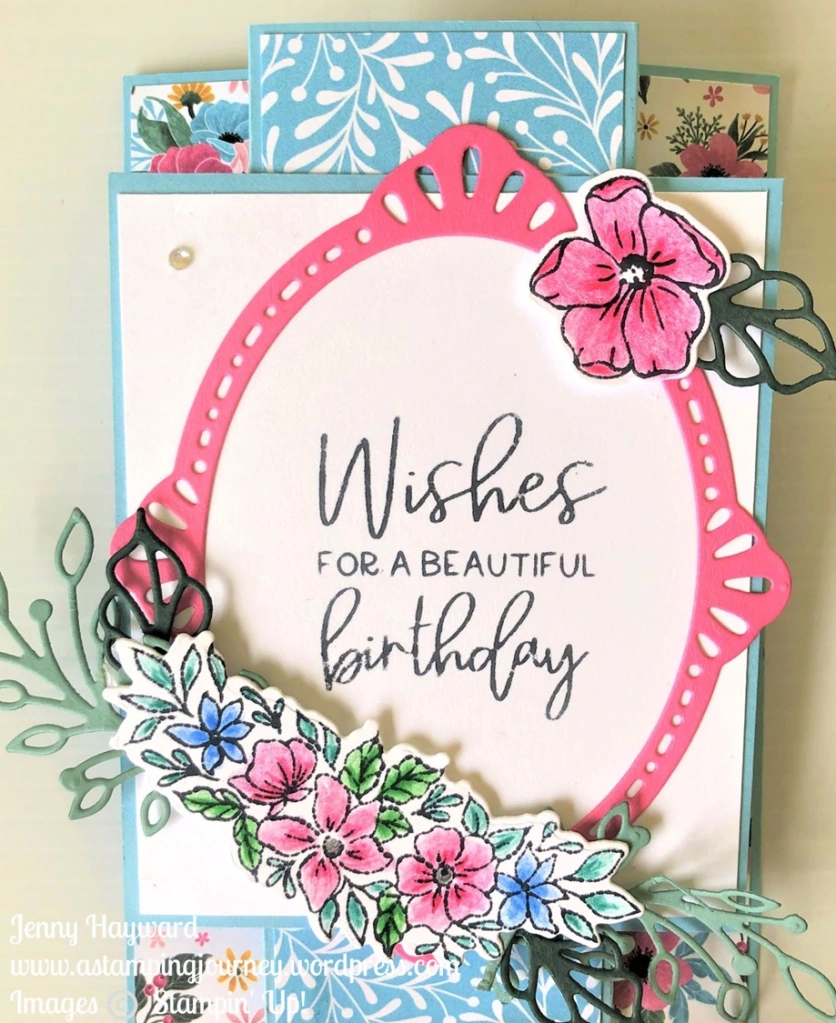
You have probably seen the Fitting Florets Suite around now. It is all so gorgeous. I had to play with it. And I pulled out an old fold that I haven’t done in a while – A Panel Fold Card.

Here it is for you.

And it folds flat for you to post.

You can catch how to create one on the video below. (If you are receiving this blog update by email and the video is not showing, head to the blog post and view it there).

The Fitting Florets Suite will be available to order in November. The Framed Florets Bundle (Stamps and Dies) will be carried over in to the January-June Mini Catalogue but the gorgeous Fitting Florets paper and the Gold Swirl Gems won’t be so you will want to grab that early. I will tell you more about this soon.

But … You could get this earlier. As Demonstrators we can order it now. And if you have considered joining Stampin’ Up! what better way than joining now (also with the extra bonus you get this month) AND you can order it now. Because we can’t wait for these things right. 🙂

Here are the measurements.

MAKE YOUR OWN PANEL FOLD CARD

Card base: 21cm x 14.8cm   Score on the long side at 5cm and 8cm.  Turn card 180’ – Score at 5cm and 8cm on the other side.

                   8 ½” x 5 ½”  Score on the long side at 2” and 3 1/8”. Turn card 180’ – Score at 2” and 3 1/8” on the other side.

Designer Series Paper strips:

For sides – 4.7cm x 14.4cm @ 2 pieces

                   1 7/8” x 5 3/8”  @ 2 pieces

For centre – 4.7cm x 14.4cm @ 1 piece

                     1 7/8 x 5 3/8” @1 piece

Front Panel – 10.4cm x 8.8cm    3 ½” x 3 1/8”

White mat – 10cm x 8.4cm      3 3/8” x 3”


I hope you get to make one.

If you are in Australia and need supplies I would love to serve you. You can head over to my store now -> HERE.

Please use the Host Code: 3WVA7CQE Or contact me directly.

Happy Crafting,

Jenny

cards, Stampin' Up!, Tutorials, Videos

JOIN US TO CREATE FOR WORLD CARD MAKING DAY!

This Saturday is World Card Making Day. Yes, it’s a day we get to celebrate all the fun we have.

Are you going to create on Saturday? Why not join a Virtual Crafting Session with Stampin’ Up!.

It will be this Saturday 1st October 2-5pm. Create 3 lovely projects. And it’s FREE!

You can use what you have or order the sets they use. Now it may be a little late to order them for this event though.

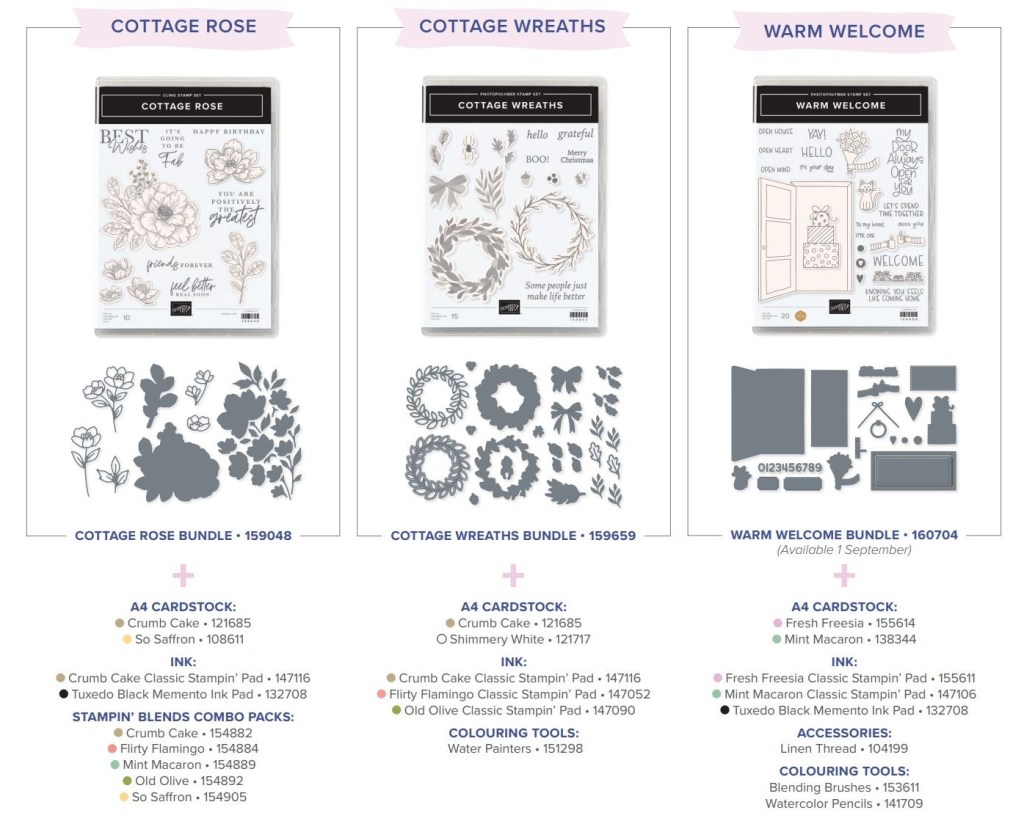
These are the sets you will be using. Do you have something similar?

You can register but you don’t have to. Head to the Stampin’ Up! page -> HERE for more details. You can register there or just head to this page on Saturday and the link will be there for you.

Now if you are like me and can’t join in at the time then you can catch the replay later.

Happy World Cardmaking Day,

Jenny

cards, Tutorials, Videos

BOOK BINDING FOLD CARD + VIDEO!

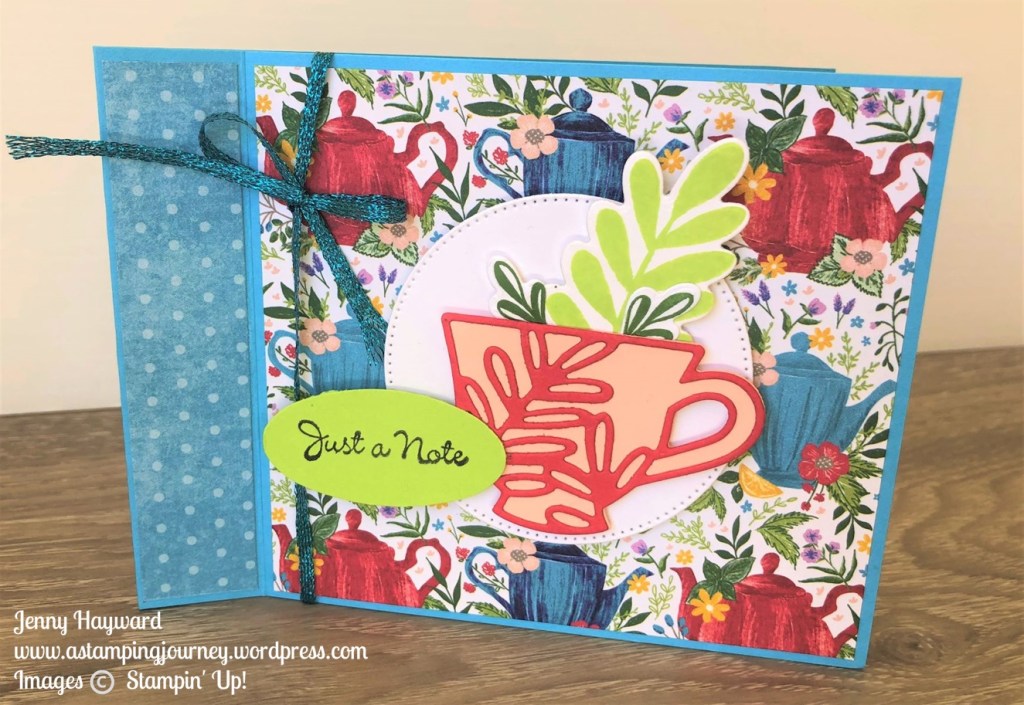
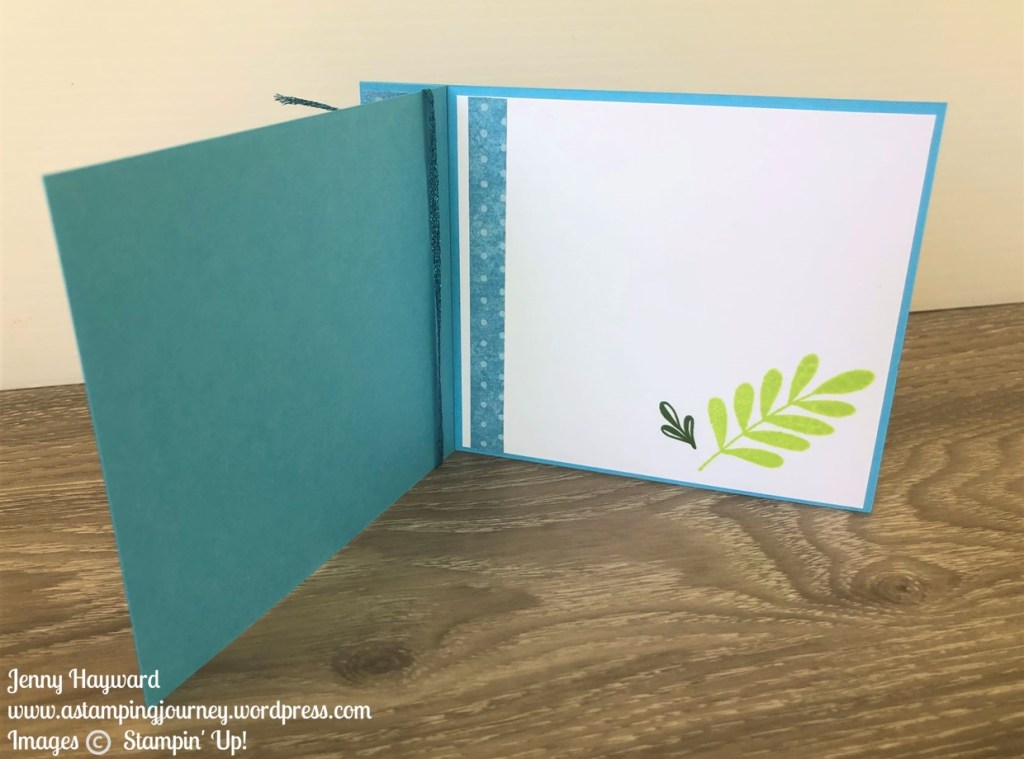
I shared a card recently with Adventurous Journey Stamp Set that was a Book Binding Fold Card. I had a lot of requests to make a video of it to share how to create one.

So I have it for you today.

This card was using the Cup of Tea Bundle and the Tea Boutique Designer Series Paper.

Below is the video that you can check out.

CREATE YOUR OWN BOOK BINDING FOLD CARD

Measurements:

Base card: 10.5cm x 28cm Score at 11.5cm and 14cm

4 1/4″ x 11″ Score at 4 1/2″ and 5 1/2″

Designer Series Paper:

  • 2.1cm x 10.1cm 3/4″ x 4″
  • 11.1cm x 10.1cm 4 1/4″ x 4″

White card: 11.1cm x 10.1cm 4 1/4″ x 4″


I hope you get to make one. I love hearing from people when they share their projects with me.

Are you in Australia and need supplies?

I would love to serve you.

You can shop online -> HERE. Please use the Host Code: 6PPKEPZJ Or contact me directly and I can help you out.

Off you go to check out the video.

Jenny

cards, Catalogues, Christmas, Tutorials, Videos

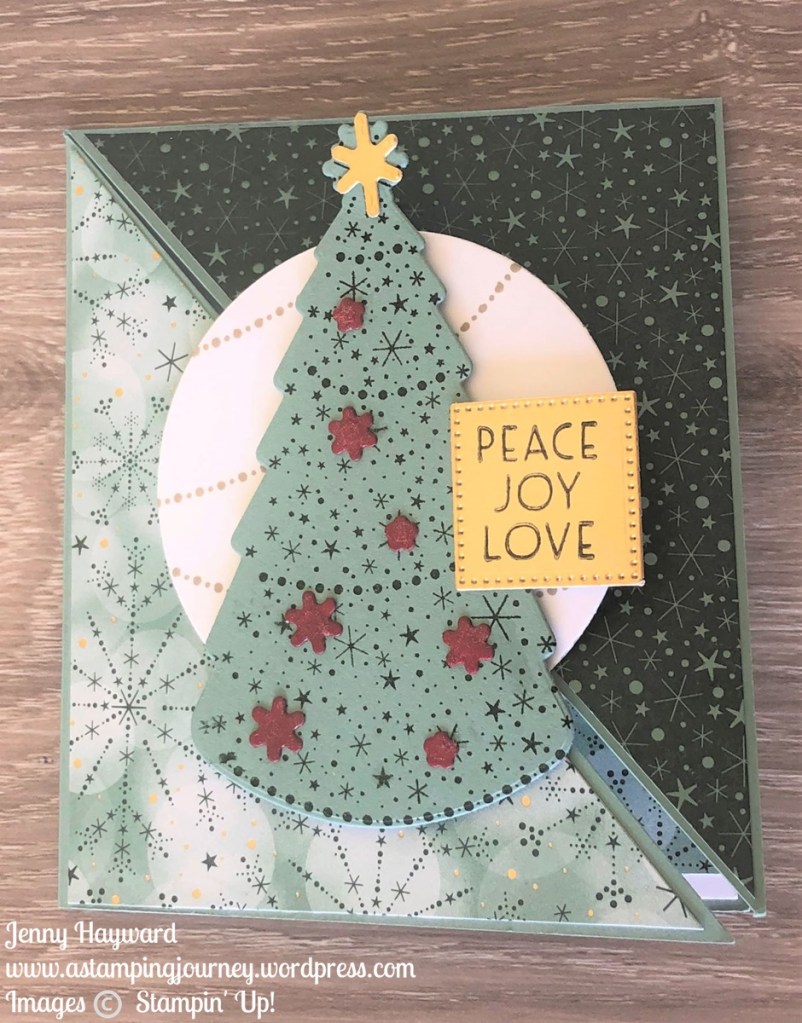
CHRISTMAS LIGHTS DIAGONAL FOLD CARD + VIDEO!

Today’s Video project is up now on Youtube. You can catch it here too.

Today’s card is a Diagonal Fun Fold card. It’s super easy and creates such a WOW! Bonus too you can create 2 cards from the card and paper pieces.

Check it out below.

If you receive this blog post update via email the video may not show so do head to my blog directly and view it there.

The Measurements are further below too to create your own.

Here is the Christmas Lights Diagonal Fold card. I have used the Christmas Lights Bundle and the Lights Aglow Specialty Designer Series Paper. The sentiments are from the Inspired Thoughts Stamp Set.

MAKE YOUR OWN DIAGONAL FOLD CARD

Base card – 21cm x 24.5cm Score at 10.5cm on the short side. Turn and score at 12.3cm on the long side.

Base card – 8 1/4″ x 9 5/8″. Score at 4 1/8″ on the short side. Turn and score at 4 7/8″ on the long side.

Cut the card diagonally from the Top Left to the Bottom Right.

Designer Series Paper – 2 pieces at 10.1cm x 11.8cm 3 7/8″ x 4 5/8″

Cut Diagonally from Top Left to Bottom Right.

White card for inside – 10.1cm x 11.8cm 3 7/8″ x 4 5/8″

Designer Series Paper strip for inside – 2.5cm x 10.1cm 1″ x 3 7/8″


I hope you get to make one. Do let me know.

Do you need any supplies and you are in Australia? I would love to serve you.

Head to my store now -> HERE. Please use the HOST CODE: DK3ZG2DU. Or contact me directly and I will place the order for you.

Happy Stamping,

Jenny

cards, Catalogues, Stampin' Up!, Techniques, Tutorials, Videos

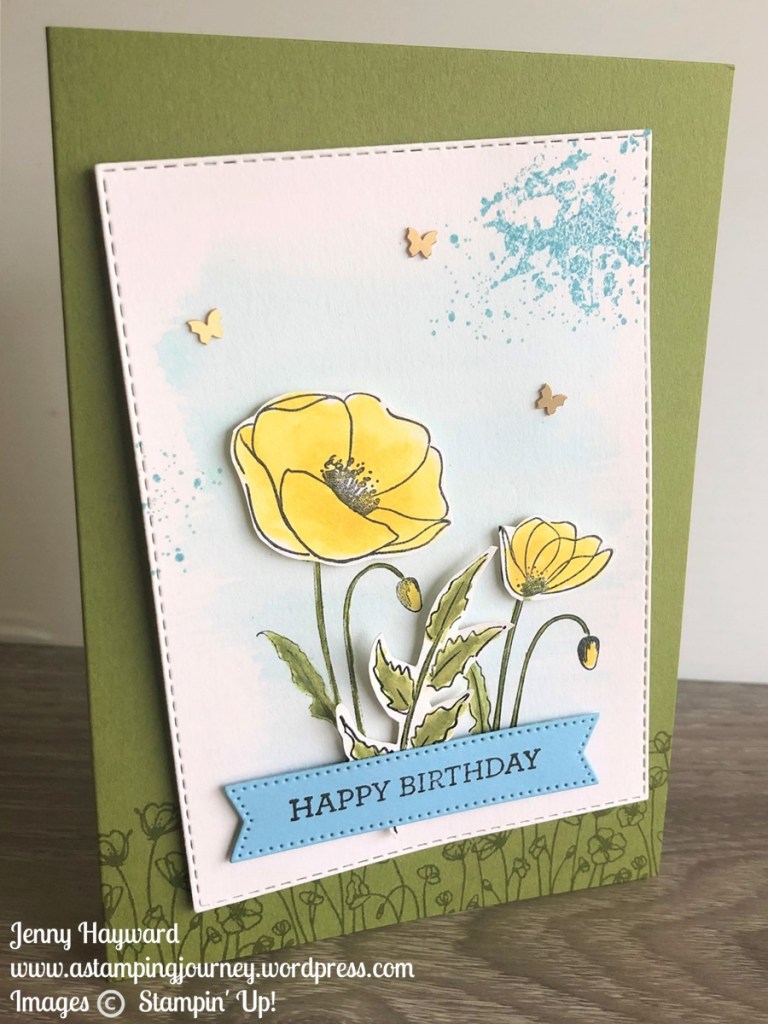
WATERCOLOURING WITH PAINTED POPPIES + VIDEO!

Did you know it’s World Watercolouring Month?? A month of celebrating and sharing all things watercolouring.

I’m no expert at watercolouring. But I have picked up some tips along the way. And practice makes perfect right. 🙂

There are lots of different ways to watercolour and different mediums to use. I shared a video recently on using Watercolor Pencils. In today’s video I’m using the Ink Pads and Water Painters to create a watercolour wash and more detailed watercolouring.

I pulled out the Painted Poppies Stamp Set. I haven’t used this in a while.

Check out the video below.

This card was inspired by one in the current Annual Catalogue on Page 29.

I hope you pull out your inkpads and Painters and get watercolouring.

Have a great day,

Jenny

Need some supplies and you are in Australia?

Stop by my store -> HERE. Please use the Host Code: 99CMHTER

Or contact me directly.

cards, Classes, Stampin' Up!, Techniques, Videos

A CARD WITH A POCKET + A VIDEO!

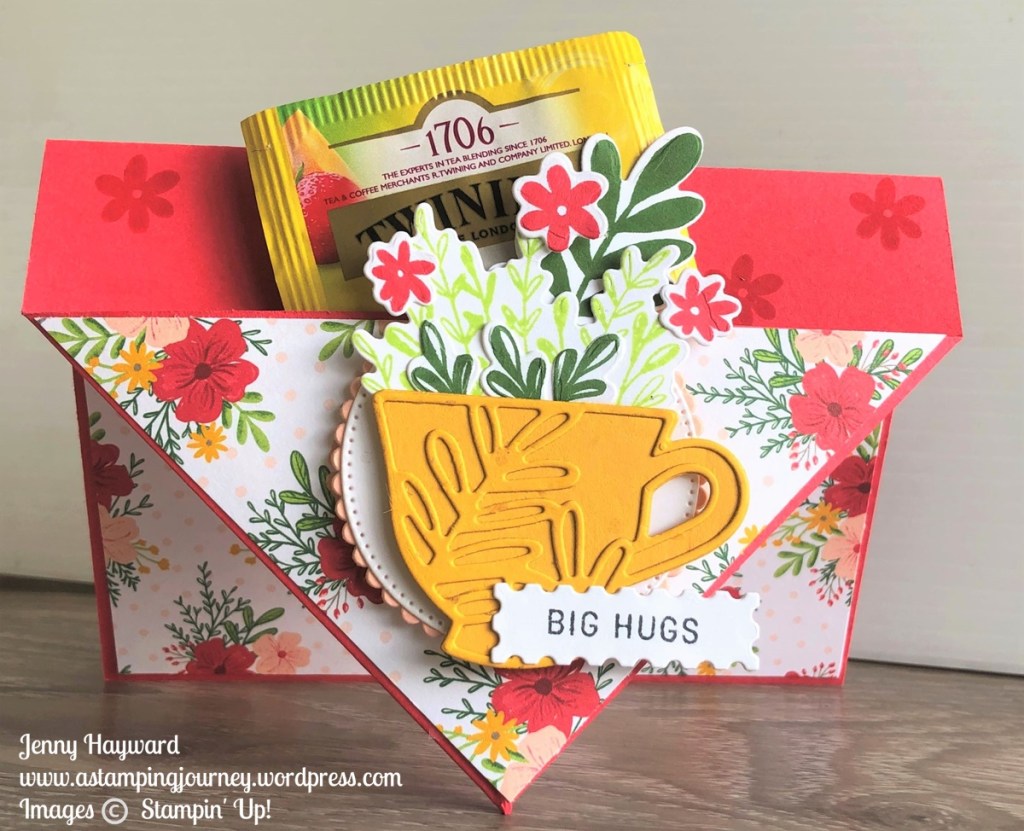
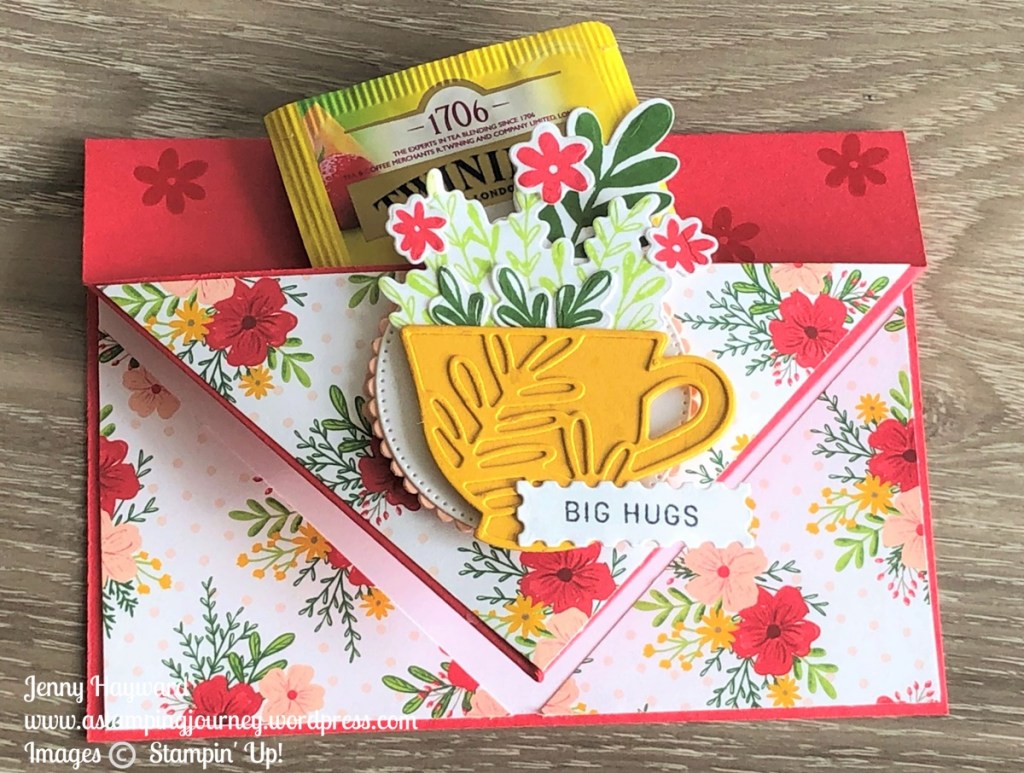
Today’s video is a fun card I think. It’s a Pocket Front card.

It’s a standard size card and with a little folding and scoring creates a pocket in the front. Just the size for a tea bag, Gift Card or even a small chocolate.

I have a video to show you how to make it but also have the measurements below for you so you can recreate your own.

Here is the card for you. We have some different angles so you get an idea of it.

I used the Tea Boutique Collection for this card. Quite an appropriate one to include a Tea Bag in the pocket.

Below is the view from the front with the card standing up. It can stand well just on the point.

Lying flat.

Inside. I added a piece of white card so there is room to write.

Check the video out below.

The original idea came from Splitcoaststampers website -> HERE.

CREATE YOUR OWN POCKET FRONT CARD

Follow along with the video to see the scoring and folding of the card.

Base card 14.8cm x 21cm Score on the long side at 10.5cm

5 1/2″ x 8 1/2″ Score on the long side at 4 1/4″

On the long side place the left hand edge at the 7.4cm or 2 3/4″ point on the Paper Trimmer. Mark in pencil at the little channel on the Trimmer. Alternatively use a ruler to measure in 7.4cm or 2 3/4″ from the left hand edge and mark the point.

Turn card clockwise 1/4 turn. Mark halfway on this side which will be 7.4cm or 2 3/4″.

Score an angled line from the centre mark on the short side to the mark on the long side. Repeat the angled line from the centre to the mark on the other long side.

Fold on the score lines and fold in at the angles. Adhere to 2 angled folds down with tape.

Cut Designer Series Paper to 10cm x 10cm 3 1/2″ x 3 1/2″.

Cut the piece at an angle from one corner to the other. Keep one triangle as a large piece. Cut the other triangle in 2 to have 2 half triangles.

Adhere the large piece to the front of the card.

White card for inside measures 14.4cm x 10.1cm 5 3/8″ x 4 1/8″.

Adhere the 2 smaller triangles on each of the bottom corners. Adhere the white card inside the base card.

Decorate as you wish to.

—

I hope you get to make one. Let me know how you go.

Need any supplies and you are in Australia? Head to my store HERE or contact me directly.

Have a great day,

Jenny