With the new Mini Catalogue released last week I was part of the Crafty Collaborations Mini Catalogue Launch Party. Demonstrators from around the world shared project videos of some of the great new products.
It was so great to be a part of it. You can follow along now too and maybe be inspired by the projects. I will tell you how to find it but firstly let me show you the project I created.
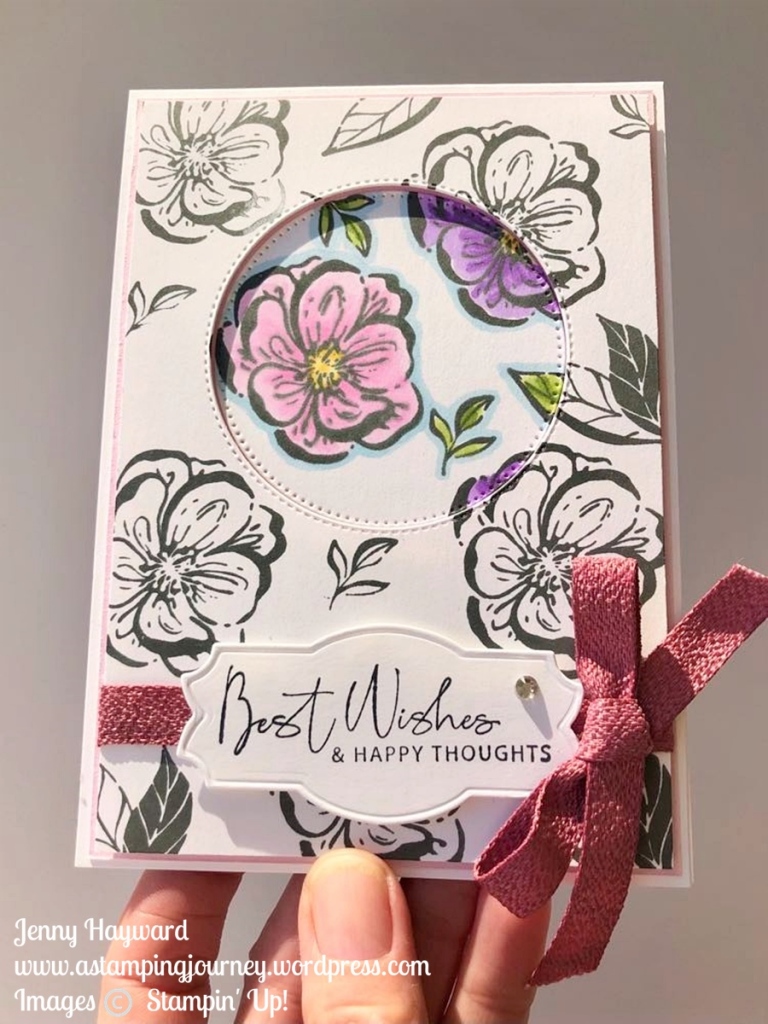
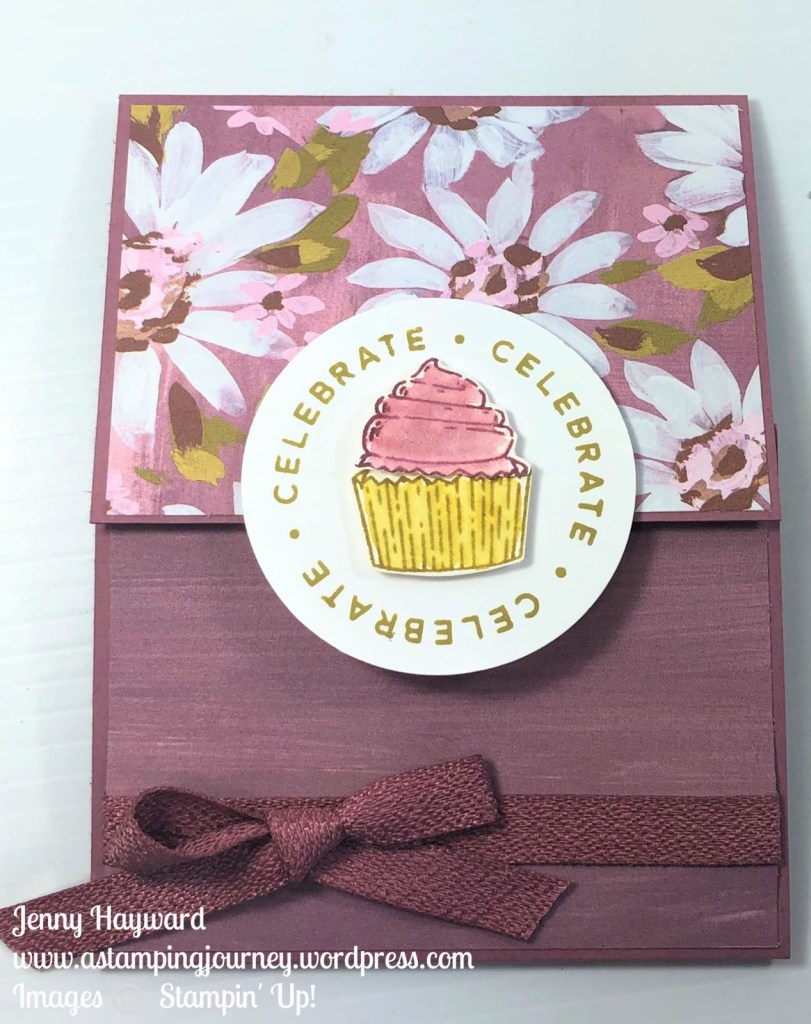
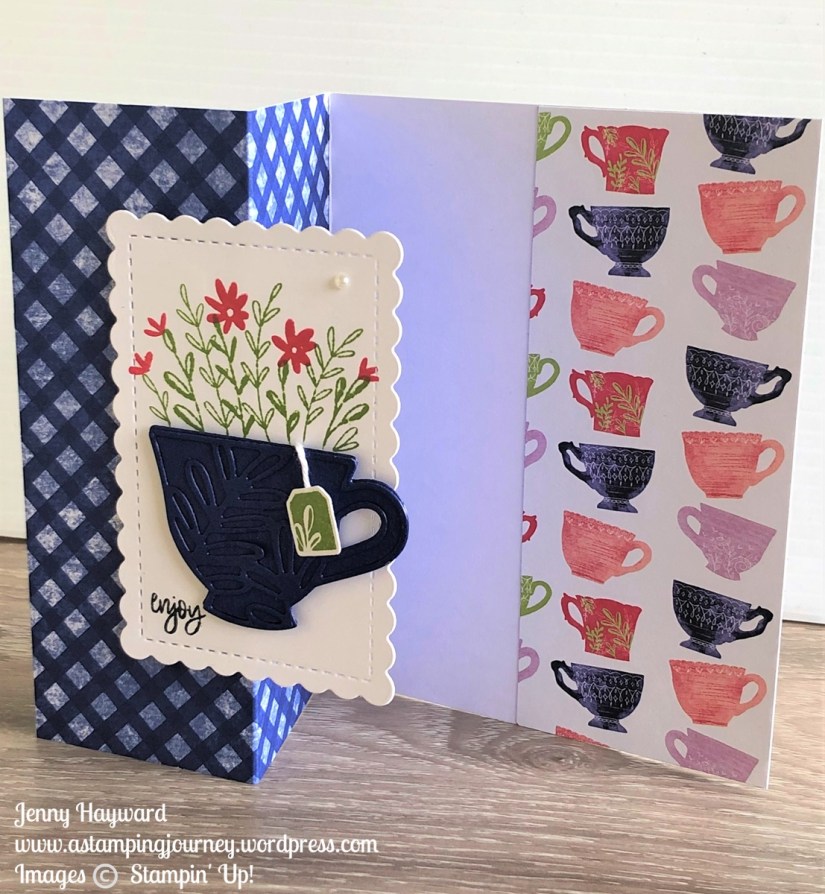
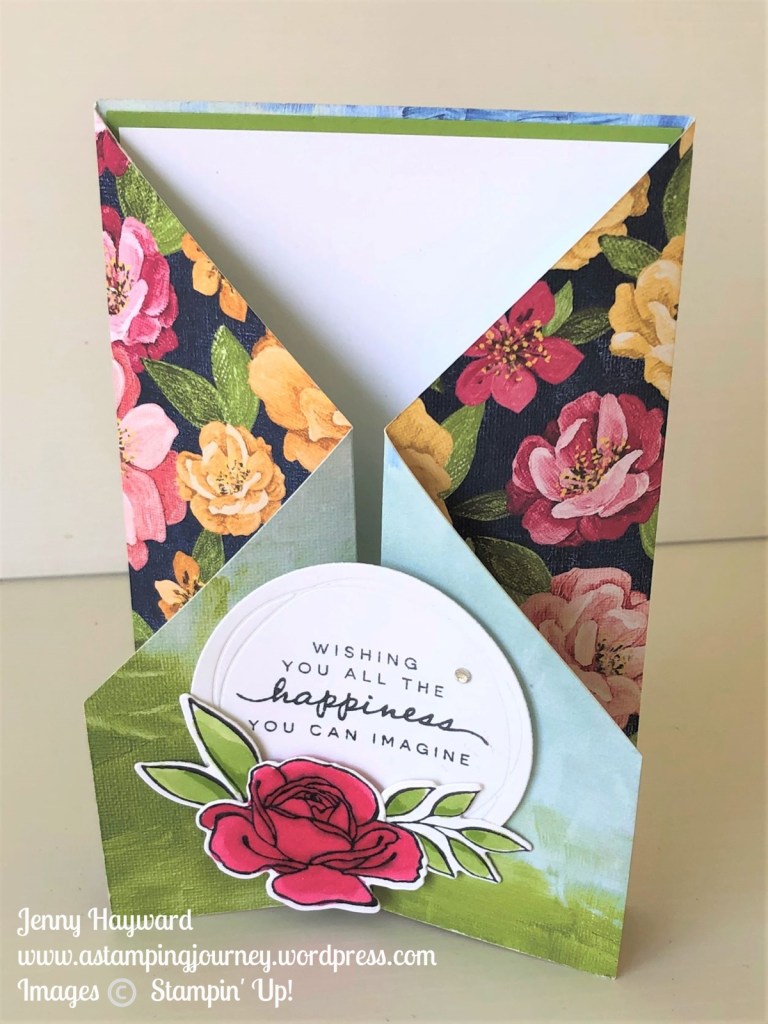
I worked with the Trusty Tools Bundle creating a Split Front Card.


Perhaps you have made this style before?
How cool is the Trusty Tools though. I love the Trusty Toolbox paper. That is one of the free choices for Sale-A-Bration. Some of the dies will diecut some of the tools.
In the Mini Catalogue Launch there are 28 project videos. Also though there are fun games to join in on. You can choose what you like to do and can come back to it later at any time.
See the Crafty Collaborations Mini Catalogue Launch Party -> HERE.
If you would like to just watch my video you can watch directly below or on Youtube now -> HERE.
The Measurements are in the video they will also be sent out in the next Tutorial Newsletter this week or next week. If you would like to receive my newsletters and get a Project each week to your Inbox subscribe to my newsletters. The link is in the side bar on my blog.
Happy Crafting,
Jenny
Don’t miss out on Sale-A-Bration and get your bonus gifts with your orders over $90 or $180 AUD. There are certainly some lovely ones. BUT if you have a long list come and join the Stampin’ Up! community. And bonus – you can receive the Glass Crafting Mat as a special gift. I would love to welcome you to the JEN’s INK team.

Need some crafting supplies and you are in Australia? Head to my store directly -> HERE. Please use the Host Code: KHC6EC9M
Or Contact me directly.