3D projects, cards, Catalogues, Stampin' Up!, Tutorials, Videos

SPLIT EASEL CARD WITH CHEERFUL DAISIES + VIDEO!

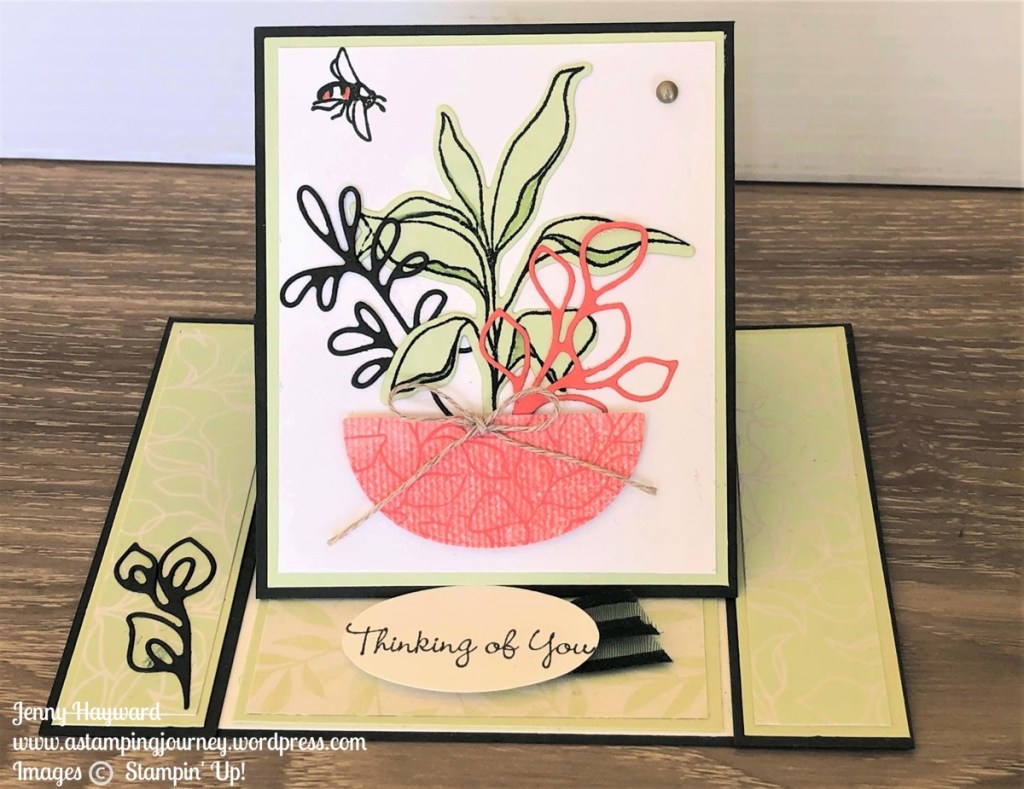
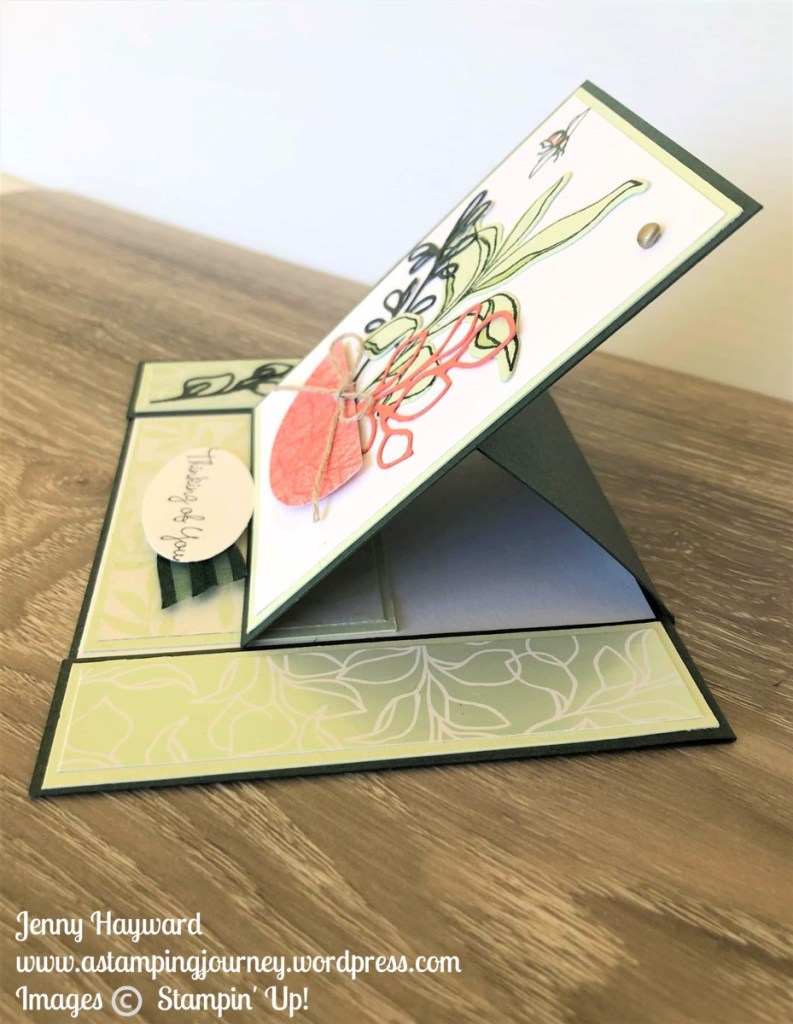
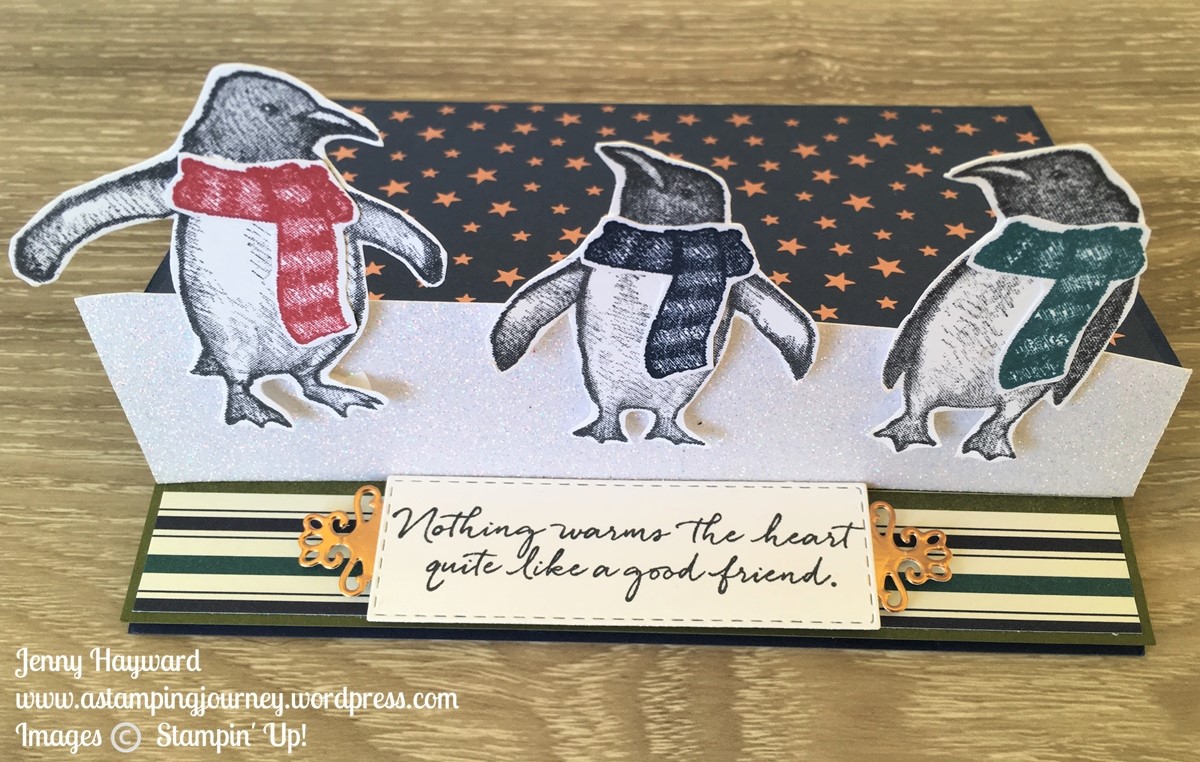
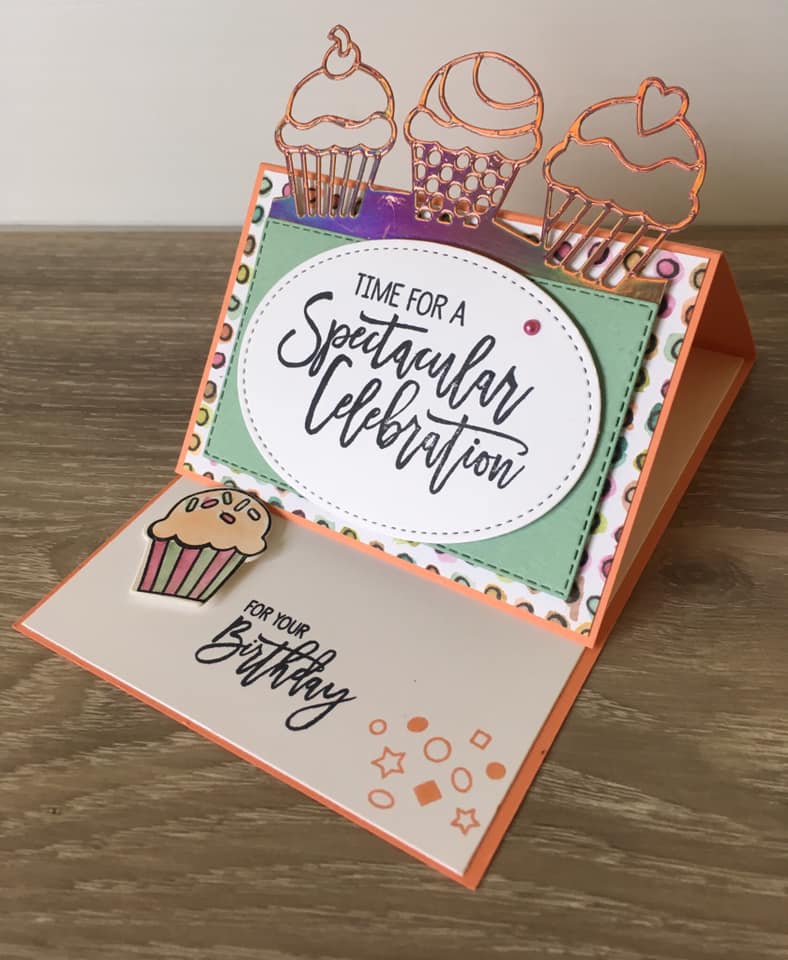
Playing more with the Cheerful Daisies Bundle I created a Split Easel Card.

I used the Fresh as a Daisy Paper with it too.

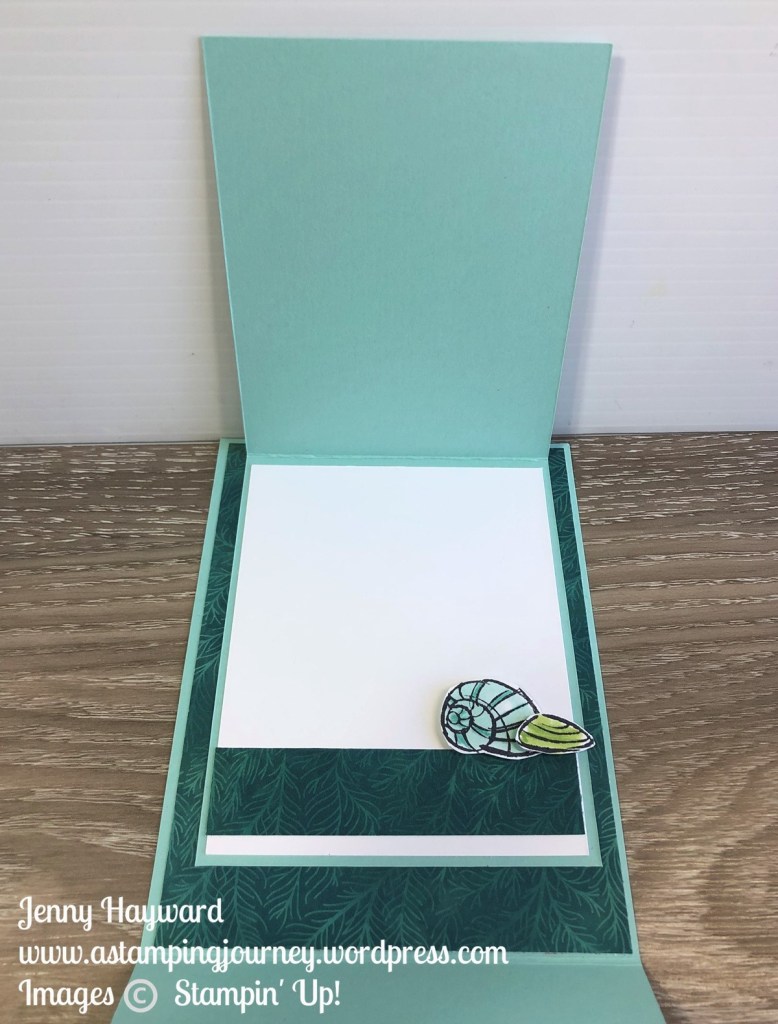
It folds up flat so you can post it.

You will want to decorate the inside for this one.

Do you want to make one too?

I have the video below. If it doesn’t show you can go straight to Youtube -> HERE.

I have the basic measurements further below for you in both Metric and Imperial.

MAKE A SPLIT EASEL CARD

Card Base: Lemon Lolly – 1 cm x 14.8 cm.  Score at 10.5cm.  
 5 1/2” x 8 ½” . Score at 4 ¼”
Centre piece – 8.8cm x 10.5cm 3 ¼” x 4 ¼”
Early Espresso Cardstock Side strips – 2 @ 10.1cm x 2.6cm 2 @ 4 ⅛” x 1”
Front Panel mat – 8.4cm x 10.1cm  3 ⅛” x 4 ⅛”
Designer series paper Side Strips – 2 @ 9.7cm x 2.2cm  2 @ 4” x ⅞”
Front Panel – 8cm x 9.7cm  3” x 4”
Inside – 10.1cm x 5cm 4 ¼” x 2 ⅛”
Whisper White card stock Inside – 10.1cm x 10.1cm 4 ¼” x 4 ¼”

This is the lovely Cheerful Daisies Bundle.

But what about the Fresh as a Daisy Designer Series Paper.

Do you need any of the lovely Stampin’ Up! Supplies for your creating and you are in Australia?

You can head to my store and order -> HERE. Please use the Host Code: 4RY72TBP

Or contact me directly and I can help you with your order.

Hope you get to try one of these cards.

Happy crafting,

Jenny

cards, Classes, Stampin' Up!

SPLENDID DAY SPLIT EASEL CARD!

I love making Easel Cards. I love this idea too. This is a Split Easel Card. It’s very easy.

I have used the Splendid Day Suite. It’s so pretty.

We made this card in a class recently. I don’t often share my class cards here, But I thought I would share this one with you.

This is the front view of the Split Easel.

The side view. You can see how it stands up.

Inside. You can see how the sides are split and adhered down. Decorate the card as you like.

When we made the card in class I made the section in the middle inside a little smaller. I thought it looked better than this original one and it gave more room to write.

I will share the HOW-TO soon so stay tuned for that.

Happy Stamping,

Jenny

Sale-A-Bration is ending soon. Have you got your bonus gift with your orders. Don’t miss them.

In Australia and need to stock up on supplies?

You can shop in my store -> HERE. Please use the Host Code: DK3ZG2DU

Or Contact me directly.

Blog Hops, cards, Catalogues

WORLD CARDMAKING DAY BLOGHOP!

It’s World Cardmaking Day.  How great is it that there is a date that we celebrate all things cardmaking whether it be creating the cards and the pleasure it brings or in  sharing the joy of giving the cards.

Today to celebrate we have a Blog Hop with lots of Demonstrators from around the world.  The theme today is sharing a corner of your world.

For me,  I live on the East coast of Australia just south of Sydney.  I live about 200 metres (1/4 mile) from the beach. I spend a lot of my time at the beach all year around.  It’s my happy place, my place to escape and leave the worries of the day behind.

This is my local beach.  We have so many beaches up and down the coast though which I do visit too.

So of course since the beach is a big part of my life I had to create a card for that.  I chose to use the Seaside Notions stamp set.

I love different folds too so wanted to make something a little different.  This is a type of Easel card.

Front on.

Side view you can see the fold and the flaps.

Don’t forget to decorate the inside.

See it open.

This was a fun card to make.  To save time I won’t share how to make it today.  Come back and visit me again tomorrow and I will give you the details.  Be sure to PIN one of the images to Pinterest so you know how to head back here.

You can now continue on the hop by heading to the link below where it says Click here.

Powered by Linky Tools

Click here to enter your link and view this Linky Tools list…

Happy hopping around the world.

Jenny

If you need to order your supplies to get creating your own projects and you are in Australia, I would love you to shop with me.  Visit -> HERE.

Blog Hops, cards, Christmas

PENGUIN EASEL FOR SEPTEMBER STAMPING AROUND THE WORLD BLOGHOP!

It’s time for September Blog Hop with the Stamping Around the World Tutorial Group.  You might have come from Sue’s Blog or starting here.

For our Blog Hop we use the stamp set/bundle that we used in this month’s Tutorial Bundle that are sent out.  Of course I used the Playful Penguins set from the new 2019 Holiday Catalogue. They are just too cute. 

For this Blog Hop I have made probably the easiest Easel card you could create.  The idea came from Lou’s blog -> HERE.

Let me show you the card and I will tell you how I have made it.

Front View

From Top

Side View

Folded card

To create the Super Simple Easel Card

See the ‘Side View’ photo above to get an idea of the fold.

Cut card to the standard size base card whether you are using Metric or the Imperial US card size.

Score 2.5 cm (1″) on the front of the card base. Fold on the score line.  This is for the fold of the Easel.

Cut a strip of card 2.5cm wide (1″) and the length being the width of the card.

I added a strip of the Christmas Gleaming stripe pattern on this piece of card. This strip is then adhered to the bottom edge of the inside of the card with dimensionals.  This strip creates the anchor point to hold the Easel up.

Decorate

Decorate the Easel card as you like.

I cut a curved strip of Sparkle Glimmer Paper and adhered it on the folded tab.  3 Penguins were stamped with their scarves and then hand-cut and raised up off the Glimmer Paper.  A piece of the Christmas Gleaming Designer Series Paper was adhered to the front of the card which you can see as the star pattern on the top panel.

The sentiment was stamped on a strip of white card but check out the flourish banner Gold Foil.  That was cut using the Ornate Frames Dies from the Holiday Catalogue.

Such an easy card to create but so fun with these penguins.

Remember you can grab the Tutorial Bundle from any of us for your qualifying orders.  Or purchase the Tutorial on it’s own ($20 AUD).

Now continue on the Blog Hop To Linda -> HERE. 

Or Click on the little blue box below and it will take you to the list.

Enjoy

Jenny

Receive the 12 Project Tutorial Bundle with your qualifying order of $78 AUD (Australian residents only)

Or Purchase the Tutorial Bundle through me wherever you are in the world ($20 AUD).

3D projects, cards, Classes, Stampin' Up!

BIRTHDAY CHEER EASEL CARD!

I held a Birthday Cheer class on the weekend.  It was showcasing the great Birthday Cheer Bundle from the Occasions Catalogue and making some fun cards with it.  I don’t often share my class cards with you but I thought I would share with you about this.

One of the cards I made was an Easel card.  This card was inspired by one I saw on Pinterest.

This first card was the card I made to share at the class. Everyone thought it was nice.  It was using the gorgeous Grapefruit Grove Foil Sheets from Sale-A-Bration. (On a side note did you know that this foil is nearly sold out?? You might want to grab this as your next free choice for Sale-A-Bration). It is so shiny.

The single cupcake is stamped in Stazon and watercoloured with the inkpads. There is a die to cut it too.

The Easel card is very easy to make.

To make one: Take a standard sheet of card. Cut it in half vertically. Take one of those halves and score it in half and then score one of those sections in half again.  Then fold up to create an easel.

With any type of Easel card you need something on the base as a stopper to hold up the Easel.  For this one I used the Oval sentiment piece.

While I made this card and used this for the class I had a different idea in my head but it wasn’t working before the class.

During the class when I was demonstrating this I played around with it and created this version below.  Everyone loved this idea even more and made this one instead for their card.  So I thought you might like to see it then.

I created the Easel card the same with the cutting and scoring.  This time though I rearranged the pieces.  So simple really but so much more effective.  Adhere your diecut cupcake border behind the Mint Marcaron card piece.  For the stopper on this I used the cupcake.

Doesn’t that create a bit more of a WOW??

Why not create your own.

Thanks for stopping by,

Jenny

cards

A SCALLOPED EASEL!

It is my Mother-in-Law’s birthday today.  I knew she would be expecting something special, so the pressure was on!  Her favourite colour is red so I wanted to use this colour.  After much contemplating and hours trying to put this together, I finally finished!  AND she was pleased!!!!

Here it is.

I created a standard easel card base, but for the top I cut a scalloped circle using the Big Shot.  The flowers were made using the 2-step Bird Punch.  The Whisper White circle was cut with the Circle Scissors. I then ran it through the crimper one time then turned the circle 1/4 turn and ran it through again to create a faux seersucker effect, if that is what you call it.  The sentiment is from Teeny Tiny Sentiments from the Autumn Mini.  So, what do you think?

Thanks for stopping by.  Enjoy the rest of your weekend.