Blog Hops, cards, Catalogues, Personal Ramblings, Stampin' Up!, Tutorials

STAND UP SEASIDE NOTIONS EASEL CARD

Last post I shared a fun Easel Card for the World Cardmaking Day Blog Hop. I said that I would tell you how it was made so you can make your own. So … Here it is.

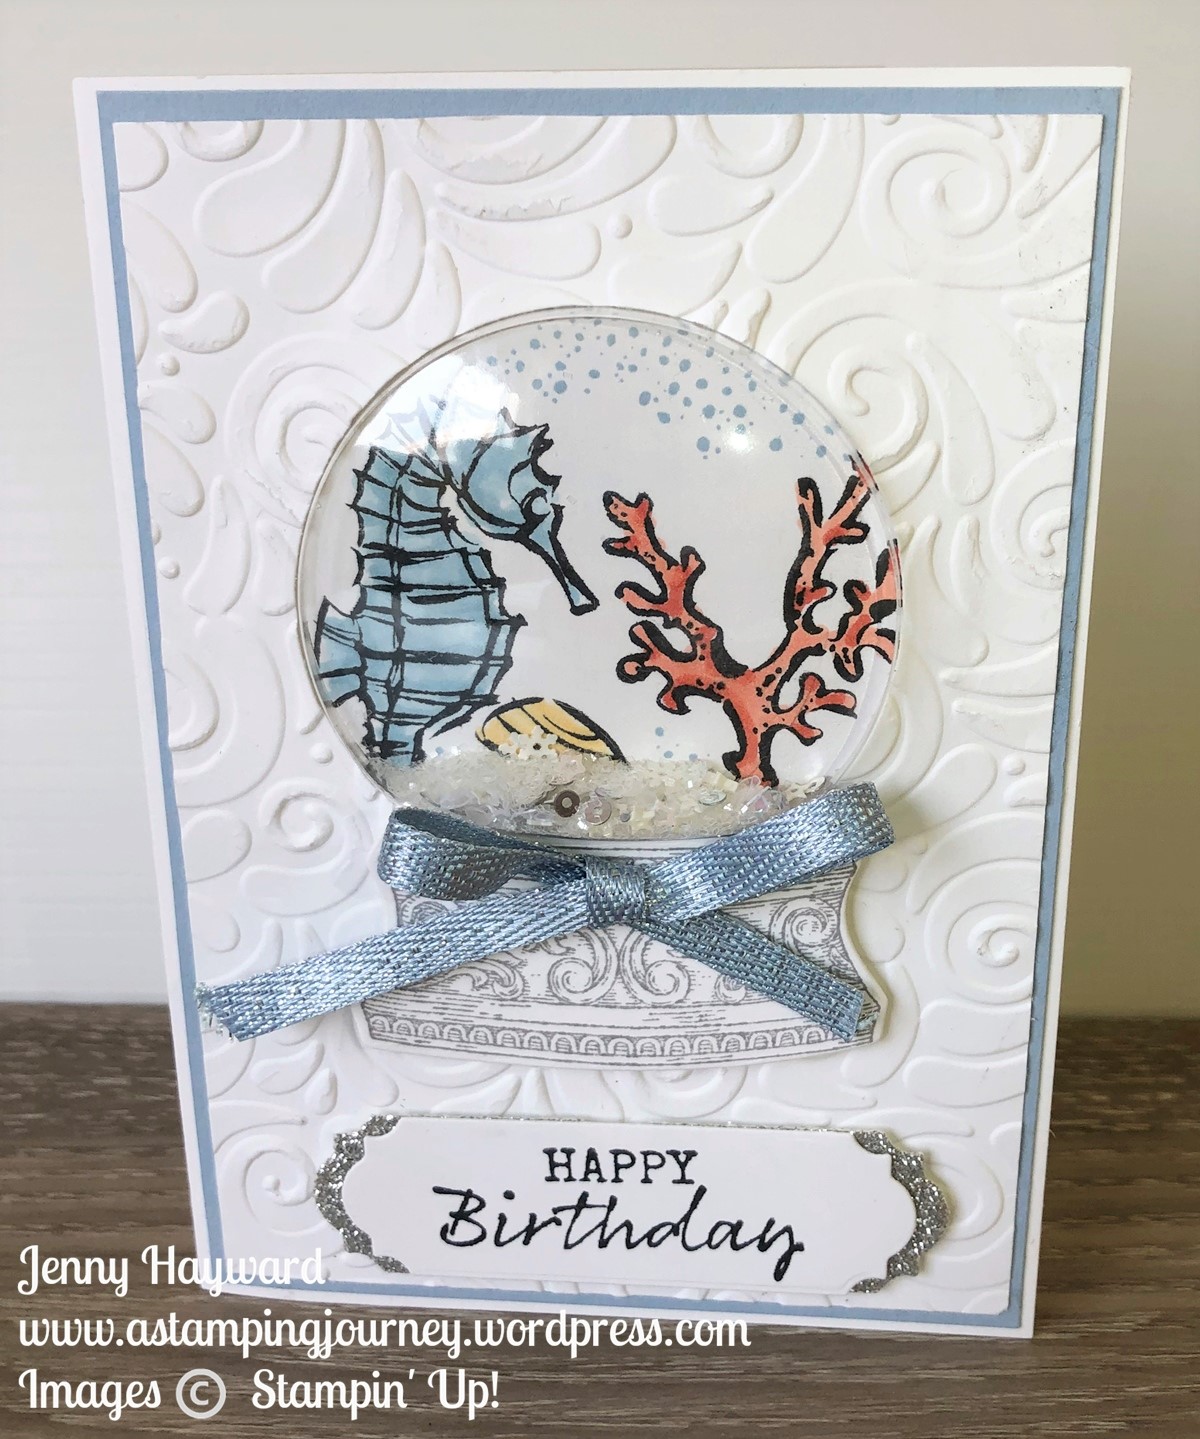
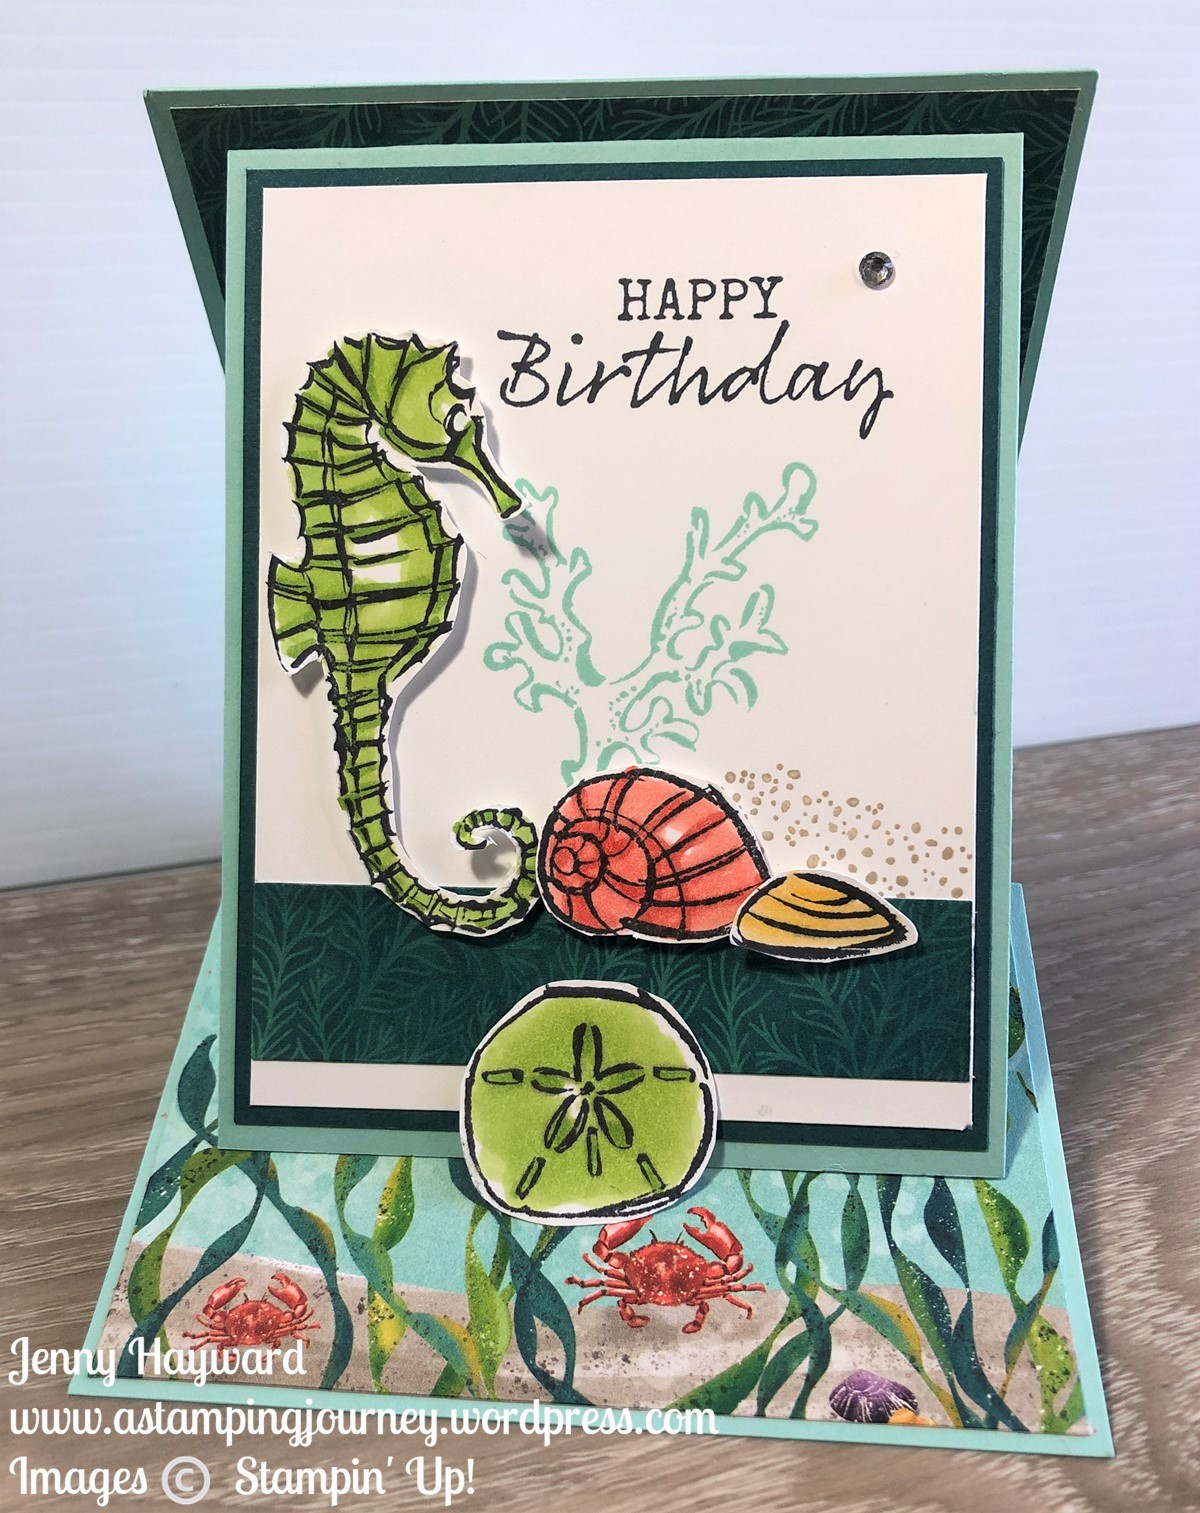
Firstly, here is the card again for you. It’s a Stand Up Easel Card.

The original idea I found on Connie’s blog -> HERE.

I will give you the measurements in Metric and Imperial.

STAND UP EASEL CARD

Base Card:

Card – 10.5cm x 28cm (4 1/4″ x 11″) Score at 7cm and 14cm (2 3/4″ and 5 1/2″). Fold on score line.

Piece of Designer Series Paper 10.1cm x 13.6cm. (4 1/8″ x 5 3/8″)

Bottom piece of Designer Series Paper 10.1cm x 6.6cm (4 1/8″ x 2 5/8″)

Front Flap:

Card – 9cm x 23cm (3 1/2″ x 9″) Score at 11 1/2cm (4 1/2″). Fold on score lines.

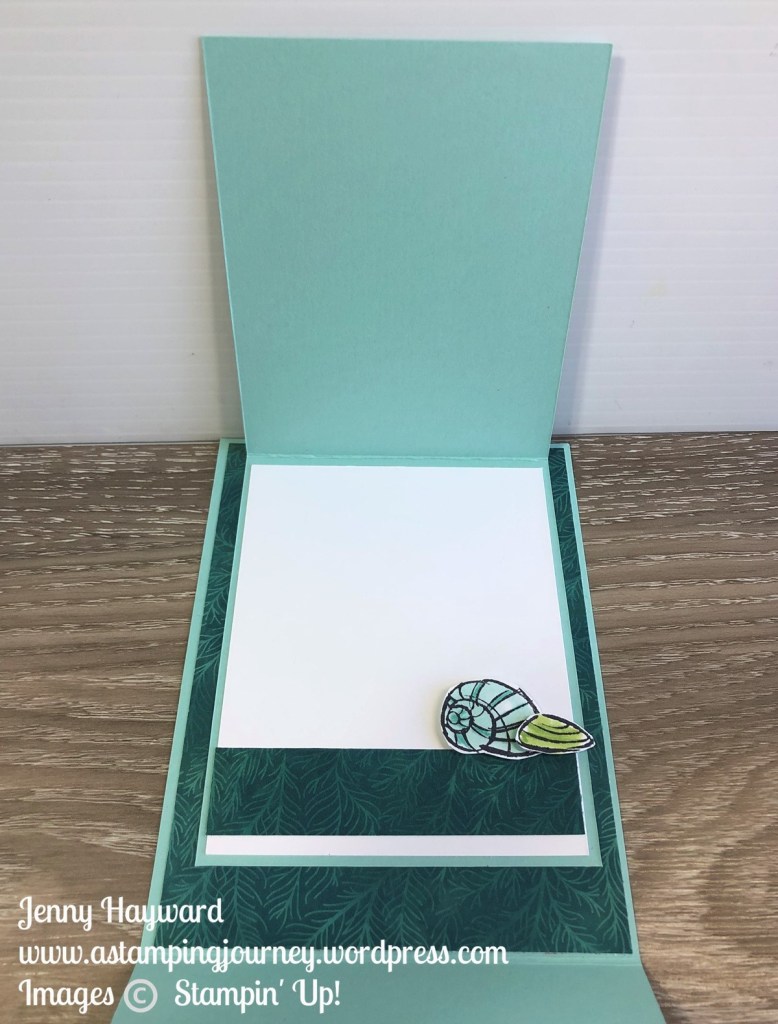
For Inside of Front Flap: One piece of white card 8.5cm x 10.9cm (3 1/4″ x 4 1/4″)

Piece of Designer Series Paper 2.5cm x 8.5cm (1″ x 3 1/4″)

For outside of Front Flap: Card mat 8.6cm x 11.1cm (3 3/8″ x 4 3/8″)

White card for Front 8.1cm x 10.6cm (3 1/4″ x 4 1/4″)

Piece of Designer Series Paper 8.1cm x 2.5cm (3 1/4″ x 1″)

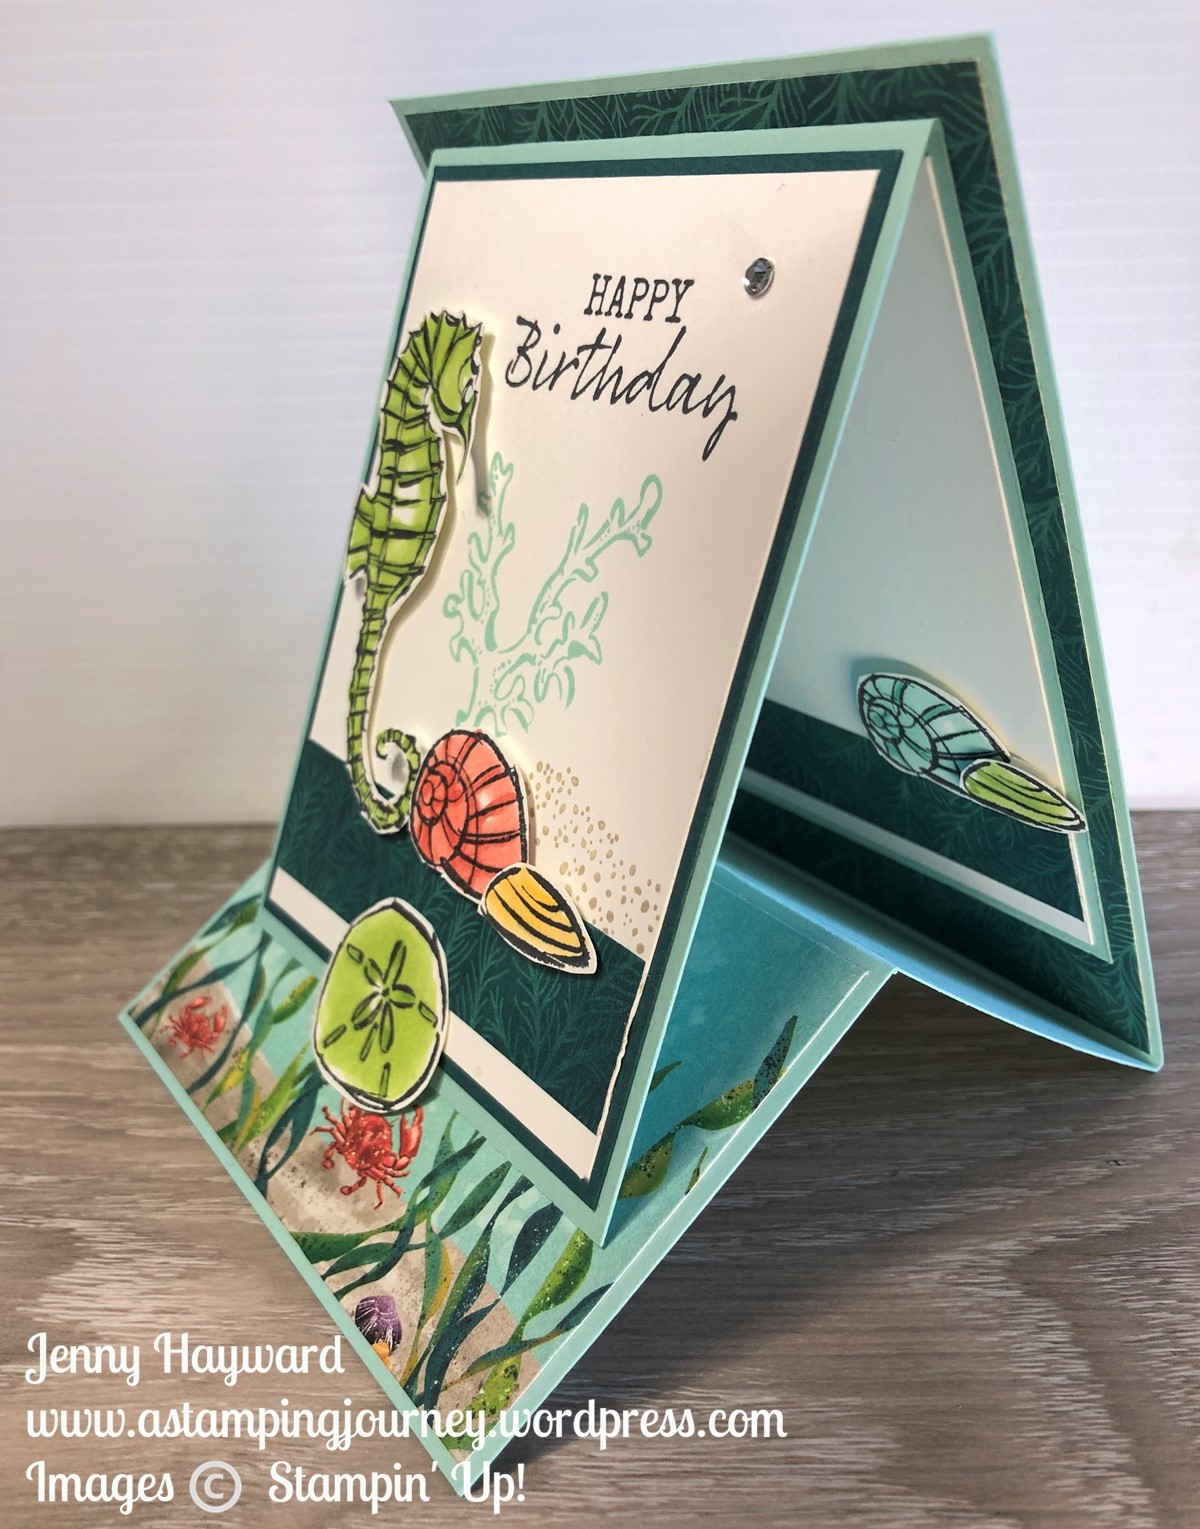
Decorate the card as you like. You will need an element on the bottom of the base card on the front to be able to tuck the flap in to for it to stand. This can be anything you like to use.

Have fun with it.

If you need any stamping supplies and you are in Australia? Please stop by my store -> HERE.

Thanks for shopping with me. I do appreciate each and every order.

Jenny

Blog Hops, cards, Catalogues

WORLD CARDMAKING DAY BLOGHOP!

It’s World Cardmaking Day.  How great is it that there is a date that we celebrate all things cardmaking whether it be creating the cards and the pleasure it brings or in  sharing the joy of giving the cards.

Today to celebrate we have a Blog Hop with lots of Demonstrators from around the world.  The theme today is sharing a corner of your world.

For me,  I live on the East coast of Australia just south of Sydney.  I live about 200 metres (1/4 mile) from the beach. I spend a lot of my time at the beach all year around.  It’s my happy place, my place to escape and leave the worries of the day behind.

This is my local beach.  We have so many beaches up and down the coast though which I do visit too.

So of course since the beach is a big part of my life I had to create a card for that.  I chose to use the Seaside Notions stamp set.

I love different folds too so wanted to make something a little different.  This is a type of Easel card.

Front on.

Side view you can see the fold and the flaps.

Don’t forget to decorate the inside.

See it open.

This was a fun card to make.  To save time I won’t share how to make it today.  Come back and visit me again tomorrow and I will give you the details.  Be sure to PIN one of the images to Pinterest so you know how to head back here.

You can now continue on the hop by heading to the link below where it says Click here.

Powered by Linky Tools

Click here to enter your link and view this Linky Tools list…

Happy hopping around the world.

Jenny

If you need to order your supplies to get creating your own projects and you are in Australia, I would love you to shop with me.  Visit -> HERE.

3D projects, cards, Catalogues, Christmas

SNOW GLOBE SEAHORSE!

You have probably seen the Still Scenes stamps and the Snowglobe Scenes dies in the Holiday Catalogue along with the Snowglobe Shaker Domes.  These make fun Christmas cards and we had a great time using them in a class recently.  You can use these products not just at Christmas time.  I was looking around on Pinterest and found some fun ideas using other occasions stamps.

For this one I used the Seaside Notions stamp set to make a fun snowglobe.

To make this I diecut the circular shape with the die in the set on the white card then embossed it with the Swirls and Curls Embossing Folder.  I used a small piece of white card and traced the circular shape on to the white card in pencil so I could see the area to stamp on to.  Then adhere one of the Shaker domes in to the embossed white card from behind.

The images were stamped on the scrap white card in Memento and coloured with the Stampin’ Blends.

To assemble the card the stamped white piece was adhered on to the Seaside Spray Card mat.  Then carefully add a little glitter. I used the Ice Stampin’ Glitter and also some Snowflake Sequins. Remove the backing off the Snowglobe Shaker Dome and carefully position it on to the Seaside Spray card mat.  Then you can adhere the whole piece on to the White card mat.

To finish stamp the base in Smoky Slate and cut that with the die and raise that up off the card with Dimensionals.  Stamp the sentiment from the set on to scrap white card and cut this with the Ornate Frames Dies and also cut one in the Silver Glimmer Paper.  Cut the silver one in half and adhere that behind the white one to off-set it . Adhere that on to the card and add a bow from the Seaside Spray Metallic Ribbon. 

The Still Scenes Bundle will be carried over But as individual stamps and dies.  If you buy them now as a bundle you will save 10%.  See them -> HERE in my store. 

Thanks for visiting me today,

Happy Stamping,

Jenny