cards, Catalogues, Techniques, Tutorials

SOMETHING QUICK WITH THE SWEET SOIREE PAPER!

OK, Let’s chat.  Do you have lots of pretty paper sitting in your craft stash??  I can guess you do.  It looks so nice sitting there but you are scared to cut in to it or you might be saving it for a “special” project?? Yes I know.  It is tough!

So a new catalogue is coming very soon and we will have more pretty paper to collect.  We need to use this paper we have now.

SO… Let’s use it.  I am going to be sharing some projects over the next days and weeks to USE THAT PAPER.  Will you join me??  I am sharing these projects on here and Facebook and Instagram and adding #usethatpaper  So you can join in with me.

Today’s project is using that gorgeous SweetSoireepaper.  It is so pretty and I was really hesitant to use it but really …

Anyway, here is the card.

Cut the Designer Series paper about 2cm (3/4″) shorter than you would usually.  Cut off 2.5cm (1″).  Adhere them to the Whisper White card with the smaller section at the bottom of the card.  Stamp your sentiment in the white space.  This is from the set Birthday Blossoms.  The leaf is from the Flourish Thinlits cut from Dazzling Diamonds Glimmer Paper although you can’t see the sparkle too well.

ok. Go and grab some pretty paper and #usethatpaper

Have a happy, crafty weekend.

Jenny
cards, Catalogues

FRIDAY FAVOURITES – DRAGONFLIES AND BUTTERFLIES!

There are some gorgeous stamps retiring with this current Stampin’ Up! Catalogue.  I would hate you to miss out on them.  I will be focusing on a few of my favourites over the next few weeks in Friday Favourites.

The first card is using Awesomely Artistic.  I can’t believe this set is going.  I am not done with this set.

This is one project I made some time ago I thought I would share with you again.  I know a number of people have CASED or commented on this card since I posted it here and to Pinterest.

You can see the original post -> HERE.

You can find another project with this set on this post -> HERE. 

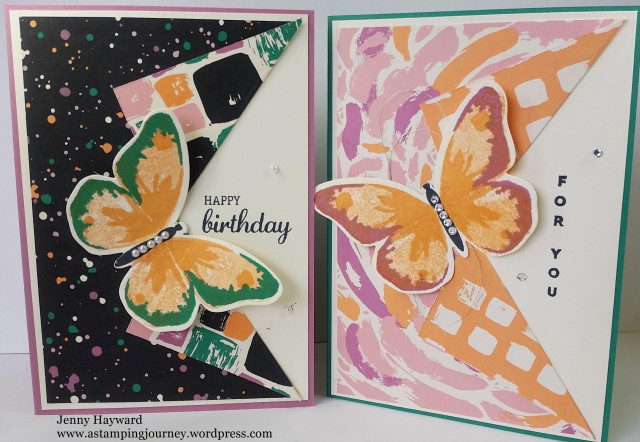
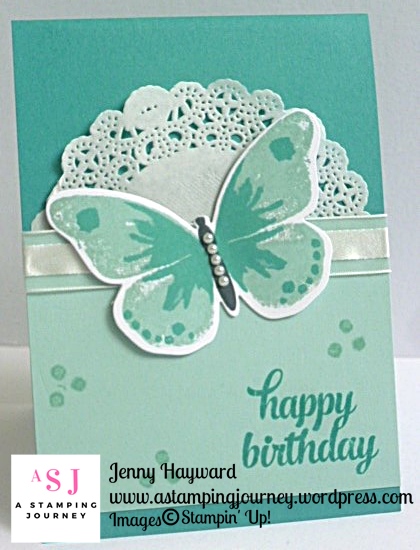
Watercolor Wings is another favourite.  I have had fun with this set.

I love these fun Collar cards.  This style of card is a great way to show off both sides of the lovely Designer Series Paper.  Do you have that dilemma?  Which side do you really show??

You can see the blog post for these cards -> HERE and it shows you how to make them.

Another fun style card I made with this set is the Half Fold Pop Up Card.


You can find the full post -> HERE with instructions.

You can find these products along with many more favourites stamp sets in my online store -> HERE.  Time is running out to grab any of these items so I would suggest you get on them SOON.  Don’t miss these.  I am sad they are going and I don’t want you to be sad that you miss out on them.

Jenny

**If ordering online please use the Host Code:  HBMR929J  

cards, Catalogues, Techniques

COLOURING THE PETAL PASSION PAPER!

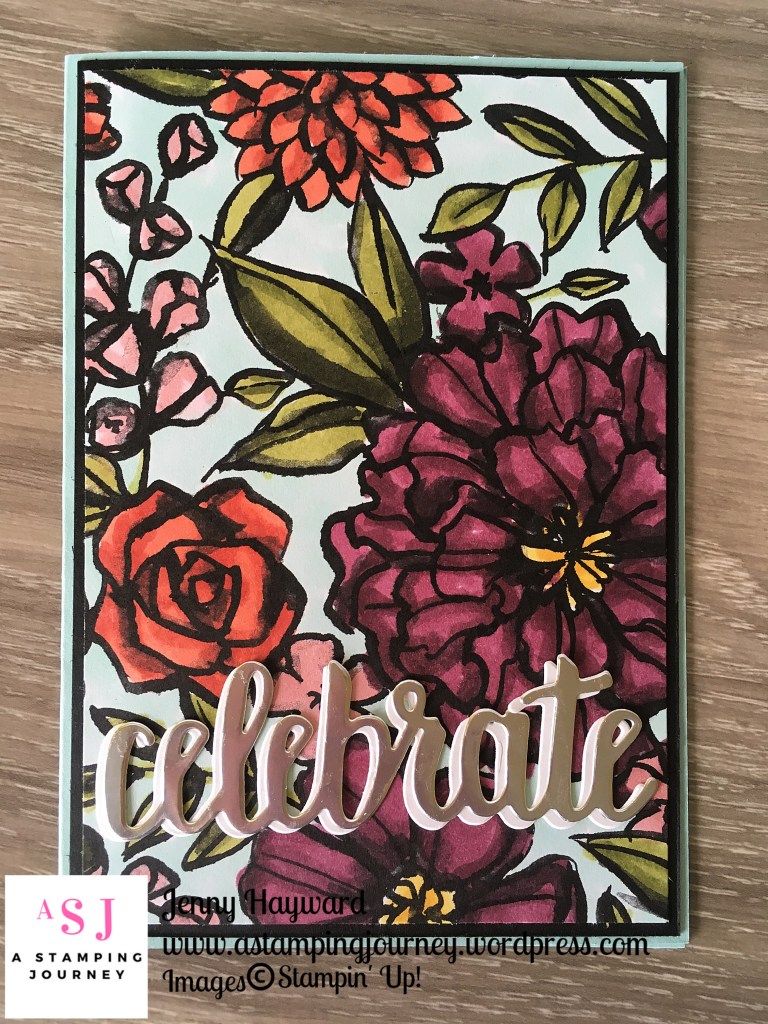
I have seen on Pinterest and around some beautiful projects colouring this gorgeous print from the Petal Passion Designer Series Paper. I have been saving this small piece of the paper for some time so I could colour it.  I finally got to do it the other day.  I have to say I was a little nervous.  If I messed it up I didn’t have any more.  It turned out OK.  I coloured the piece with the Stampin’ Blends.  They colour so smoothly and easily.

I kept the card simple.  I layered the piece on to some black card and then a Pool Party card base.  The “celebrate” was from the Celebrate You Thinlits and I cut one from Silver Foil and one from white card.  Then off-set them to adhere them together.

Such gorgeous paper.  I hope you have grabbed some before it is gone??

Have a great day,

Jenny

cards, Stampin' Up!, Tutorials, Videos

WEDNESDAY’S WOW! #22 – BACK TO BASICS CUTTING YOUR CARD!

I have been asked often about how to cut your cardstock to make your cards.  When people come to my classes the card is already cut for them but they want to know how to go about it at home.  So finally I have put together a video to share with them but also with you if you are not sure.  So for Wednesday’s WOW! #22 we are looking at How to cut your card.  

I hope you do find it useful and might be able to refer back to it when creating your own cards.

NB: I realised that there is some glare from the trimmer in the video. I apologise in advance for that but I hope it still gives you some idea.

Also, the measurements I give are for metric card.  The US card size is different but I have mentioned about the measurements in the video.

The measurements I used in the video I have listed below so you can refer to them later.  These are my personal measurements though.  These measurements are for a standard card with equal layers.

Standard Card measurements

Card base: Cut A4 card at 14.8cm.  Score on the long side at 10.5cm.

** For the layers for the standard card I decrease the card size by 4mm.

1st layer: Cut card 14.4cm x 10.1cm.

2nd layer: Cut card 14cm x 9.7cm.


For US Imperial card size: These are my understanding of the measurements. Do Check your own measurements.

Cardstock size is 8 1/2″ x 11″

Card base: Cut card in half at 5 1/2″. Score card on the long side at 4 1/4″

** For the layers I would suggest decreasing it by 1/4″ but check to see what you personally feel.

1st Layer: Cut card 4″ x 5 1/4″.

2nd Layer: Cut card 3 3/4″ x 5″.                            Hopefully these measurements are OK. 🙂


I hope this is helpful.  I hope to bring you more Back To Basics videos in the future.

Jenny


Catalogues, Stampin' Up!

CLEARANCE RACK HAS BEEN UPDATED!

Awesome bargains to be had in the Clearance Rack now.  Stampin’ Up! have just updated it.  Many are items from the Holiday Catalogue that are clearing out.  A lot are at 40% off.  Seriously you have to check this.

Head to my store -> HERE to view them.  If you order Online Please use the Host Code: HBMR929J   Thank you kindly 🙂

Be sure to check on the Retired List too while you are there in store by clicking on the link in the left hand column.

Remember too, that for every $50 you get a little check on my VIS (Very Important Stamper) Loyalty card.  Once you collect 10 you get free products up to $24.95.

Happy Shopping,

Jenny

cards, Catalogues

ANIMAL OUTING “SELFIE” CARDS!

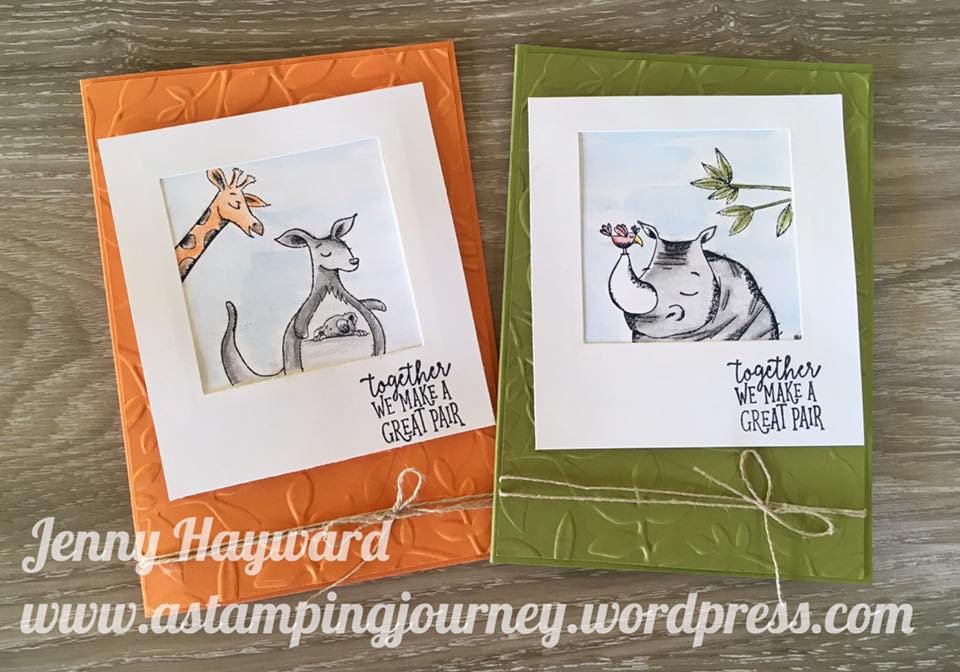
With a new catalogue very soon I don’t often like to share projects with new products quite yet.  You know, there are still so many lovely products that we have in our current catalogue to use.  BUT, well I had to make this card – and share it with you right now.  It’s just such a cute set I couldn’t help myself.

This new set is the Animal Outing set.  So darn cute! And it is nice to see some Aussie animals.  So these animals had to take a selfie. 🙂

I stamped out the images and then coloured them with the Watercolor Pencils.  For the sky (which I think could have been a little darker on looking at it now),  I lightly brushed over a clear block with the Aquapainter to wet it, then coloured on the block with the Pacific Point pencil.  Then picked up the colour with the Aquapainter and washed over the background. I have to say these were the second images I coloured.  For the first ones I coloured the images then the background with the Pacific Point pencil and lightly and washed over it. I wasn’t happy with how streaky it looked.  So I redid the whole image. For the second time I coloured the sky first before the animals so I didn’t waste all that time … 🙂

Just a tip too when colouring:  Lightly colour your images first with your chosen colour and lightly brush over with the Aquapainter.  Leave it to dry and then go over parts of the image with the pencil adding highlights.  It is much more effective.   Also, Shimmery White card is the best for watercolouring I think.  Watercolor Paper can be used but it is a lot more textured.

From another piece of card (9cm x 10cm) I cut a square from the centre using I think the 3rd largest square Framelits from the Layering Squares Framelits.  I adhered the coloured piece behind it.  On a card mat ( I used Pumpkin Pie on one and Old Olive on the other) I embossed those pieces with the Layering Leaves Embossing Folder.  Tie around some Linen Thread and adhere this to your card base.

OK,  I will get back to some of the awesome current products we have – and they are retiring very soon.

Hope your weekend is going great and you are having time to create.

Jenny

3D projects, cards, Onstage, swaps, Techniques

ONSTAGE SWAPS IN RETURN!

I showed you my swap card I made for Onstage a couple of posts back.  If you missed it then just head back 2 posts.  Today I thought I would show you my swaps I received in return.  I only made about 30 so just have a small number.  It’s great swapping with other demonstrators to get new ideas and different ways of using a stamp set.  You might like to see them.

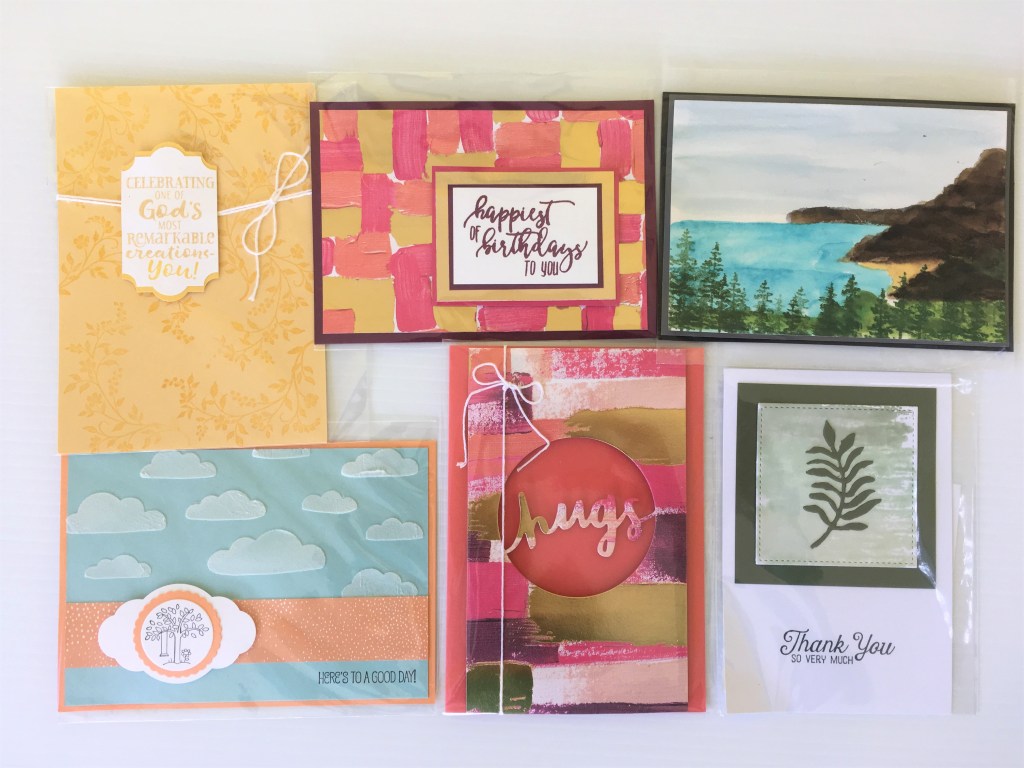
Cards with Backgrounds.

These cards are created with either lovely paper (The Painted with Love Specialty DSP) or with a stamped background.  The bottom left card uses the Texture Embossing Paste. The bottom right has a watercolour wash. Then you have a lovely scene using the Waterfront set.

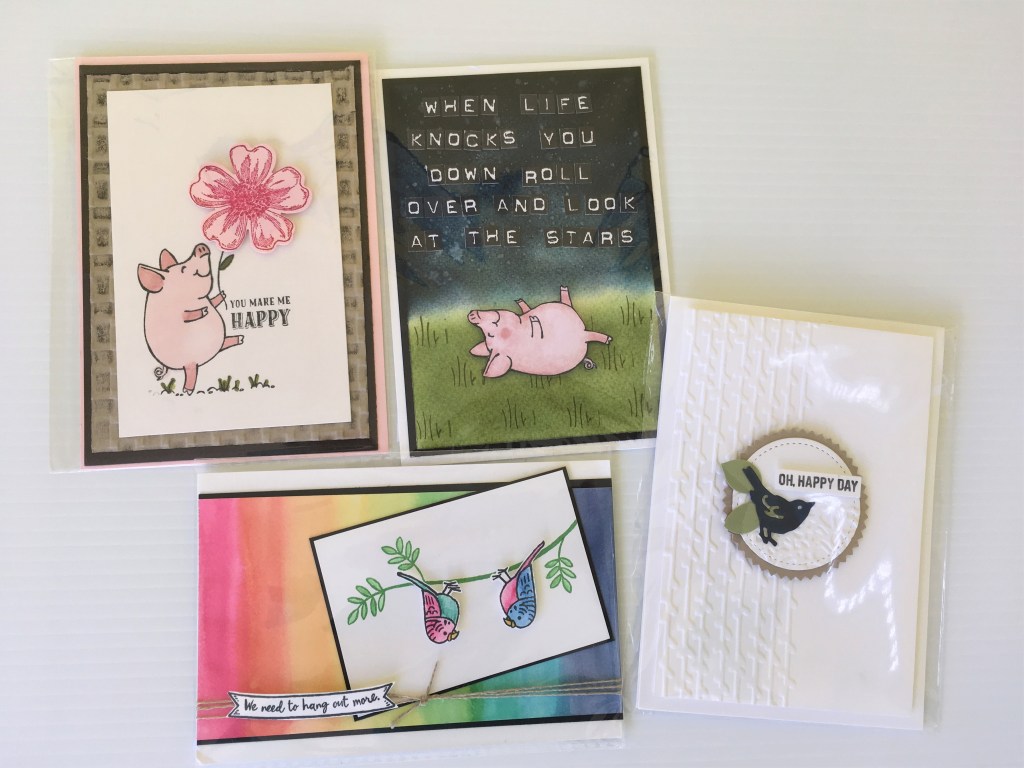
Piggies and Birds

These are cute. 🙂

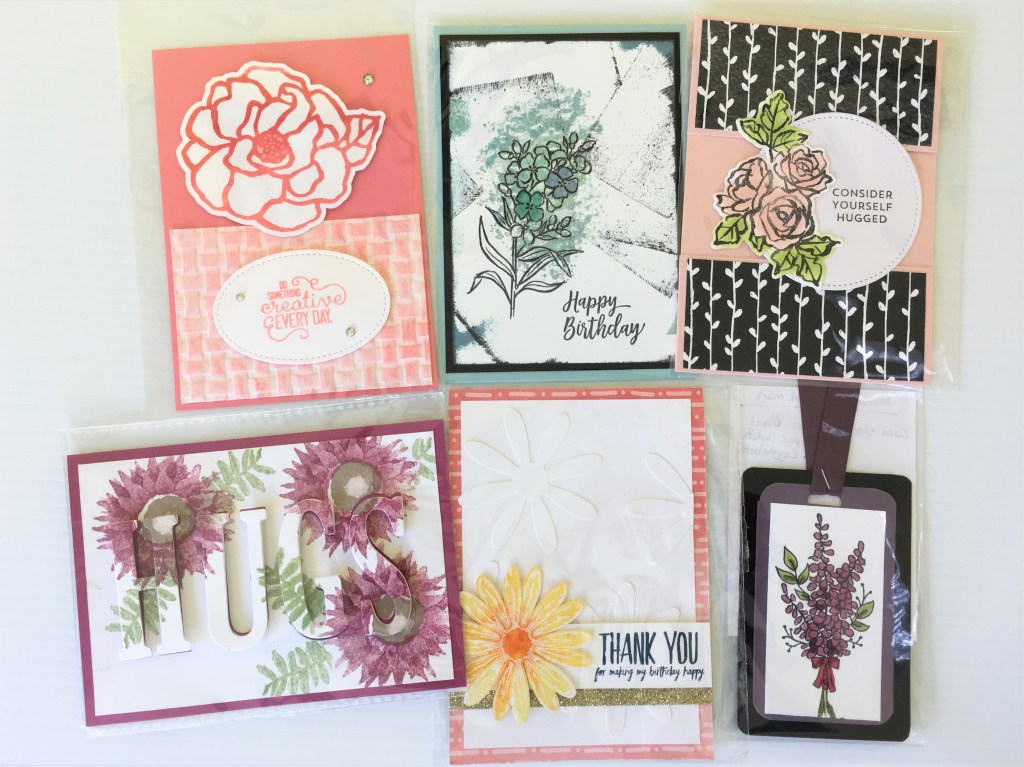
Flowers

So many variations.

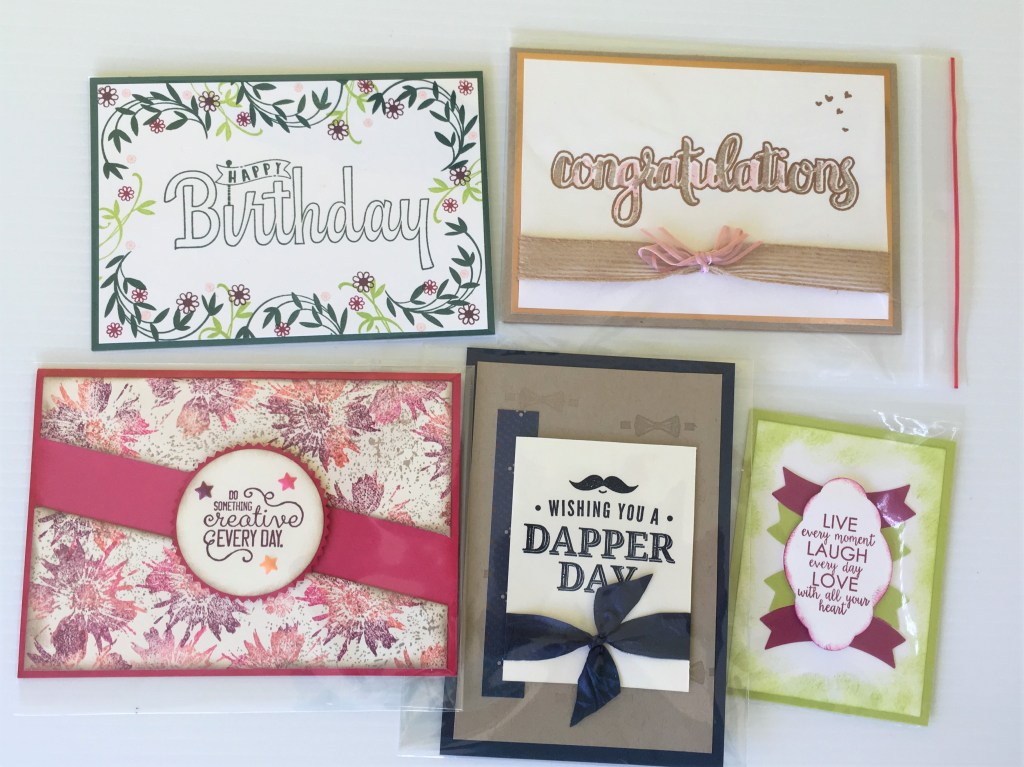
Banners and Greetings

Add a sentiment and a little background.  The bottom left card is a Baby Wipe technique like I used on my swap card.

3D

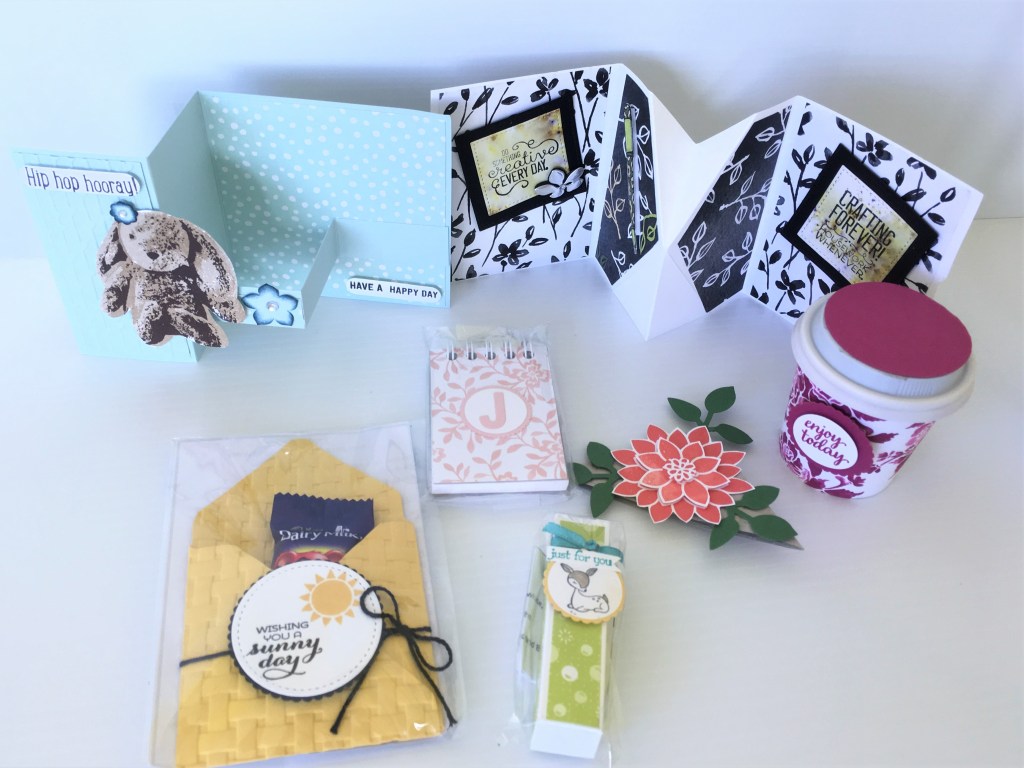
Some fun fold card and treat holders and other special pieces.

I hope you liked to see these.  It’s always good to share new ideas.

Thanks to everyone who swapped with me.

Have a great weekend,

Jenny

cards, Catalogues, Onstage, Stampin' Up!

STAMPIN’ UP! ONSTAGE SYDNEY!

As you might have heard, the Stampin’ Up! Onstage event was last weekend and I went to Onstage in Sydney. For my interstate and overseas visitors I thought I should first show you the fantastic location that our event was held at.  We have such a beautiful harbour and it was such a lovely Autumn day (well you could have thought it was Summer!).

Under the iconic Sydney Harbour Bridge with the Opera House.  Just happened to catch a ferry in the photo too. 🙂

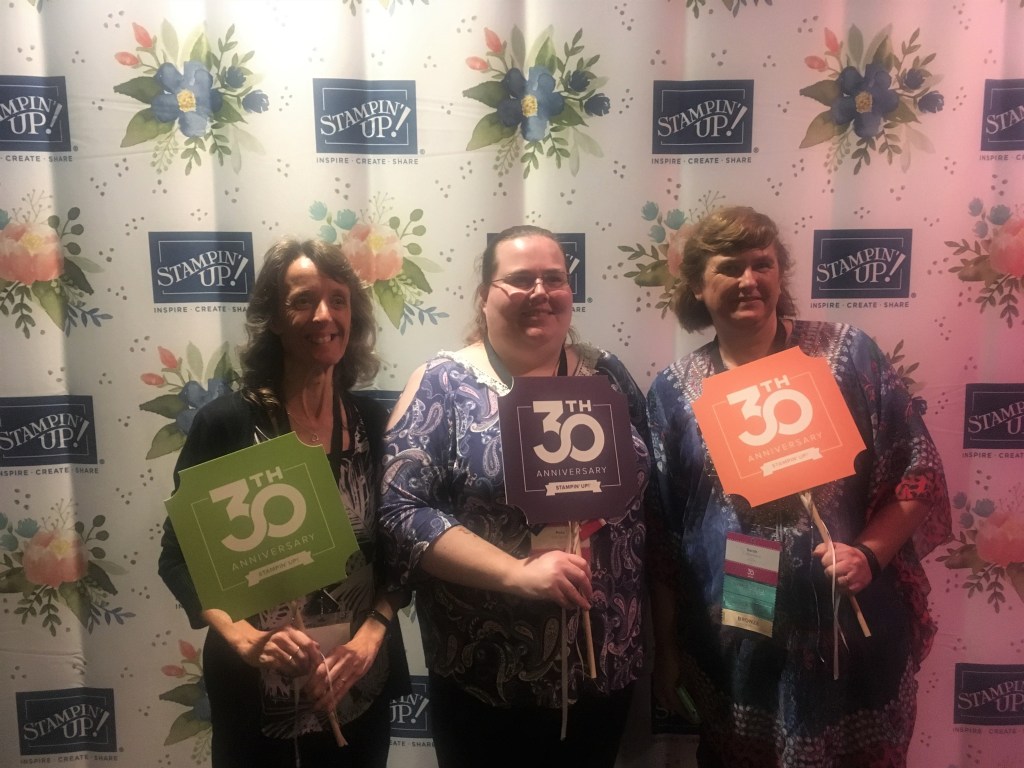
This year Stampin’ Up! celebrate their 30th Anniversary.  Of course with a birthday there must be cupcakes. Yummy!

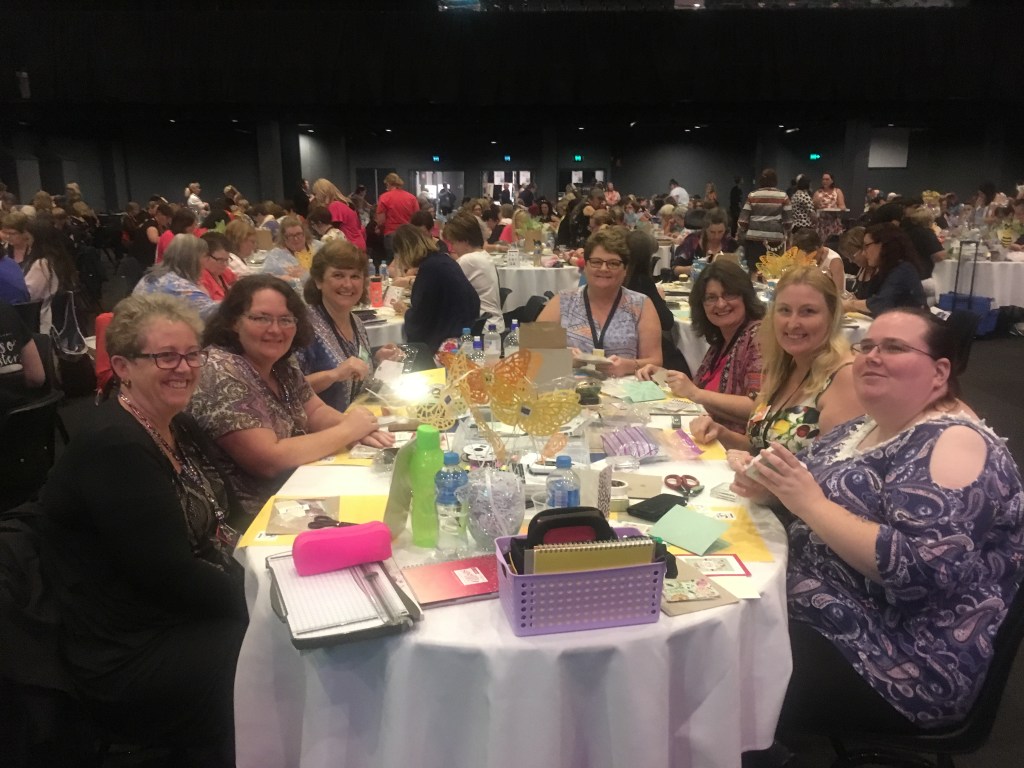
There was some creating  at the event of course.  This was our table.

It was great to have 2 of my JEN’s INK team members at Sydney with me.  I hope more can come next time.

We had Sara (CEO of Stampin’ Up!) with us in Sydney which was lovely and there were a number of fantastic presenters.  (I wish I was that clever!).  Lots of new ideas to think on.

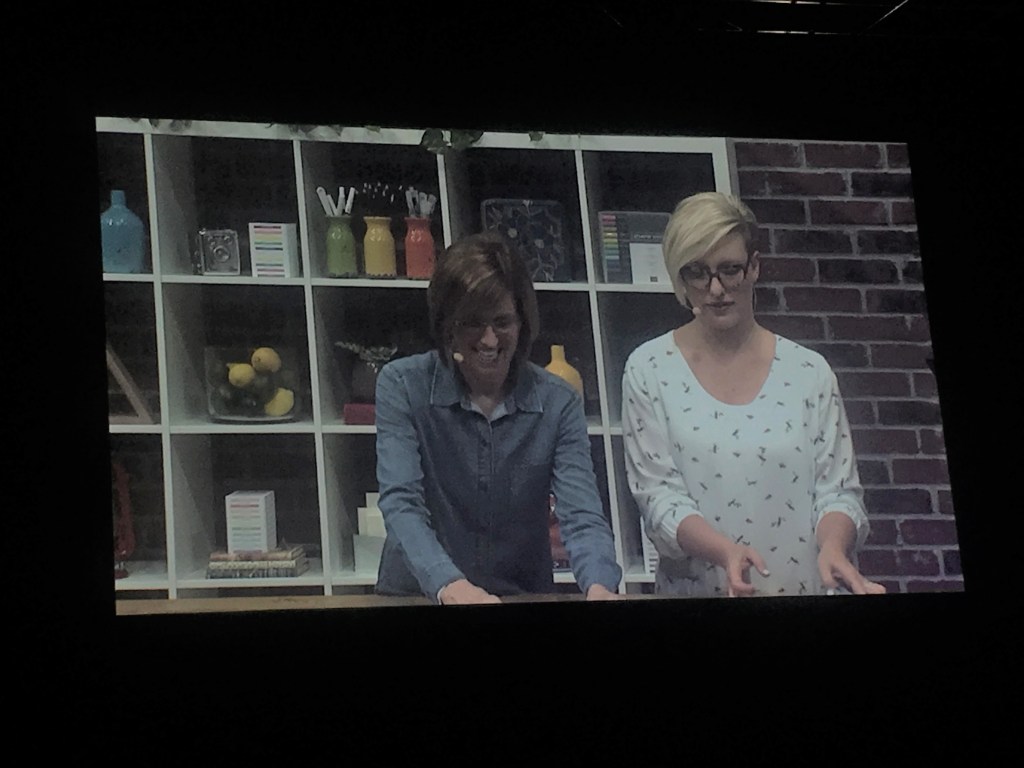
Throughout the day there were a number of Video recordings shown.  This one with Sara and her mum Shelli was quite entertaining as they showed a number of projects with new products.  With the lighting it was hard to catch good photos of the projects they made.  (sorry about that.  Maybe it had something to do with a new phone too. 😉 )

I showed you my swap card using the Petal Palette bundle in the previous post. This is it below if you missed it.  I have just managed to take photos of all the swaps I received in return.  I will sort them and show you them in a later post.

I will show you this though. I call them my Onstage Survival Kits. They had a teabag, chocolate and post-it notes. It had a little tag using the Petal Palette set. These were for a few of my stamping buddies.

I will be back again soon so stop by and visit.  If you went to Onstage drop me a comment and tell me which one you went to.

Jenny

cards, Catalogues, Onstage, Stampin' Up!, swaps, Techniques, Tutorials

WEDNESDAY’S WOW! #21- BABY WIPE PETAL PALETTE SWAP CARD FOR ONSTAGE!

I will tell you more about Onstage shortly but I thought since it is Wednesday.  It is time for Wednesday’s WOW! #21.

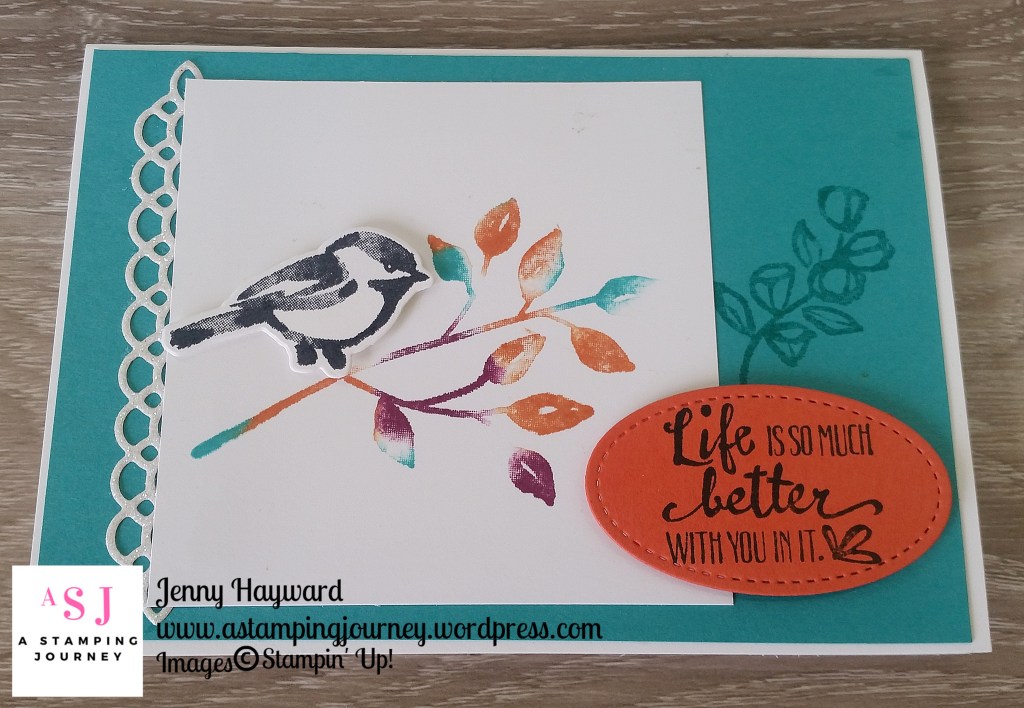
This card was my swap for Onstage in Sydney.  I thought I would share this with you today and show you how I created it.

This is made with the Baby Wipe Technique.  I had wanted to try this technique for some time and was reminded about it recently.

Here is how to create your own.

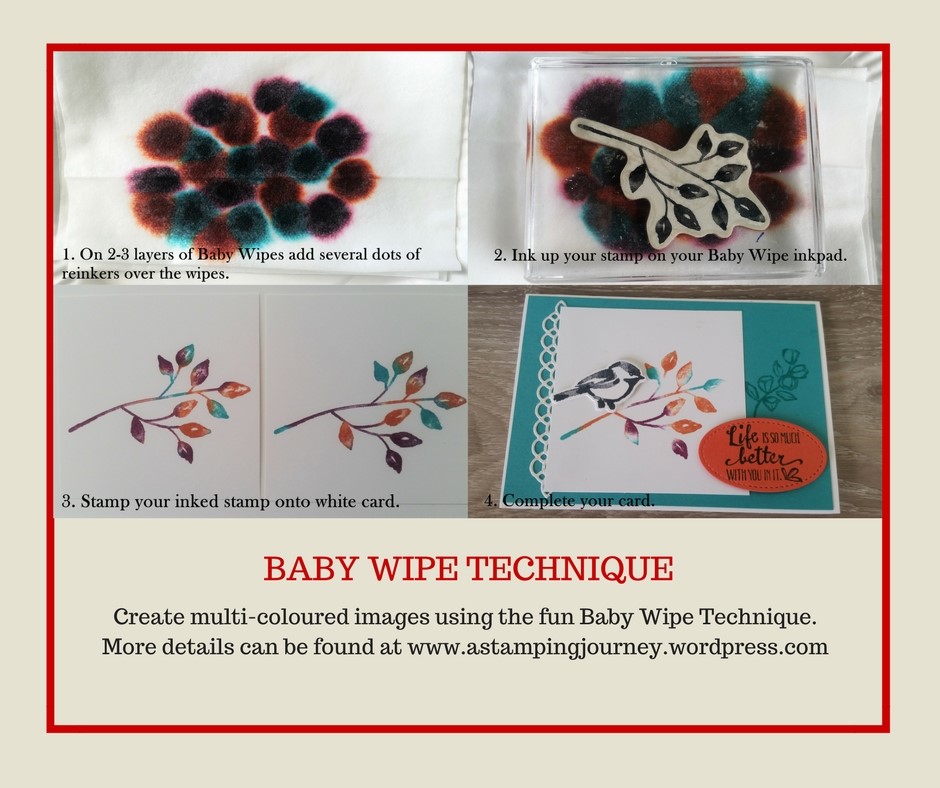
Below is a graphic for you to PIN but below is more details on how to do it.

1. Fold 2-3 Baby Wipes in half and lay them on a plate.  A smooth plastic plate is best.  I ended up using a couple of paper plates together as that is all I had suitable.  Be sure to have a couple though as the ink leaks through.  The paper plates are ok for a small number of inkings.  Add dots of your first colour of reinker over different spots on the wipes.  Then add your 2nd colour and lastly your 3rd colour.  I think 3 colours are enough.  The colours I used are Bermuda Bay, Tangerine Tango and Rich Razzleberry.

2. Ink up your stamp as you would normally on an inkpad.

3. Stamp your inked stamp onto your card.  If you are stamping multiple of images then clean your stamp and ink your stamp again between each one. Your Baby Wipe Inkpad should last quite a number of stampings.  I think I got 15-20 from the one inked wipe.

4. Complete your card as you like.

To finish my card.

Adhere the Bermuda Bay card mat to a Thick Whisper White card base. Cut the circular Border Thinlit from the Petals and More Thinlits from Dazzling Diamonds Glimmer Paper and adhere down the left hand side of the Bermuda Bay Card.  Adhere your stamped white card you had created with the Baby Wipe Technique on to the card.  On the right hand side stamp the flower image from the Petal Palette set in Bermuda Bay ink.  

Stamp the bird in black on scrap white card and cut it out with the matching Framelit from the set.  Stamp the sentiment on to Tangerine Tango card and cut with the Oval from the Stitched Shapes Framelits.   Raise both the bird and the sentiment off the card with Dimensionals.

Have you tried the Baby Wipe Technique before?? I am keen to try it again.  Each time you stamp it works out differently so give it a go if you haven’t.

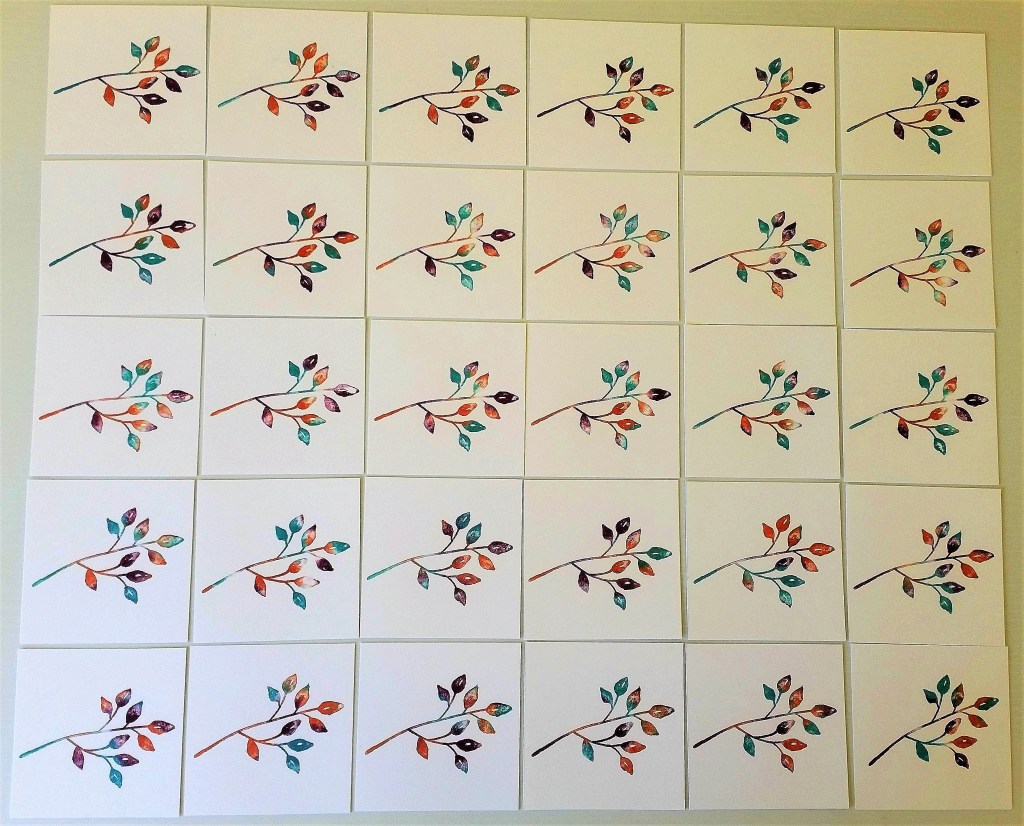
Just to show you how different they can be.  Here is all the stamped pieces when they were done.  I inked the leaf in different positions on the wipe at times to get the variations.

(Not the best lighting but it might show you). 🙂

Have a great day,

Jenny

cards, Catalogues, Stampin' Up!

THE STAMPIN’ UP! RETIRED LIST IS OUT TODAY! WHAT WILL BE LEAVING US??

In one way today is a sad day.  We say Good-Bye to some much loved products.  BUT this is just to freshen things up and make room for some gorgeous new products.

All the items are listed below.  NOW PLEASE, if you like any of these don’t sit and think about it.  They won’t hang around so you need to grab them NOW!

View the Retired List for the Annual Catalogue -> AC Retired List-SP

View the Retired List for the Occasions Catalogue -> OCC Retired List-SP

You can order online -> HERE. (Australian Residents only) **Please use the HOST CODE: 2W62VU32   

OR

Contact me Directly to order.       

NB: You will note all the inkpads listed.  The Inkpads have been redesigned which is why they are listed.  

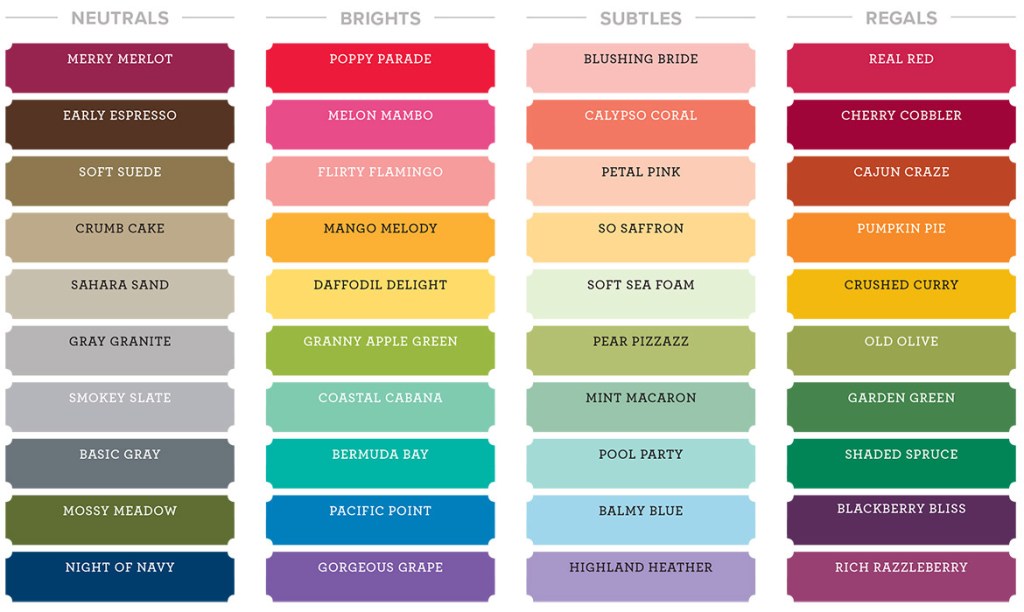
There are some colours though that will be retiring in the Colour Revamp.  This is to freshen the colour collections.  I will bring more information about the Colour Revamp shortly but for now.  Let’s see the new Colour Collections.  These don’t include the Incolors.  

Aren’t they  nice??

For now though go and check the retired list.  They are only While Stocks Last. Hurry! 🙂