cards, Catalogues, Christmas

TWO MORE CARDS WITH CHRISTMAS IN THE MAKING!

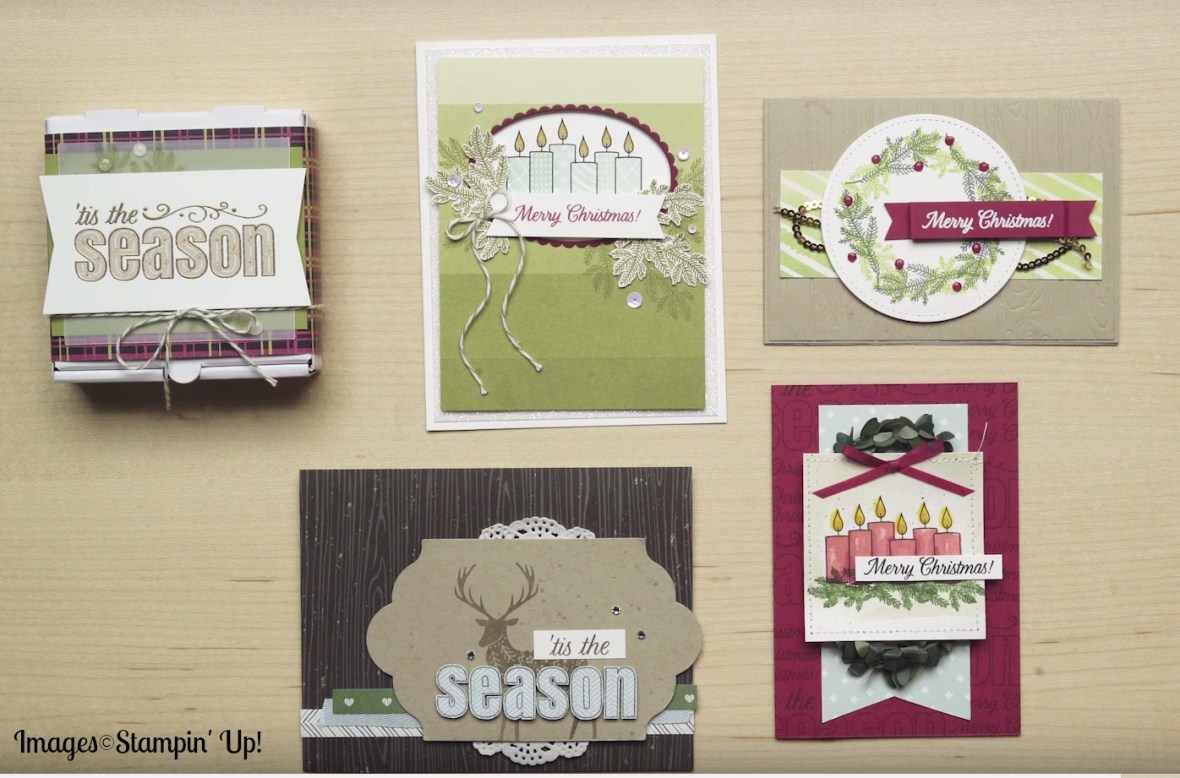
Following from the card I shared yesterday I have 2 more cards to show you with the Christmas in the Making set.

I do love the images in this set.  Very retro! I am not sure of the colours I have used though and the colouring is not great but I was pleased with the finished cards.

For both these cards I have used the Merry Little Christmas DSP again on the black side this time.

The mailbox image for this first card was stamped on Shimmery White cardstock and coloured with the Inkpads and Aquapainters.  It was then layered onSilver Foil sheet and Real Red cardstock.

The image for the next card was stamped on Thick Whisper White and coloured again with the Inkpads and Aquapainter.  The sentiment was stamped and then cut with the Stitched Circle Framelits and layered on a Real Red scalloped circle using the Layering Circle Framelits.  I wrapped around some of the thin Real Red Solid Ribbon before adhering the paper to the base card.

I wanted to do something a little different.  Have a close look.

I stamped the image again on Thick Whisper White, coloured just the gifts, the bow and the girls collar and cut them out.  They were then raised up off the card with Dimensionals giving a 3D effect.  The white gifts were coloured with the Clear Wink of Stella pen.

Here are the 3 cards together for you.

You can grab your own set of Christmas in the Making in my store HERE.  Please use the Host Code: HSVFAXRX

Thanks for visiting today,

Jenny

cards, Christmas, Stampin' Up!

CHRISTMAS IN THE MAKING!

Of all the new stamps I recently ordered from the Holiday Catalogue I pulled out this set first; Christmas in the Making.  I was looking at doing some watercolouring so I thought I would have a go with it.  I must say in advance I am not great at watercolouring.  But as I tell my daughter you can only get better at something if you keep trying. 🙂  Anyway, apologies in advance.

This is the first card I made with one of the images in the set.

The image was stamped with StazOn on Thick Whisper White card. I coloured the lady with the Watercolor Pencils and blended it with the Aquapainter.  I will show you a close-up of the skirt.  I coloured that with the Clear Wink Of Stella brush.  It is a little hard to see in the photo.  It gives it perhaps the look of Organza fabric, very soft and shimmery.  That was the effect I was going for anyway.  I went over the ornament too with the Wink of Stella to give it a sparkle.

I used the Olive side of the Merry Little Christmas DSP pack (p 12). I don’t think this paper is shown so well in the catalogue but it has some really lovely prints and I think will be versatile for occasions other than Christmas.  Have a look at this below. It comes in 12″ x 12″ sheets.

To finish the card off wrap around some of the fine Real Red Solid Ribbon.  For the sentiment I stamped it on a strip of Whisper White and angled the ends.  It needed something so I added some Silver Glimmer paper.

This is the stamp set, Christmas in the Making if you had missed it in the catalogue. (p 16)

W $44   C $31

Tomorrow I will show you cards with the other 2 images.

Jenny


Catalogues, Christmas, Classes, Stampin' Up!, Workshops

MERRY PATTERNS CHRISTMAS SET FOR FREE!

What do you think of this Merry Patterns Stamp set?? Pretty cool Hey!  It’s a special free bonus during September and October.

If you hold a cardmaking event whether it is a party, private card class, catalogue order or even your own order (Ssh! I won’t tell), and the total of the orders are over $450, it is your’s for Free!  

It wouldn’t take much to get to that amount with everyone keen to get started on their Christmas cards and a fantastic Holiday Catalogue released today.

Who do you think you could invite over to make cards?? I am sure you can think of a few people.  Invite them over, I show some ideas and we all make cards and sit and have coffee and –  not get interrupted by family members … 🙂  Grab a date and let me know so I can book you in.  Can’t wait!!  I always love sharing cardmaking with others.

To show you just some of the ideas you can create with this set here is a group of projects created by Stampin’  Up! artists.  Such a diversity!

I look forward to creating cards together with you and your friends. Book me in ASAP.

Jenny


Catalogues, Christmas, Stampin' Up!

A NEW CATALOGUE IS HERE. GET READY FOR CHRISTMAS!

September 1st always brings excitement.  The start of Spring. YES!  Although it has been a mild winter really.  What I am really excited about also is …

THE  HOLIDAY CATALOGUE IS LIVE AND YOU CAN NOW ORDER AND IT IS ALL GORGEOUS AND WONDERFUL AND BEAUTIFUL!!!   🙂

I have mailed some catalogues out recently but if you still haven’t got one, drop me a comment or email and I will get one to you ASAP,  because you just have to see it for yourself.

I have picked a few favourites from the catalogue.  

This was one of my first choices.  I think because it is just a bit different.

Brightly Lit Bundle  $72

You don’t need to add much to a card with the gorgeous Thinlits in the set.

Night In Bethlehem Bundle  W $95.25    C $83.50

A great one for Aussie Christmas cards. Beachy Little Christmas   W $49   C $35


Are you a cat person or a dog person?? I am a dog person. I know a few people who will love this punch. I think it will be very popular.

Cat Punch $31


I am interested to try these Foil Sheets. How gorgeous!  Maybe some elegant Christmas boxes??  Champagne Foil Sheets $7


View these and many more gorgeous products in the catalogue now.  View it online -> HERE

To order:

Contact me directly by email or phone

OR 

Order online -> HERE   Please use the Host Code: HSVFAXRX

Visit tomorrow when I have some sweet cards to show you,

Jenny


cards, Stampin' Up!, Techniques, Tutorials, Videos

WATCH IT WEDNESDAY STARTS TODAY!

Starting today I have a new segment on my blog:  Watch It Wednesday!

Each Wednesday I am going to bring you a video.  It might be of a cool stamping technique, a new card or helpful tips on Stampin’ Up! Products.  They might be from Stampin’ Up! or myself or ones I have seen on my blog travels that I thought I would share with you.  So watch out each Wednesday.  Be sure to subscribe to my blog so you don’t miss any.  You can find the link in the right side bar.

Today’s first edition of Watch It Wednesday.

I have been having a play with watercolouring lately And I have to say I am not all that great.  I came across this video from Stampin’ Up! which I found helpful.  Check out the video below on watercolouring. (NB: If you receive these blog updates via email you may need to click on the blog title and go directly to my blog to view it). 🙂


What do you think?? What that helpful?

Join me again next week for Watch it Wednesday,

Jenny

cards, Catalogues, Stampin' Up!, Workshops

DELIGHTFUL DAISY DSP MAKE AND TAKE CARD!

This next card I made as a possible contender for a Make and Take card for the Craft Show.  It didn’t make the cut but I think it shows the lovely Delightful Daisy Designer Series Paper and the Daisy Delight Bundle.

This card was inspired by 2 cards I saw on Pinterest by Dawn Olchefske.  I wanted it to be a quick and easy card so  I used the different ideas for this card.

I made the card as a one layer card on Thick Whisper White card base.  One long strip of the Delightful Daisy DSP was adhered across the bottom and a different smaller piece was adhered to the top left hand side.

The Daisy was stamped in Calypso Coral ink on Calypso Coral card and then punched out with the Daisy Punch.  Yes it is Calypso Coral.  It looks more orange.

For the leaves I cut a daisy out with the Daisy Punch from Tranquil Tide ink.  Then snipped a few petals to adhere behind the daisy.   I punched a small circle out with the 1/2″ Circle Punch from Tranquil Tide to go in the centre of the flower.  Then added a Gold Faceted Gem. 

The sentiment is from Happy Birthday Gorgeous.

More Daisy Cards coming soon,

Jenny


cards, Catalogues, Classes, Stampin' Up!

A DAISY MAKE AND TAKE!

This past weekend I was at a Craft Show with my Stamping buddy Leonie.  I love meeting people and sharing stamping with them.  It is lots of fun to share in their excitement and joy when they discover new things.

I thought I would show you the make and take we did at our stand.  We focused on the Daisy Delight Bundle. I am so glad that is available again.

This card was CASED from Julie Davison on Julie’s Stamping Spot. I couldn’t locate this exact card on her blog. I originally found it on Pinterest and it didn’t link back to the exact post.

The card is a very simple one but I think effective and uses the Daisy Delight Stamp set, the Daisy Punch and the Delightful Daisy Designer Series Paper.  You can find all of them on Page 127 of the Annual Catalogue.  I changed the sentiment to Happy Birthday which is from the Happy Birthday Gorgeous set for the make and take.

This is the Bundle if you can’t get to see it in the Catalogue.

Now it’s back make sure you grab it in my store -> HERE now.

I have lots of cards using this bundle that I will share with you this week so be sure to check in.

See you tomorrow,

Jenny

cards, Catalogues

HAPPY BIRTHDAY GORGEOUS!

I have another card for you using the Happy Birthday Gorgeous set.

This card was CASED from Marcy Denning on a Facebook group I am on. I couldn’t find a blog for her sorry.

Berry Burst and Lemon Lime Twist are such a lovely combination aren’t they?

For this card; stamp some outline flowers in Berry Burst diagonally across the white card mat, then stamp the solid flower in Powder Pink. Add some Lemon Lime Twist leaves to some of the flowers.  Adhere this to a Berry Burst card mat and then a Thick Whisper White Card base.

The sentiment from the Happy Birthday Gorgeous set is stamped and then cut with the Stitched Circle Framelits using Black Stazon.  Then give a little wash over the sentiment with the Aquapainter and some Powder Pink ink.

Cut a Scallop Circle with a Layering Circles Framelits in Berry Burst and adhere this behind the Stamped circle.  For my card I added some loops of Silver Thread to the back of the circle before adhering it to the card with Dimensionals.

I hope your weekend has been great??  I have been at a Craft Show all weekend and had lots of fun talking to people about stamping and making a card with some of them.  Hope you have had some crafty time yourself.

Jenny

cards, Catalogues, Personal Ramblings

HAPPY BIRTHDAY GORGEOUS WREATH!

It’s been a little crazy this week with so much stuff going on outside stamping.  My daughter’s assessments, her birthday and then getting her licence today in addition to spending half the day chasing up a phone cable and then getting ready for the Craft Show this weekend.  It has all been happening here.  BUT it’s Thursday and time for a card to share with you. You don’t need to know all my personal dramas. 🙂

I made this card a couple of months ago with the lovely Happy Birthday Gorgeous set and of course Berry Burst.  I thought you  might like to see it.  This was inspired by a card on Pinterest.

The Berry Burst card mat was embossed with the Sparkle Embossing folder and then adhered to the Berry Burst card base.

To create the wreath, trace around one of your Circle Framelits with a pencil on your card and use that as a guide to stamp  your leaves.  Being clear stamps it makes it so easy to see. I have used Pear Pizzazz on this one.  Then I filled it in with some Berry Burst flowers and filled them in with the Powder Pink solid shape.  I think I could add a few more individual flowers raised up on the wreath.  I will try that later.  Stamp your sentiment in the centre of your circle.

I added a strip of Silver Glimmer paper behind the white card at the top and added some banners at the bottom.  One was from Silver Glimmer Paper and the other 2 are from the Color Theory Paper Stack. This is a great way of using those little scraps.

One must add a few Rhinestones to finish. 🙂

Thanks for visiting.  I think next week will be a little quieter.  I am keen to play with some new Christmas stamps.  I haven’t even had a chance to do that.  Stay tuned.

Jenny


cards, Catalogues, Personal Ramblings, Stampin' Up!, Workshops

CELEBRATING 9 YEARS WITH STAMPIN’ UP!

9 years ago today I joined Stampin’ Up! I really can’t believe it!

I thought I would share my journey in discovering Stampin’  Up! all those years ago.  I hope you don’t mind.

I remember that first workshop I went to. All I knew of stamping was messy kids stamps but I went because I was just starting to make cards. Well! I was so impressed! It was all so beautiful, the colours, the stamps, oh! and the heat embossing. So magic! I was hooked.

I remembered feeling so overwhelmed though. Where do you start? So I bought the stamp set we used Seeing Spots and some card and ink. When I got it though I had no idea what to do. It sat for a while on my desk. There was no Pinterest then and I didn’t know about Google searching. I was not tech savvy to search too much for that.

I eventually had a go with the products – with interesting results.  Today in celebration I thought I would share my cards with you. I think we know each other well enough now for me to put myself out there and to give you a little chuckle.

Aren’t they lovely?? 😜

I used my Seeing Spots set. The white card has the spots heat embossed I think. I added a few little extra embellishments that I had. Haha! I think I have improved over the time. I hope so anyway??

It took 18 months before I actually joined Stampin’ Up! though after that first workshop. My husband was diagnosed with Cancer and life changed. Thankfully after treatment he made a full recovery.  Then I joined Stampin’  Up! and began my creative journey.  I have met some amazing people along the way and many have become good friends. I love that Stampin’  Up! has brought us together whether they are fellow demonstrators or customers.  Also I love that I have made friends near and far.  I think I now have friends in nearly every continent of the world.  How exciting and richer my life has become.

I started this blog not long after I joined. I had no idea of blogging  but I wanted to share my journey with stamps and ink, hence why I called this blog “a stamping journey”.

So THANK YOU for sharing in my journey. I hope I have inspired you along the way. I look forward to sharing many more projects with you in the future.

To another year of stamping. 🙂

Jenny

If you would like to make your own journey with Stampin’ Up! Then ask me more. I have a growing team and love supporting you whether you are a hobby demonstrator for the discount or to share your own journey in classes and workshop.  If you want to know more then you can head to my Join my Stampin’ Up! Team page HERE and look at ’10 reasons why you need to be a part of the Stampin’  Up! family’  – Jenny