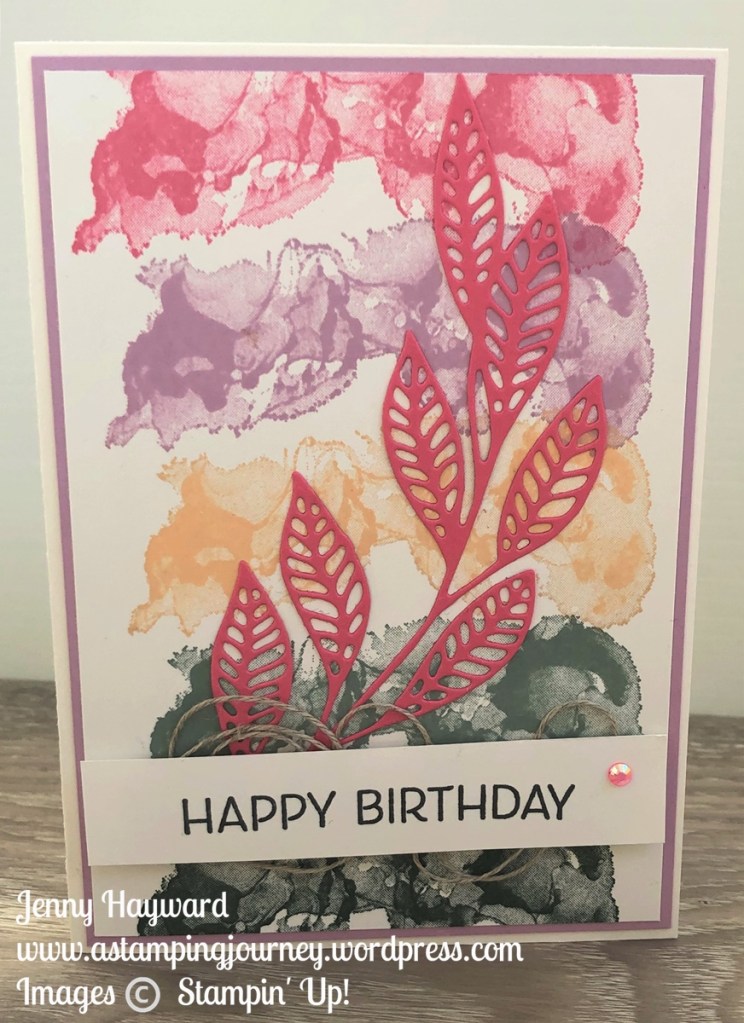
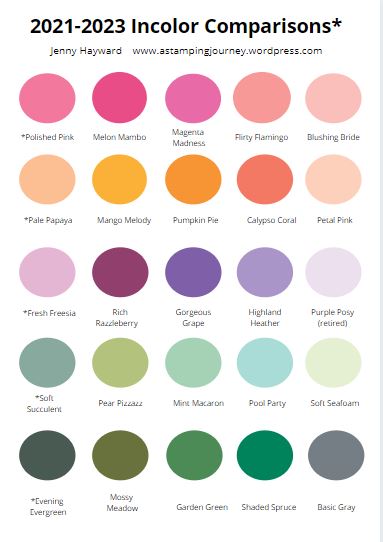
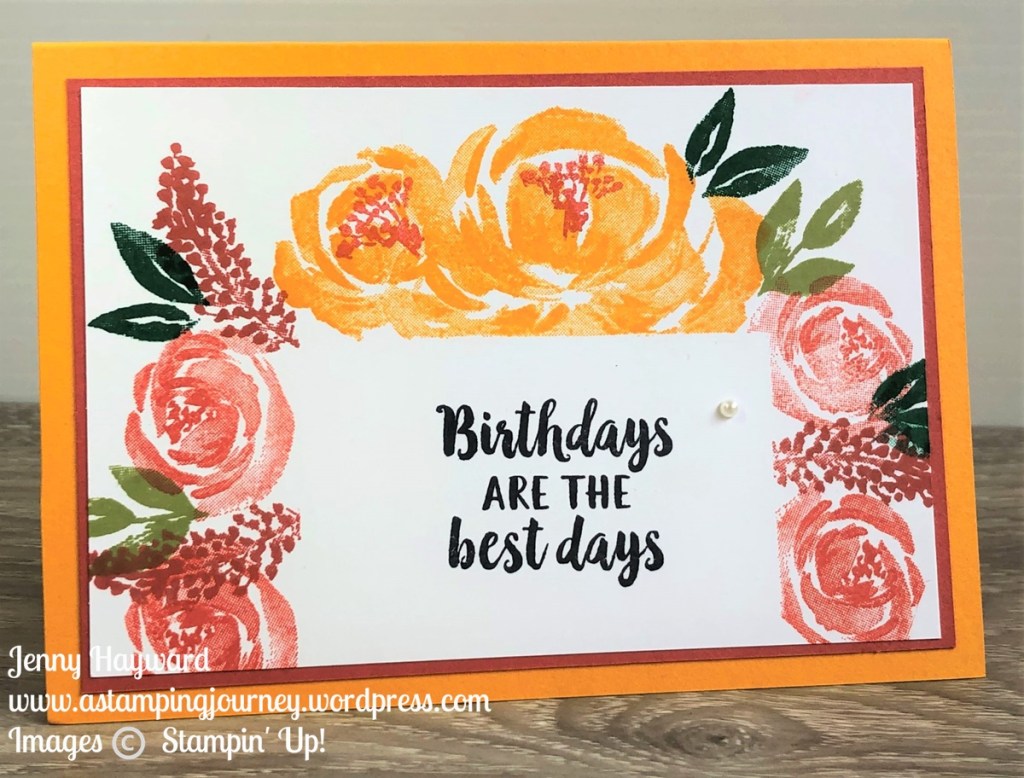
Playing with the Artistically Inked stamps and dies recently. I thought it would be fun to create a card with the 2021 Incolors and the “splotch” stamp. Well that’s what I am calling it anyway.
Just a tipwhen you want to stamp this – Stamp the top one and the bottom one first. Just have them off the edge a little. Then you can fill the centre section with the other 3 colours. It is a little easier to evenly space them.
I have made a few cards with this gorgeous bundle and I will share more with you soon.
Happy Stamping,
Jenny
In Australia? Any of your Stampin’ Up! supplies can be found in my store ->HERE.
Don’t forget to check out the Last Chance list when you are there. Some great discounts and there is less than one week to go with them.
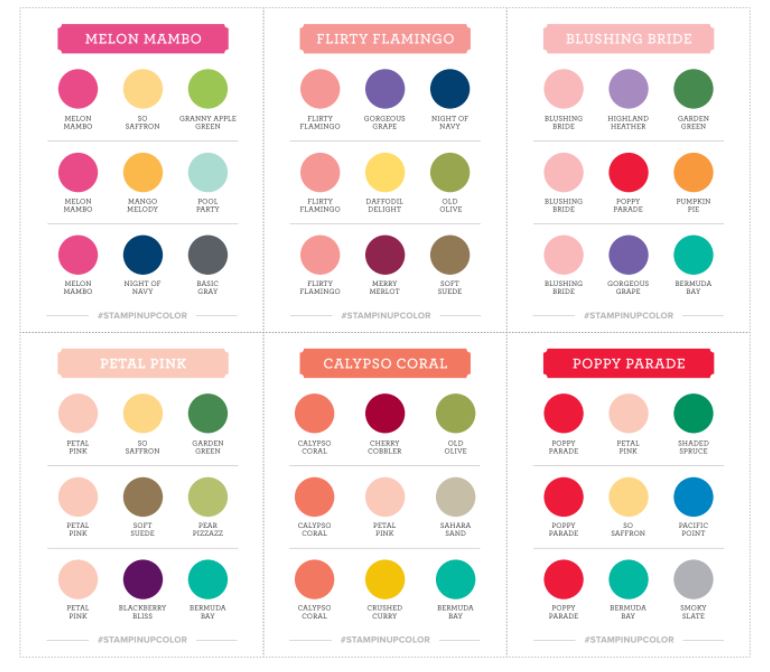
A great resource to help you with some colour co-ordinating when you create your next project. Head -> HERE
Paper, Ink, Marker Chart
They are available for all the colour Collections. Print the chart off and mark off the colours you have so you can keep a track of what you have. It’s a great way to see them at a glance having the chart.
I have a large number of Projects and Techniques on this blog for you to access. Many you will find under the tab at the top of the page under ‘Free Tutorials’. Some I have still to update so also click on the TAG in the right hand column of Techniques or 3D or Fun Folds. Whatever you would like to see.
Blog and Newsletter
Don’t forget to subscribe or follow along on my blog here to be updated when I post.
OR
And also Subscribe to my newsletter list to receive a project tutorial each week to help inspire you in your creating.
Facebook crafting group
Come and join my ‘A Stamping Journey’ Facebook group where we share what we have been doing and occasionally have a challenge. Head -> HERE.
Happy creating now with lots of colour inspiration,
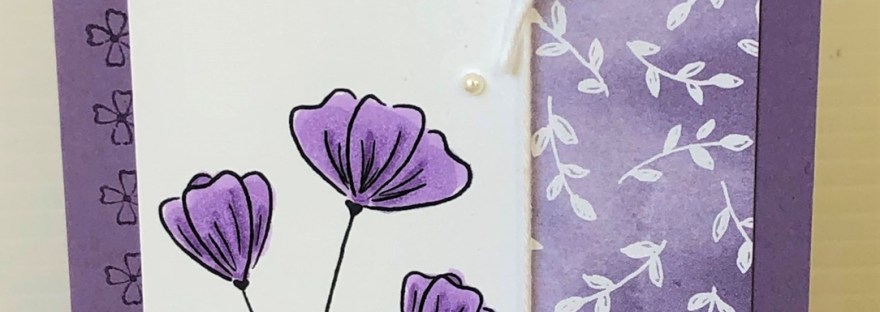
I think one of my new favourite bundles is the Flowers of Friendship. And to think I dismissed it several times going through the catalogue!
It is such a sweet set and I love the versatility of the punch. For this card though I have just used the stamp and coloured it with the Stampin’ Blends.
The paper strip is from the Pansy Petals Designer Series Paper. Add a little twine and a little pearl to finish. It’s just a sweet card.
To Shop for the sweet Flowers of Friendship or other of the beautiful products head to my store now -> HERE. (Australian residents only).Please use the host code: R3RKJZNW
OR contact me directly on 0439 844574
Don’t forget the Last Chance items that are leaving VERY SOON. There are some amazing discounts.
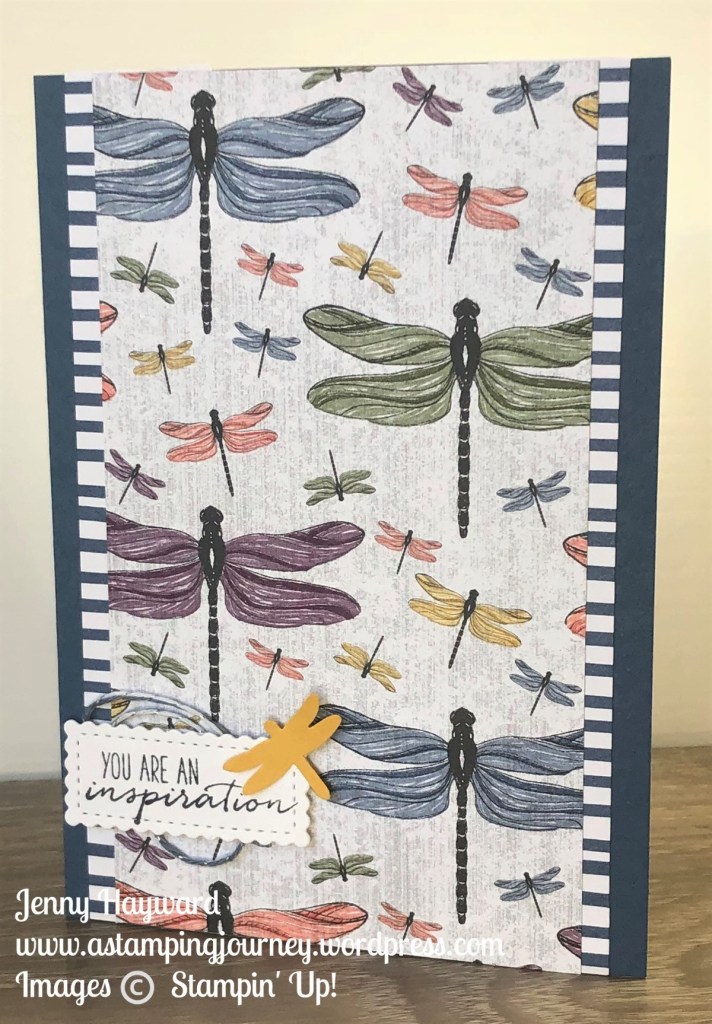
What more do you need really when you make a card? Some pretty paper and a sentiment.
The paper from the Dandy Garden Designer Series Paper with lots of fluttering dragonflies makes for a very quick card. I added some strips of the striped paper behind it for added contrast. Just use strips too. Don’t use a whole piece of the paper behind it as it is wasted.
I added some loops of the Midnight Muse Twine behind the sentiment with a small punched Bumblebee dragonfly.
The Dandy Garden paper is retiring and leaving VERY SOON. It is reduced too. 🙂
Grab it in my store now -> HERE.Please use the Host Code: R3RKJZNW
Wednesday’s WOW! #121. Sharing a tip for you on masking your sentiment area. This creates an “edge” for your surrounding stamping and creates a white space for your sentiment that helps it stand out without even raising it on a separate punch or diecut. It creates such a cool effect.
We created this card in my Retiring Class last week. I love the Beautiful Friendship stamp set and I’m so sad it is leaving. This card is not my original idea. I saw it on Pinterest by Nancy Ferb.
I have used the Mango Melody for the card base and Terracotta Tile for the card mat.
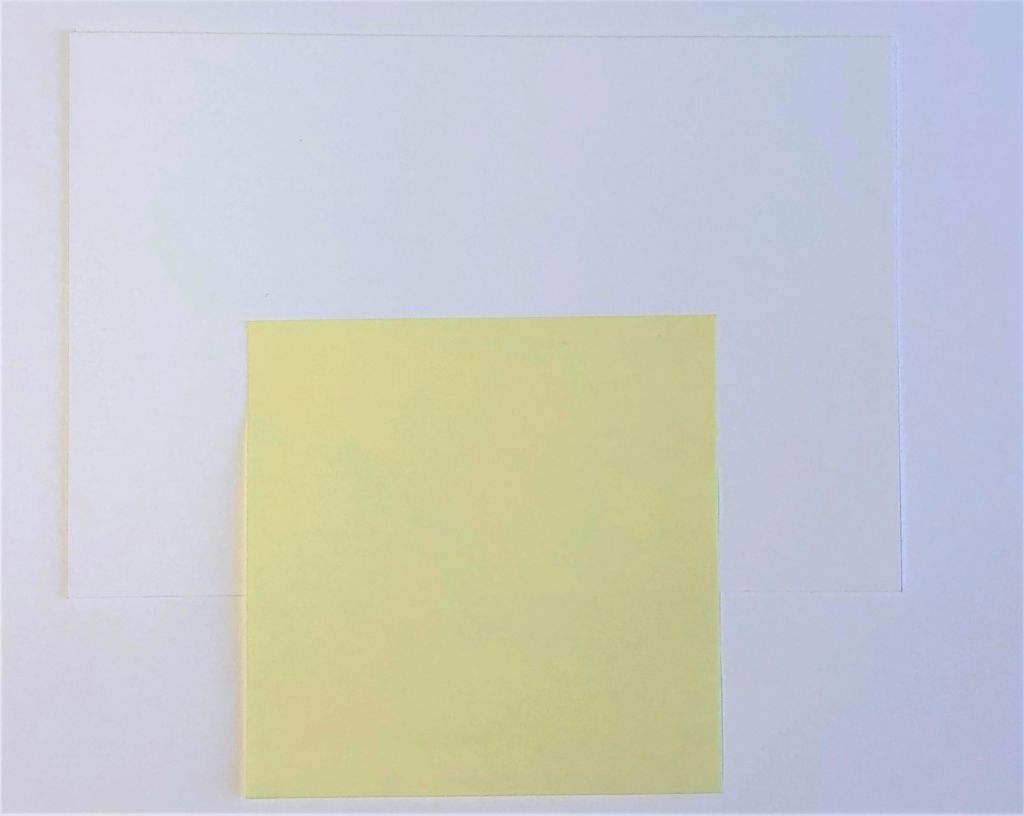
You create the mask for your sentiment area by adding a Sticky Note on the white card. I have shown it below. You can place it anywhere you like. Then stamp around the Sticky Note. When you are done remove it and then you have a “block” area to add the sentiment.
Sadly this stamp set is no longer available. 😦 They go quick when they are retiring.
Don’t miss out on any other of the Retiring Items. Only 2 weeks left. Check it out -> HERE.
Check out the Clearance Rack too for some huge discounted items. See it -> HERE.
With your orders I’m sending out some of my Hand-made cards. I have lots to give away. That’s in addition to the other little gifts I send out.
Are you a Wollongong local? Come and join us at our fun Card Classes.
This week we are having our last play with some retiring products. I’m so sad about some of these going.
Check out the sneak peek of 2 cards We will be making 3 cards in total.
WHEN: Friday 16th 10am or Saturday 17th 2pm.
Can’t make it? Grab the Class by Mail.
Let me know by this Thursday.
COST: $20 or Free with an order over $35.
See you then.
CLASS BY MAIL: $20 Includes all card kits and diecuts but no stamped images. You can substitute with what you have if you like. Also includes general instructions. Let me know by Thursday.
I have a lot of cards – and I mean A LOT. I have been sending many cards out over the past few months to lovely people BUT I still have A LOT! Get the idea. 🙂
So I am giving them away this month.
Every order will receive at least one card.
Under $50 receive 1 card
Over $50 receive 3 cards
Over $100 receive 8 cards
Over $150 receive 15 cards
The Retirement List for the current Annual Catalogue has been released and you could grab some great bargains in the Last Chance Sale.
TO ORDER: (Australian residents only)
Contact me directly on 0439 844574
OR Shop in my store -> HEREPlease use the Host Code: 3VUEXM63
Have to share with you 2 of the projects we made at our Easter Class last week. Add a little bunny from the Wildly Happy stamp set and it works out just cute for Easter.
We made another gift box too which I might show at another time.
The bunnies were coloured with the Stampin’ Blends. The paper is from the Sale-A-Bration Paper Blooms Designer Series Paper Pack. The sentiment is from the Itty Bitty Greetings set.
This long Gift box you can make for yourself. I found it HERE on Sarah’s Blog.
I love the Dandy Garden Designer Series Paper but I will say some of the prints are quite “strong” can I say. What do you do when you have such a strong paper? You can use small strips which is what I do often or with this print with the Dandelions I used it as a background.
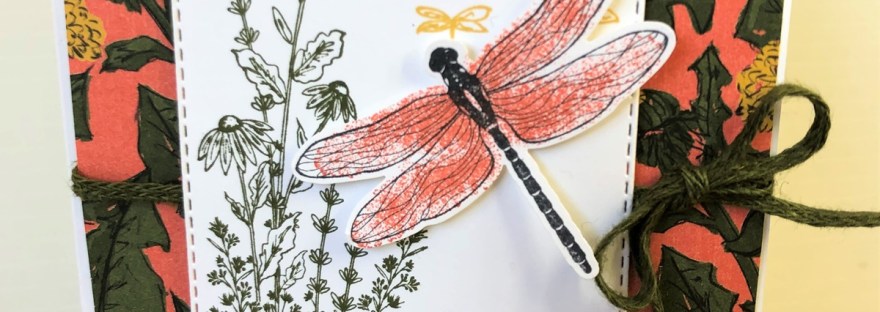
This was one of the cards we made in a recent Dragonfly class.
The white card was cut with one of the Stitched Rectangles Dies and the daisies stamped on the card. You can add a touch of colour on them too if you like. Some did in the class.
The dragonfly was stamped on white card and the “solid” stamp was stamped in Calypso Coral to add some colour. Before you add this piece and the Designer Series Paper piece to the white card base tie some Mossy Meadow trim around the paper.
If you are in the Wollongong area come and join in my classes. They are on each fortnight. But I always have the option by mail too. So no matter where you are in Australia you can take part.