3D projects, cards, Classes

WILDLY HAPPY EASTER BASKET AND CARD!

Have to share with you 2 of the projects we made at our Easter Class last week. Add a little bunny from the Wildly Happy stamp set and it works out just cute for Easter.

We made another gift box too which I might show at another time.

The bunnies were coloured with the Stampin’ Blends. The paper is from the Sale-A-Bration Paper Blooms Designer Series Paper Pack. The sentiment is from the Itty Bitty Greetings set.

This long Gift box you can make for yourself. I found it HERE on Sarah’s Blog.

Happy Stamping,

Jenny

3D projects, Christmas

EASY CHRISTMAS GIFT BOX

I received a really sweet gift box last week for a Secret Santa gift. I just had to show you.

It’s quite a large size and is a great one to use your 12″x12″ paper.

Want to make one yourself? I think it’s like the one Sara made on her Facebook Live last week. See it -> HERE.

Hope all your last minute crazy Christmas plans are going ok?? I still have wrapping to do and the house to clean and food to cook. It will happen. 🙂

Take care,

Jenny

3D projects, Catalogues, Onstage, Stampin' Up!

ONSTAGE @ HOME TEAM DAY!

Last weekend was the Stampin’ Up! Onstage event @ Home. It was sad not to meet together but a few from my team got together which was a lot of fun.

It was lovely of Sarah to open her home up to us and we could watch the big TV screen together with all the sessions and chat about them. There is always lots of ‘oohs’ and ‘aahs’. 🙂

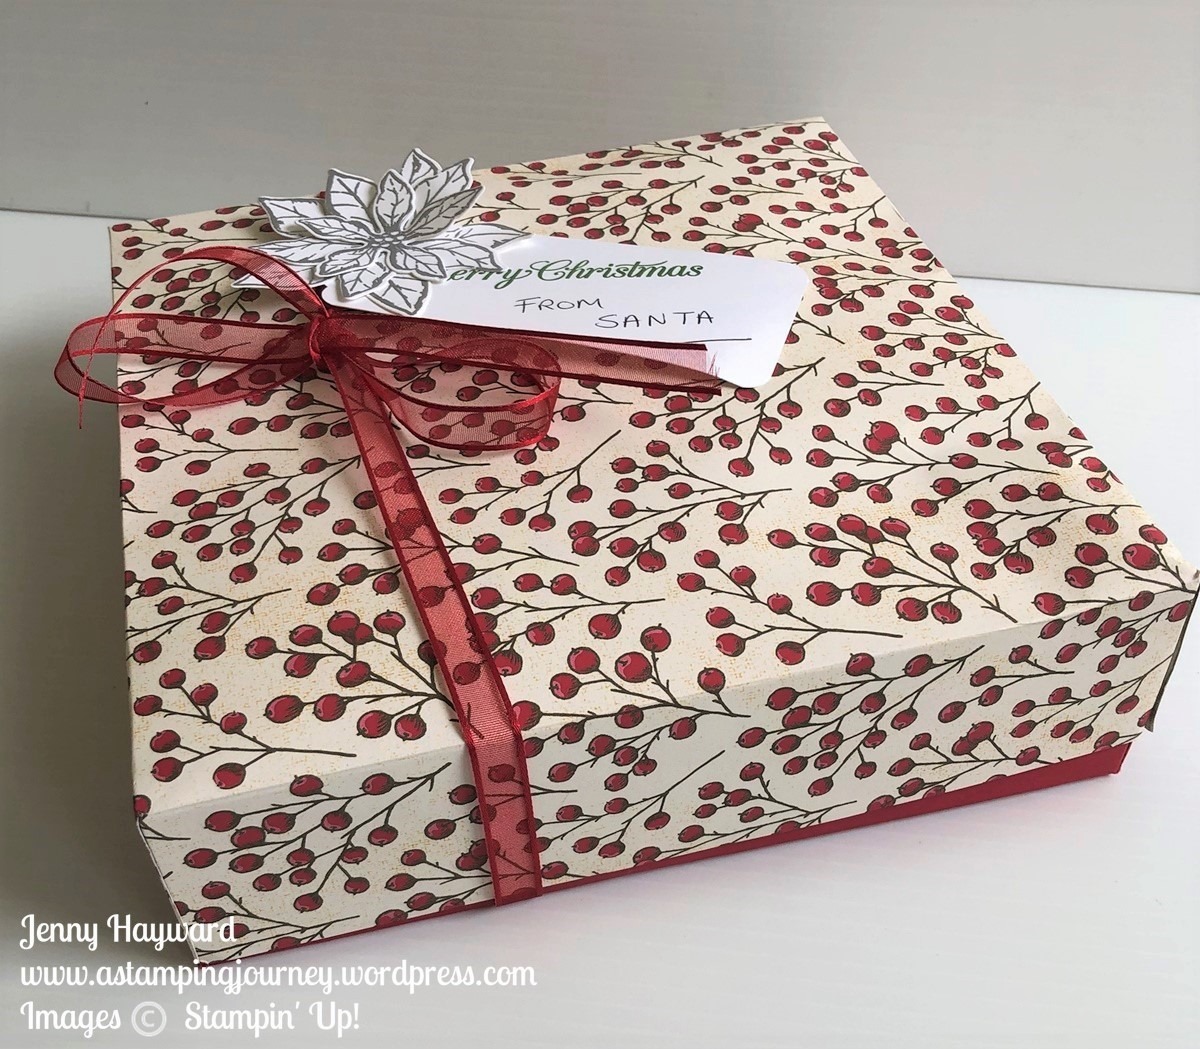
We had a card display and I made up some gifts for my team.

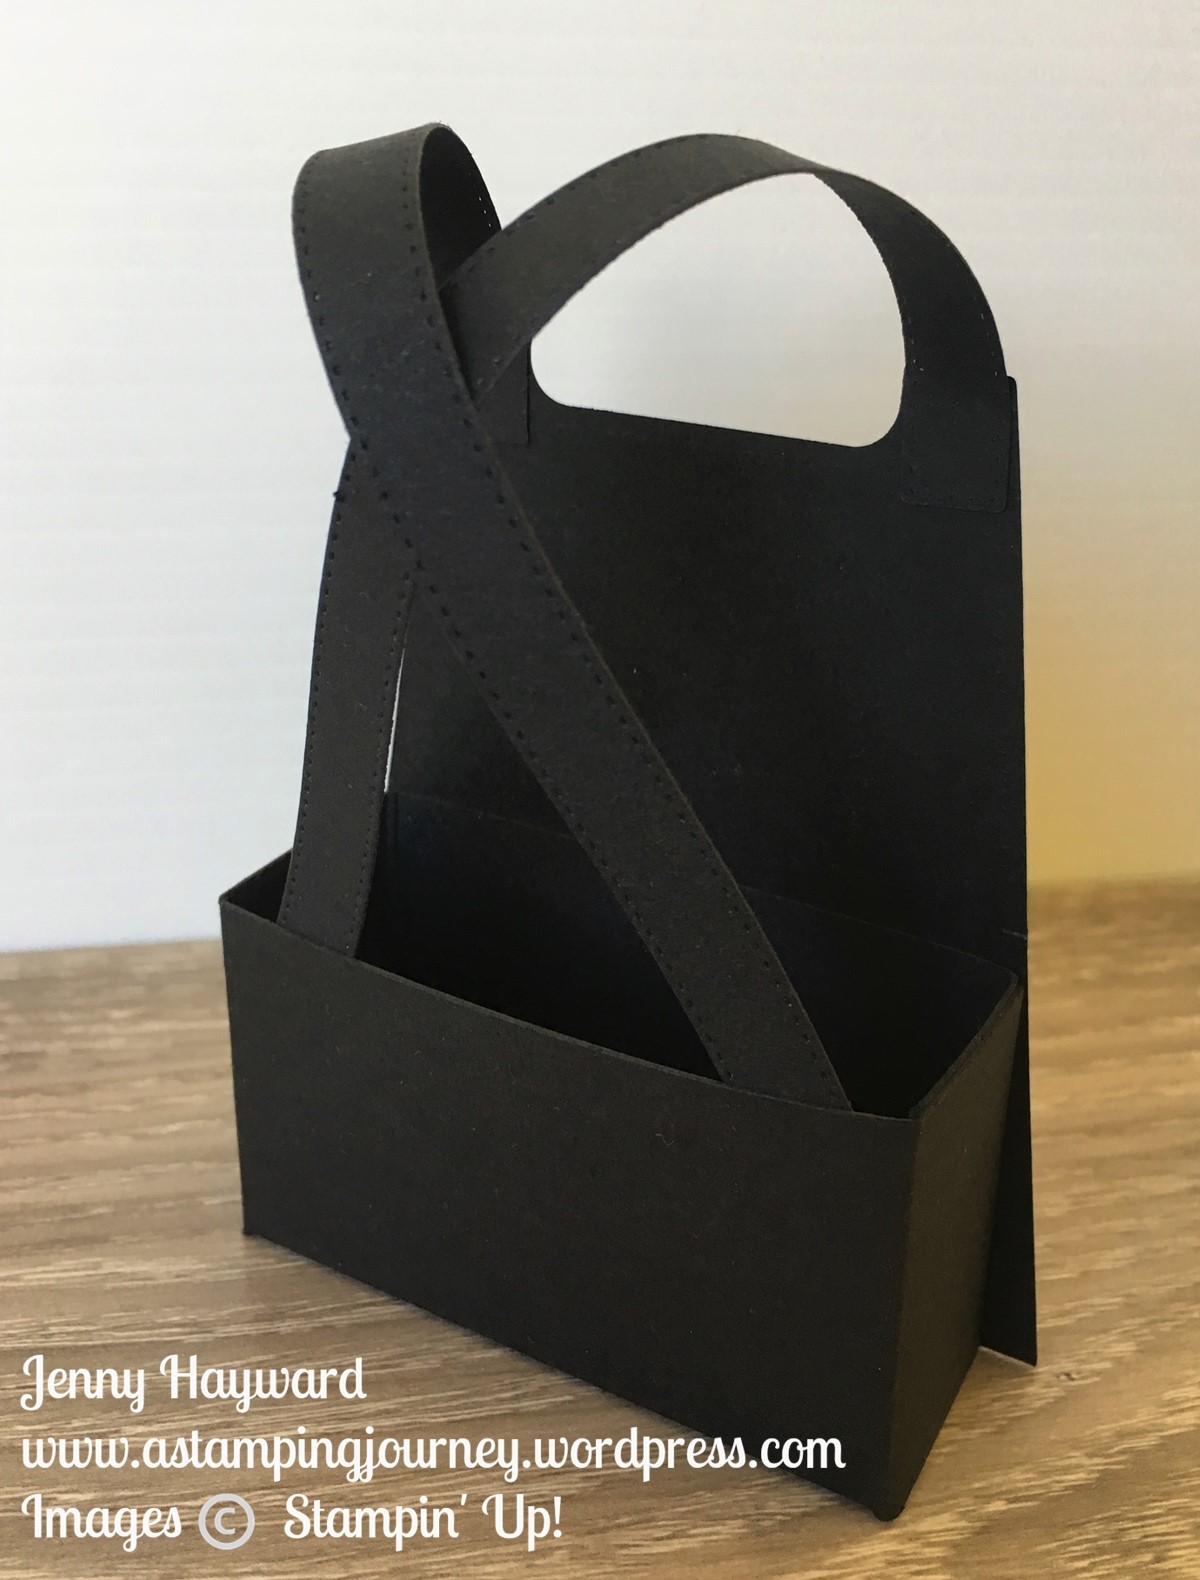
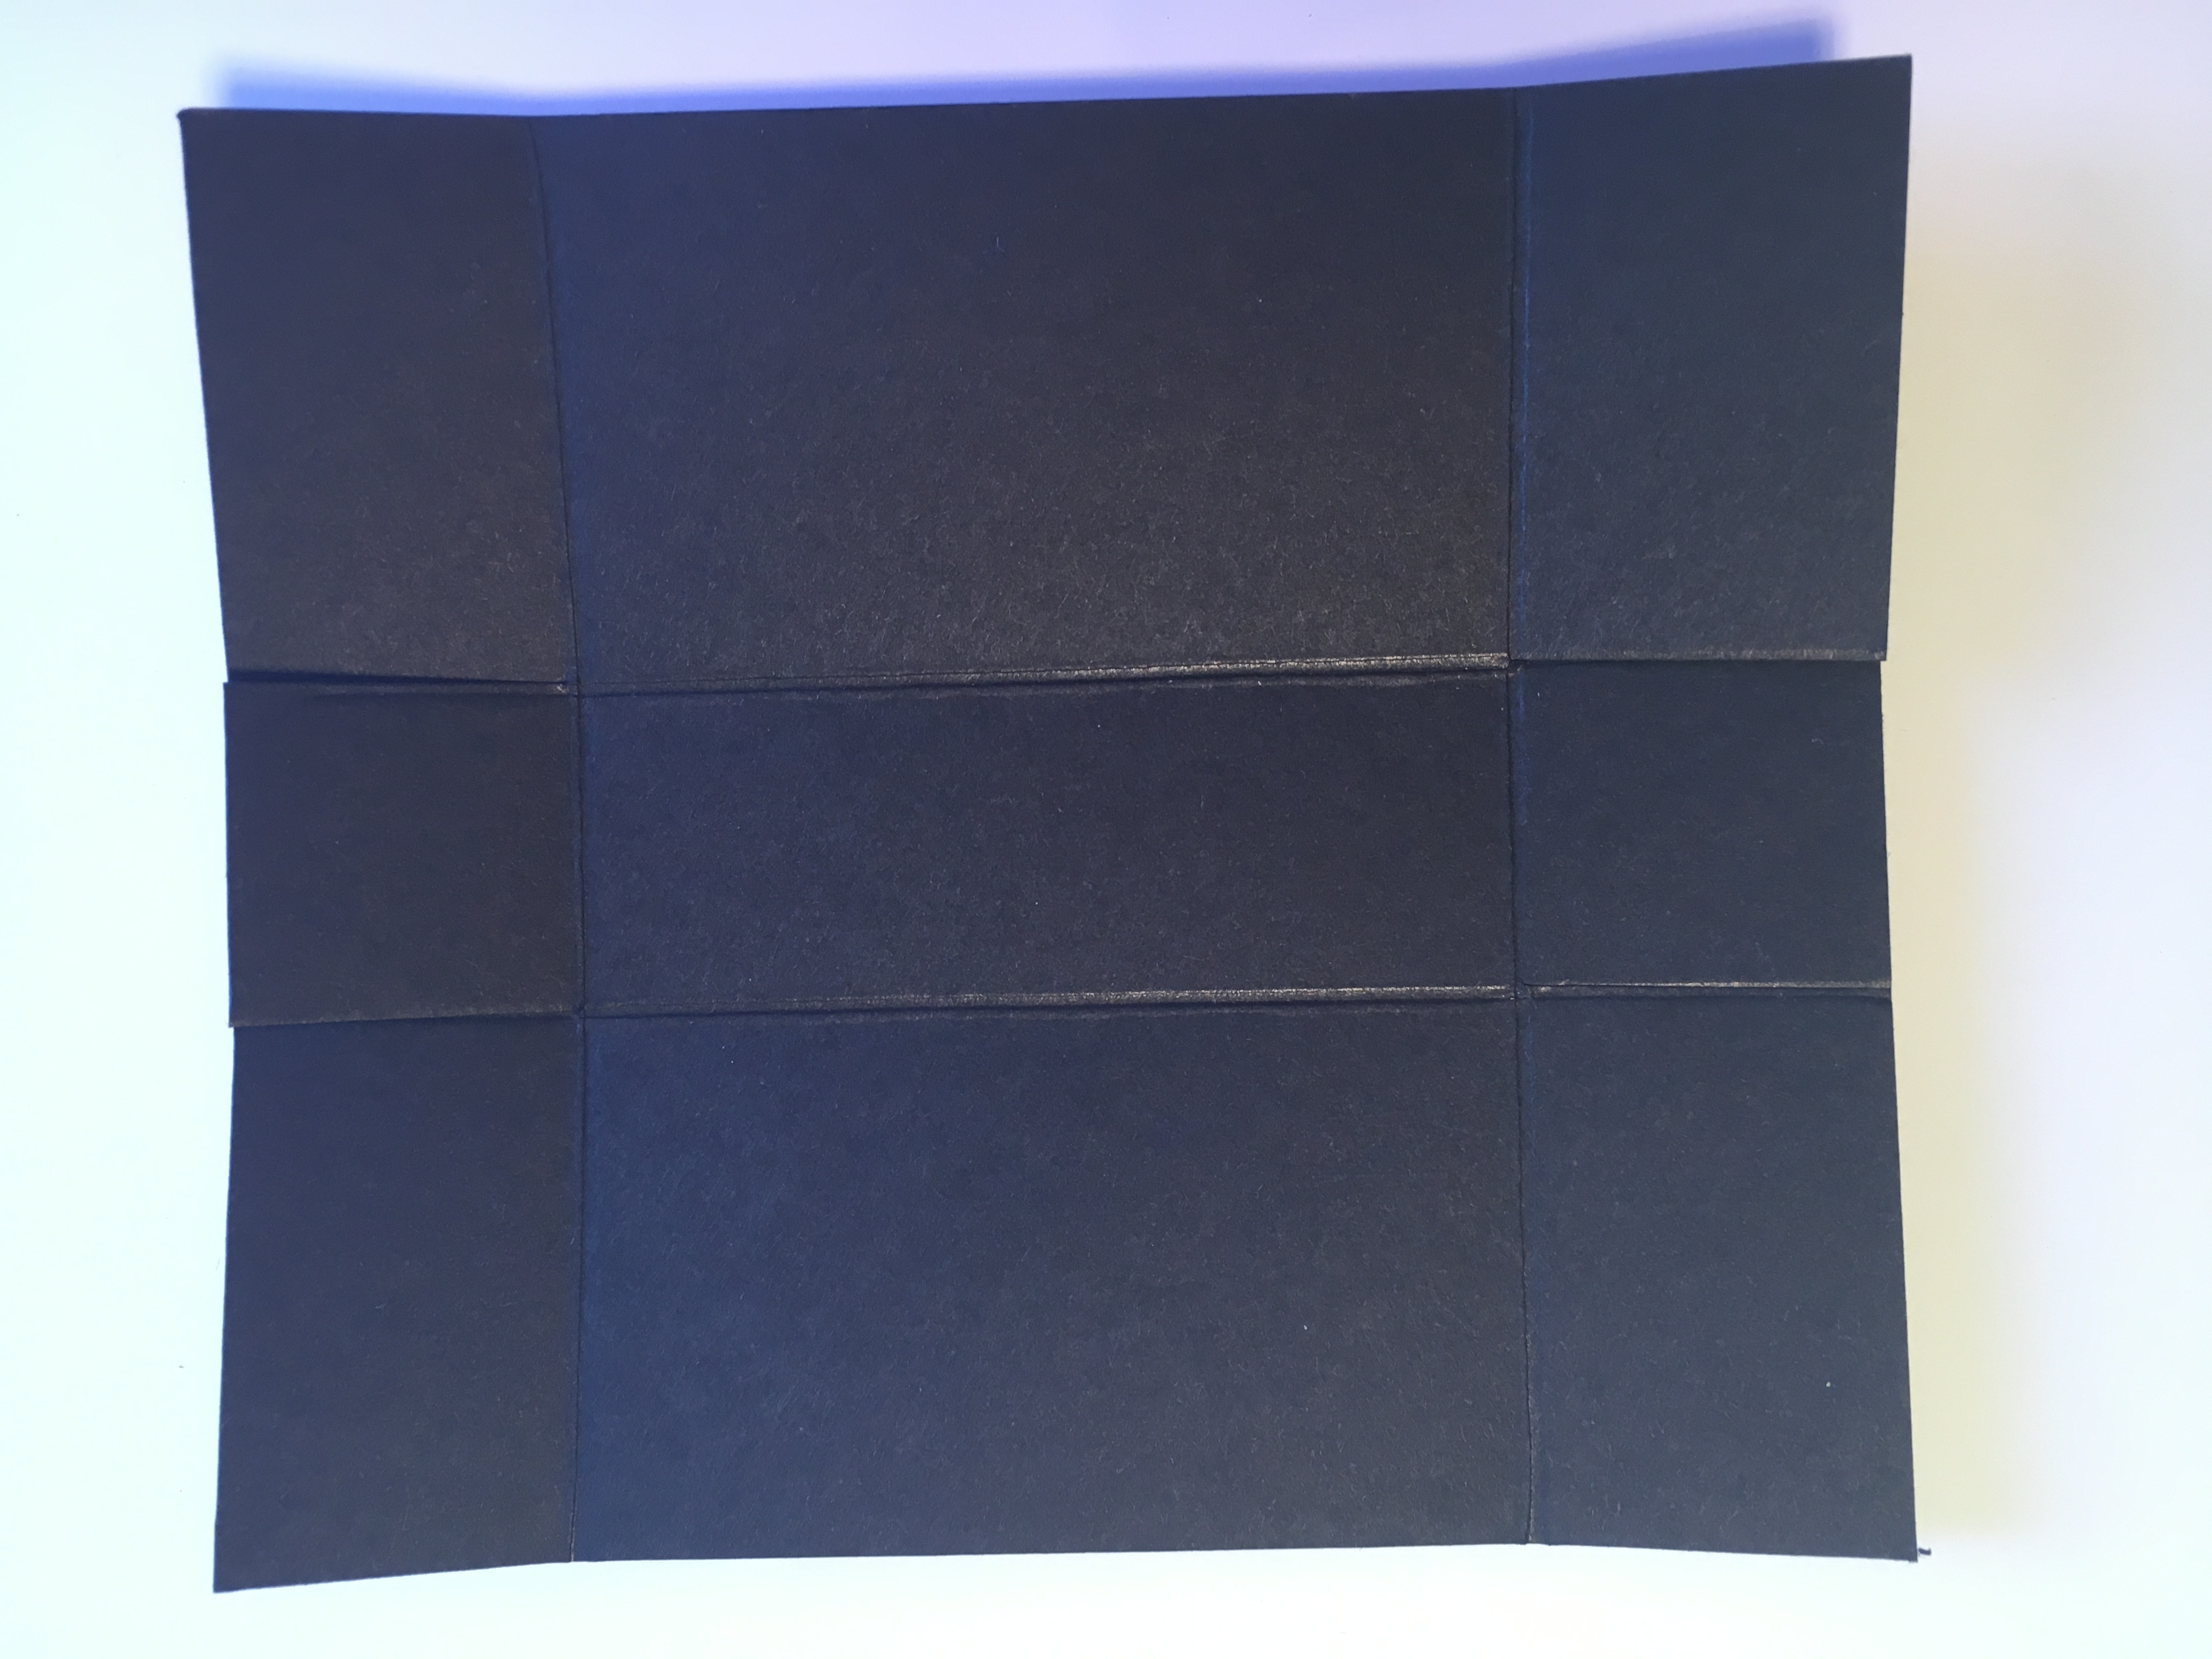
Here are the little gifts. I included a Stampin’ Up! file folder with some Stampin’ Up! hand-outs, a clipboard (great for all those sessions notes), and I made up a little pack with a highlighter, sticky notes and a Stampin’ Up! magnet. These were all gifted in past Stampin’ Up! convention bags.

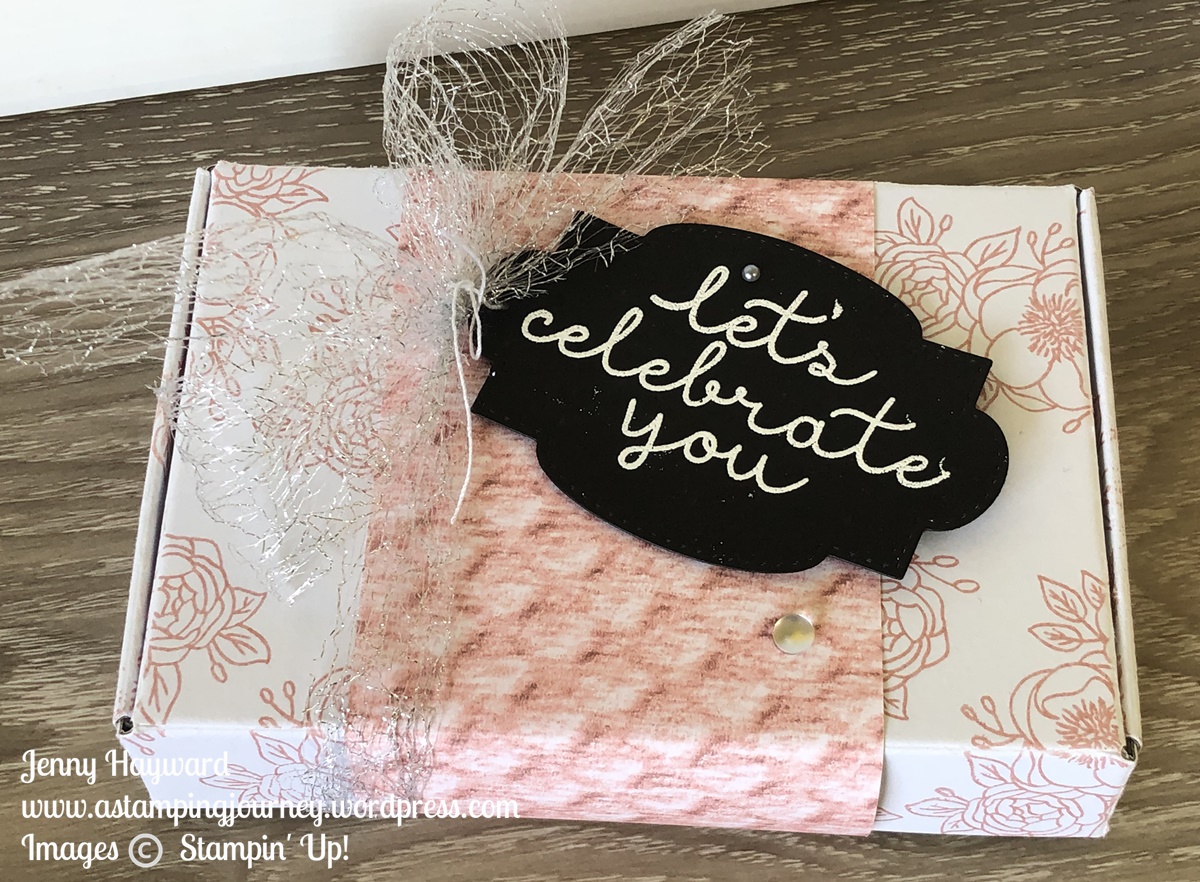
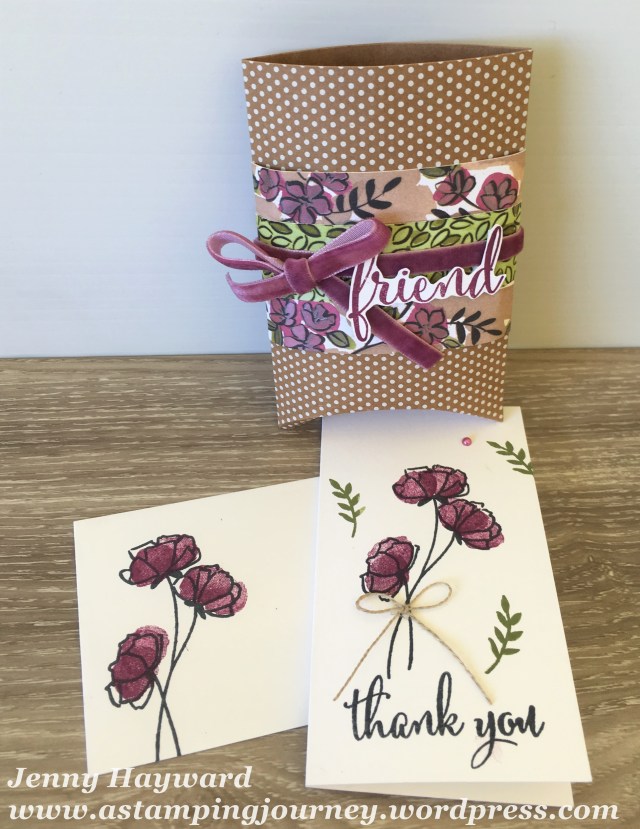
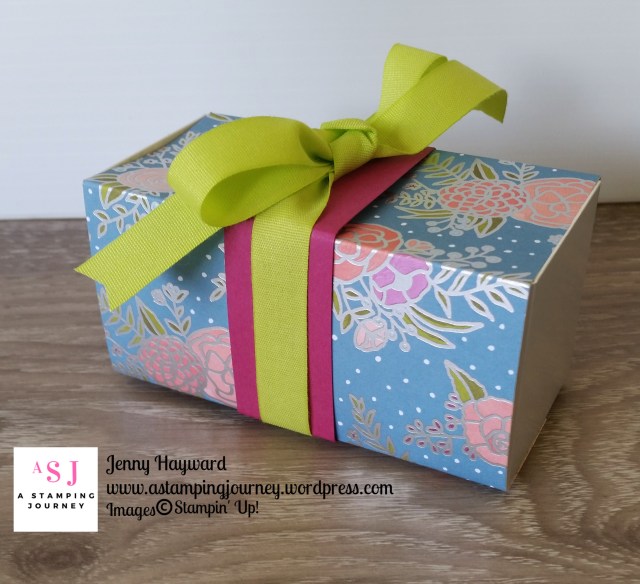
These were little table gifts for the tables. I made them up using some retired pillow boxes and decorated them with the new Dandy Garden suite. These are some gorgeous new products coming in the 2021 Occasions Catalogue starting in January. I thought this sentiment was good as we start out on a new Stampin’ Up! year.

Of course one needs to be hydrated at these events so I made up some bottle tags using the cute Zany Zebras.

Just some of the name tags. Sarah created these which were great!

And then you must have Prize Patrol right. We had drawings over the 2 days for some fun prizes. And that was in addition to the Stampin’ Up! giveaways over the weekend.

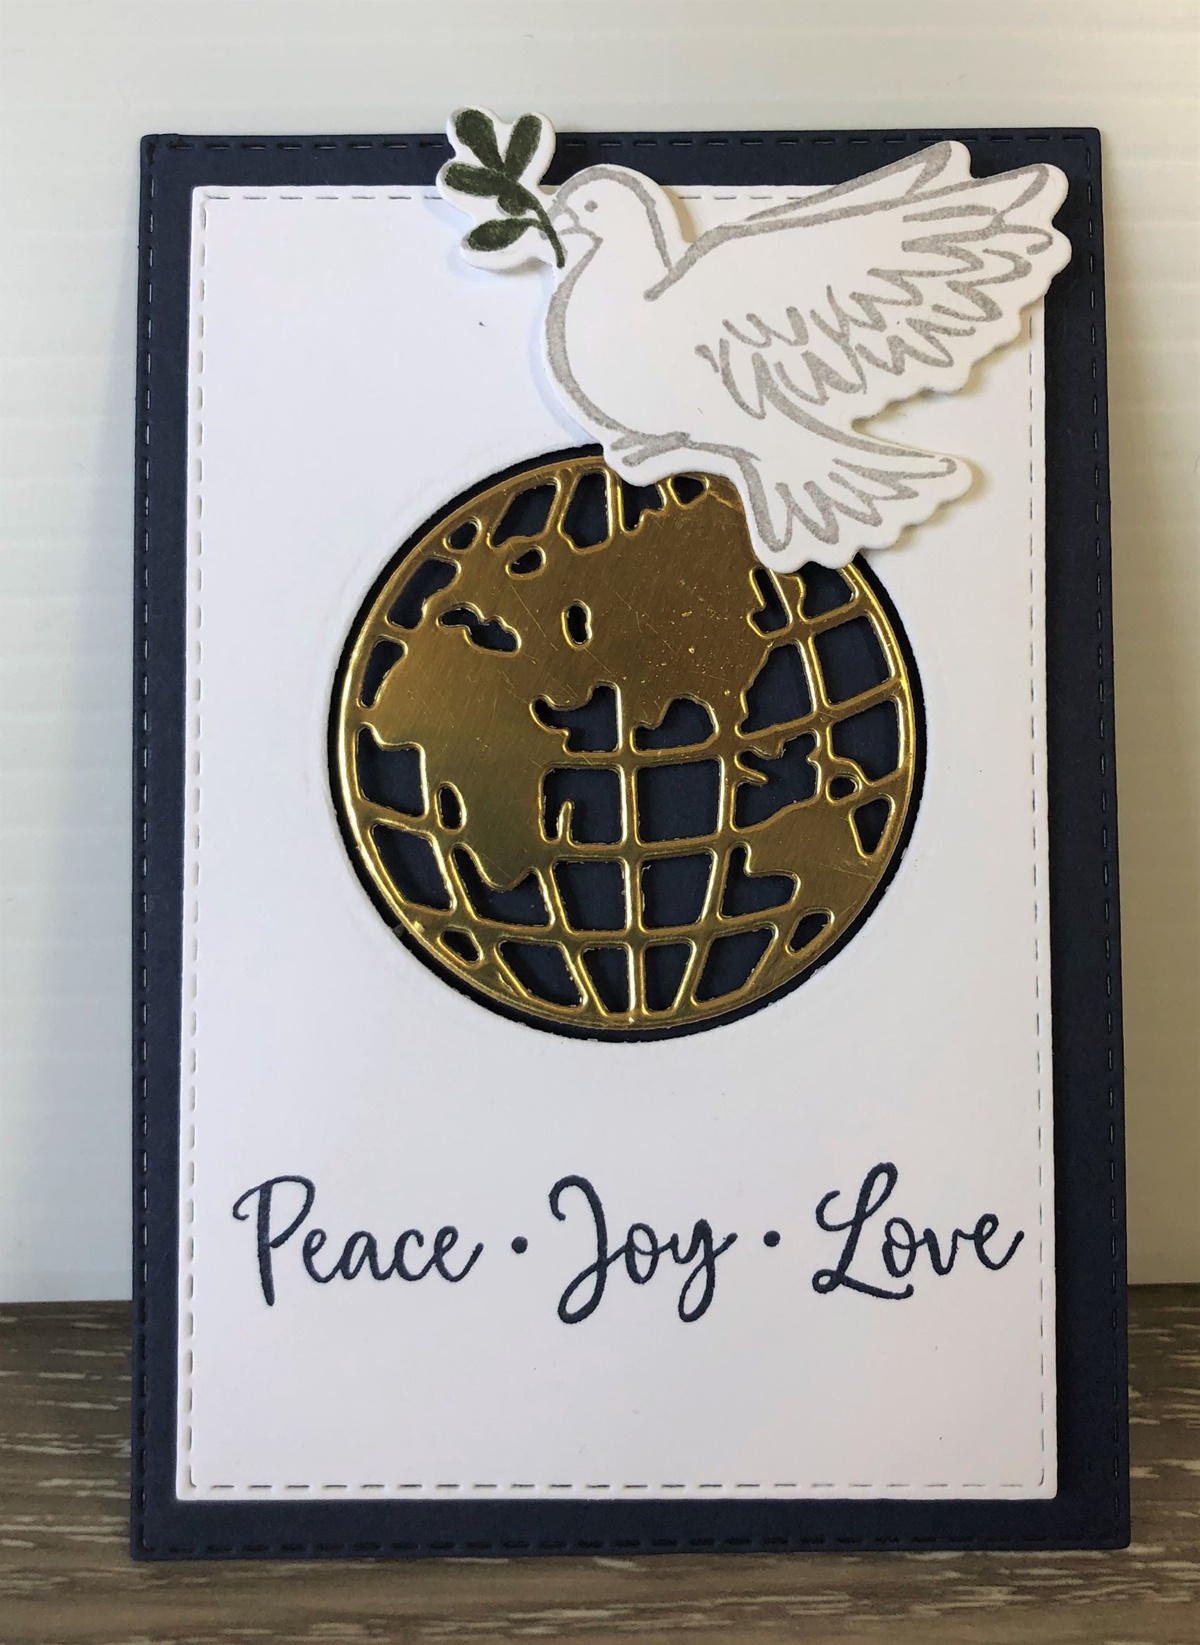
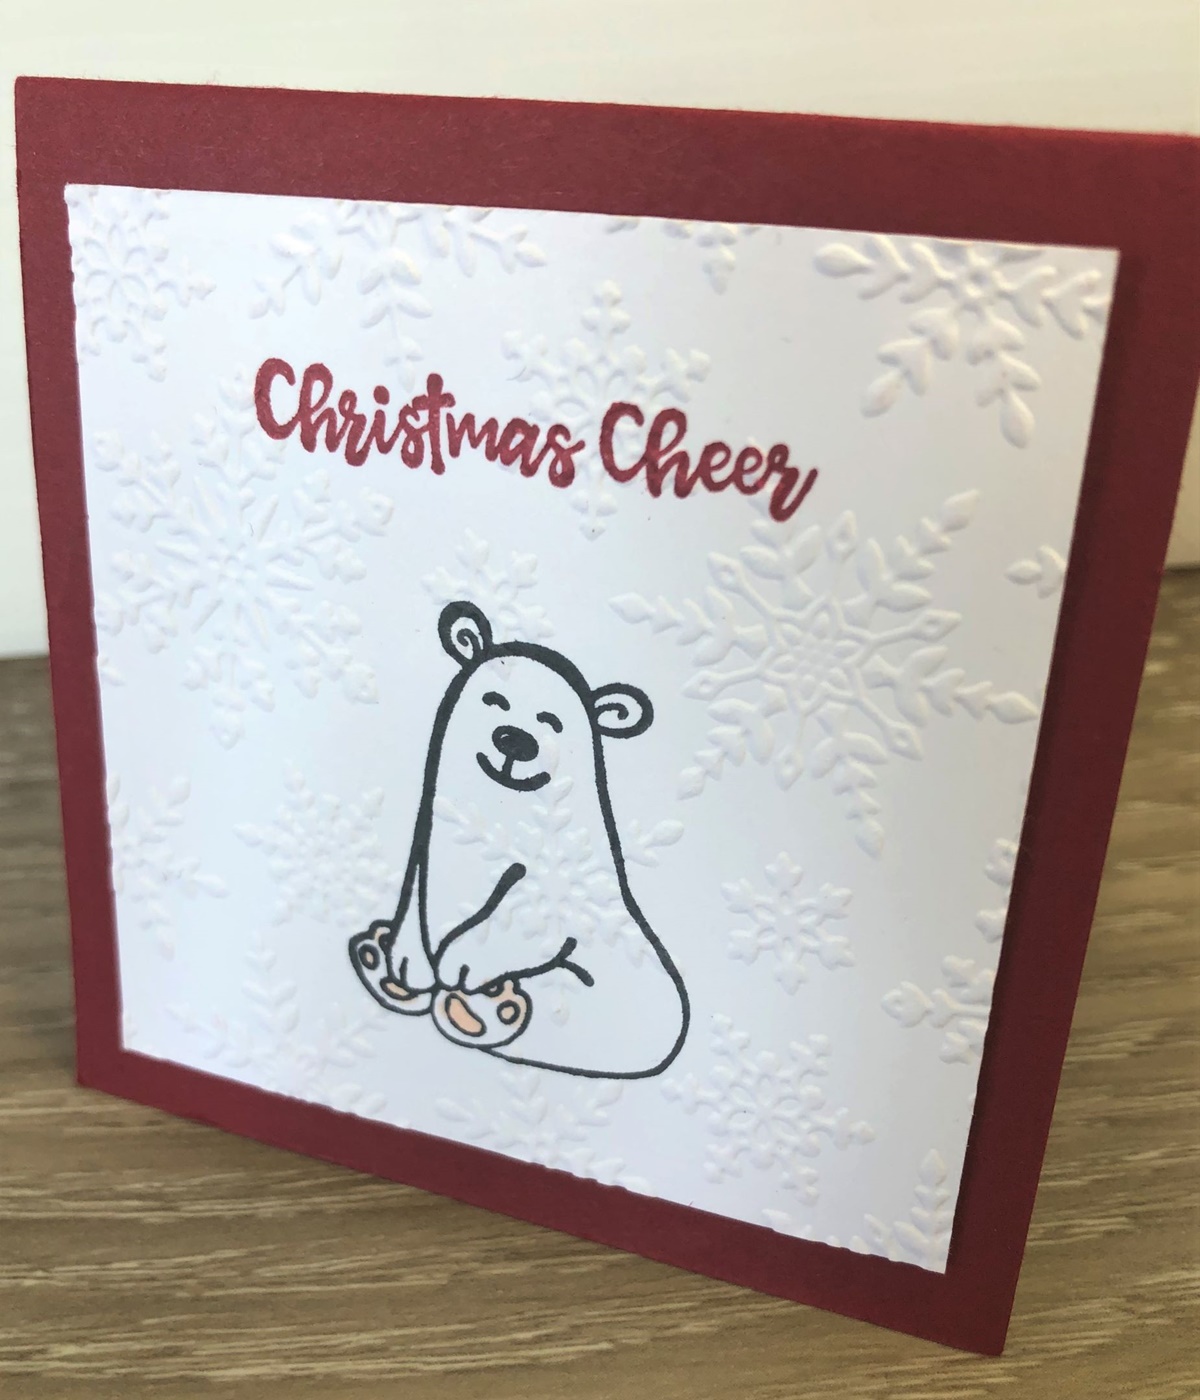
Some card displays with the Curvy Celebrations and the Curvy Christmas stamp set, the Dove of Hope and a few other stamp sets.

The Dandy Garden Suite. I will share closer views of the cards over the next couple of weeks and months. I think you will love this suite.

The Poinsettia Petals card samples created by Sarah.

Getting some creating going on with the Dandy Garden project. I will share those with you very soon.

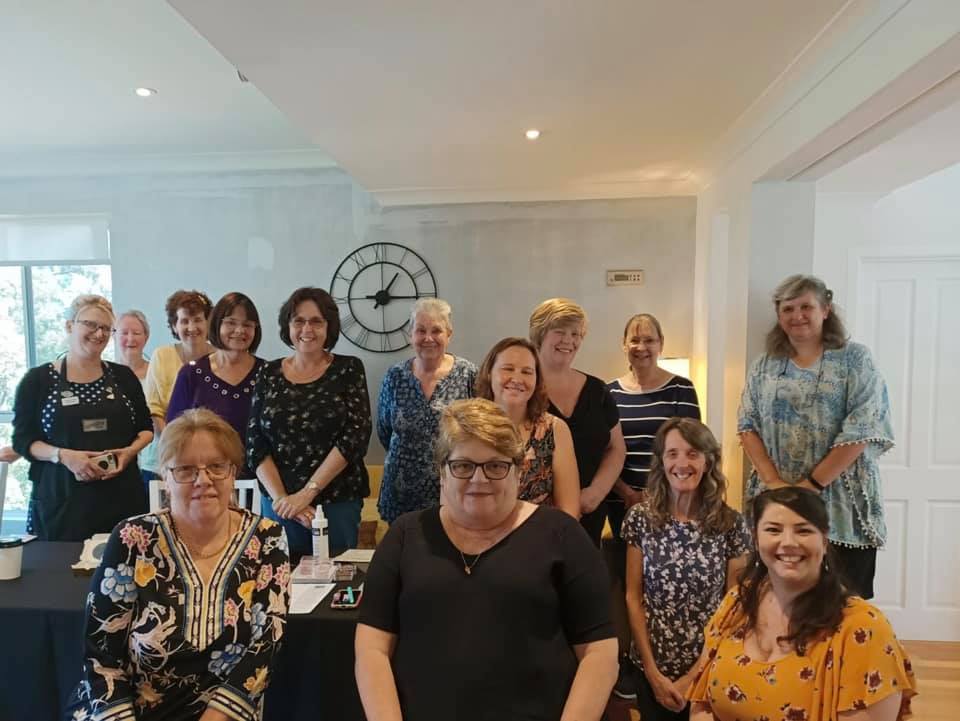
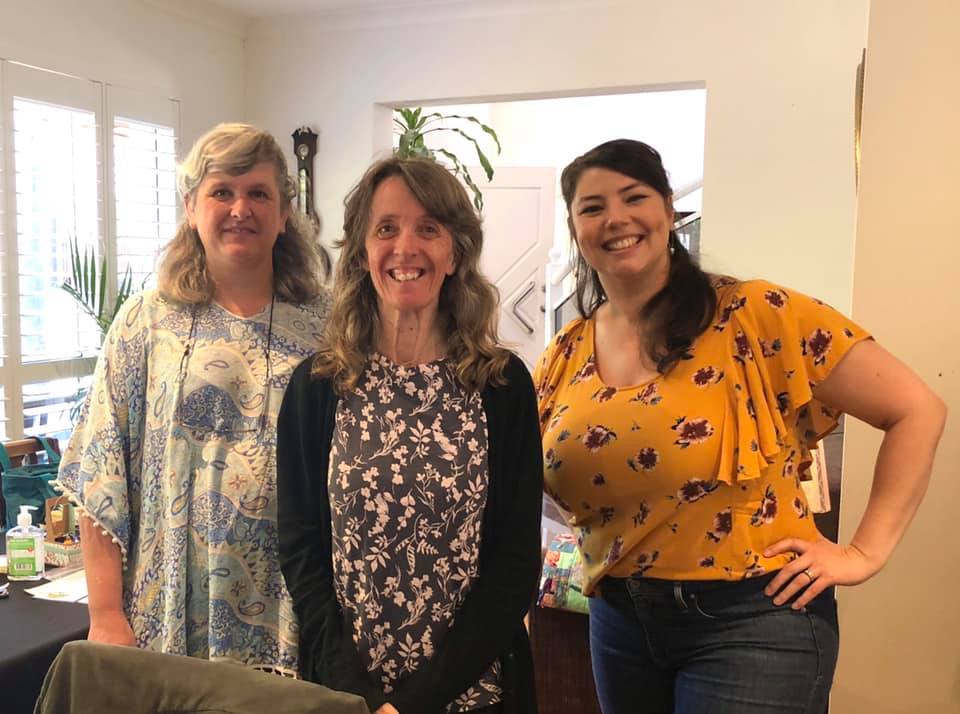
Some of my JEN’s INK Team. (A socially distanced photo. 🙂 )

Recognition was announced. I was so pleased to achieve Sales and Team Building Recognition for this past year. Thank you to you all for your support and encouragement and Thank You to my wonderful team.

Thank you to you all for your support and encouragement whether you order from me or cheer for me from near and far. I appreciate you. Thanks for visiting my blog. And of course Thank You to my wonderful team.

If you would love to be a part of these fun get togethers then I would love to welcome you to my JEN’s INK team. I go on about the discount a lot but really being with Stampin’ Up! means a lot more. It’s connecting with so many “crazy” people like you who get excited about stamps and ink. You can find out more on my page HERE of 9 Reasons why you need to join the Stampin’ Up! Family.

Keep creating,

Jenny

3D projects, Awards, cards, Catalogues, Stampin' Up!, swaps

TEAM DAY SWAPS!

Last week we had a Team Recognition Day for the Inky Fingers Team I am in. It was a lovely day of creating together especially as we hadn’t been able to meet together for so long. We chatted and created and were recognised for our achievements this year.

This was all the lovelies in our team who attended the day.

Clare our DDM (Demonstrator Manager for Australia) was there. It is always so lovely to see her bubbly self. 🙂 This is also with Sarah one of my team members who came along too. It was so great to share that with her.

Vanessa our team leader gave some of us a little gift. There were particular requirements to attend the day and those who achieved the requirements TWICE received this gift box with some special ribbon and embellishments. I was so honoured to receive one.

The boxes are the Mini Paper Pumpkin boxes. Isn’t it gorgeous!

Below are the swaps I received. I didn’t make any swaps. We only found out the day before and I really didn’t have time to get anything together but people were so lovely to share some of their swaps with me.

This is a little bar of soap in the little cellophane bags. It is a lovely idea instead of chocolate.

This one is created with the Dove of Hope stamp set with the World Map Dies. I love how these co-ordinate together.

This is a little treat bag. Another lovely gift. It’s a great size for a mini chocolate.

This card below was created by my friend Leonie. It’s the cutest mini Pop-Up card using the Warm and Toasty stamp set. The sentiment is from Itty Bitty Christmas.

The little tree inside is from the Most Wonderful Time stamp set.

Stop by tomorrow and I will share the cutest little gift box and mini cards we made as our projects.

Have a great day,

Jenny

3D projects, Catalogues, Onstage, Stampin' Up!

WEDNESDAY’S WOW! #91 – CUTE APRON GIFT BOX!

Today’s Wednesday’s WOW!#91 I have a special project for you.  It’s an apron gift box. 

I shared this project at my Onstage presentation back in November.  I was honoured to present the Best Dressed Bundle in Sydney.  I will be sharing other projects with this bundle in the coming weeks but thought you might like to see this project.

It might be fun to make up a little gift box for someone.  If you are a Demonstrator it might be great as you start planning your Catalogue Launches in January.  I have made it in to a little Stampin’ Up! apron which is quite a novelty but you could use other card or paper and make a really pretty box.  I am sharing the template and the details below.

So many people loved this cute little bag at Onstage and also when I have shared it on some Facebook groups I am on.  Now here it is for you.

This is made with the All Dressed Up Dies.

Cut one bag front from black card.  Trim the side off the diecut bag and also the bottom tab so you are left with an apron shape.  Also cut 2 of the stitched strips from black card to use as the straps.

Here is the back of the bag.  I created a little box so you can fill it with small treats  It’s a very simple box.  I will share the template below.  The straps are attached at the top of the apron, crossed over and attached inside of the box at the back.

BOX TEMPLATE

Below is the template to create the box.  Cut your card 10.5cm x 12cm (4 1/8″x 4 3/4″).

Score on the short side at 4cm, 6.5cm (1 1/2″, 2 5/8″). Score on the long side at 2.5cm, 9.5cm (1″, 3 3/4″).

Cut up on the tabs on the short sides.  Fold on all the score lines.

Add adhesive to the outside of the small centre tabs on the short side.  Fold up to form a box.  Add more adhesive on the tabs as needed.  Adhere all together.

Place adhesive on the back of one side of the box.  Line up the bottom edge of the box with the bottom edge of the apron at the back to be sure it is straight. Adhere the straps on the apron and box.

I cut the small stitched sentiment shape to create the apron at the front and added a small logo from the Follow Your Art Washi Tape.

I hope you like the cute box/bag.  It’s a lot of fun to create.

This will be the last Wednesday’s WOW! for 2019.  We will have a couple of week’s break over Christmas and New Year and be back in 2020.  I look forward to sharing more with you in the new year.

If you have any suggestions of what you would like to see for future Wednesday’s WOW! then drop me a comment.

Happy creating,

Jenny


3D projects, Catalogues, Tutorials

WEDNESDAY’S WOW! #73 – DAISY LANE TEA BOX!

I have a sweet little Daisy Box for you for Wednesday’s WOW! #73.  You could use this to gift Tea Bags or some small chocolates.  I have the Tutorial below.

It doesn’t take long at all to make.  I used the Magnolia Lane Designer Series Paper for the strip around it.  The daisies were stamped from the Daisy Lane set and punched with the Daisy Punch and the Medium Daisy Punch.  I did 2 of each and layered them together.  The leaves were punched with the Leaf Punch.  If you check the leaves closer I scored along the centre and then curled them up a little.  This gives them a little dimension.

Here is how to make your Box.

Tea Bag Box

NB: Measurements are in both Metric and Imperial.  (apologies in advance for the 16th” measures).

Cut card to 19cm x 14cm (7 1/2″ x 5 1/2″).

Score card at 8cm and 11cm on the 19cm side . (On the 7 1/2″  side score at 3 1/8″ and 4 5/16″)

Score card at 3cm and 11cm on the 14cm side. (On the 5 1/2″ side score at 1 3/16″ and 4 5/16)

Cut Designer Series Paper piece at 6cm x 28cm (2 3/8″ x 11″).

To assemble the box.  Fold and score on all the lines.  Cut up on the small score lines on the long sides of the card.  See below.

Assemble the box by firstly adding adhesive to the 2 small tabs placing it on the outside of the tab. Fold up and bring one of the side panels over to adhere on to the tab.  Do this on both sides of the box.  Add adhesive along the outside of this long tab and then adhere the other long tab down on to this. This forms your box.

Place adhesive, (I use Tombow Multipurpose Adhesive) along the back of the paper strip and wrap around the box and adhere down. Decorate as you like.

***

Hopefully that makes sense.  I was a little time pressed today to get the full photos together.  If you need more information, drop me a comment and if you would like a video then let me know.

Enjoy making the box.

Jenny

THIS WEEKS SPECIAL ONLY:

Order the Daisy Lane Bundle and receive a pack of Clear or Gold Faceted Gems free. (your choice of colour).  Great for the centres for your daisies.

Plus you will also receive 3 project tutorials from the projects that we will be making in our Daisy Class this week. (You can see those in an earlier post).


The Daisy Lane Bundle is available in my store now -> HERE.

Please use the Host Code: H2BBRFTE

or Order from me directly.

3D projects, cards, Stampin' Up!

STAMPING AROUND THE WORLD BLOGHOP!


Today I am taking part in a Blog Hop with the Demonstrators from the Stamping Around the World Tutorial team I am part of.  This is exciting! I hope you can take some time and enjoy the short hop around the world.  You might have come from  Sue Allen’s Blog or just starting out from here.  That’s ok.  Grab a cup of your favourite beverage and hop along to each blog.

Today I am sharing a project with the Hello Cupcake set.  I used this set in my project for this month’s Tutorials so thought I would use it again for the Blog Hop project.

Using a Clear Acetate Card Box I created a set of cards.  This would make a nice gift set.

The paper is from the Brights Paper Stack in the Annual Catalogue.  It is 6″x6″ (15.2cm) and not quite wide enough to wrap around the box completely.  I could join it but then you would notice it on this.  So I just went with a strip across the front and tied around some Lemon Lime Twist Organdy ribbon around the strip before adhering it to the front of the box.

The diecut “friend” is from the new Well Written Framelits Dies.  The “FOR YOU” is from the stamp set Well Said. These two come as a bundle or individually.

I made a set of 5 one layer cards using 5 different colours from the Brights Collection: Granny Apple Green, Gorgeous Grape, Mango Melody, Poppy Parade and Bermuda Bay.

The cupcake base was stamped in Early Espresso ink.  The “frosting” was stamped on scrap white card in the ink colour and then fussy cut out.  This was raised up with Dimensionals..  I stamped “sprinkles” in the corner in the co-ordinating colour. Of course, a Rhinestone to finish. 🙂

The cards were very quick to put together.  You could make them even quicker if you stamped the “frosting” directly on the card.  It’s nice to have a little card set on-hand to give out to someone.

Here are a couple of them individually to see.  I had to add a few sprinkles around for the photos. 🙂

This one is in Mango Melody.

This one is in Poppy Parade.  This is not a colour I use too often but I liked it on this card.

I hope you liked the Hello Cupcake card set.

This set is a free choice for Sale-A-Bration with orders over $90 AUS.  You can order your Stampin’ Up! products in my store now -> HERE  Please use the Host Code: FYQHM4CK

Once you have ordered you can select your choice of Sale-A-Bration product.  Free is good. 🙂  Don’t forget you will get your free tutorial bundle with 10 projects with this qualifying order too. I will email that to you after you place your order.  Or you can purchase the Tutorials for $28 AUS via Paypal. (link given when you email me for it). 🙂

Now off to the next blog. You will hop to Linda’s blog now -> HERE

If you get lost you can follow along with the list below.

1. Alejandra Gomez

2. Narelle Fasulo

3. Jo Anne Hewins

4. Stefanie Pletscher

5. Eva Pottsova

6. Margriet Siekman

7. Sue Allen

8. Jenny Hayward

9. Linda Handford – UK

Enjoy. 🙂

Jenny 

3D projects, cards, Catalogues

PILLOW BOX CARD HOLDER!

I just received the Kraft Pillow Boxes recently. These are lovely little boxes for little treats. I will do that with them soon but I had different ideas for this little project.

I made a little pocket with a matching note card and envelope using the Narrow Note Cards and Envelopes.

This is a great size to give a little note to someone as a pick-me-up or a Thanks.  Add a chocolate treat or even a Gift Card.

To make these little pockets, simply cut the top off the Pillow Box just under the curved score line.  Then assemble the Pillow Box.  Decorate it as you like after it is assembled.

To decorate mine, I added a wide strip of the Share What You Love Specialty Designer Series Paper and then a narrower strip over the top.  I wrapped around some Rich Razzleberry Velvet Ribbon and adhered a bow with a Glue Dot.  The sentiment from the Love What You Do stamp set was stamped in Rich Razzleberry and then I cut around the ‘friend’ word with scissors.  That was raised up with Dimensionals.

The Narrow Note Card was stamped with the flowers in Memento Black and then “filled” with one of the small “dot” type stamps in Rich Razzleberry.  I added some Old Olive leaves.  Of course, finished off with a Linen Thread bow and a Pearl from the Adhesive Artisan Pearls. The envelope was stamped with a matching flower.

These are so quick to make.  I think I need to make some more so I can have some on hand to give out.  How will you decorate yours?

Thanks for stopping by.

Catch you again soon,

Jenny


3D projects, Tutorials

LOTS TO LOVE VALENTINE FLIP TOP BOX!

So it is Valentine’s Day here tomorrow apparently.  We don’t celebrate Valentine’s Day in a big way in Australia.  You might give your “significant other” a little chocolate treat and I do give my 2 kiddies (well they are mostly adults now), a little chocolate treat.

I thought that this year I should do SOMETHING! I have had the Lots to Love Box Framelits for a couple of weeks and not used them.  I had this in mind for about that long too.  So I just managed to create it in time.

I call it a Flip Top Treat Box. I am sure you could use the idea for a Gift Card not just chocolates.

This is with the Flip Top open. Mmm! Chocolate Hearts!

It has a little card insert in it to add the Chocolates. I added a Glue Dot under each one to stick them them to the card. I added a loop of ribbon which was adhered to the end of the card and then I added a small red punched circle to cover it.

CREATE YOUR OWN FLIP TOP TREAT BOX

1. Cut 2 of the box shapes from the Lots To Love Box Framelits from your card.

On one piece which will be your top score it at half way along the long side of the box. This will be at 6cm (2 3/8″) which is from the scored line measurement not from the start of the curved edge.

2. Place adhesive on the underside along the long tabs ONLY to the half way point that will be adhered to the box.  You don’t want to adhere the whole section or it won’t open. I added the adhesive on the curved end half.

3. Adhere the top piece to the bottom piece of the die-cut box.  Your bottom piece will have the curved end to the opening end as shown in the photo below.

4. Decorate the box as you like.  I used the Party Pandas set.  The hearts were cut from the Lots of Love Box Framelits set. The sentiment was cut with the Layering Square Framelits.

So cute enough for Valentine’s do you think?  Maybe it is a little late now to whip some up but file it away for another special Occasion.

Below I have a collage image ready to PIN.

Have a great day,

Jenny


3D projects, cards, Catalogues

SILVER GABLE BOXES!

Have you seen the Silver Gable Boxes in the Occasions Catalogue?  These make really quick gift boxes in no time.

I shared in the last post the boxes I made up for the Lucky Door Prize for my launch. Head back to see those.  I made a few more up to show ideas with them.  Let me show you.

Firstly, a simple one with the Hedgehugs set.  Cute!  The paper strip is from the Eastern Palace Specialty Designer Series Paper pack.  I stamped the hedgehog in Dapper Denim and coloured the centre of the flower with the Lemon Lime Twist marker.  I added a bow with Lemon Lime Twist Mini Striped ribbon with a glue dot.

Here is another Gable Box.  This time decorated with the Sweet Soiree Specialty Designer Series Paper.


The sentiment is from the Birthday Blossoms set.  I love the Metallic Edge Berry Burst Ribbon.

Here is another version of the boxes.

This time I cut off the top of the Gable Box. So the handle section along the scored line.  Then created a wrap using the Sweet Soiree Specialty DSP.  I added a strip of the Berry Burst cardstock and then tied some Lemon Lime Finely Woven Ribbon.

You can grab the boxes in store now -> HERE and decorate them how you like.  They are $14 for a 12 pack.

Grab some and give a little treat to someone to brighten their day.

Jenny