cards, Techniques, Tutorials, Videos

FLIP IT FUN FOLD CARD + VIDEO

Today’s video is a Flip It card. I don’t know what it’s actual name is but that’s what I call it. I’m going to show you how.

This is the card.

The front panel stands up when you Flip It.

Then when it lays flat.

It is a little larger than a standard card so you may need to make an envelope to fit or give it directly to your special person. You may want to explain how it flips too so they can see the fun of it (and give you a WOW!)

I used the cute Festive Friends Stamps and Dies. You can create this for any occasion whether it is Christmas or Birthday or some other special event.

Here is the video to create your own Or head straight to my Youtube.

Hope you get to make one. As always I will send the writtent tutorial to my Newsletter Subscribers next week. I send out a Tutorial each week. If you would like to receive my Tutorials then you can subscribe to them. The Tab is on the Right Hand Side Bar on my blog.

Happy Crafting,

Jenny

If you need supplies and you are in Australia I would love to help you get them. You can stop by my Store -> HERE or Contact me Directly.

cards, Christmas

STAMPIN’ UP! RUSTIC CENTERPIECE FOR CHRISTMAS ~

I made this weeks ago but just remembering to share with you now.

This one is with the Rustic Centerpiece Stamp Set. It’s a set with images that can be used for different occasions through the year.

I like the rustic deer and tree on this one. I coloured it with the Watercolor Pencils. I find them easier to control rather than the Stampin’ Blends or Watercolouring especially when there are finer details.

The sentiment is from the Ornamental Christmas Stamp Set. The paper is with the Nests of Winter Designer Series Paper. It works well for Christmas too.

This is the Rustic Centerpiece Stamp Set.

See it more -> HERE.

I realised I haven’t shared the other cards I have made with this set too. I shared them on my Facebook but missed it here. SO… I will be back soon with those projects.

Crafting time is a little sparse at the moment but I hope to be back soon with some more creating. Especially as we start getting in to the busy Christmas season.

Happy Crafting,

Jenny

Do you need some crafting Stampin’ Up! supplies? I would love to help you get them. Head to my store -> HERE OR Contact me directly.

cards, Catalogues, Christmas

A SANDMAN WITH THE STAMPIN’ UP! FESTIVE FRIENDS BUNDLE ~

I couldn’t resist. I recently got the Festive Friends Bundle. They are cute characters in this one BUT for our Hot Christmas time in Australia with many heading to the beach I couldn’t help but make the snowman a Sandman.

I remember so many times at the beach when I was young creating big mounds of sand and decorating it with seaweed for hair and added sticks and shells. And at Christmas time you did add a Santa Hat. Such fun memories.

So the Festive Friends snowman became a Sandman. Not too many shells or seaweed on this one but still all dressed up for Christmas.

The Sandman was coloured with the Stampin’ Blends and the shells were from the Notes and Totes Dies set. The paper worked well with it. This was from the Peaceful Garden Designer Series Paper pack.

I had a lot of fun colouring this character. I have created with the other characters too so I will get back to you soon on those ones.

This is the Festive Friends Bundle. It has some fun little additional elements too with the trees and snowflakes and a tag shape. See it more -> HERE.

Happy Crafting,

Jenny

If you are in Australia and need supplies for your crafting I would love to help you. Head to my store -> HERE Or Contact me directly.

cards, Catalogues, Christmas

SURFING SANTA FOR CHRISTMAS!

It’s a Surfing Santa today. This set is a great one for our hot Christmas time in Australia. It’s good to see Santa out of his Santa suit.

I coloured this one with Watercolor Pencils. I still have much to learn with colouring.

The Paper is from the Reindeer Days Designer Series Paper pack.

It’s a fun set to create with.

Happy Creating,

Jenny

Need to order and you are in Australia? I would love to serve you. You can head to store Online -> HERE. OR contact me directly.

cards, Catalogues, Christmas, Videos

CUTE DEER WITH THE REINDEER FUN FOR WEEK 3 OF 12 WEEKS OF CHRISTMAS

It’s Week 3 for our 12 Weeks of Christmas series.

This card is using the Reindeer Fun Stamps and Dies which are just the cutest. The card shows a great way of using different papers together too. I used the Reindeer Days Designer Series Paper.

This is the card.

You can follow along with the video.

You can PIN this image now to come back to later for your creating.

The tutorial to create the card will be sent out in next week’s newsletter. If you haven’t subscribed yet to my newsletter you can find the link in the right hand column on my blog.

In the video I showed a template for variations in colour with the deer head. I have that below so you can refer back to it later.

They can look so different using different colours. Don’t forget the Red Glimmer for a Rudolph nose.

Enjoy Week 3. Be sure to check back again soon. If you have missed the last 2 then head back some posts on my blog to catch them.

Happy Crafting,

Jenny

Need supplies for any of your projects? I would love to help you.

You can head to my store -> HERE. Please use the Host Code: JDH3D9KQ OR contact me directly.

cards, Catalogues, Christmas, Techniques, Videos

MERRIEST TREES FOR WEEK 2 OF 12 WEEKS OF CHRISTMAS

Week 2 for our 12 Weeks of Christmas series is half front with the Merriest Trees stamps and dies.

Here’s our card.

This is the inside.

If you don’t have the Merriest Trees another trees stamp would work just as easily I am sure.

Catch the video below. (If it doesn’t show in the email mail out please head directly to my blog to view it there).

You can PIN it now on Pinterest to come back to.

If you like the Merriest Trees I shared a video sometime ago with 5 Ways with the Merriest Trees. You can catch the blog post and the Video -> HERE.

Happy Christmas crafting,

Jenny

Need some crafting supplies and you are in Australia?

I would love to help you. Head Online to my store -> HERE. Please use the Host Code: JDH3D9KQ Or Contact me directly.

cards, Stampin' Up!, Tutorials, Videos

FRONT FLAP CARD WITH A SURPRISE + VIDEO!

Today’s card is a cool Fun Fold. It is a Front Flap Card. It has an added flap that you could add a surprise inside.

This card was shared to me by a Demonstrator friend Linny. I loved the card and wanted to share it with you.

Here is the card.

Lift up the Flap.

Open the card.

Under the flap would be a great to add a Numbered birthday perhaps or even add a pocked for a Gift Card.

I have a video for you to follow along.

I used the Season of Green and Gold Specialty Paper. Also the Golden Greenery Stamp Set and the Greetings of the Season Stamp Set. It makes a special Christmas card to send. This could be used for so many different occasions though.

I share another one version at the end of the video so be sure to check out that one.

Follow along and I hope you get to make one.

Happy Crafting,

Jenny

If you are in Australia and need some crafting supplies I would love to help you. You can shop in my store Online -> HERE or contact me directly.

cards, Cards by Mail, Christmas, Classes, Stampin' Up!

NESTS OF WINTER CLASS – IN PERSON OR BY MAIL!!

Join us to create with this gorgeous Nests of Winter Paper.

The class is available In Person in my studio OR if By Mail.

You will create 5 cards with this Paper including one Fun Fold.

WHEN: Friday 27th September 10am
OR
Saturday 28th September 2pm

RSVP: Thursday 26th September

COST: $30

For Class By Mail – Please Reply by the 26th September also.
All materials will be included in the Card Kits. You will need your own sentiments (Christmas and Birthday or what you would like to use). Also Black Ink. Green and Red inks are used on some sentiments but that is a personal choice. Also included is some simple instructions to follow along.

Let me know ASAP to reserve your place. Email me at jghayward@yahoo.com or PH: 0439 844574

Any questions please contact me.

I can’t wait to create these cards with you,

Jenny

cards, Catalogues, Christmas, Classes, Stampin' Up!, Techniques

WEDNESDAY’S WOW! #68 – FAREWELL LOVELY AS A TREE!

Today is a special Wednesday’s WOW!

Today we take a moment to remember the timeless Lovely As A Tree set.  It is so sad that this set is leaving us.  Each year we scour the catalogue to see if it has made it in.  This year though I think we were all saddened to see that it’s time had finally come. 

This set started in the Catalogue in the US back in 2001.  I believe it was designed by Shelli Gardner’s sister who started Stampin’ Up! with Shelli.  This set has been like a much loved family member so it is a sad occasion.  I bought this set in my first Demonstrator order after I joined back in 2008. This set has had so much use and I think every Christmas it gets pulled out.  It is such a classic stamp set.

So today for Wednesday’s WOW! #68 we look back at some of my projects with this stamp set.  I am sad that I couldn’t find photos of some cards I had made but let’s have a look back at these projects I have kept. I have to say it is also a look back at my stamping style too.  Perhaps that is a little embarrassing but … anyway. Enjoy the nostalgic journey.  Apologies in advance for lots of photos.

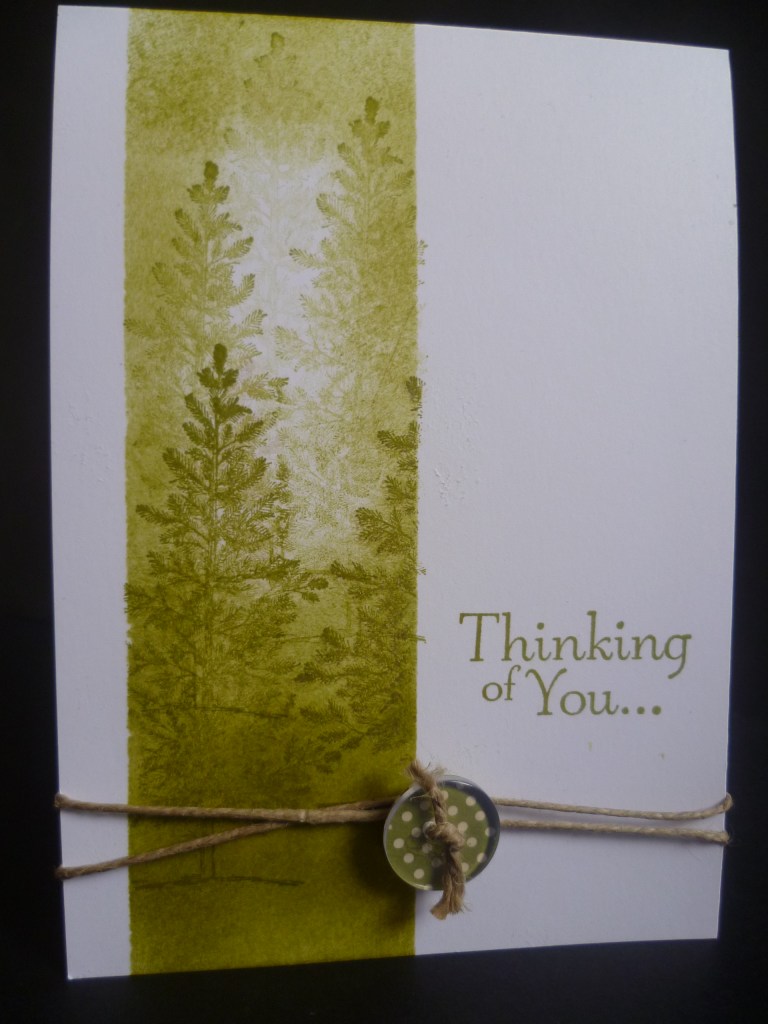
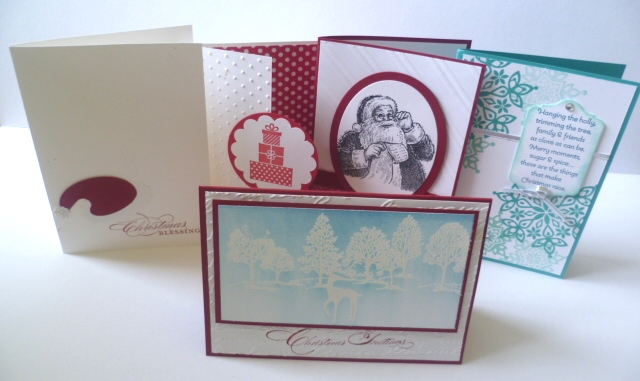
May 2011 – See the original Post -> HERE.

I don’t know what I was thinking with that button.

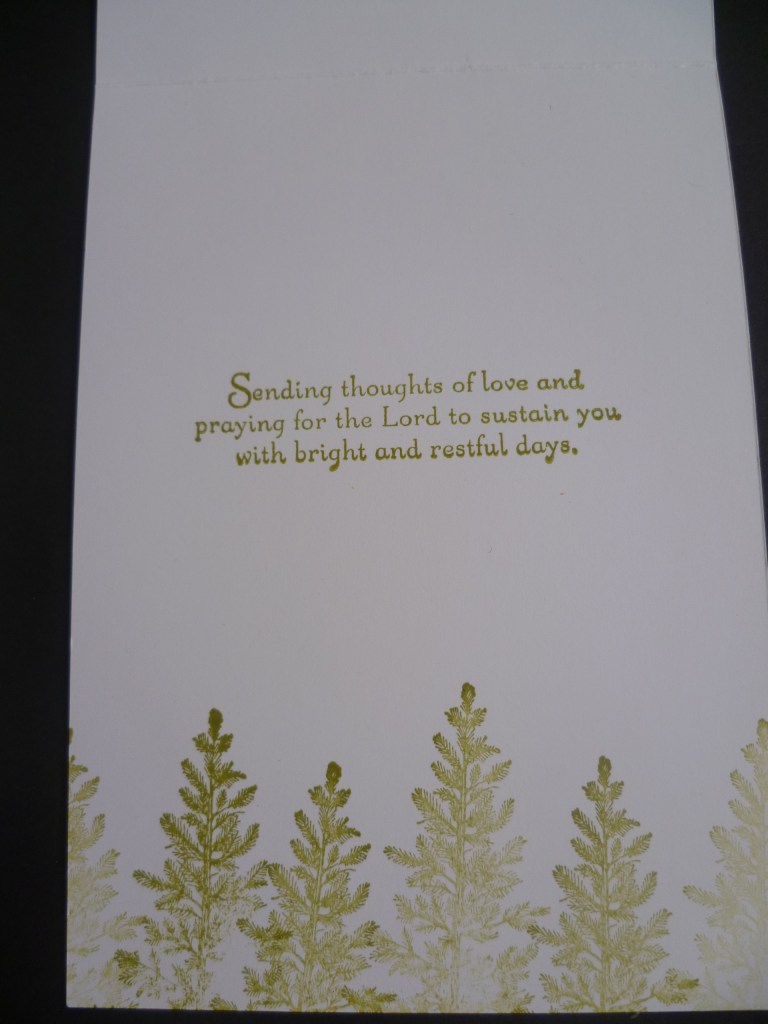
Even the inside of the card was stamped with the trees.

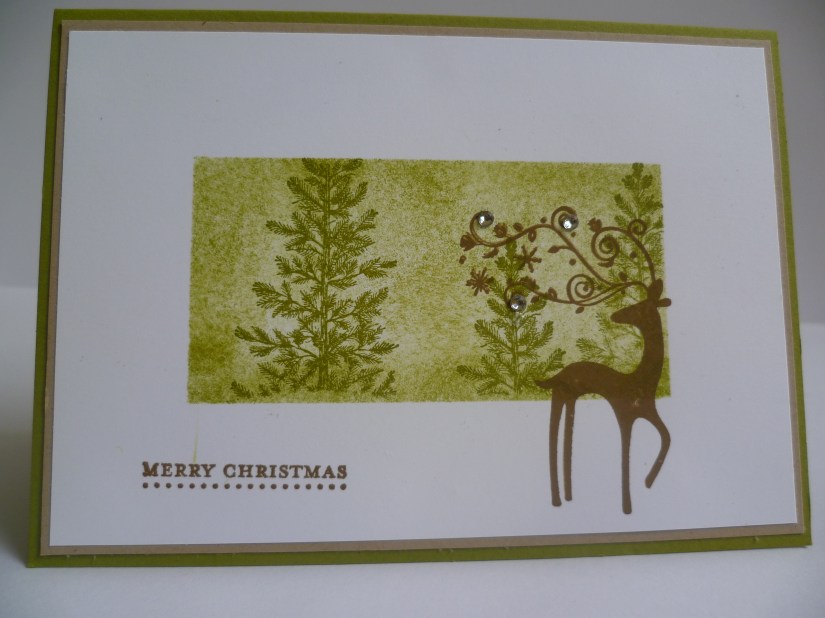
From a Stamp A Stack Christmas 2011 with another classic stamp Dasher.  What a great combination these stamps were.  See the original post -> HERE.

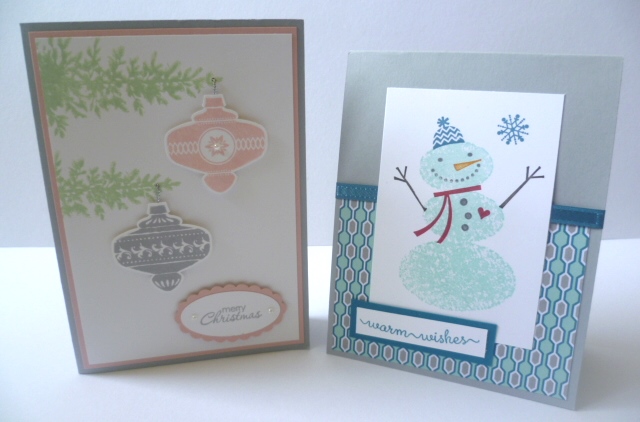
These cards were some I received for Christmas 2013.  It included a couple of cards using the Lovely As A Tree set.  I like how the tree is used on it’s side to give the effect of branches.  Very cute.

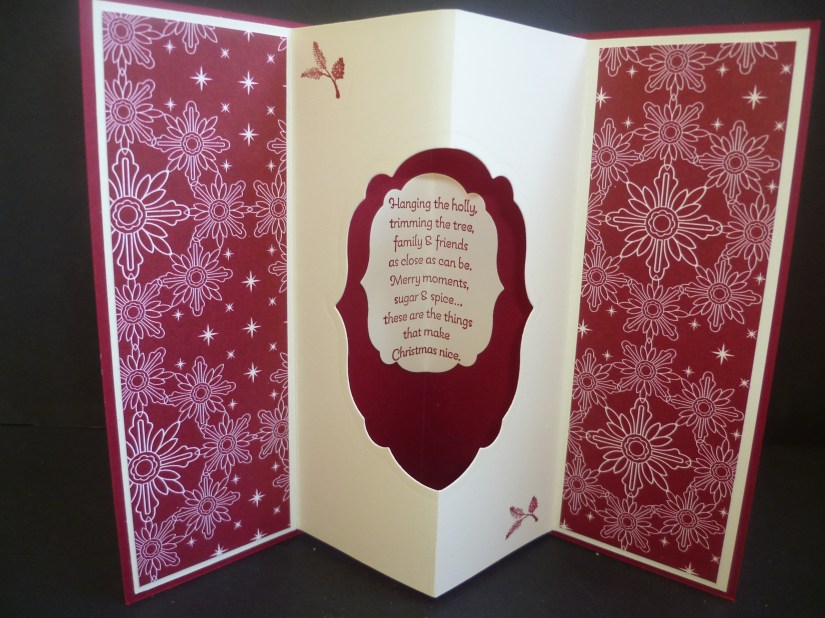
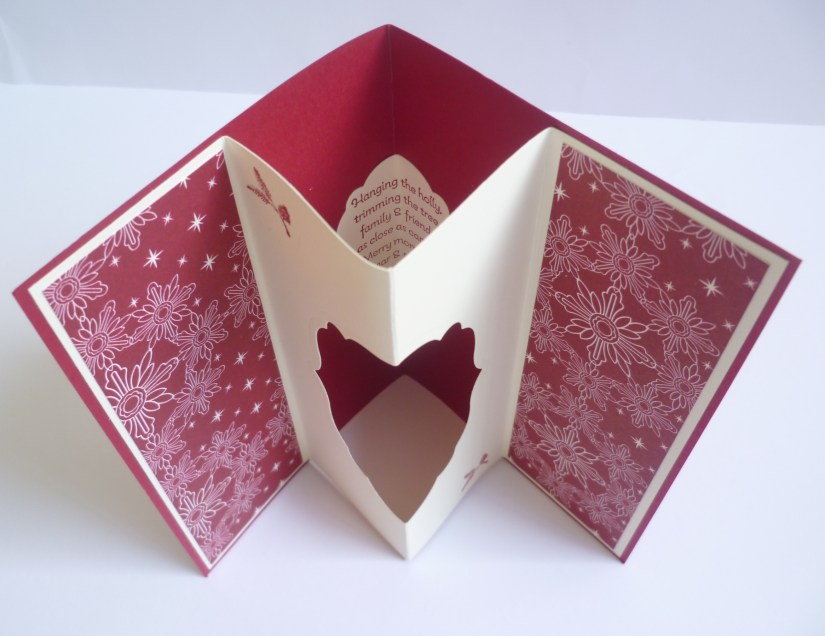
This Tunnel card was a favourite at a Christmas Card class in 2013.  You can see that post -> HERE and I included a Tutorial how to make the Tunnel card there too in that blog post.  Go and check it out.

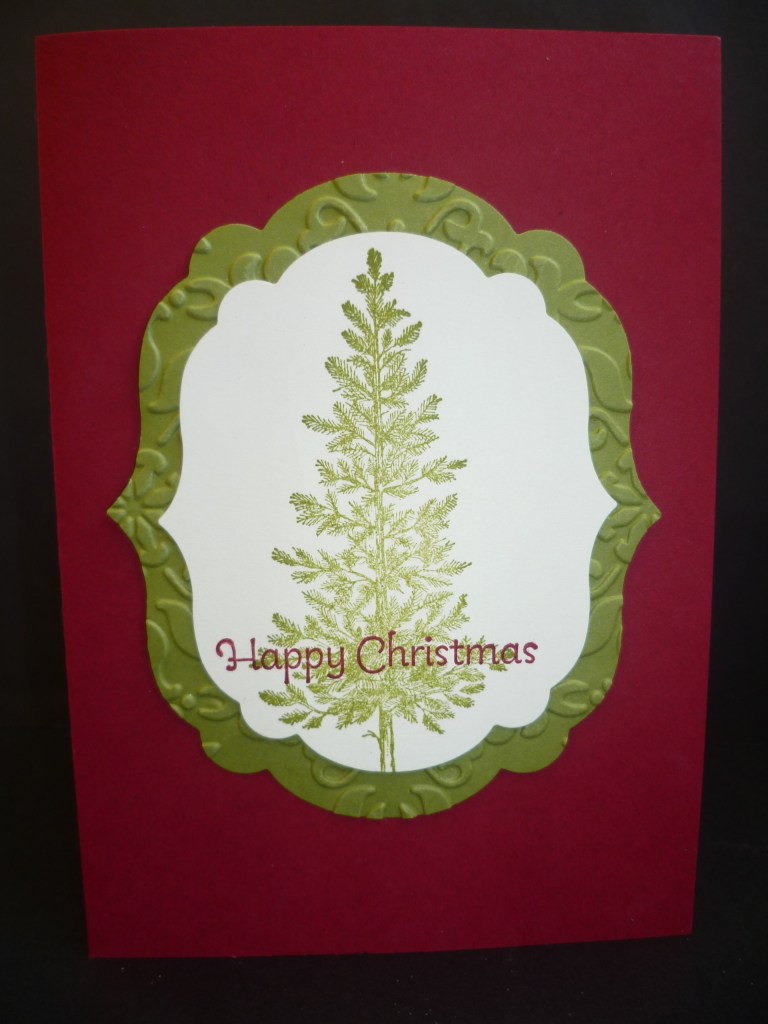
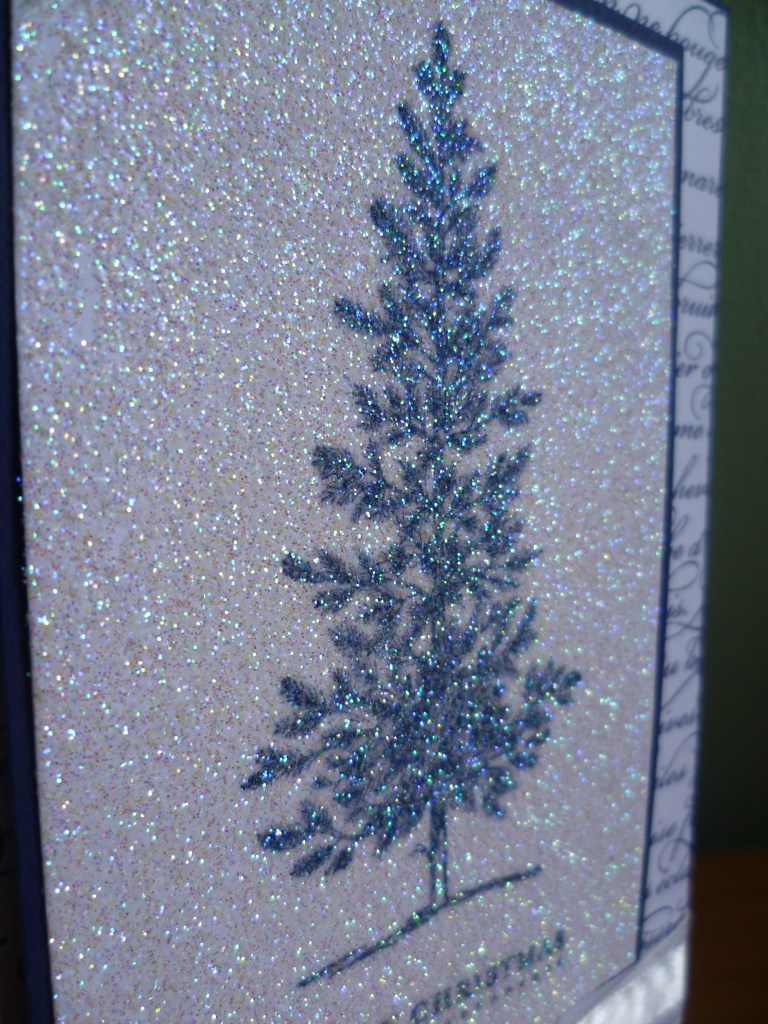
This one below was a real WOW! at class back in 2011.  Everyone loved this card. This was a Sparkly Christmas card. You can see it in this post -> HERE and I have a tutorial how to make it in that post. You can use this technique with any stamp set.

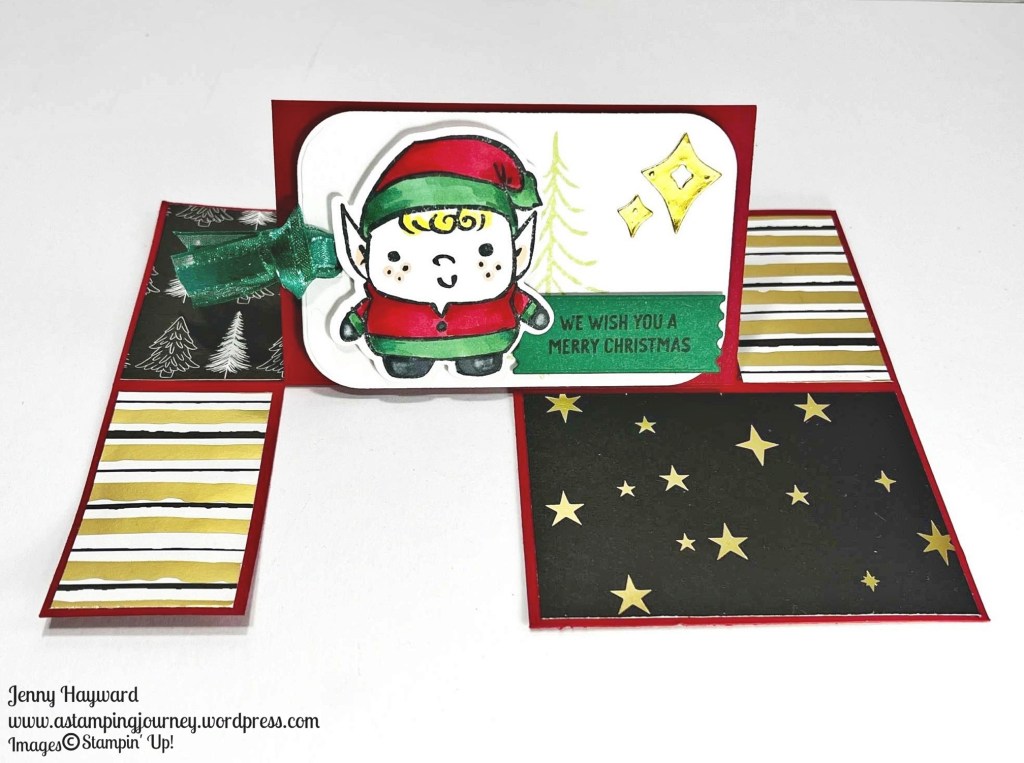
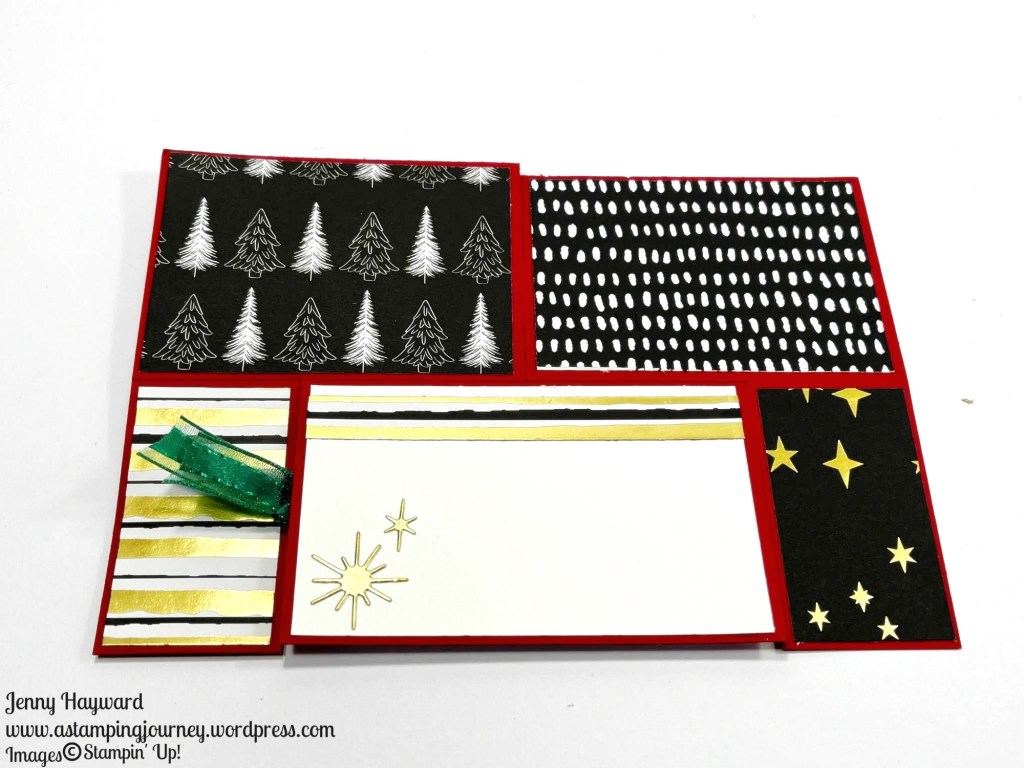
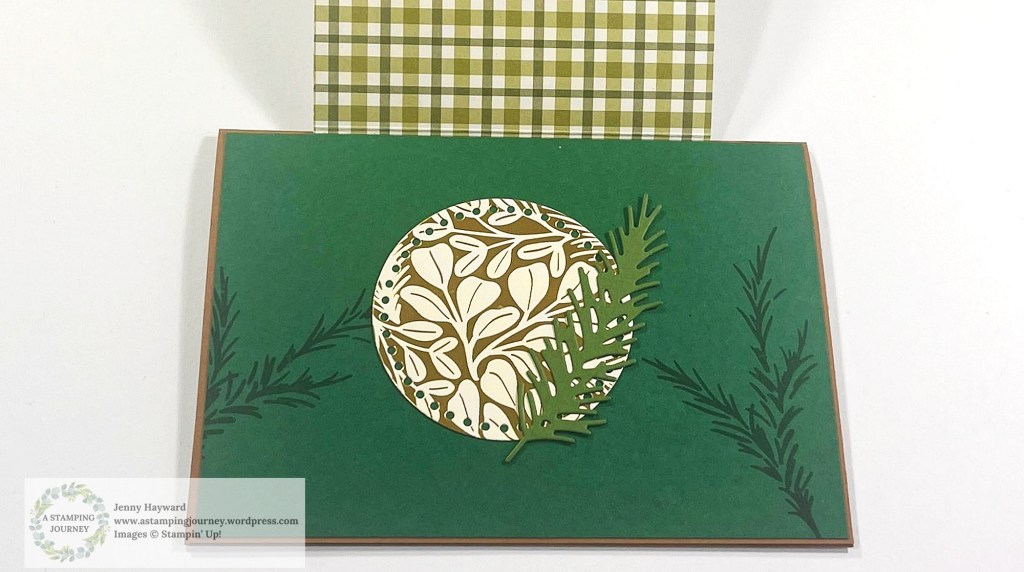
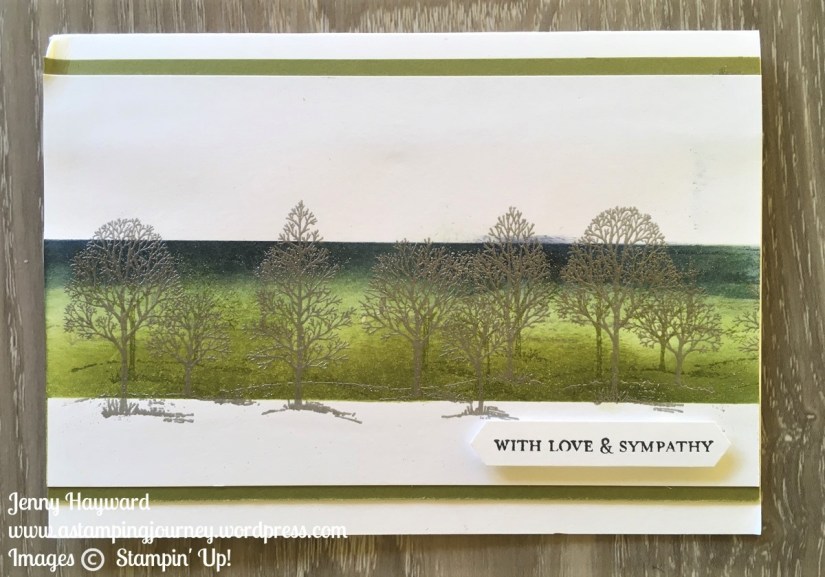
Now this next card we actually made at a team meeting like nearly 2 years ago.  I didn’t quite finish it at the time.  So I put it aside on my desk to finish.  All it needed was to be stuck together and a sentiment added.  Well I actually finished it a month ago.  Or actually my daughter finished it for me.

On this card I masked a section of the card and sponged in the section.  Then with the group of trees I heat embossed in Silver Embossing Powder.

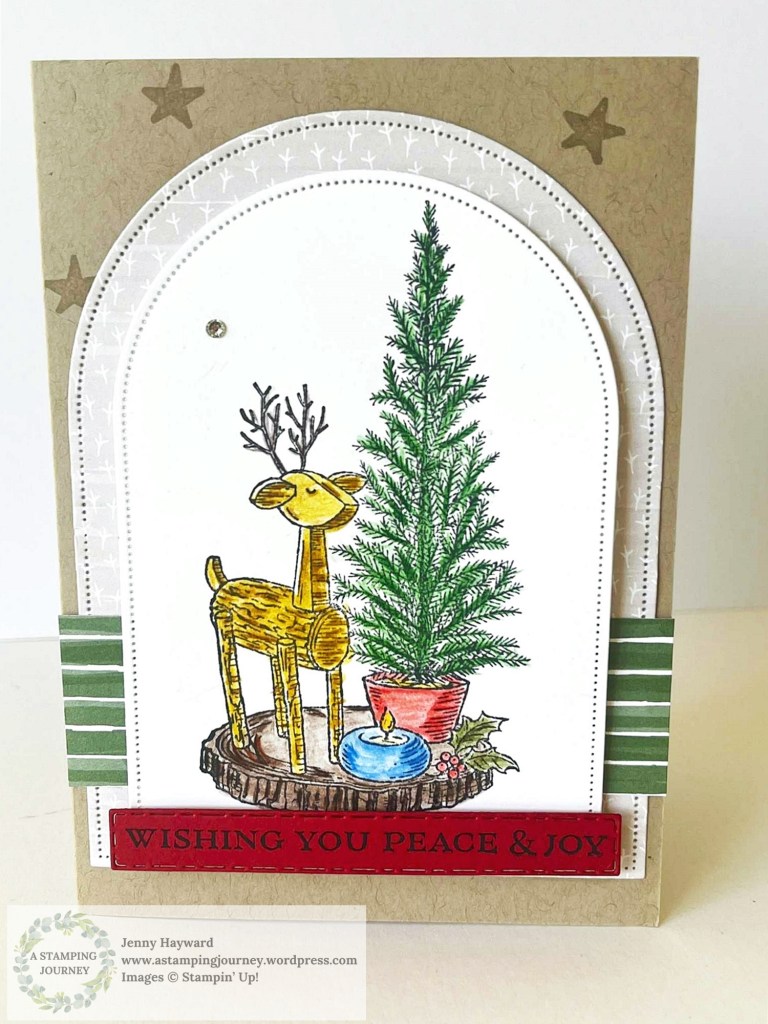
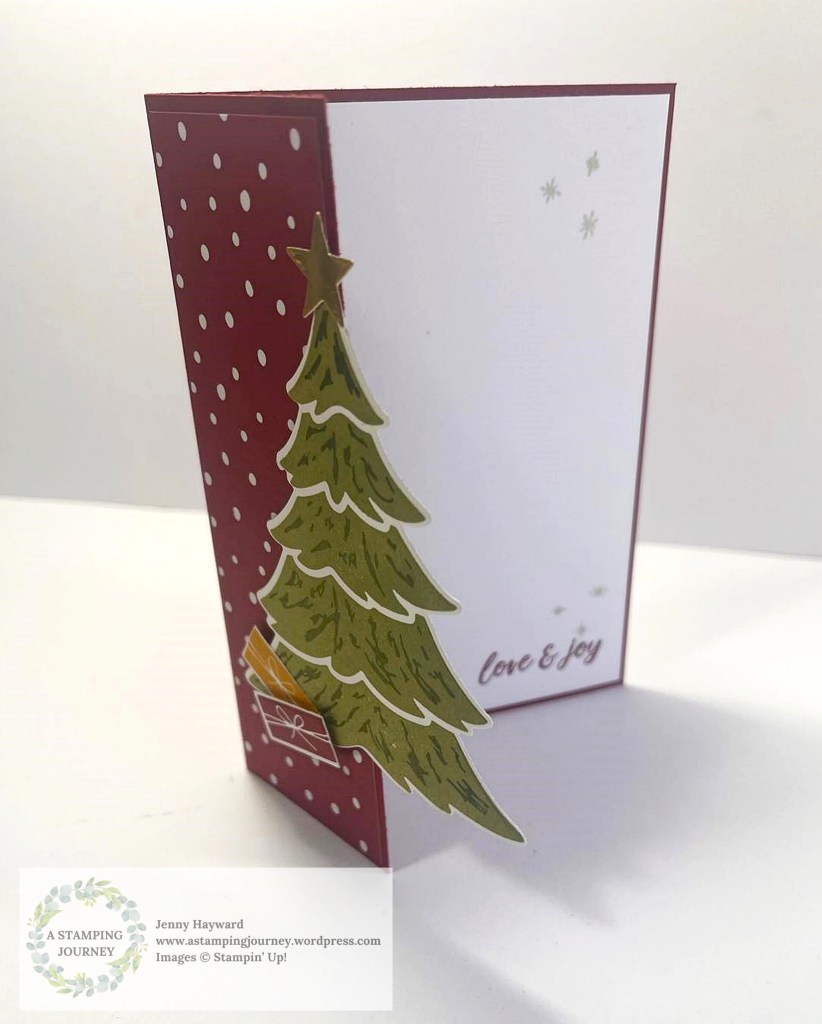
This card below was the most recent one from last Christmas.  I realised I hadn’t shared this card with you before. We used the Copper Shimmer Paint and swiped it over the card mat that had been embossed with the Tin Tile Embossing Folder.

Then for more shine we added the Shimmer Paint directly to the tree stamp and also on to the sentiment stamp.  To do this use the Dauber and pick some Shimmer Paint from inside the lid of the Shimmer Paint bottle then lightly dauber over the stamp.  Then stamp it on your card.  Against the Merry Merlot colour it is quite classy.

So sadly the Lovely As A Tree stamp set has sold out now.  I hope you managed to get hold of one.

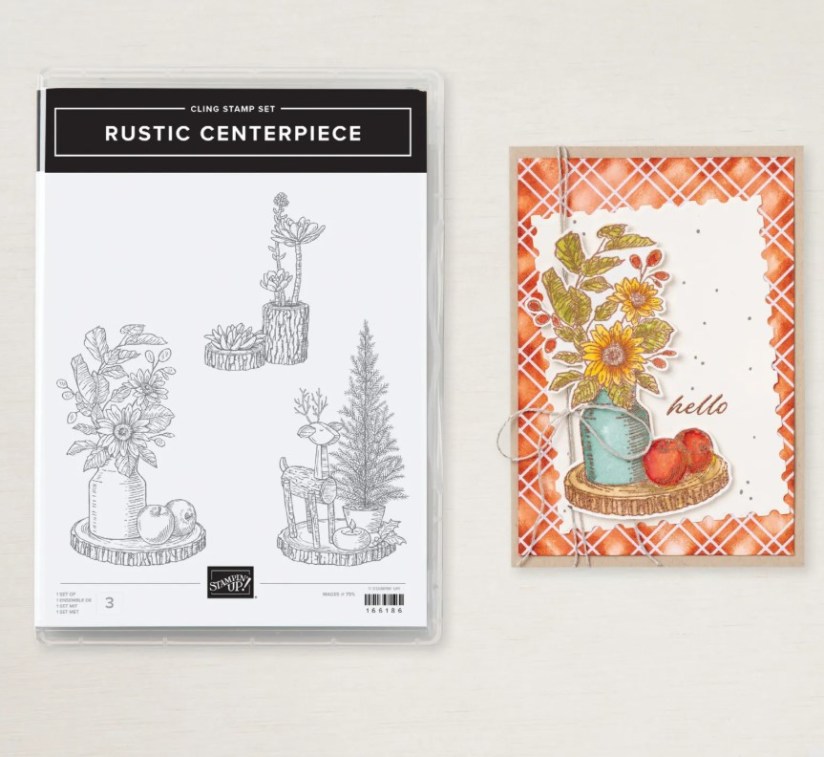
A new replacement might just be the Rooted in Nature stamp set.  Have you added that one yet to your collection? This set has a number of stamps AND dies.  I think this will be a good alternative.  Hopefully I will get to play more with that one again soon.

Thanks everyone for your patience as we wander down memory lane.

Farewell Lovely As A Tree.  You have been a reliable stamp set for all those special projects and festive occasions. You will be missed.  But I won’t be able to part with you just yet.  Enjoy your retirement.

Jenny


cards, Christmas, Techniques, Tutorials

CHRISTMAS PINES ECLIPSE CARD!

I have been playing with the Eclipse technique recently.  You can see one of them a couple of posts back I made for a colour challenge.  This one is a Christmas one using the Christmas Pines stamp set.

The base card is Cherry Cobbler and the card mat is Crumb Cake.  The pine leaves are stamped in Garden Green. The Gold Foil bow is cut from the Pretty Pines Thinlits.

Have you tried the Eclipse Technique yet.  SO easy but so effective.

Create the Eclipse Technique.

The Eclipse Technique is cutting the words or shapes directly from a stamped card piece and raising them off the card

1. Stamp your card with your chosen images.  You can use a piece of Designer Series paper (patterned paper) too as an alternative.

2. For this card I used the Large Letters Framelits to cut the word out of the white card.  You can use any dies though to cut other shapes from the stamped white card or paper mat.

3. Adhere the stamped white card mat or patterned paper piece directly on to your Crumb Cake card mat and then adhere both to the Cherry Cobbler card base.

4. Raise each letter up off the card in its place with Dimensionals.

NB: I have seen on some tutorials that the letters were cut several times from white card.  Then the cut letter was stacked up and adhered together and then the stamped letter was adhered on top of that stack.  I don’t think that is necessary.  Raising up the letter with Dimensionals is quite adequate.

————————-

Now you can go and create your own Eclipse card.

Thanks for looking today.   I hope your day is going OK??

Jenny