Back to more of our Stamping Weekend projects. I will share some more of the Christmas ones I did.

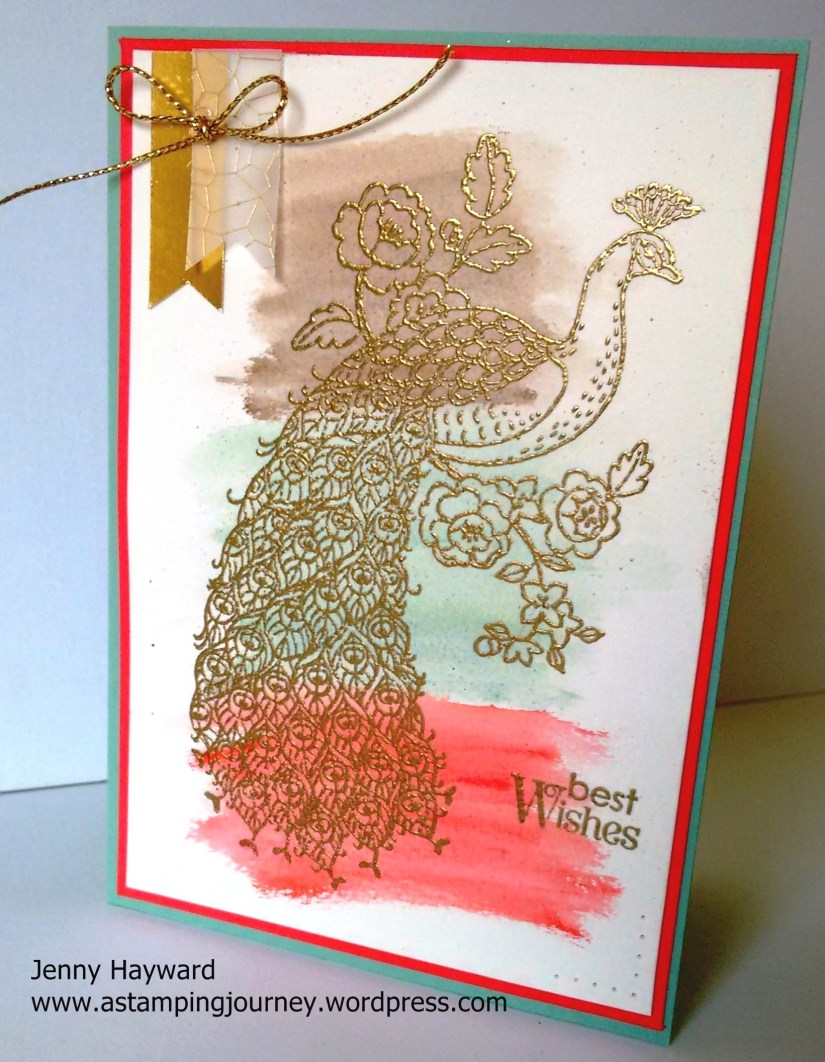
This one I CASED from Pinterest from http://www.bekka.stampinup.net and I changed it up a bit. I have used ‘Lighthearted Leaves’. Isn’t this such a versatile set!! You can use this for Christmas and any occasion. I added my card to a Cherry Cobbler base. The vellum is the Fancy Foil Designer Vellum in the Annual Catalogue. The greeting is from ‘Wondrous Wreath’ which I heat embossed in Gold. I finished it off with some Gold Twine and the centres of the leaves I added some Rhinestones that had been coloured with Sharpies.
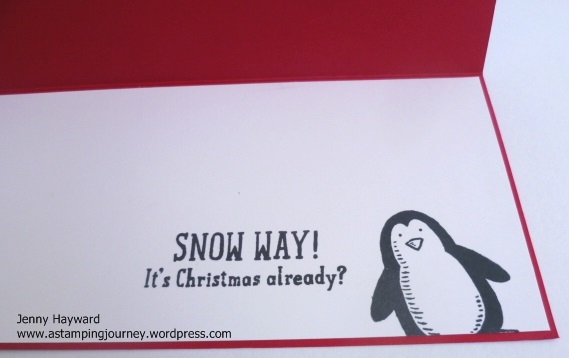
I love these little penguin dudes. How cute are they!! I have CASED this from my friend Leonie. It is longer than the standard card to fit them all in. You can dress these dudes up anyway you want and cut them with the matching Framelits.

This is the inside of the card. I forgot to colour his nose!
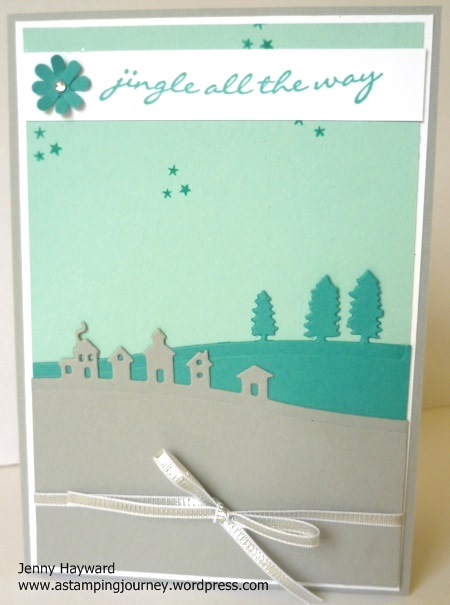
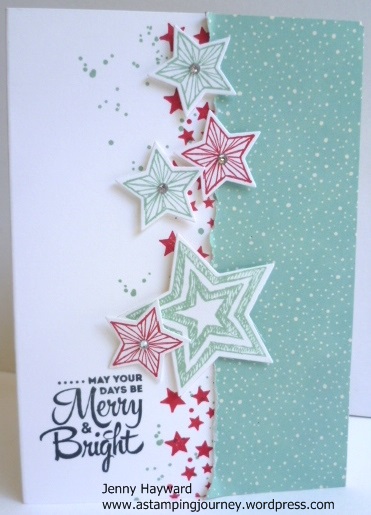
This next card we CASED from Pinterest too. This is using the set ‘Be The Star’. This is not your typical Christmas set but it is great to use other sets for Christmas. I tore a strip of DSP from the ‘Home For Christmas’ pack and adhered that down the side of a Thick White card base. I curled up the edge a little. I stamped the smaller stars in red near the torn edge. I stamped the other stars in Pool Party and Real Red and cut them out. The greeting from ‘Lots of Joy’ is stamped in Black. The “splodges” are from ‘Gorgeous Grunge’. I added some Rhinestones to the centres of the stars for some added sparkle.
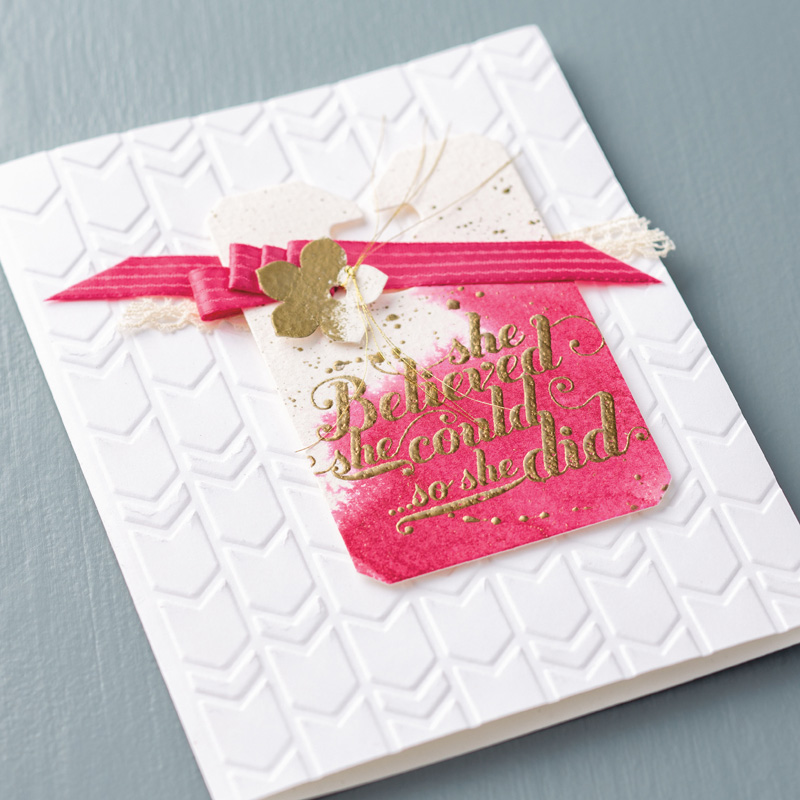
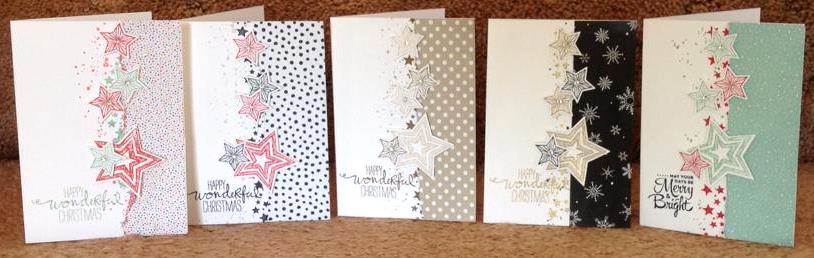
We all made this card at the same time. It is interesting to see how different they turned out in different colours. Aren’t they great???
Thanks for stopping by.
I will see you with more weekend creations next time.
Jenny