
cards, Catalogues, Christmas, Techniques

WEDNESDAY’S WOW #113 – DRESS UP YOUR ENVELOPES!

Shelli, (Stampin’ Up!’s wonderful co-founder) has stated that there should be no naked envelopes. 🙂 I’m guilty of that all the time I have to say. What about you?

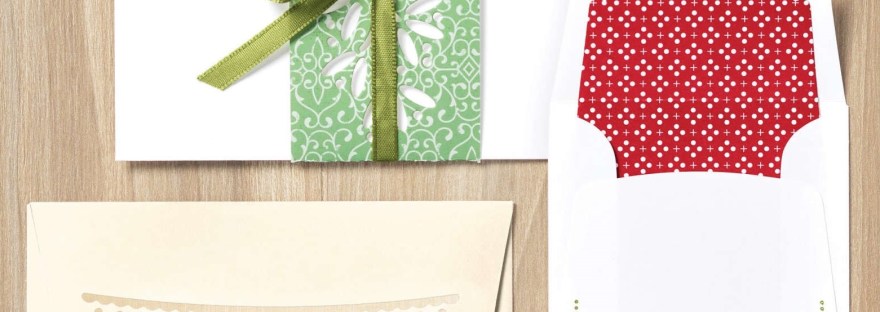
I have discovered these fun products in the Holiday Catalogue to dress up our envelopes. They look really fancy. For Wednesday’s WOW! #113 – Why not dress up your envelopes with the Ornamental Envelopes Bundle.

I think these products are overlooked in the catalogue. The ornaments in the Ornamental Envelopes stamp set are gorgeous but I really wanted to focus on the Envelopes Dies.

Below is the Ornamental Envelopes Bundle.
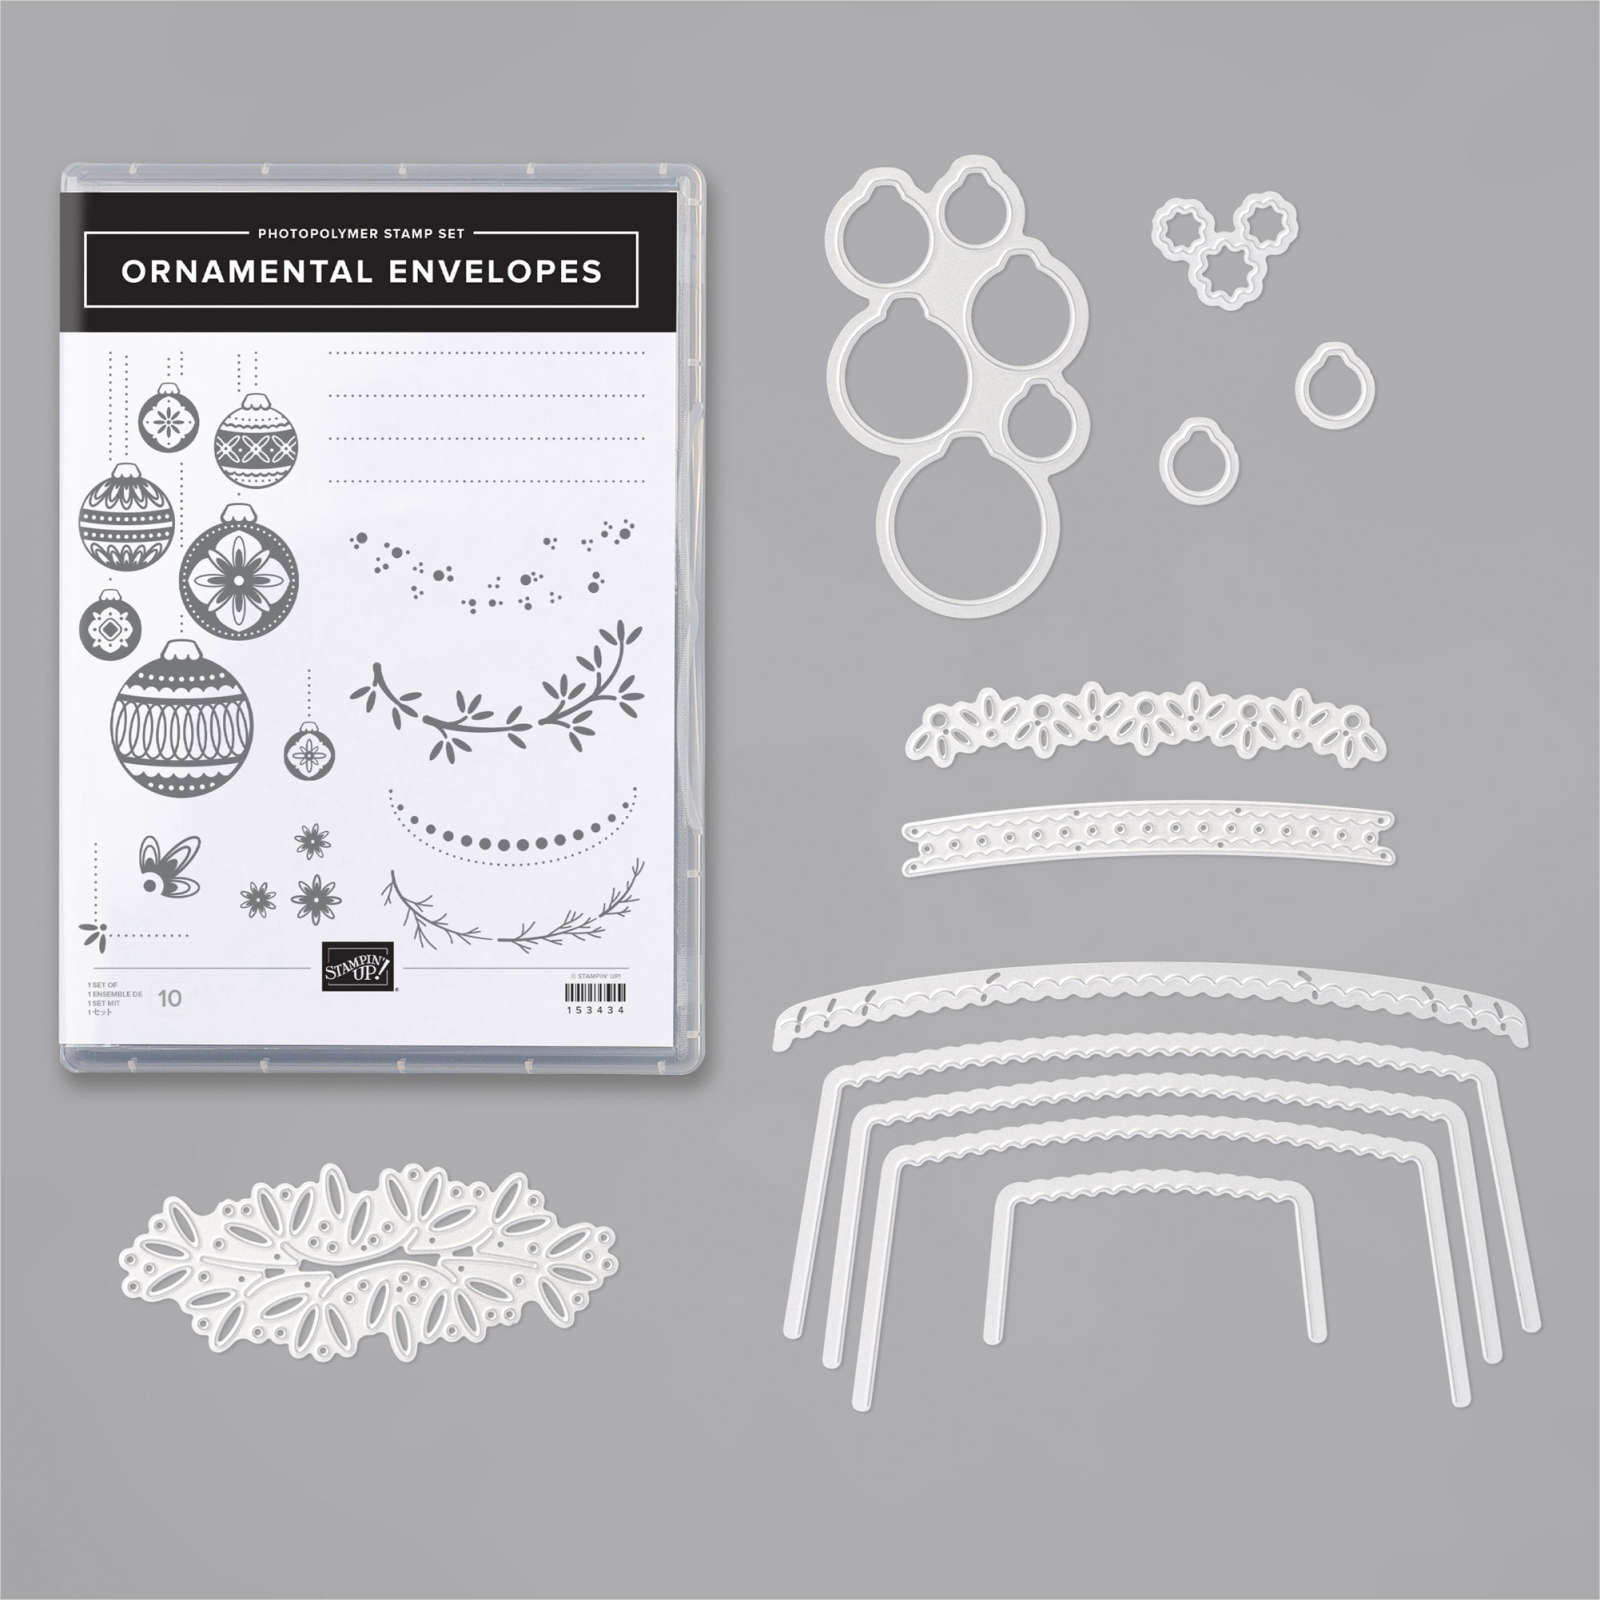
Check out the Envelopes Dies closer though.
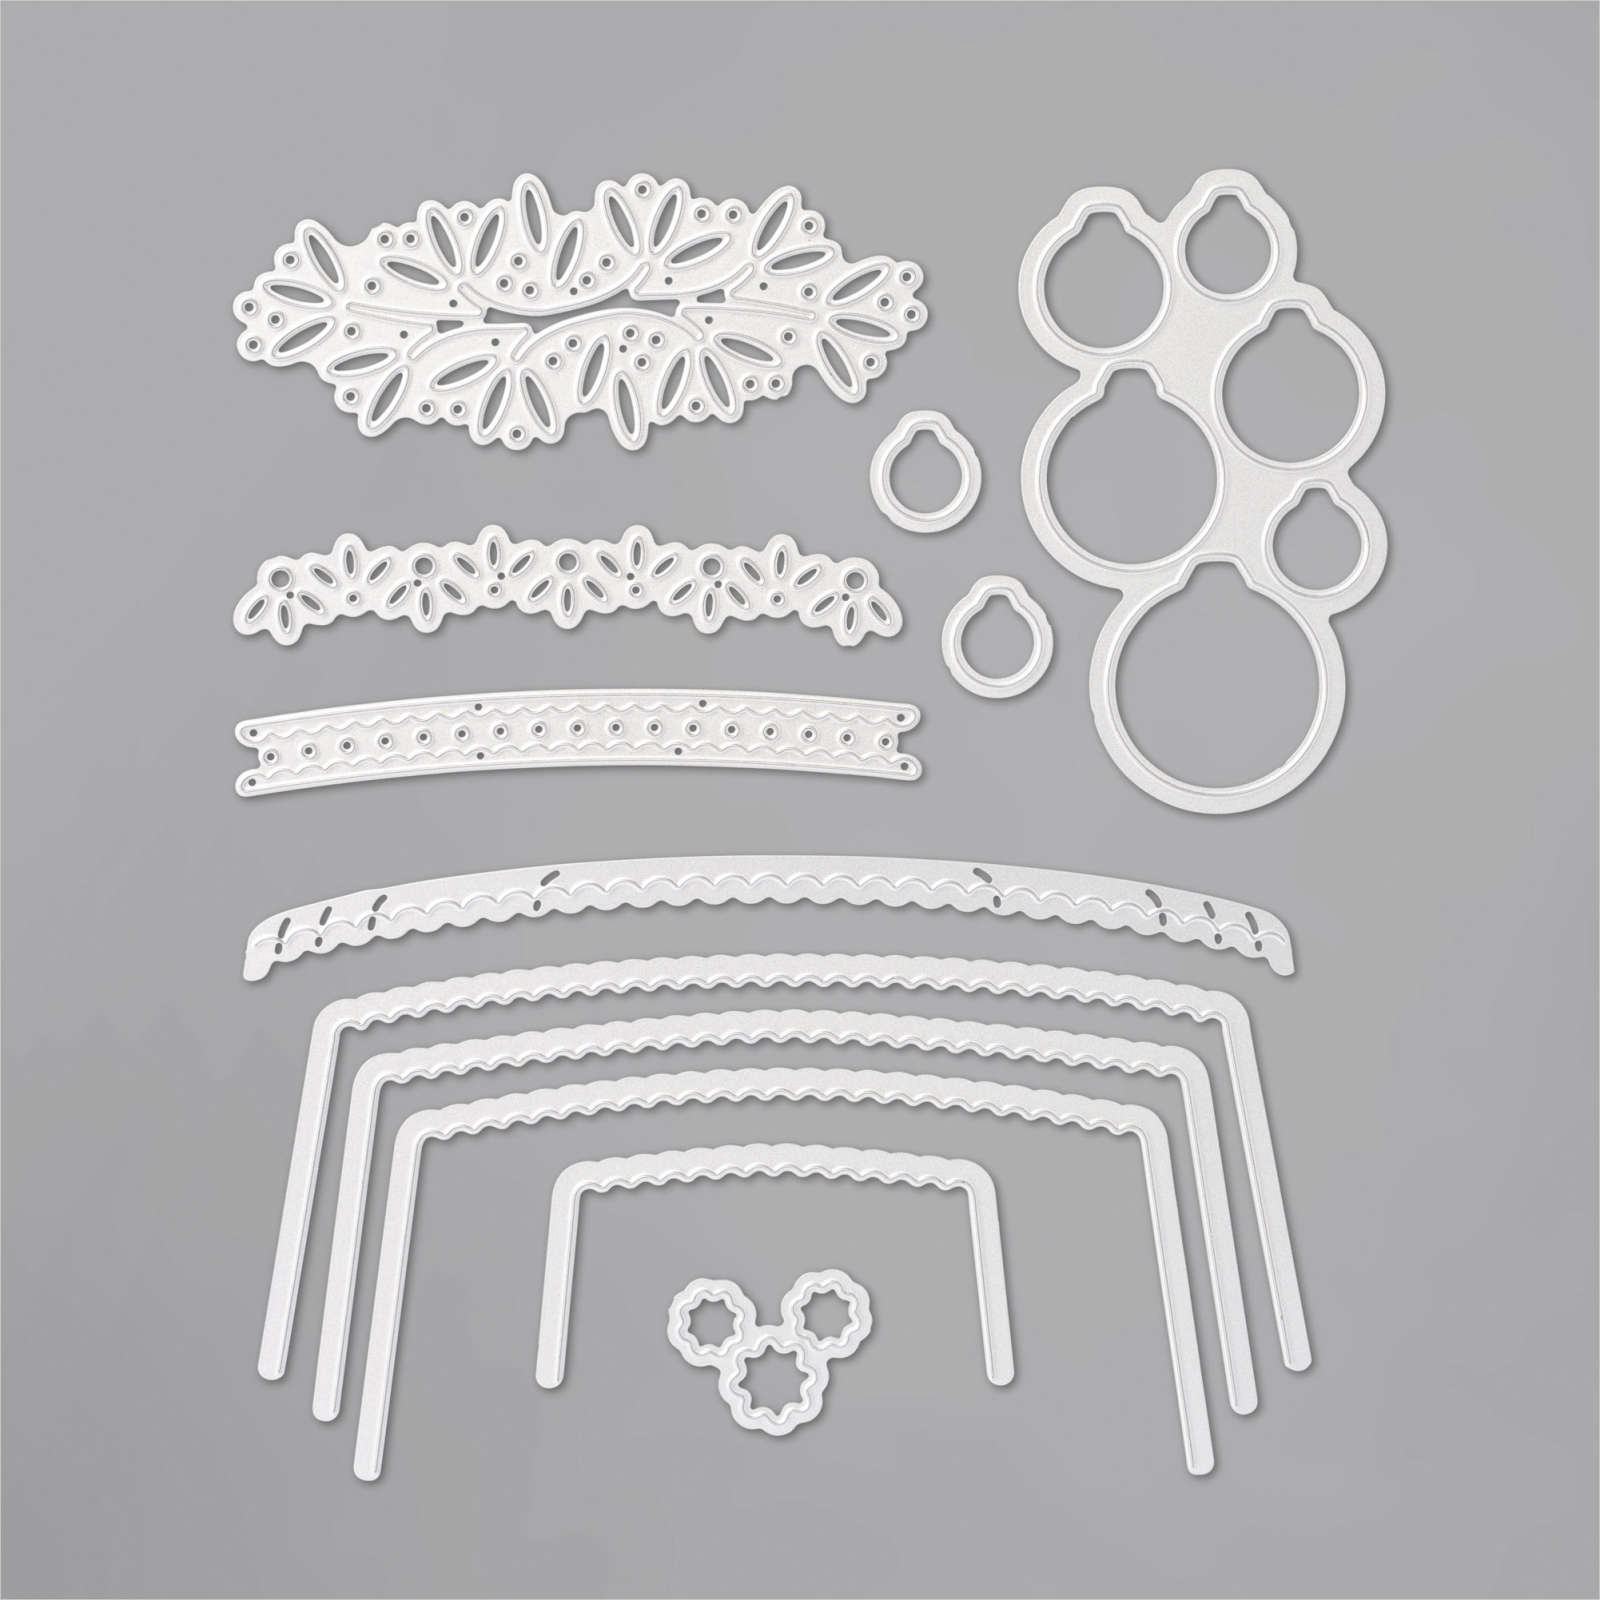
 The Envelopes Dies consists of 12 dies. 4 Envelope liners, 1-2 decorative edges, and some other elements to diecut in to your paper liners or directly on to the envelope. It also has the dies to cut the ornaments from the stamp set too. The Largest die measures 6-3/16″ x 2-1/2″ (15.7 x 6.4 cm).

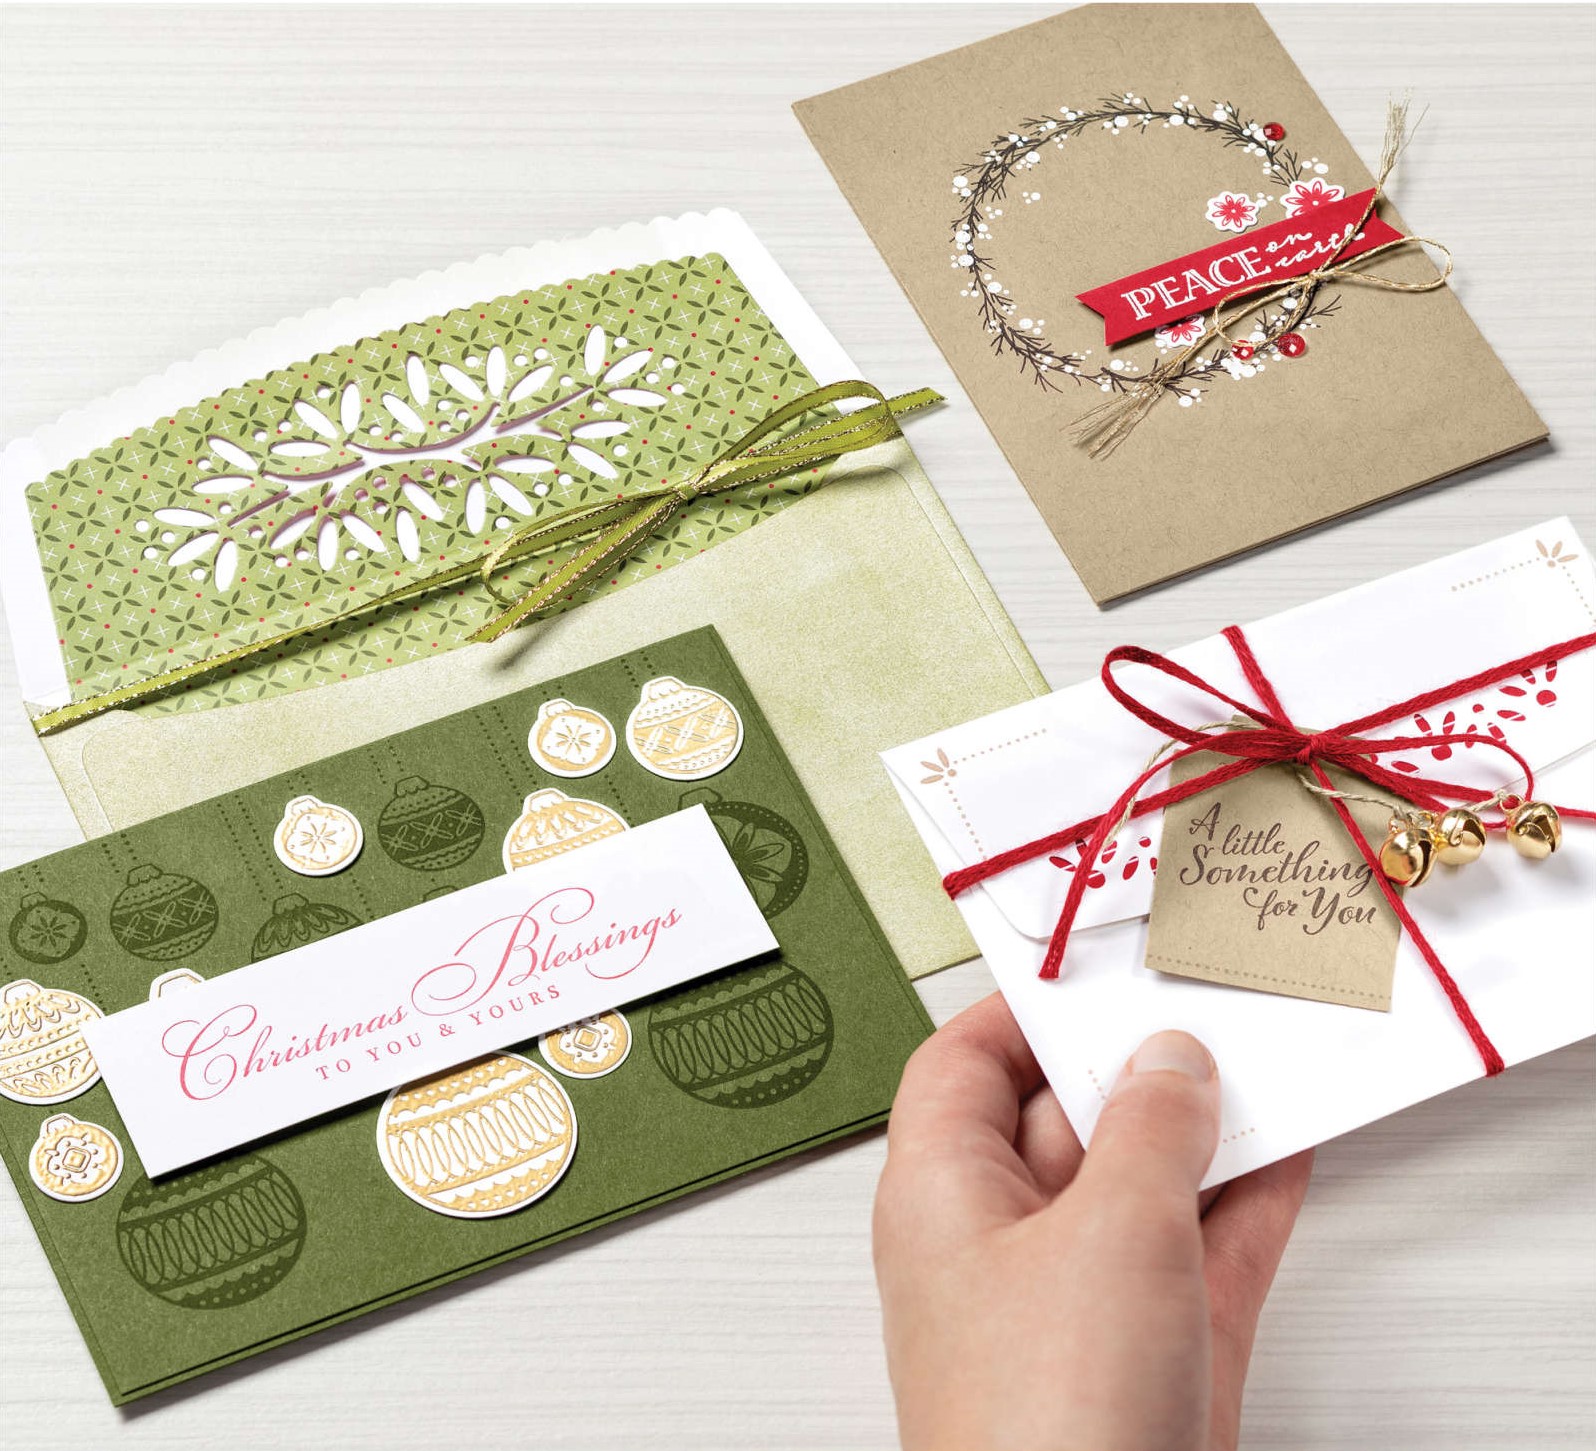
So how do you use these dies?? Check out the samples below.

On this one create a decorative wrap for your envelope. How fancy is that?? You can line inside the envelope as well.

Not just line the inside but you can make a pretty decorative liner for inside. How sweet! Or you can diecut the outside and add a liner inside of pretty paper that you can see through the edge.
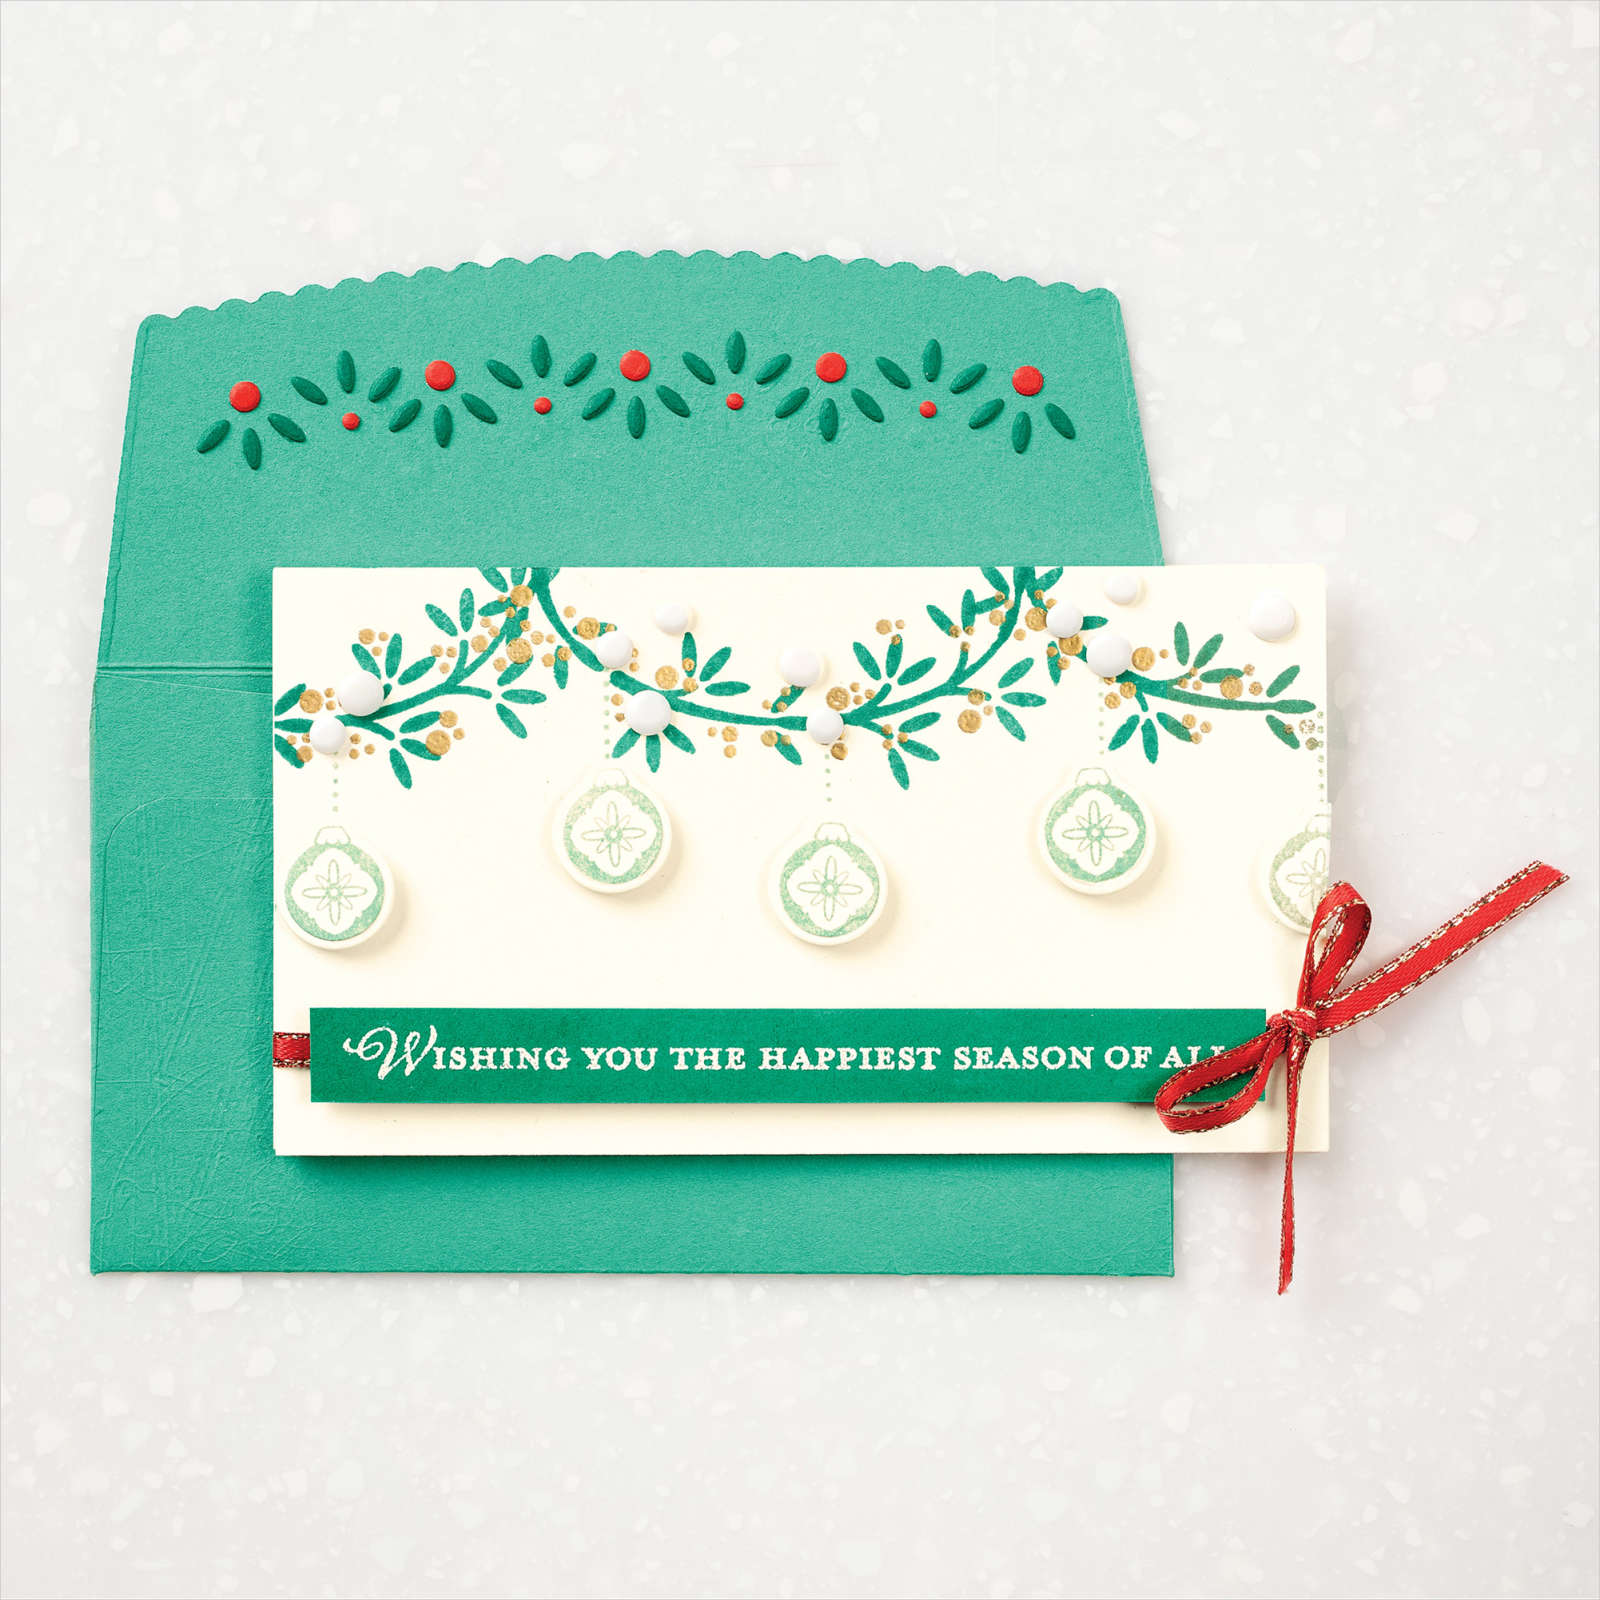
For this one below I am not sure but I think that for the envelope a mask was made with one of the decorative dies and some coloured texture paste has been added through the mask. This adds to the festive feel.
If you want to dress up your envelopes with the Ornamental Envelopes Bundle or even just the Envelopes Dies you can check them out and order them in my store -> HERE

Please use the Host Code – RCDPWPWK

Or you can contact me directly by email at jghayward@yahoo.com

Happy Wednesday,

Jenny
Order Your Joy to the World kit
cards, Christmas, Classes

JOY TO THE WORLD CHRISTMAS CLASS

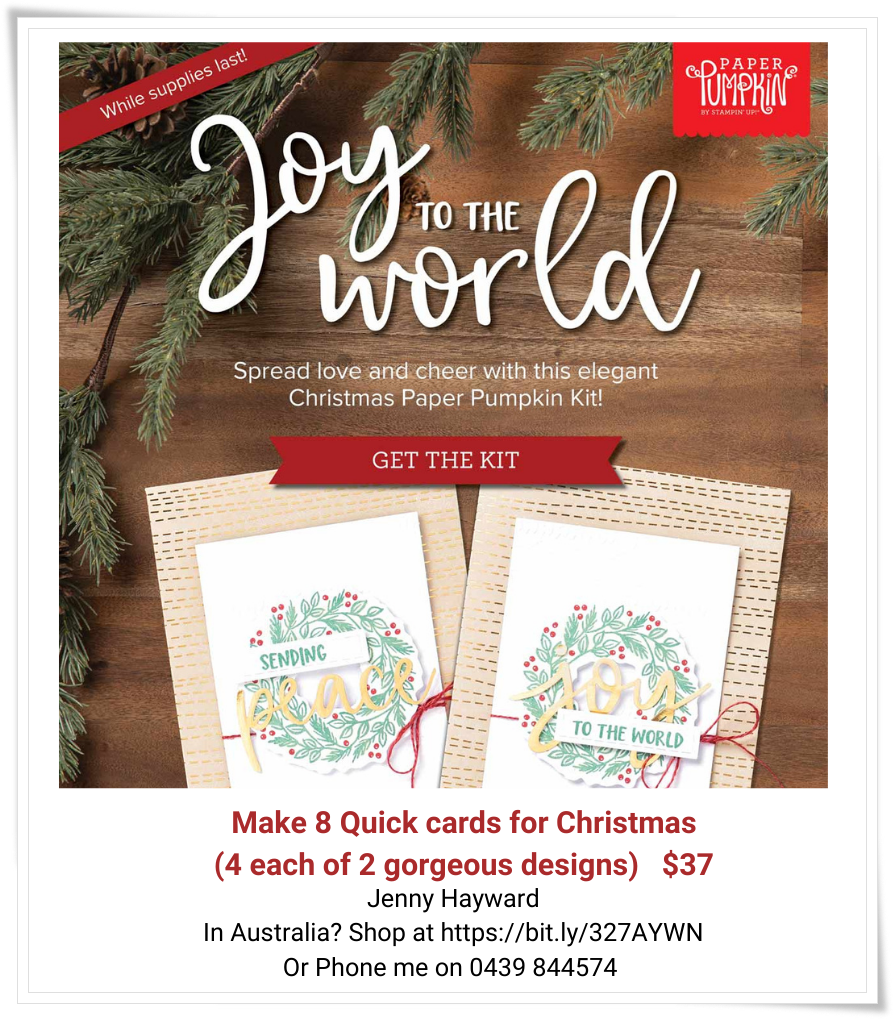
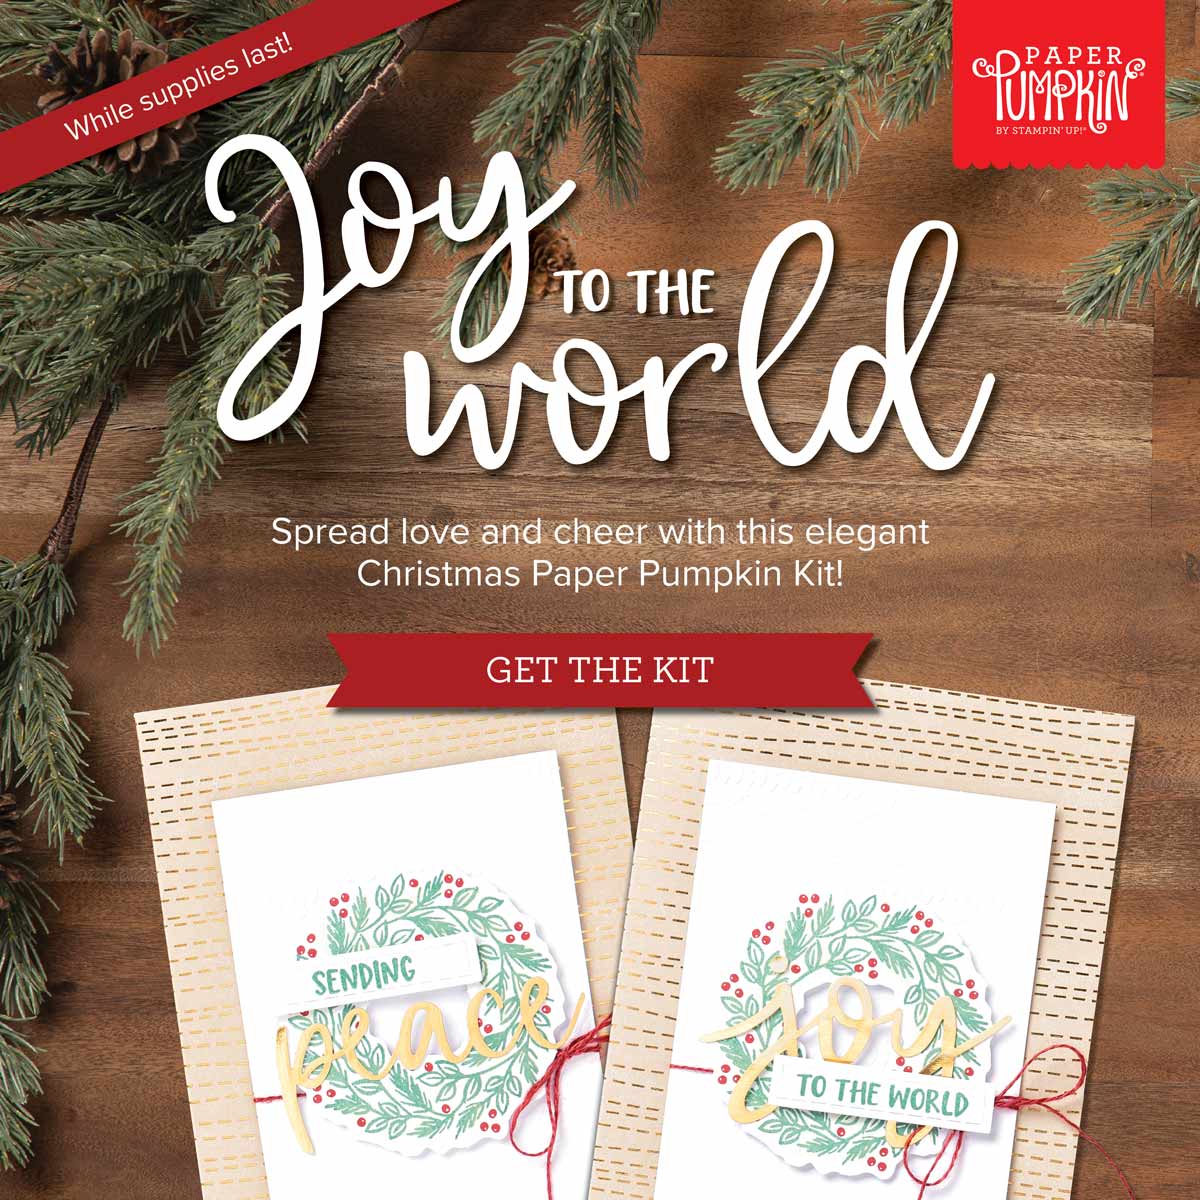
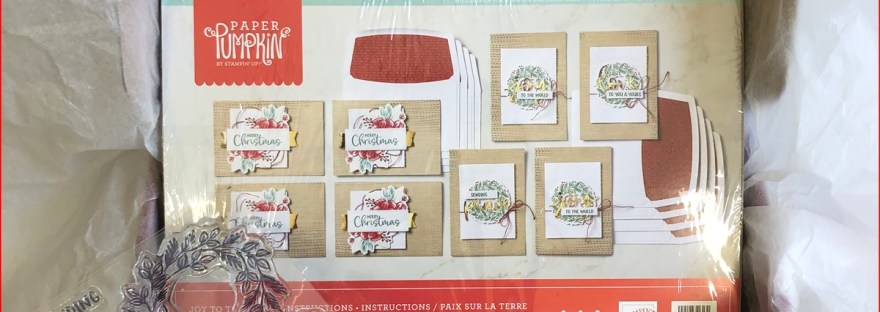
Christmas is fast approaching and it’s time to get those Christmas cards made and ready to send. When you are in a hurry this Joy To The World Card kit will help you make gorgeous cards in no time.

The card kit is easy to put together yourself – but why not have some fun creating it together. You can join in one of my face-to-face classes or join online.

Create with this gorgeous Joy To The World card kit to make some beautiful Christmas cards.

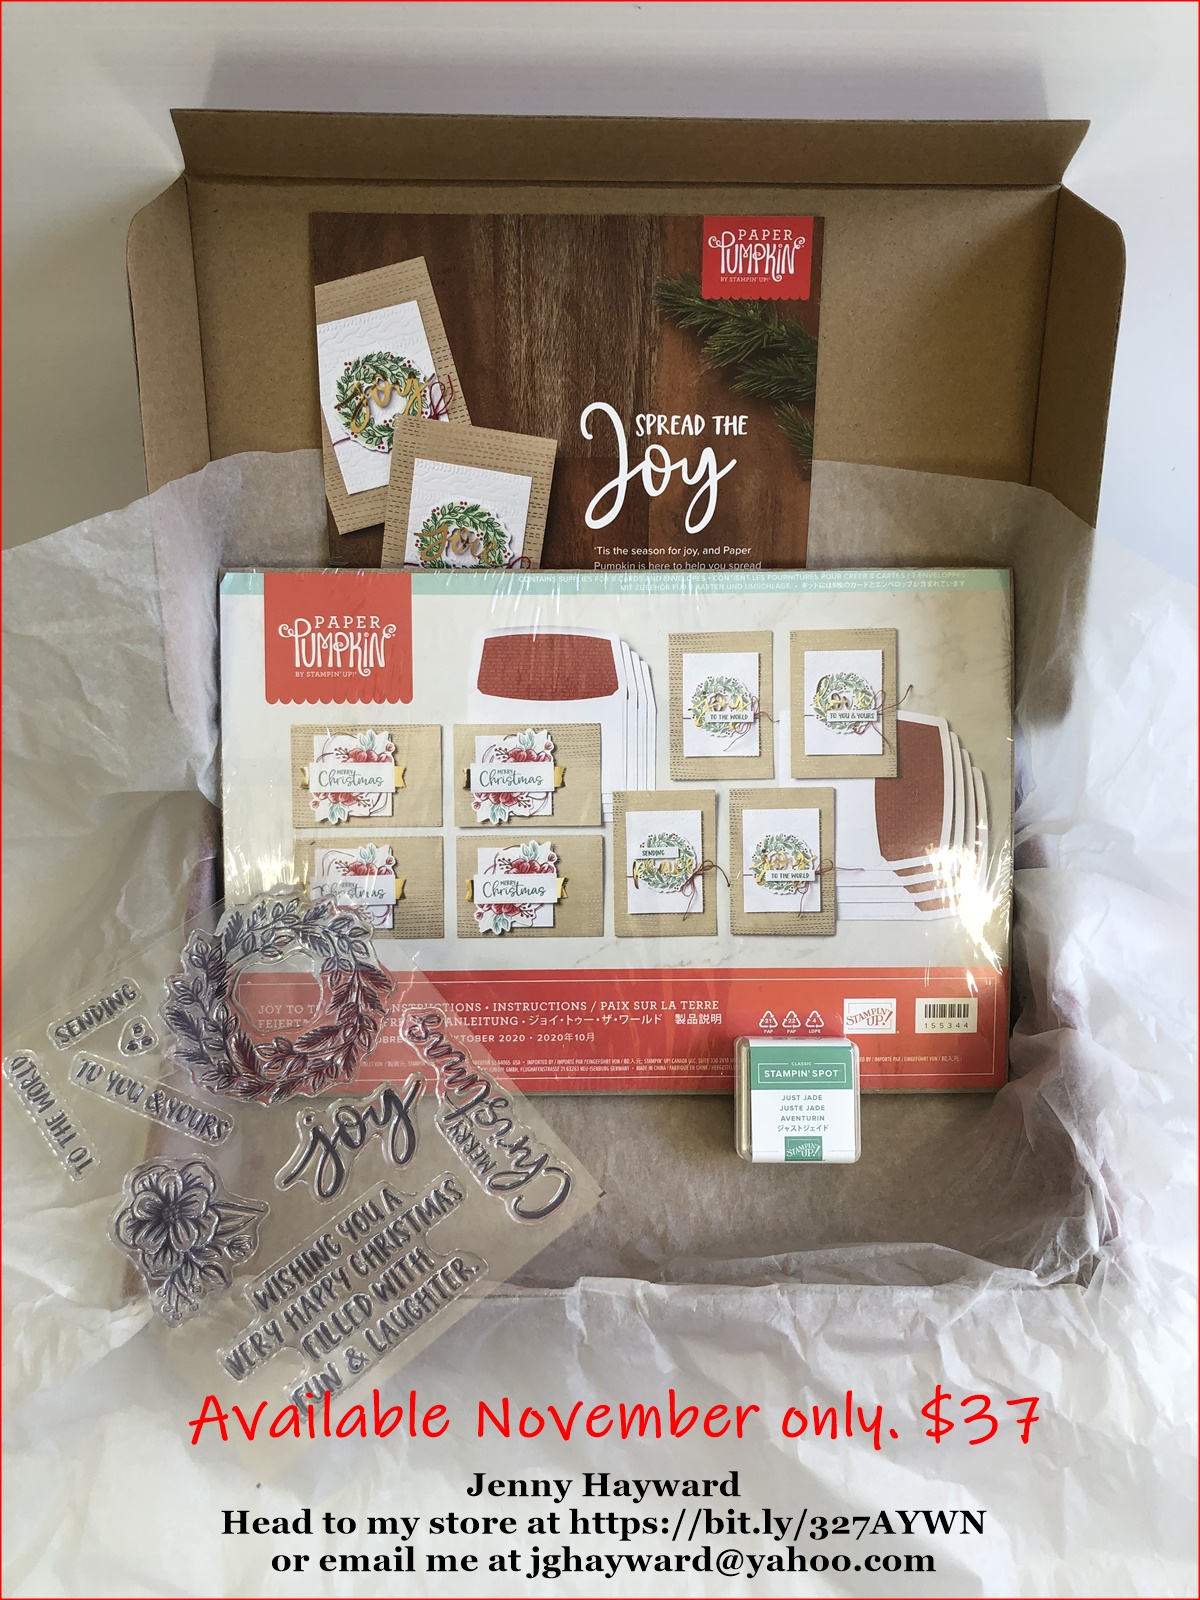
You will create 8 cards (4 each of 2 designs) using your own kit. The kit includes card bases, envelopes, embellishments, diecuts as well as a stamp set and inkspot. Any materials left over as well as the stamp set you get to keep to create more cards.

In addition, in the class you will also get to see some variations in using this kit.

COST:

Cost is awesome value with all the materials you receive. $37 + 5% shipping ($1.85 if ordering directly with me). You can order online and have it shipped directly to you for $5.95 shipping.

SO WHEN IS IT??


Face-to-Face Class – Friday 27th Nov 10am or 7pm. Or Saturday 28th Nov at 2pm. Please let me know.

Online – Via Facebook Live Possibly Thur 26th Nov. Time to be confirmed.

HOW TO REGISTER??

RSVP (including payment if ordering with me) by Friday 20th Nov.  By emailing me at jghayward@yahoo.com or PH: 0439 844574.

You need to RSVP and make payment by the RSVP date (see below) so I can order the kits in time. Class is held in my studio, East Corrimal. For Online if joining , you will need to order the kit this week to have it in time.

Order Your Joy to the World kit

I look forward to creating these gorgeous cards with you.

Have a happy day,

Jenny

cards, Christmas, Stampin' Up!

STARRY CURVY CHRISTMAS!

I have been having fun playing with the Curvy Christmas set and the Curvy Dies. As well as the Quite Curvy set as well.

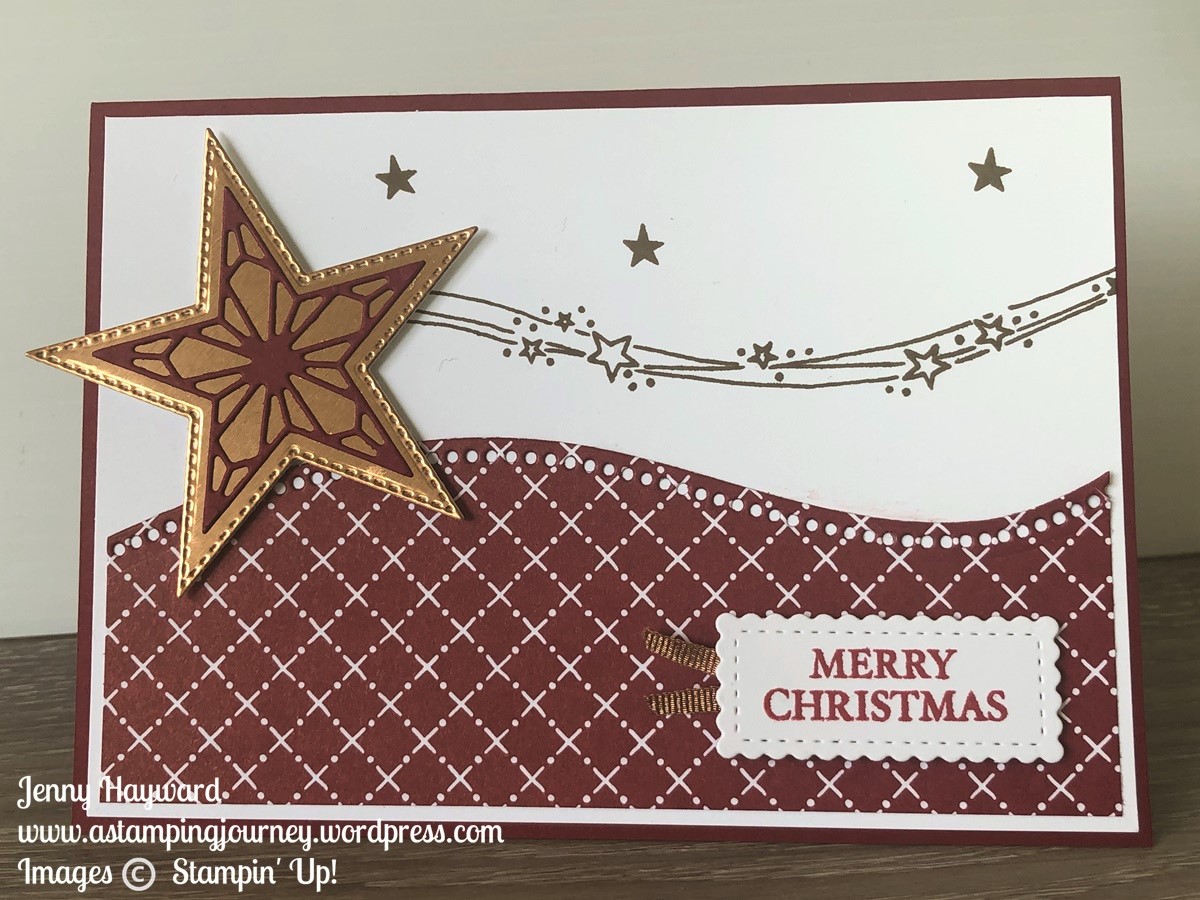
For today’s card I teamed it with the Stitched Stars Dies. How great do they co-ordinate together!!

The soft Suede ink works well with the Copper Foil that I diecut the larger star with. The ornate smaller star is diecut in Cherry Cobbler.

The sentiment is diecut with one of the Stitched So Sweetly Dies. The paper is part of the Classic Christmas Designer Series Paper pack.

The Curvy Christmas set and the Classic Christmas paper is only available until the 4th January.

Curvy Celebrations

In Australia? You can shop in my store -> HERE

OR contact me directly on 0439 844574 I can help you with your order.

Shopping Online? Please use the Host Code: RCDPWPWK

Happy Curvy Stamping,

Jenny

cards, Christmas, Classes, Stampin' Up!

QUITE CURVY CLASS WITH JOY TO THE WORLD KIT ADD-ON!

Registrations close this Wednesday for the Quite Curvy Class. Book in ASAP.

There are a number of different options to join – and now I have added the Joy To The World Kit as an Add-on. Check all the details below and be sure to register very soon.

At present this is for Australian residents only. Tutorial only options may be added to later classes.

OPTION 1 –
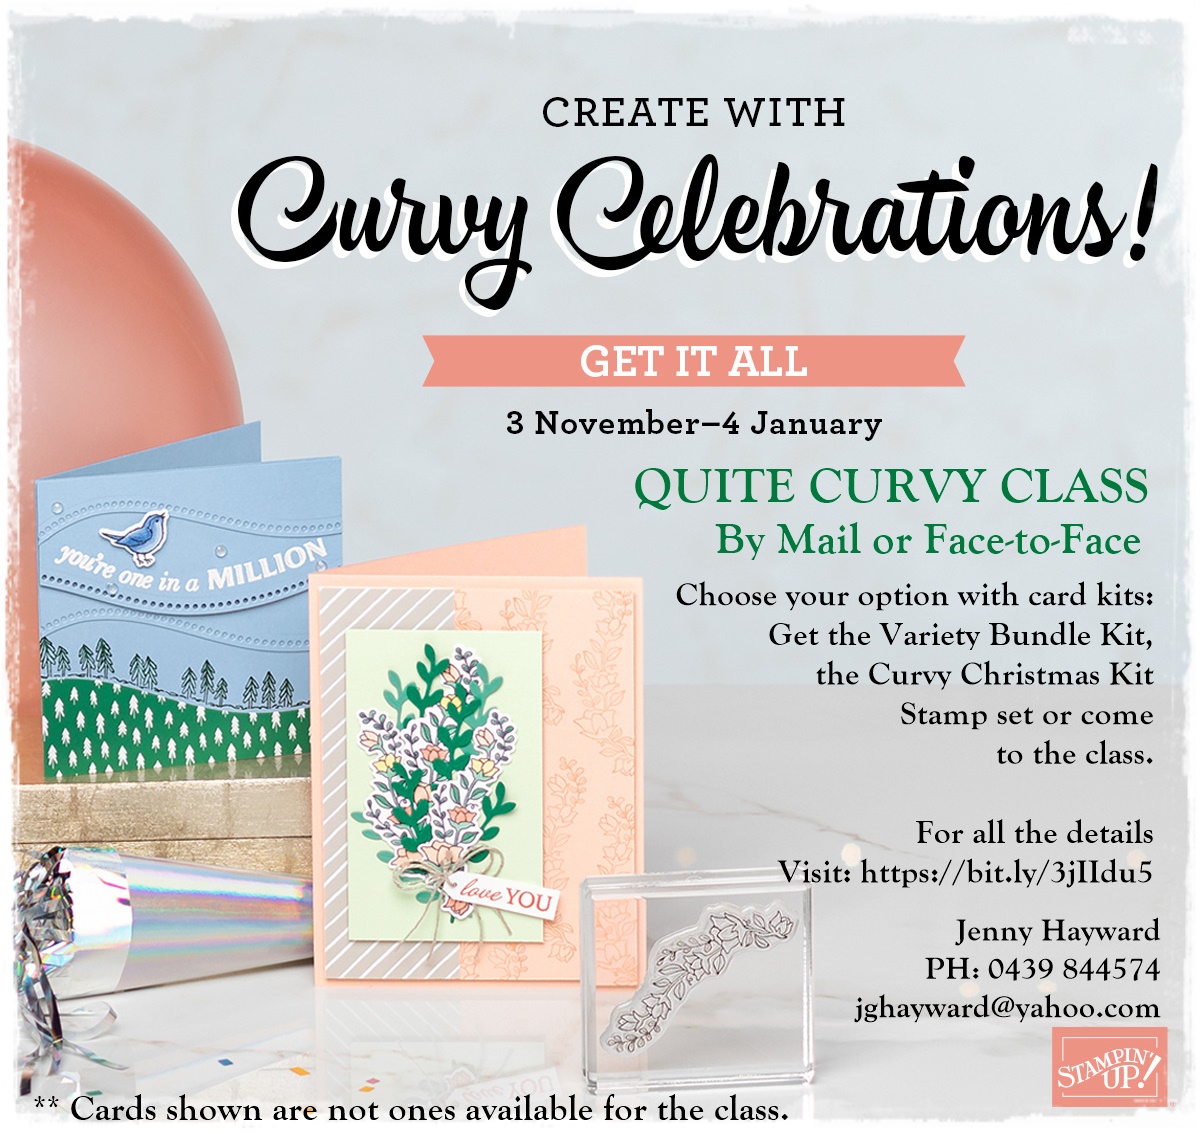
Variety Bundle  $123.25 (+ S&H) Receive the Quite Curvy Bundle (Stamps and Dies, Curvy Christmas set and the Paper Stack) as well as the card kit for 3 cards with instructions + bonus card kit.
 

OPTION 2 – 
Curvy Christmas  $37 (+ S&H)  Receive the Curvy Christmas stamp set and card kits for 3 cards with instructions.  (You may substitute the Curvy Christmas on some of the other cards).

(**Cards in the kit are not the cards shown above)

ORDER BY – Friday 13th Nov.

OPTION 3 –
Curvy Class (in the studio). 

Friday 13th 10am OR Saturday 14th 2pm. 

COST: Option 1 or 2 above OR Class fee $20 or Free with orders over $35.

RSVP: Wed 11th.  Places are limited so book early.

***

Get a closer look at these sweet products. 

**The Curvy Christmas stamp set and the Classic Christmas paper will only be available until January 4th.

Curvy Celebrations

Grab the Joy To The World Add-on


Add the Joy To The World Card Kit to either Option 1 or 2 and receive a gift.

Local residents can attend the class on Friday Nov 27th 10am or 7pm and complete the kit together if they would like to.

Joy to the World Kit  $37 AUD. 

Can be ordered individually also.  **The Kits must be ordered by Friday 13th November as supplies are limited.


To Register:

Head -> HERE to fill out the quick form.  Be quick as time is running out. 


OR

Email me or phone me on 0439 844574

Jenny

cards, Cards by Mail, Online events, Stampin' Up!

QUITE CURVY CLASS

Quite Curvy Class

GRAB THE QUITE CURVY CLASS 

OPTION 1 – Variety Bundle  $123.25 (+ S&H) Receive the Quite Curvy Bundle (Stamps and Dies, Curvy Christmas set and the Paper Stack) as well as the card kit for 3 cards + bonus card kit.

OPTION 2 –  Curvy Christmas  $37 (+ S&H)  Receive the Curvy Christmas stamp set and card kits for 3 cards.  (You may substitute the Curvy Christmas for some cards).

(**Cards in the kit are not the cards shown above)

ORDER BY – Friday 13th Nov. The Curvy Bundle products are available to order November 3rd.

OPTION 3 – Curvy Class (in the studio, East Corrimal) OR available as a Card kit Mailed out.

In class: Friday 13th 10am OR Saturday 14th 2pm. 

COST: Option 1 or 2 above OR Class fee $20 or Free with orders over $35.

RSVP: Wed 11th.  Places are limited so book early.

Curvy Celebrations

TO REGISTER

Registration is now open. Please head -> HERE to register and with payment details.

Happy “curvy” creating,

Jenny

cards, Catalogues, Stampin' Up!

GORGEOUS POSIES IN DAFFODIL DELIGHT!

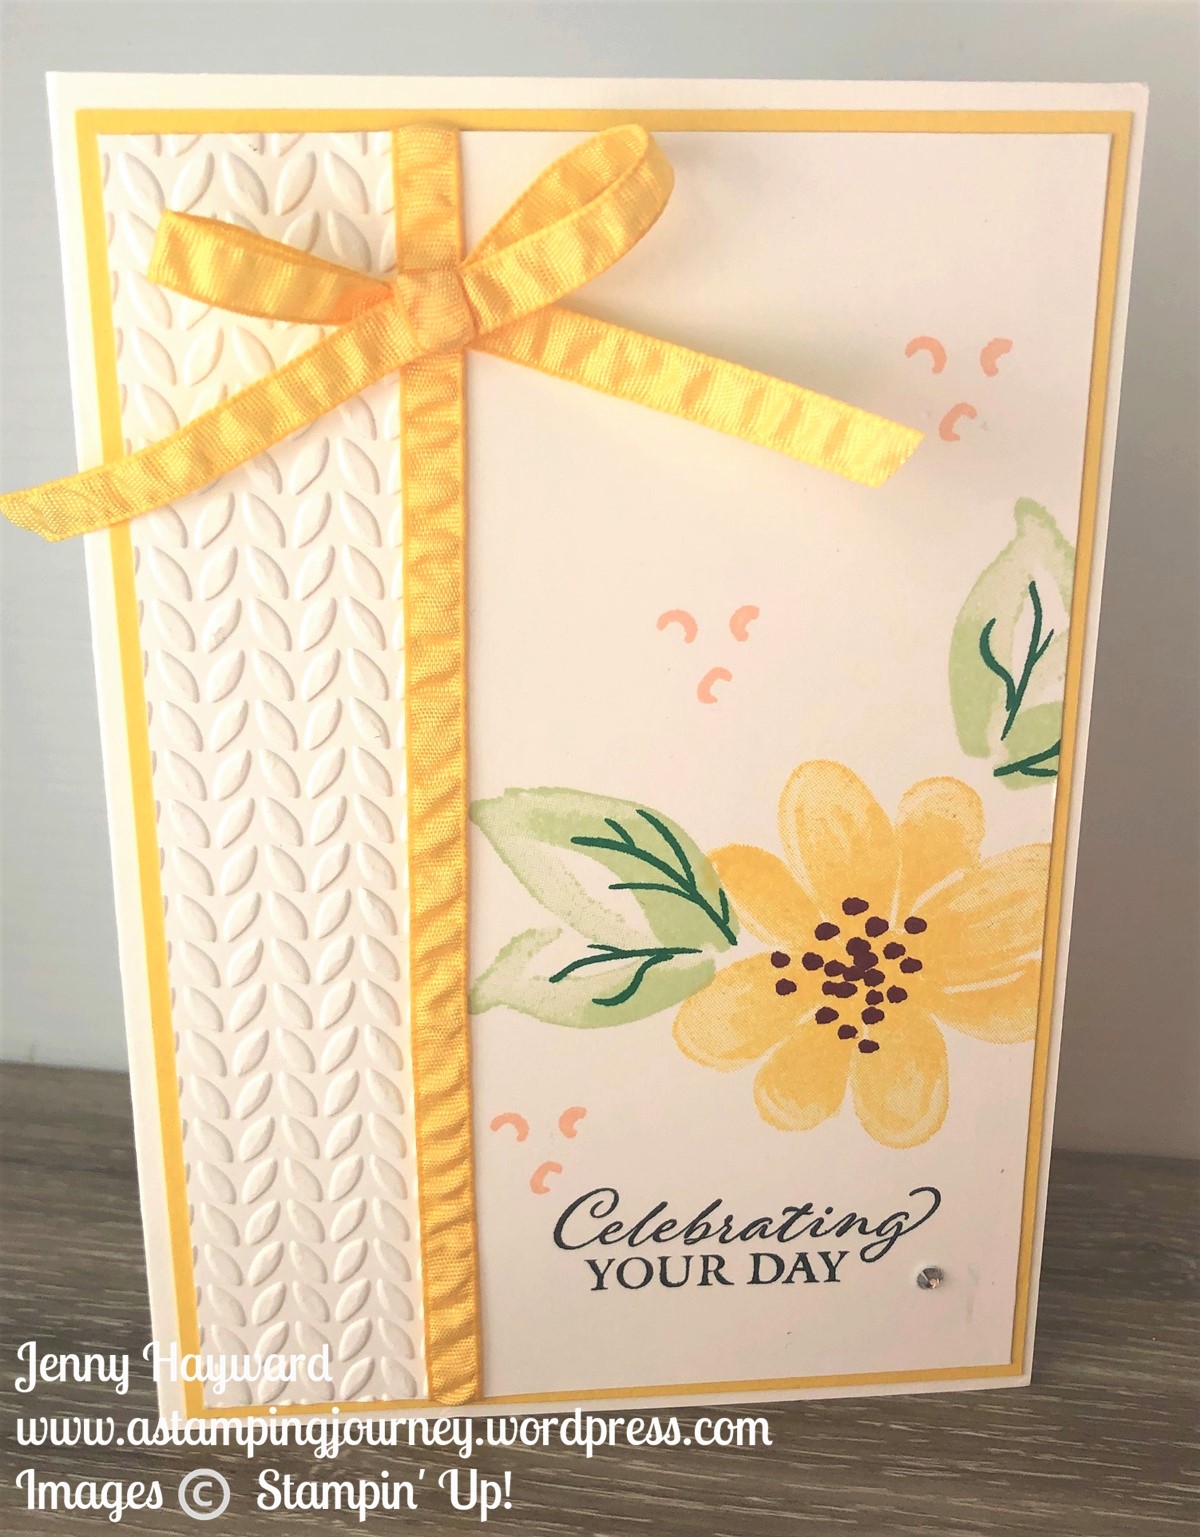
I don’t create a lot of cards in yellow. Really hardly at all. I don’t know why I created this one in yellow. I wanted something different. Perhaps I was feeling a little blah! I don’t know BUT I thought I would share it with you anyway. It’s yellow, it’s bright and it’s fresh.

I have used the Gorgeous Posies stamp set. I have seen lots of lovely pinks and purples. Why not yellow right???

The white card mat was embossed with the slim leafy print of the Greenery Embossing Folder pack just on the left hand side of the card.

Then some of the Daffodil Delight Ruched Ribbon was wrapped around it before adhering it to the Daffodil Delight card mat and then the Thick White card base. Tie the bow separately and add that to the front of the card with Glue Dots. I find doing it this way a little easier to get the ribbon sitting better than tying the bow directly on the card.

I think the leaves were stamped in Granny Apple Green with Shaded Spruce “veins”. The centres of the Daffodil Delight flowers was stamped with Blackberry Bliss.

So there is your fresh yellow card. I hope it brightens your day anyway,

The Gorgeous Posies stamp set is a really pretty one. You can check it out in my store now -> HERE.

Have a great weekend,

Jenny

cards, Techniques, Tutorials

WEDNESDAY’S WOW! #112 – ROLLING A BACKGROUND!

Wednesday’s WOW! today #112. I want to share with you how to create the lovely sponged backgrounds.

I don’t know about you but I have been enjoying creating these backgrounds a lot lately.

Here is a tip from our Stampin’ Up! Catalogue.

The great tool to use for these backgrounds is the Sponge Brayers.

To use the Sponge Brayer build up the ink on the Brayer to roll over your project. I have shared this technique in a few videos recently. You will find those on Youtube or scroll back a few posts to catch them.

One tip I tell people when rolling to collect your ink is to not roll back and forward on the inkpad. It’s a “roll and lift movement”. Roll gently over the ink pad, lift the roller and roll again gently. Keep repeating this until you get the amount of ink you want.

When rolling on to your card it’s a good idea to start off the edge of your project and roll gently onto your card. Repeat building up the ink on your inkpad and roll on your project again starting off the card. Keep building up as much colour as you like.

The Sponge Brayers come with 2 handles and 4 sponge rollers. So it’s good to have a different Sponge for a different shade of colour. You can see them in store -> HERE

For creating your backgrounds you could also use the Sponges or use the Sponge Daubers but I think the Sponge Brayers are more effective as they cover a larger area at a time.

TIP: To create your “horizon” as shown in the projects above, place a piece of paper over a section to create a lined edge before you start rolling. Then if needed change your paper around to mask the edge again from the other direction to roll. Or on these cards they have elements stamped.

The stamp set used for these projects is the Sending Sunshine set seen -> HERE.

I hope you have a go at this technique. It’s a fun one to build up your coloured background.

In Australia? If you need any products to get creating these projects please stop by my store -> HERE. Thanks for your orders. Or you can contact me directly on 0439 844574.

Don’t forget to use the host code if ordering online. 9J63PU4C

Happy “rolling” 🙂

Jenny

cards, Catalogues, Christmas

WARM AND TOASTY POLAR BEAR

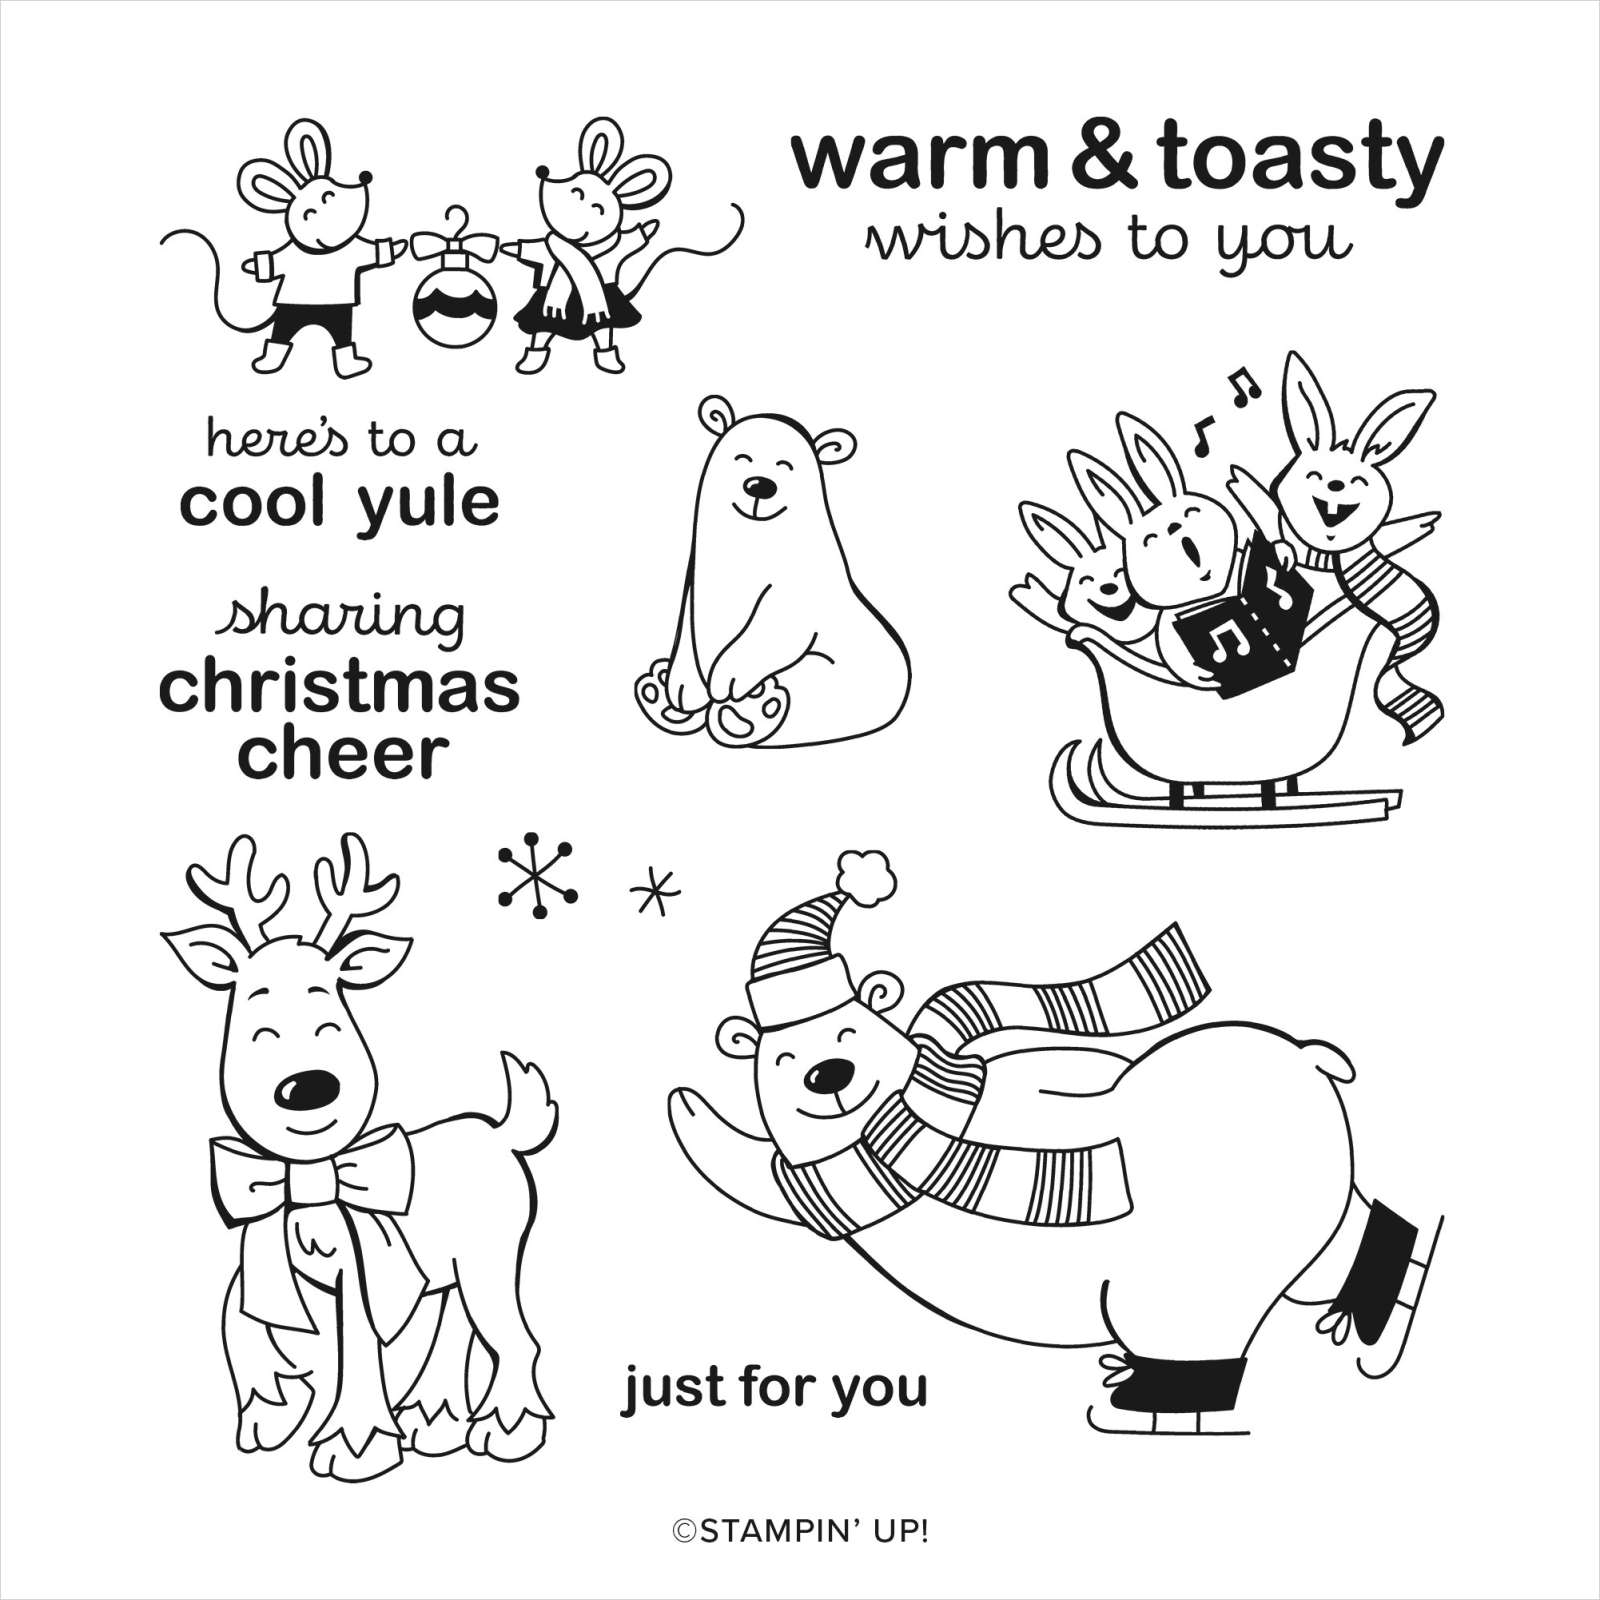
A quick post for you today with this cute little Polar Bear. He is from the Warm and Toasty stamp set from the 2020 Holiday Catalogue. Don’t you just love his happy face. 🙂

I used the ‘Tis The Season Designer Series Paper. (This is one of the paper packs for 15% off this month so you might want to grab some of this. It has some great patterns in the pack).

The polar bear is stamped with Memento black ink on white card that has been diecut with the scallop rectangle die from the Stitched So Sweetly Dies. It was then coloured with the Stampin’ Blends. The sentiment stamped on Balmy Blue is also cut with one of the Stitched So Sweetly Dies. I love the variety of shapes in this die set.

In Australia? Any of these products can be ordered through my store or contact me directly and I will help you with your order. Visit my store -> HERE.

If ordering online please use the Host Code – 9J63PU4C

Hope you like this Polar Bear card. The Warm and Toasty stamp set is just so cute.

Happy Stamping,

Jenny

cards, Christmas, Stampin' Up!

WEDNESDAY’S WOW! #111 – CHECK THE SWEETEST TIME FOR CHRISTMAS!

Wednesday’s WOW! #111. I wanted to share a sweet bundle with you today – and I mean sweet. It’s the Sweetest Time Bundle. (You can find it on p21 of the Holiday Catalogue)

This is a great one for your Christmas projects with such detailed dies. The Sweetest Time Bundle includes the Sweetest Time stamp set and the Sweetest Borders Dies.

The Sweetest Time stamp set contains some ‘classic’ Christmas images with the holly, the candy cane and the 3 candles. I have to say I don’t normally go for these ‘classic’ style images.

It’s the Sweetest Borders Dies that I particularly wanted to look at today though.

With these dies you diecut the holly border. There are some positive and negative parts to it. The holly creates a great border that you can layer on your projects. By diecutting the border twice in different colours you can use part of the diecut within the negative of the other. You can see it in the sample above. That’s so fun isn’t it? What a great way to add dimension to your Christmas projects.

Check this sample out below. (created by Stampin’ Up! Artists). Let me explain it as I think it is.

CREATE A SPONGED HOLLY BORDER

Add colour to your piece of white card which is the same size as the white card base. This could be by sponging or watercolouring over it, however you like to add the colour. Diecut the holly border from the piece. Adhere the half diecut card to the white card front.

Diecut some holly. I love that you have the scored lines in the holly already. So great. Stamp the other images and the sentiment and diecut them. Adhere them to the front of the card.

Isn’t this a great Bundle? Why not add it to your Wish List.

If you are in Australia and “need” to buy this bundle now to get your Christmas creating on then I would love to help you with your order. Head to my store -> HERE.

Please use the Host Code: 9J63PU4C or you can contact me directly at jghayward@yahoo.com and I will get back to you ASAP.

Thanks for shopping with me,

Jenny

Blog Hops, cards, Catalogues, Personal Ramblings, Stampin' Up!, Tutorials

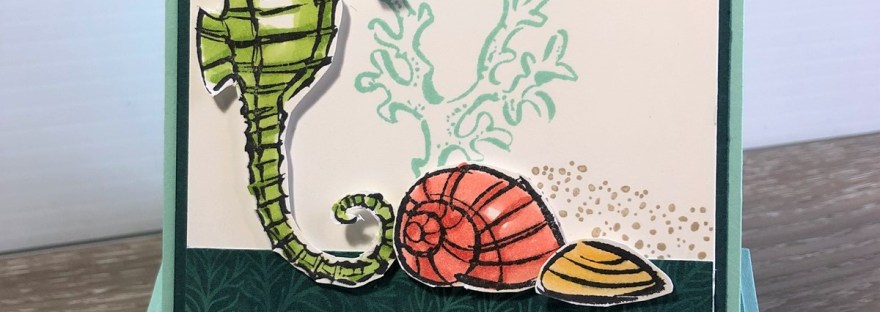
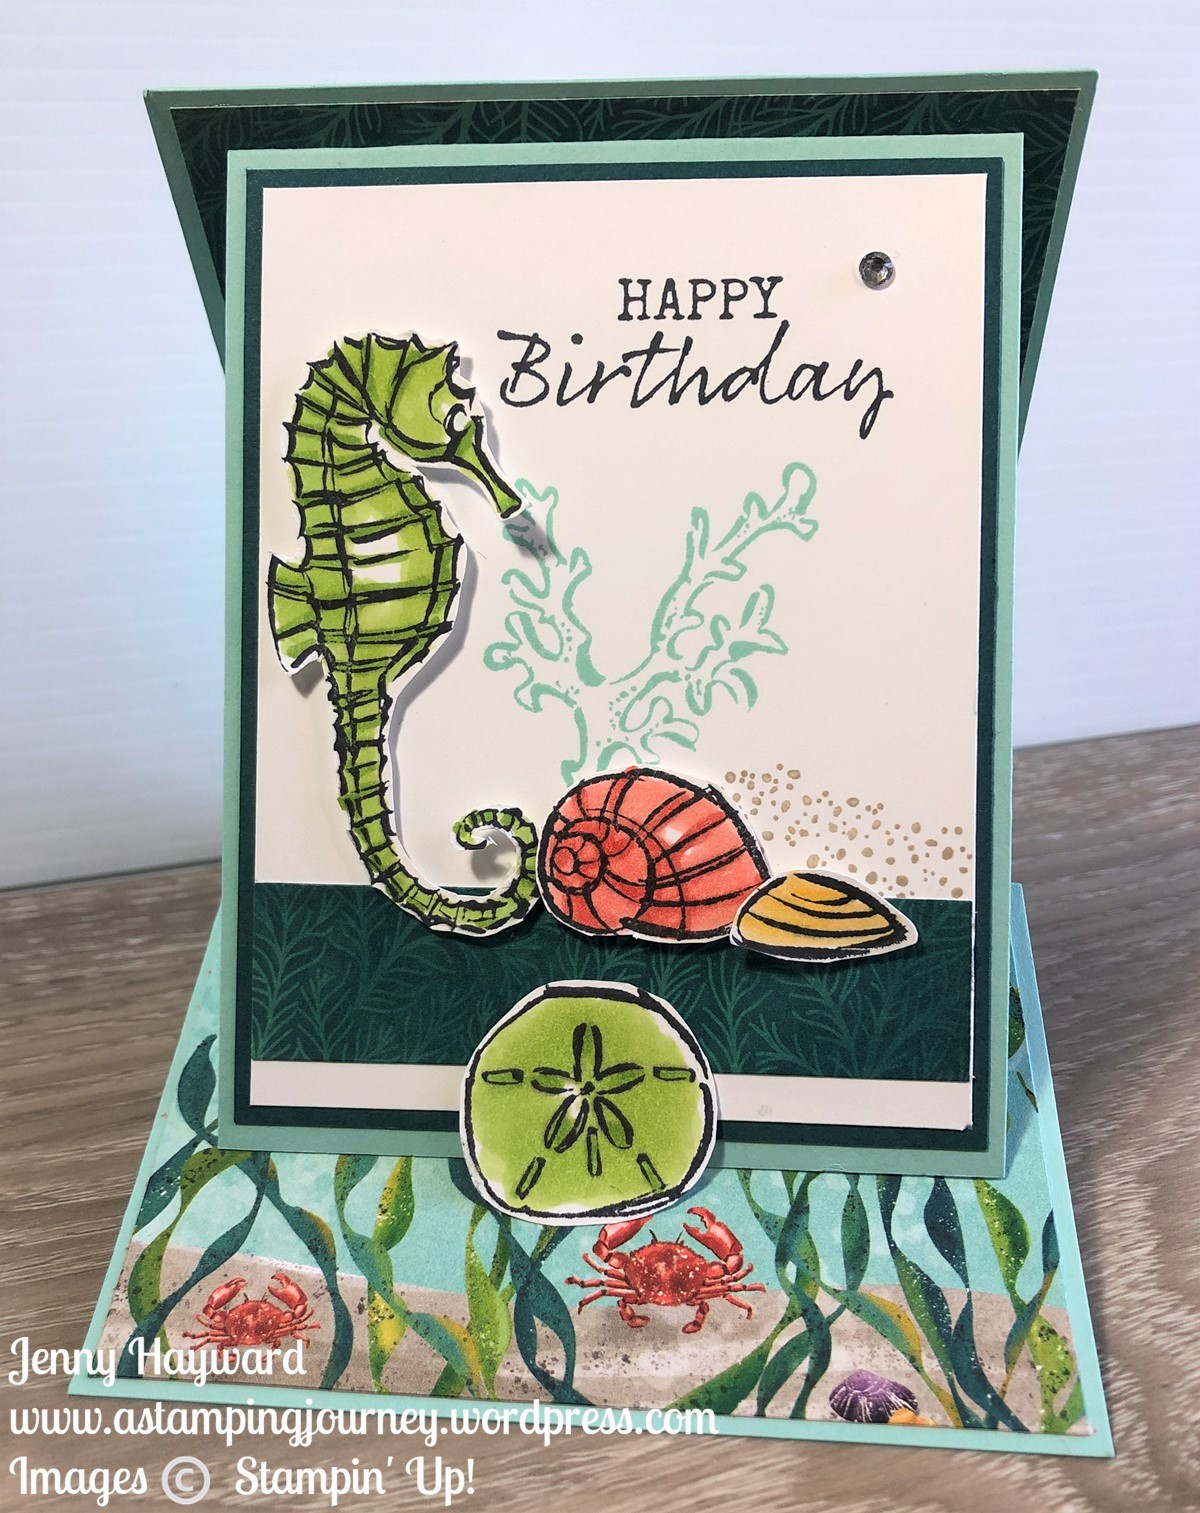
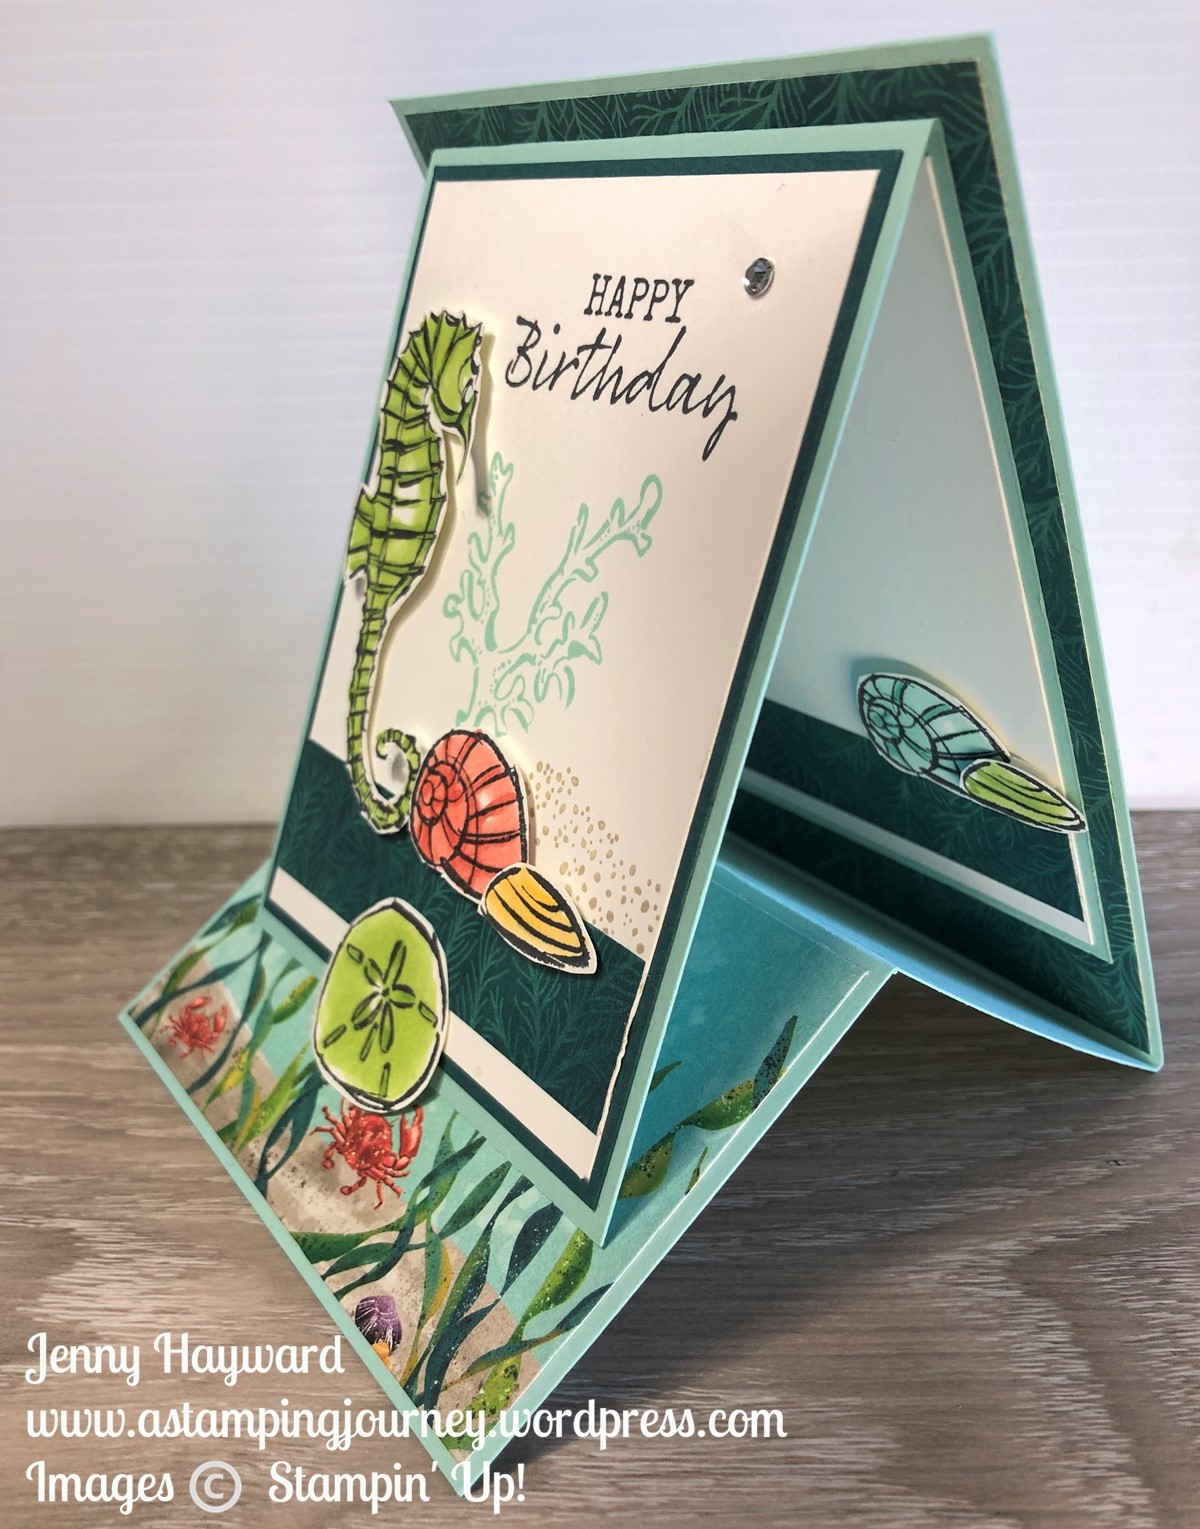
STAND UP SEASIDE NOTIONS EASEL CARD

Last post I shared a fun Easel Card for the World Cardmaking Day Blog Hop. I said that I would tell you how it was made so you can make your own. So … Here it is.

Firstly, here is the card again for you. It’s a Stand Up Easel Card.

The original idea I found on Connie’s blog -> HERE.

I will give you the measurements in Metric and Imperial.

STAND UP EASEL CARD

Base Card:

Card – 10.5cm x 28cm (4 1/4″ x 11″) Score at 7cm and 14cm (2 3/4″ and 5 1/2″). Fold on score line.

Piece of Designer Series Paper 10.1cm x 13.6cm. (4 1/8″ x 5 3/8″)

Bottom piece of Designer Series Paper 10.1cm x 6.6cm (4 1/8″ x 2 5/8″)

Front Flap:

Card – 9cm x 23cm (3 1/2″ x 9″) Score at 11 1/2cm (4 1/2″). Fold on score lines.

For Inside of Front Flap: One piece of white card 8.5cm x 10.9cm (3 1/4″ x 4 1/4″)

Piece of Designer Series Paper 2.5cm x 8.5cm (1″ x 3 1/4″)

For outside of Front Flap: Card mat 8.6cm x 11.1cm (3 3/8″ x 4 3/8″)

White card for Front 8.1cm x 10.6cm (3 1/4″ x 4 1/4″)

Piece of Designer Series Paper 8.1cm x 2.5cm (3 1/4″ x 1″)

Decorate the card as you like. You will need an element on the bottom of the base card on the front to be able to tuck the flap in to for it to stand. This can be anything you like to use.

Have fun with it.

If you need any stamping supplies and you are in Australia? Please stop by my store -> HERE.

Thanks for shopping with me. I do appreciate each and every order.

Jenny