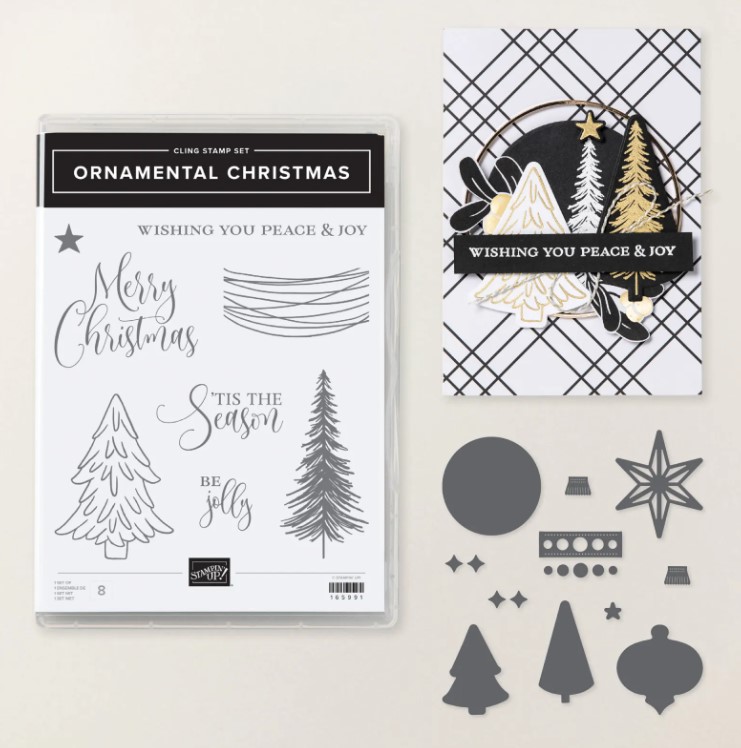
One with the Stampin’ Up! Ornamental Christmas Bundle today.
Do you add texture on your cards? There are different types of texture here. The embossed background, gold detailed star diecut and some soft satin ribbon. And of course add the bling. Adding the texture adds extra dimension and interest on a card so it is not so flat looking.
If one of your cards is not quite looking right or looking a little flat maybe see how you can add some texture as some type of element. It will make a big difference.
This is the Ornamental Christmas Bundle I have used.
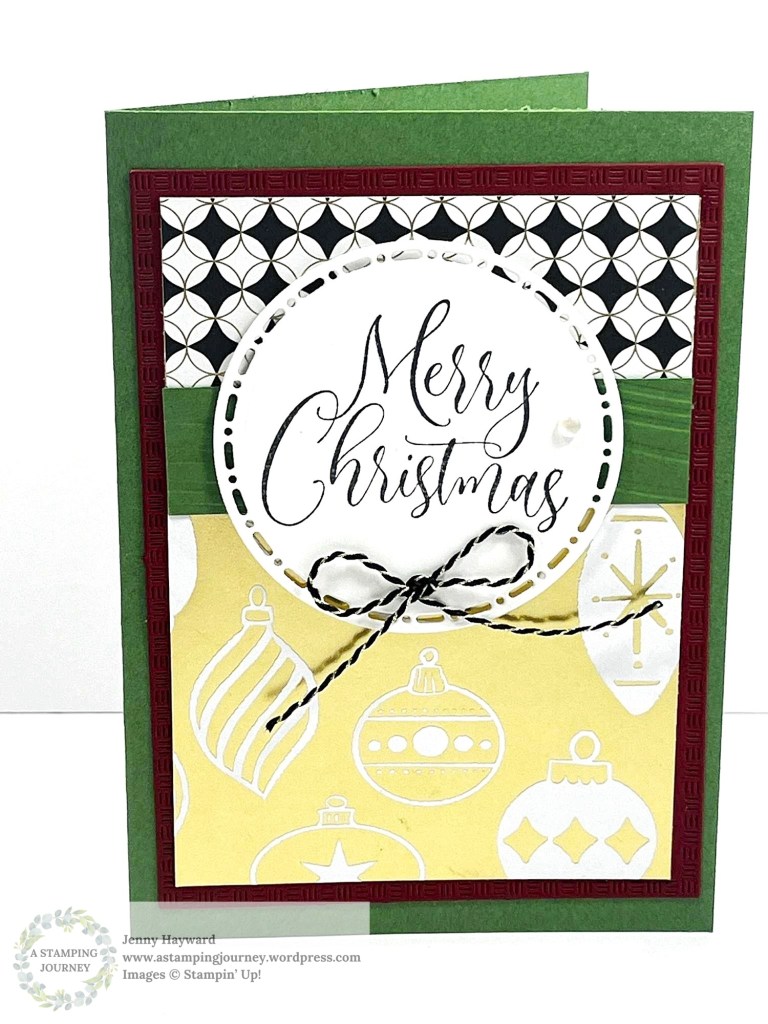
More with the Stampin’ Up! Modern Christmas Specialty Paper. I have loved playing with this paper. It is so shiny and so classy for Christmas this year.
I have to say though. It is hard to take a photo with all the shine and glare you get. I used 2 different patterns of the paper together with this one and then a simple sentiment diecut with a circle from the Spotlight on Nature Dies.
I added texture by embossing a strip of Garden Green card with the Soft Waves Embossing Folder. Layering the pieces of paper on a card mat gives some contrast. The Cherry Cobbler piece was diecut with one of the rectangles in the Textured Notes Dies.
This would be a simple design if you have to mass produce your Christmas cards. It still adds a little class and shine but easy to cut and stick together in no time.
Hope your Christmas cards are going well.
Happy Crafting,
Jenny
If you need supplies and you are in Australia I would love to help you. You can head to my store -> HERE Or contact me directly.
Wednesday’s WOW! #170 – Colour your Embossed Card with Ink.
If you have an embossed image on white card sometimes it can be a little plain. You can add a little colour to lift it. Of course you could swipe the Inkpad over the Embossing Folder before or after embossing, but try a little light watercolouring with your Water Painter and Ink Pads. It can really highlight the detail.
This one is with the Traditional Wreath Embossing Folder but you could try it with most folders.
Try it out.
Happy Crafting,
Jenny
If you need supplies for your crafting then I would love to help you. You can stop by my store -> HERE OR Contact me directly.
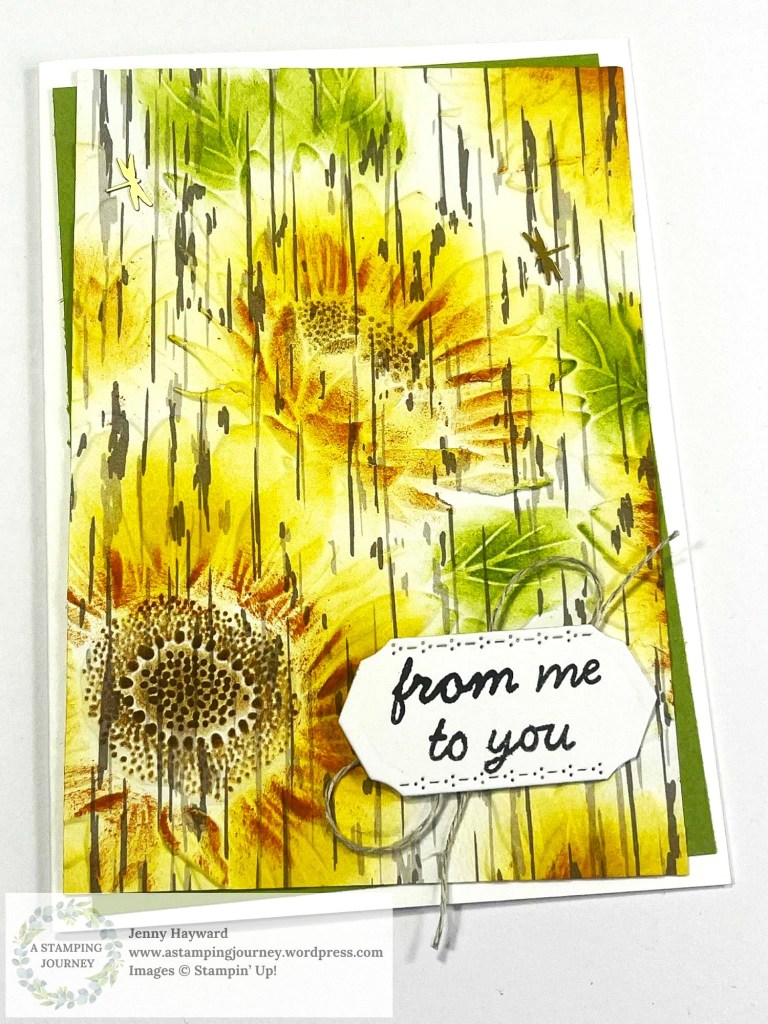
I have been meaning to show some more cards with the Sunflower Embossing Folder. I shared a number of the cards in my recent video but it might be good to see them close up.
This one is more a distressed looking card.
I embossed with the folder on a piece of the “wood” look pattern from the Nests of Winter Paper pack. You could use any similar print.
Then you can add your colouring. This one I used the Ink Pads and Blending Brushes then assembled it on the card base with a piece of Old Olive card off-set a little. I think curling up the edges of the embossed piece might have given a more distressed look.
I have had so much fun with this Embossing Folder. I hope to get back to you again soon with some more card projects soon.
If you missed it you can see the video of 5+ Ways with the Sunflower Embossing Folder -> HERE.
Happy Crafting,
Jenny
If you need supplies for your cardmaking I would love to help you get them. You can head to my store -> HERE OR Contact me directly.
I have been playing a lot with the Sunflower 3D Embossing Folder and experimenting with the Two-Tone cardstock. So I put them together.
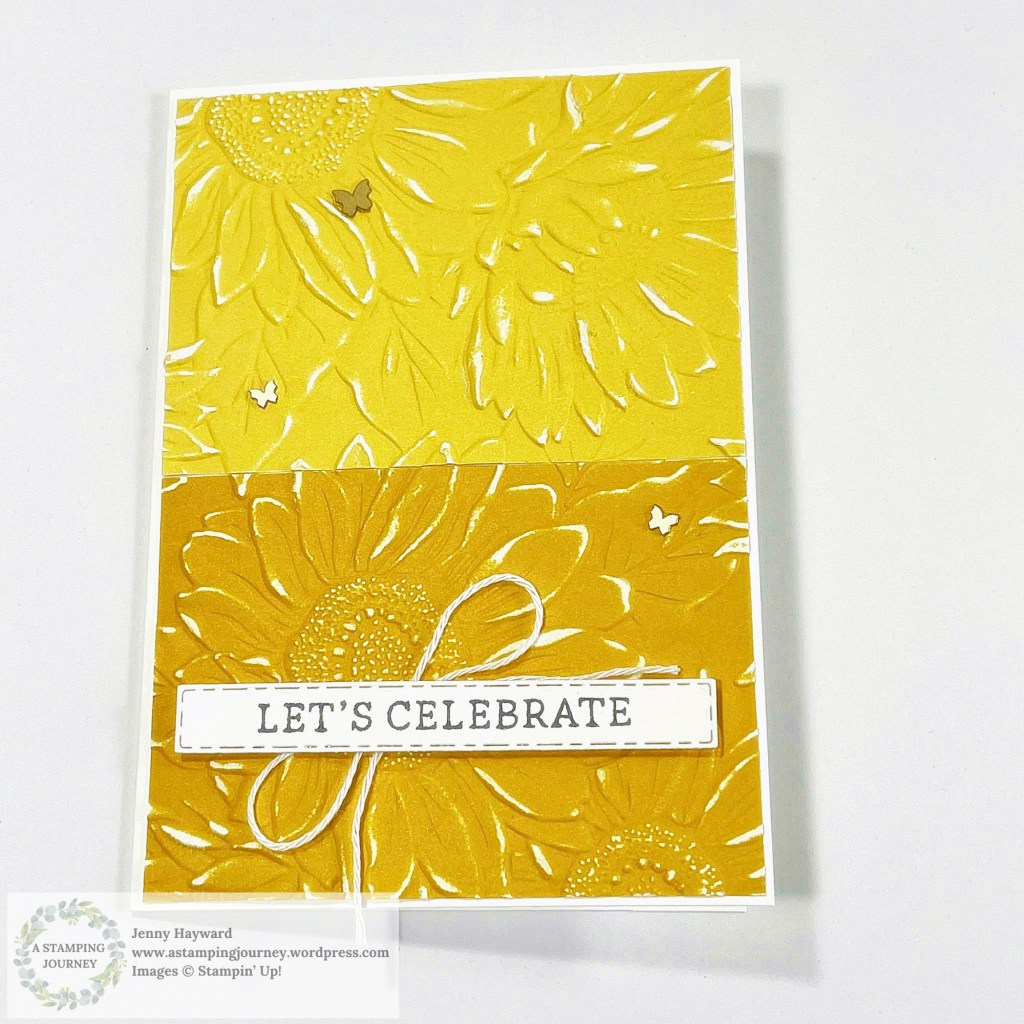
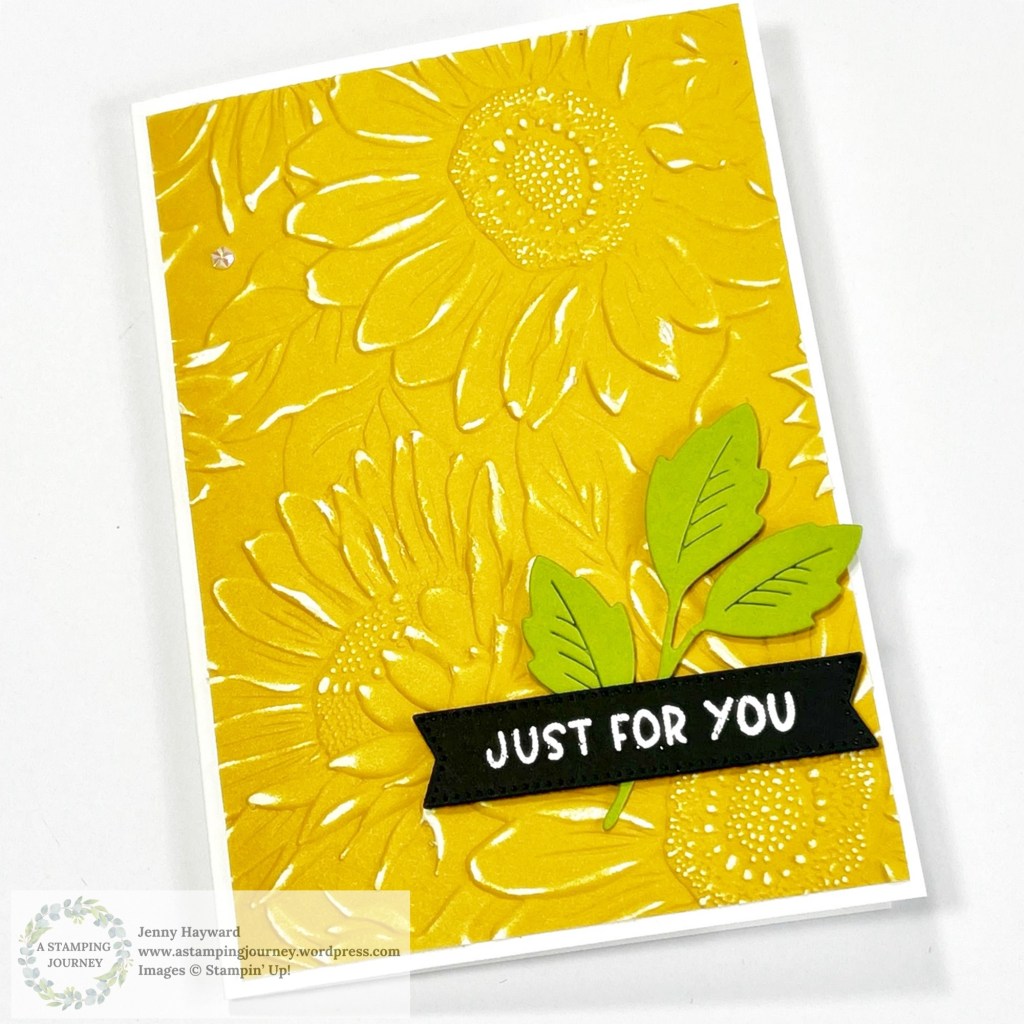
Here are 2 cards that I created. Some nice sunshine-y yellow to brighten your day.
For this one below I cut a piece of the Daffodil Delight Two-Tone Cardstock just slightly smaller than the front of the card. Then I cut the piece in half and flipped one half. I put the pieces together in the Embossing Folder and embossed them. I lightly sanded the embossed cardstock to reveal the white. I adhered them to the front of a white Card Base and added a simple sentiment.
We made this card recently in my local class playing with the Two-Tone Cardstock. If you are a Wollongong local I would love you to join in our classes each month. Contact me to find out more about them.
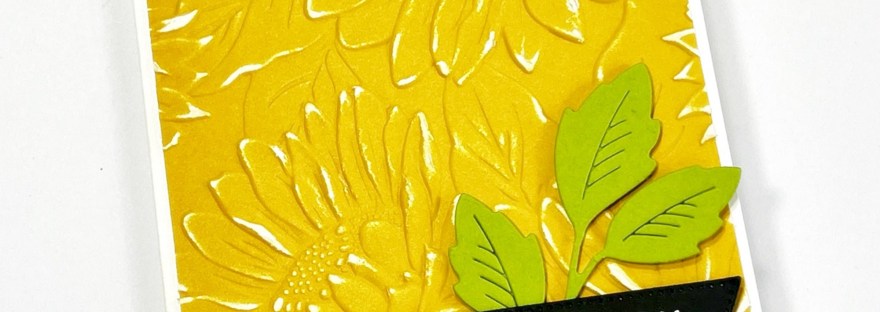
On this one below I cut a piece of the Two-Tone Daffodil Delight and embossed that. I lightly sanded the piece and added it to a white card Base. The sentiment heat embossed in white on black card and the Granny Apple Green leaf gives a ‘POP’ to the card.
You could do this in many other colours too. Hope you get to try it out.
Happy Crafting,
Jenny
If you are in Australia and “need” some supplies I would love to help you out. You can stop by my store -> HERE OR Contact me directly.
This week’s video I am featuring the Stampin’ Up! Sunflower Embossing Folder with more than 5 Different Techniques with this folder. If you don’t have this folder you can use another one with similar detail with flowers or leaves.
The Techniques I feature are:
Distressing
Colouring
Ink Wipe
Double Embossing
Plain Embossing
White Ink Swipe (This one is my favourite)
You can follow along with the video here below Or it is now on my Youtube Channel. Save it for later so you can come back and try them later. I would love to know what your favourite Technique is.
If you head to Youtube I would love it if you Subscribe to my Channel. I share videos each month with Fun Folds and Techniques.
Have a great day,
Jenny
If you are in Australia and need supplies I would love to help you get them. You can stop by my store -> HERE OR Contact me directly.
Wednesday’s WOW! #169.Some Fresh New Colours for creating Masculine Cards.
Do you find Masculine cards hard to make? I know I do. I resort to the blues, browns, yellows, reds.
Well, I have some fresh new colours to try.
What do you think? What colours will you try out next??
This is good timing with Father’s Day coming up soon here in Australia. But these are great for Birthdays and any other occasion for the boys. Big and Little Ones.
So maybe Pin this Image above or Save it so you can turn to it when you have some cards to make.
Happy Crafting,
Jenny
If you are in Australia and need some crafting supplies I would love to help you get them. You can head to my Store Online -> HERE OR Contact me directly.
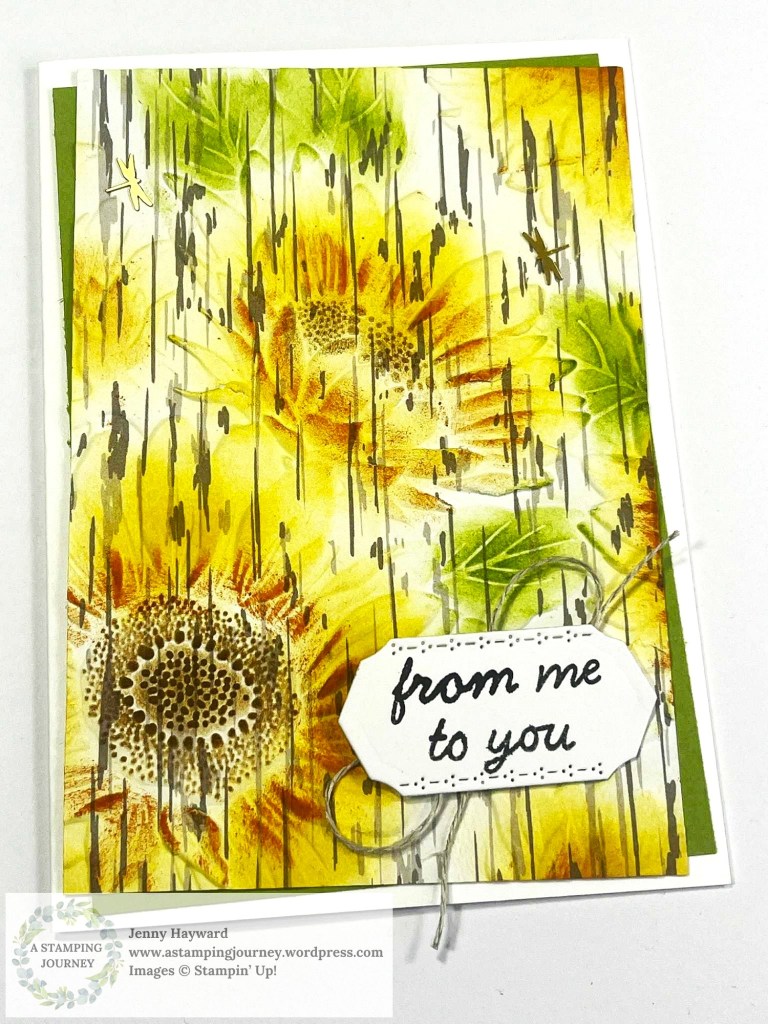
This time embossing on some patterned paper. You can try any but I have used the Nests of Winter Paper with a wood-grain look.
It gives a rustic look with this paper. I was wondering now if I should have distressed the edges of the paper to give it a more rustic look??
The Sunflowers were coloured with the Ink Pads and Daubers and the sentiment from the Bright Borders Stamp Set. Which I see is on the Last Chance lists … I diecut this with one of the Mixed Labels Dies. Another one on the list … Be quick if you want to grab these ones.
Have you got the Sunflowers Embossing Folder yet?? It is so versatile and I have to say really fun to work with.
If you are in Australia and need some crafting supplies I would love to help you get them. You can Order Online in my store -> HERE OR Contact me directly.
The details in the Sunflower 3D Embossing Folder is amazing! I have had a lot of fun with this folder lately. And I can’t wait to show you more with what I have created with it. But today I am sharing this one with you.
When you don’t feel like colouring the whole embossed piece you can diecut a circle or other shape and colour that small area. And don’t forget to colour with the blue around the flowers. It helps them POP more.
I embossed a piece of white card with the Sunflower Embossing Folder then I diecut a circle in another piece of white card. Then embossed the card. It is better to diecut the shape first. If you do that after you have embossed the card it can flatten the detail.
I used the Daubers and inks to colour this one. And used the Balmy Blue Light Stampin’ Blend for the surrounds.
I heat embossed the sentiment on black card. This helps it POP more too. The sentiment is from the Simply Said Stamp Set.
Have you tried the Sunflower Embossing Folder? It is a large one but there are lots of different Sunflower shapes over it and you can pick the area you like depending on your project.
The Embossing Folder measures 6″ x 8-1/2″ (15.2 x 21.6 cm). I said it was a large one!
Hope you get to create with it. I will bring you more with it soon.
We will be creating with this folder in class this week. If you are a Wollongong local I would love you to join in my classes. They are lots of fun and I can share lots of tips and and techniques that are sometimes a little tricky to share through a blog post.
Jenny
If you are in Australia and need supplies I would love to help you get them. If you have any questions don’t hesitate to ask too. I love helping my crafty friends.
You can head to my store -> HERE OR Contact me directly.
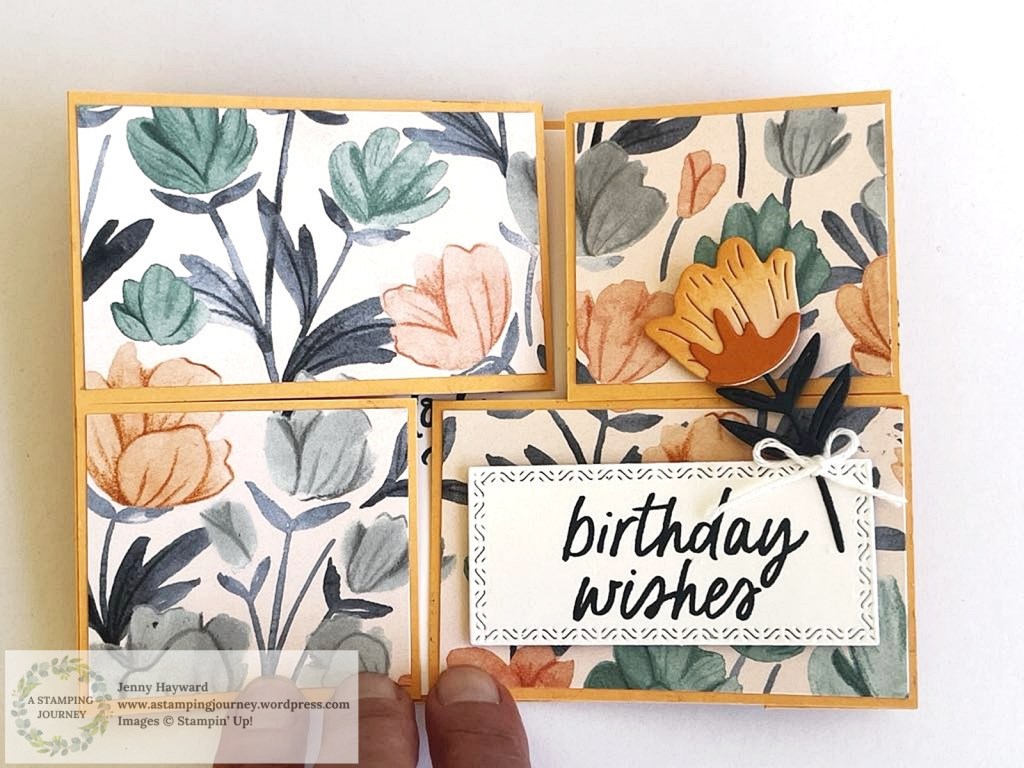
Have you seen the Puzzle Slider Fun Fold Cards? I saw them recently and just had to create one myself. The one I saw was created by Sue Stampfield.
I couldn’t find one in Metric measurements so I worked in inches. I adjusted those measurements and then worked out the Metric for my lovely crafters who prefer centimetres.
I put together a video for you. I used the Florals in Blooms Paper but you can use whatever you have. It’s a cool card. Even if you don’t like to do puzzles I think you will like to create one of these.
Here is the Video for you. The card is shown further below.
This is the card I had created earlier.
Don’t forget the inside.
Follow along with the video.
The Written Tutorial will be sent out for my Newsletter Subscribers next week. Are you a subscriber? I send out a project Tutorial each week. You can head to the Side Bar on my blog and click on the tab.
Happy Creating a Puzzle Slider Card,
Jenny
If you are in Australia and need supplies for your creating I would love to help you. You can head to my store -> HERE. Or Contact me directly.