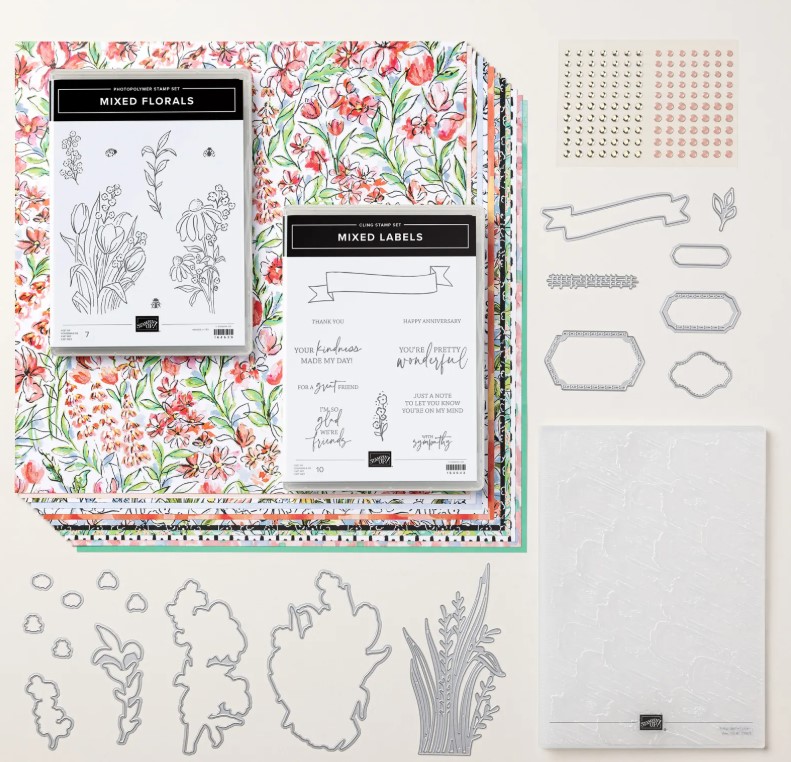
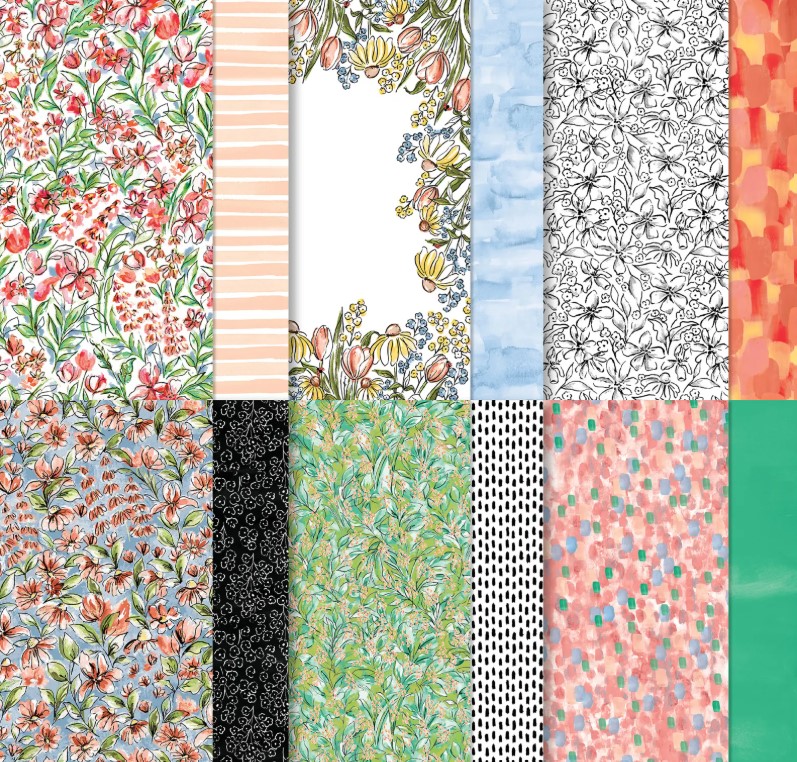
Recently we had the Thankful Garden Class. I showed different ways of using the Stamps, Dies and Masks. Everyone created 3 cards.
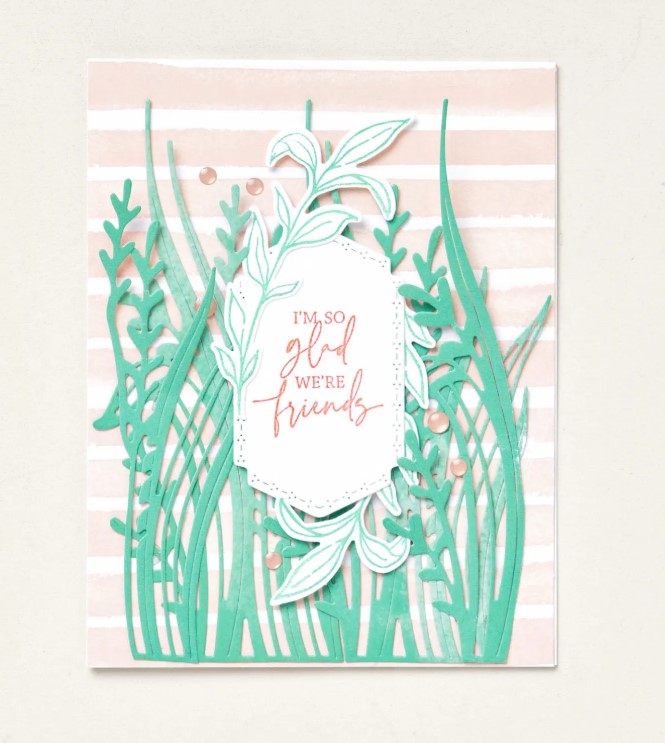
I like to start off with a very simple card. Then step them up and then usually a different technique or Fun Fold.
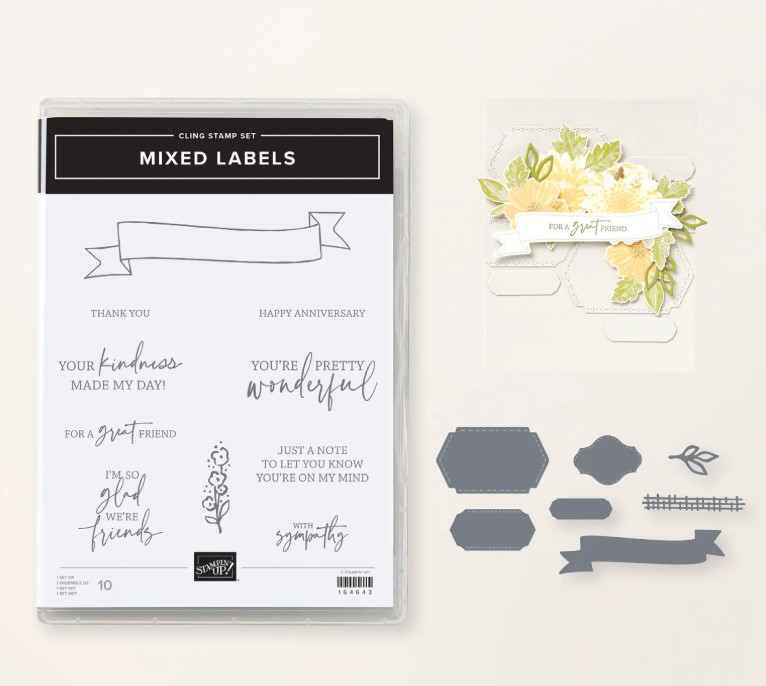
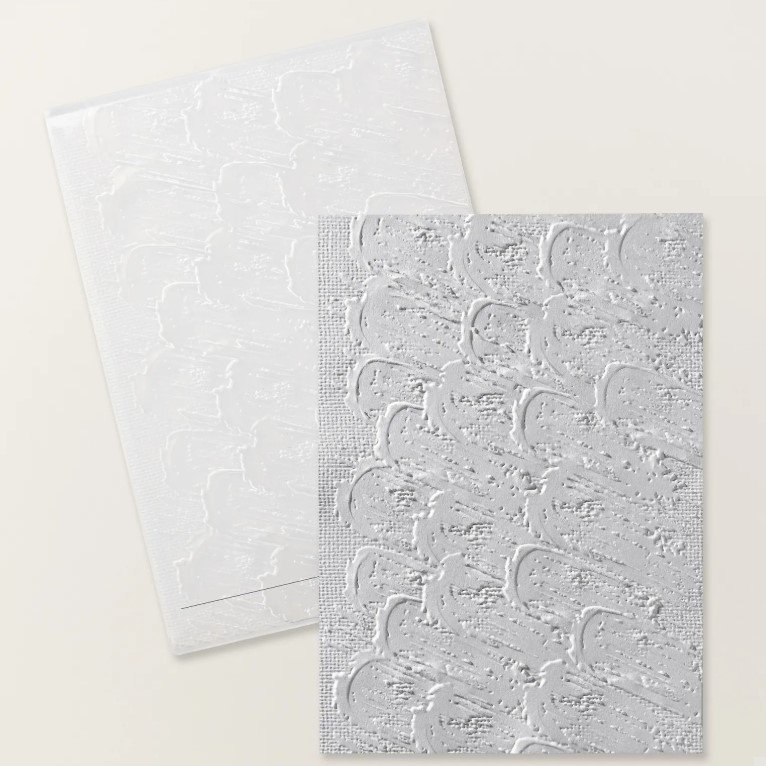
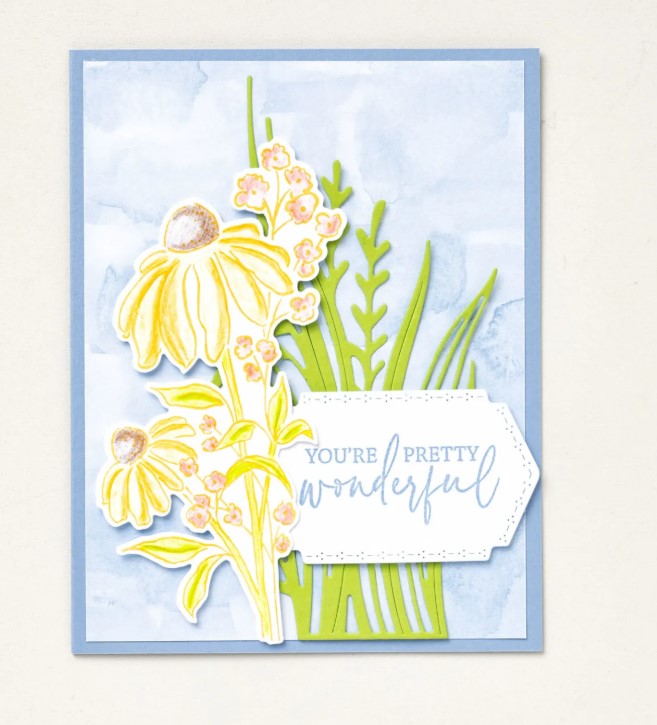
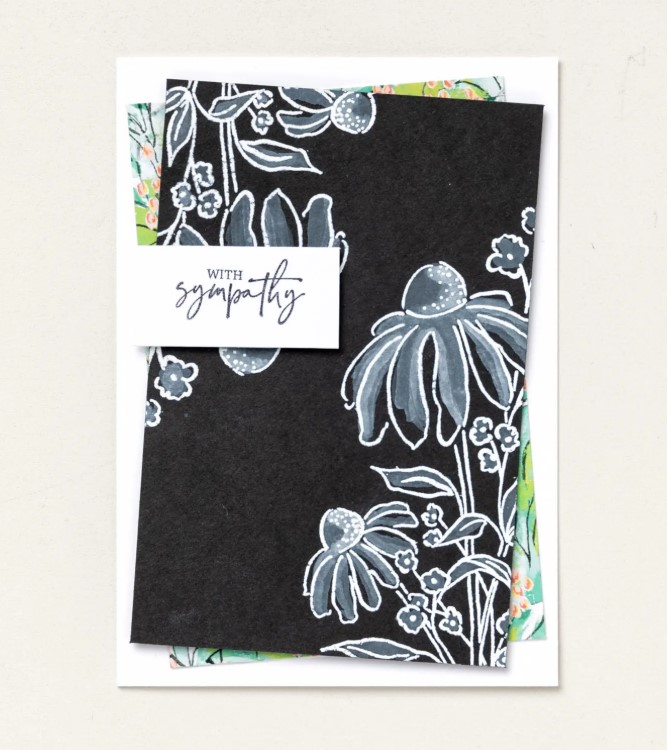
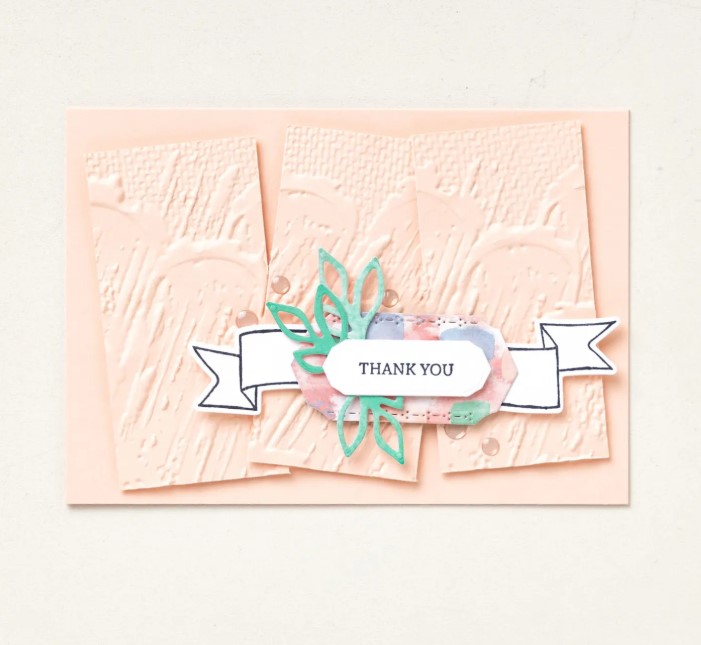
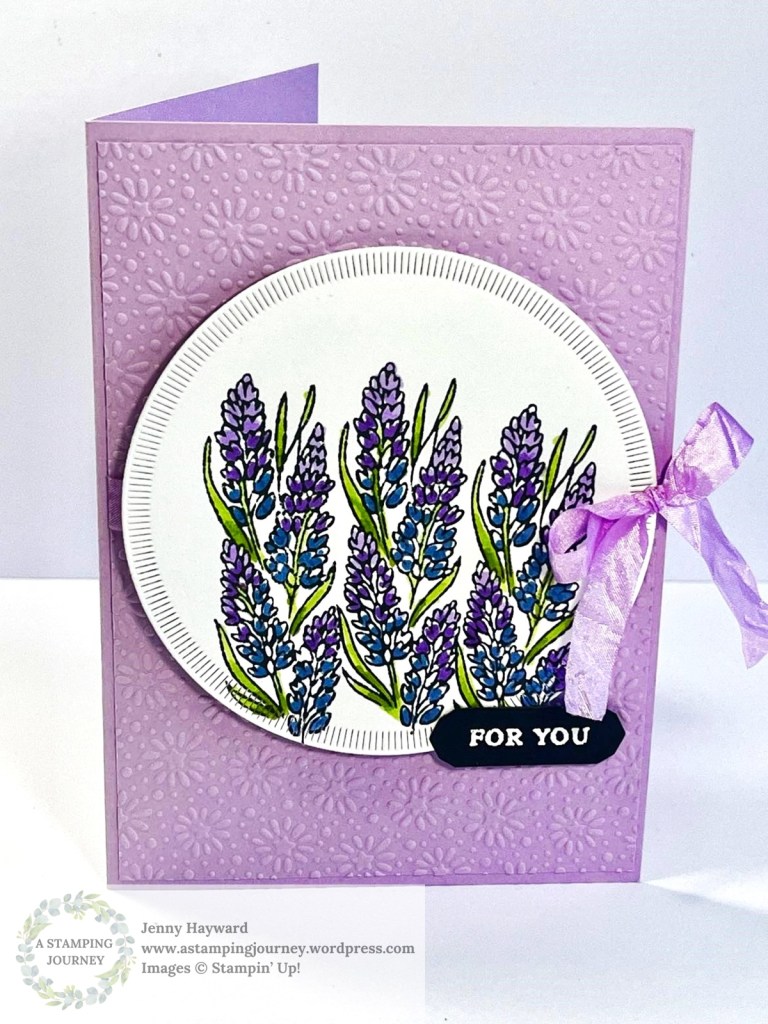
This was the Simple card. Just stamping the big flowers on the card and adding some pretty paper from the Unbounded Beauty Paper.

This is a great one when you don’t feel like colouring. But if the colouring urge grabs you it’s an easy one to colour. It has Masks in the Bundle which you can colour with ink and the Blending Brushes. Or you could colour them with the Stampin’ Blends or other colouring mediums.
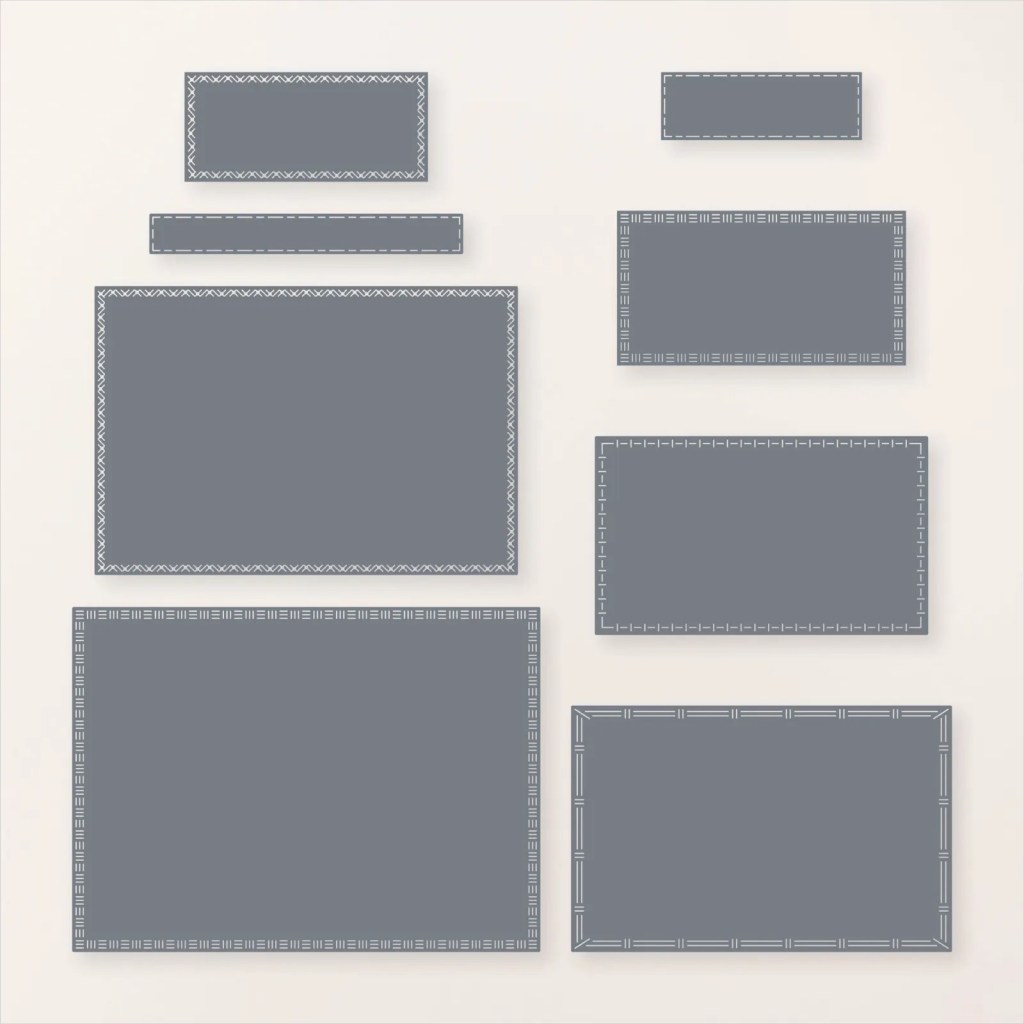
I have to point out the sentiment rectangle piece. These are my new favourite. They are the Textured Notes Dies. I have talked about these previously but they are gorgeous. They have different edgings around the rectangles. You can use them on their own or layering them together.
If you are in Australia I would love to help you grab your latest crafting goodness. You can head to my Store -> HERE.
Don’t miss out on the Last Chance retiring items though too. Great discounts there.
AND, if you are a Wollongong Local and would love to get together with some new found friends and be creative I would love you to join my classes. We always look forward to people joining us. Drop me a Comment or an email and I can tell you about it.
Happy Crafting,
Jenny