cards, Classes

TRIPTYCH WITH STARS AT NIGHT STAMPS AND DIES!

Have you heard of the Triptych Technique? I have shared a card with this some months back.

A Triptych is a work of art made of 3 panels or pieces. Early known pieces date back to the Middle ages. This technique is a great one in our card project.

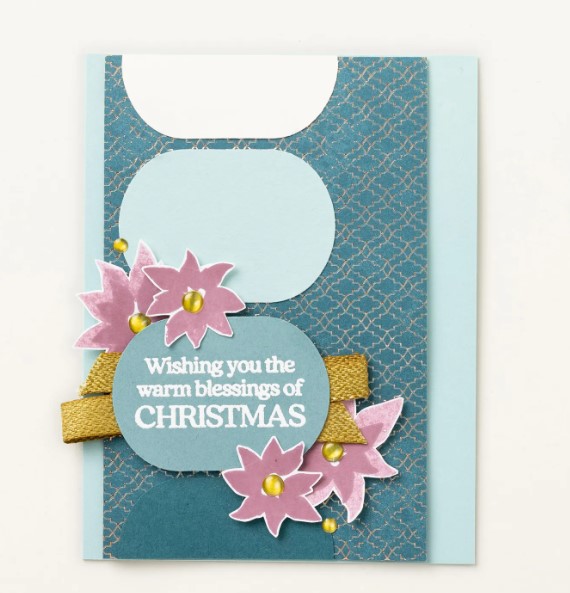
This was a card we created with this technique for our Stars at Night Bundle over the weekend. It works well with multiple images or a scene.

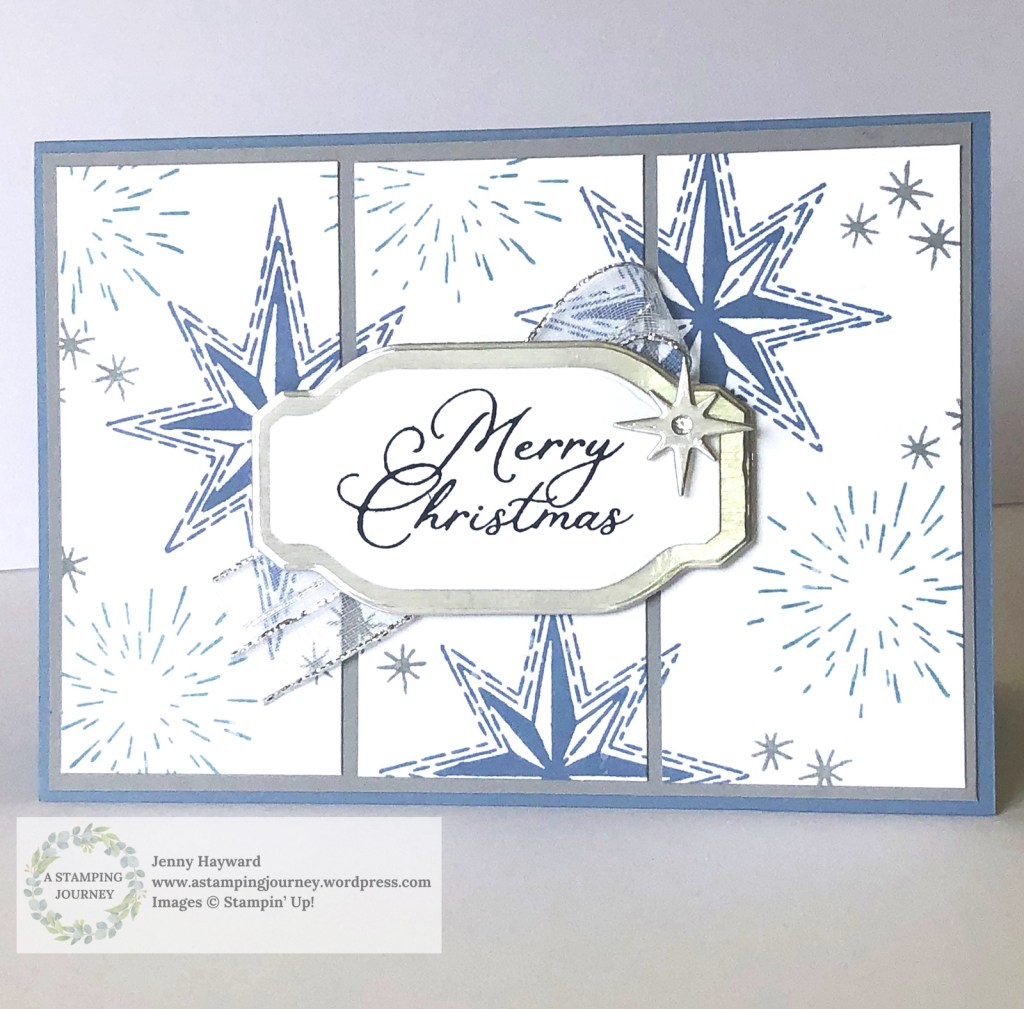
On white card stamp over the images. This card uses Boho Blue, Balmy Blue and Smoky Slate. Then cut the white panel in to 3 even pieces. For the class I had the card cut already in to 3 panels. Then place the white panels closely together and stamp.

The sentiment was diecut with the Something Fancy Dies.

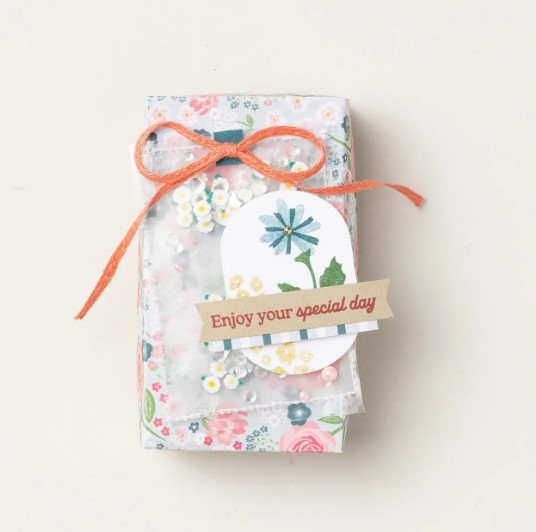
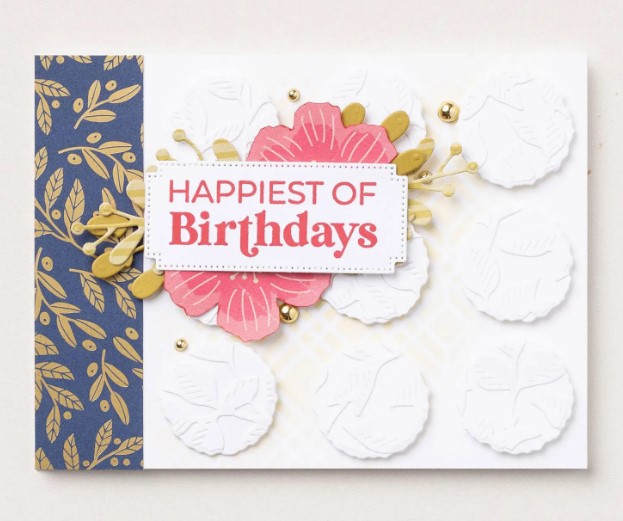
We created 2 different cards with the Stars At Night Bundle too.

If you are in Australia and would love to create the cards we made you can grab the Class By Mail. Cost is $25. All pieces are diecut. You would need to substitute with stamps you have or you can order the Stars at Night Bundle in addition.

Let me know very Soon.

Happy Stamping,

Jenny

In Australia and need to order your crafty Stampin’ Up! supplies?

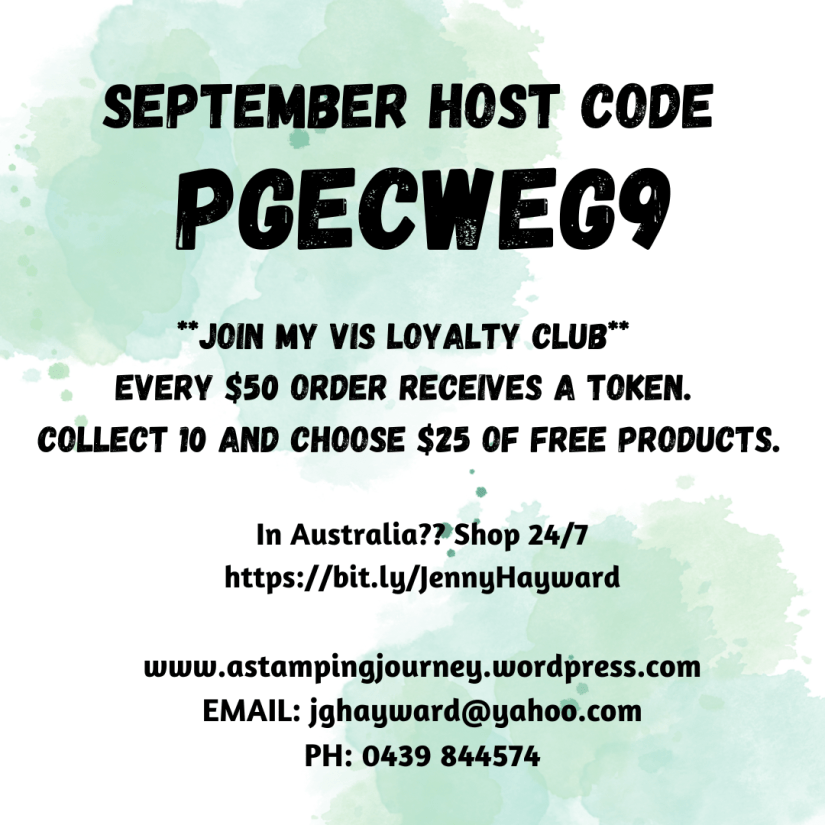
You can contact me directly or head to my store -> HERE. Please use the Host Code: DGASD34B

cards, Stampin' Up!, Techniques

WEDNESDAY’S WOW! #156 – USE BOTH DAISY DIES AT THE SAME TIME FOR DIFFERENT COLOURS!

Wednesday’s WOW! #156 – Use both Daisy Dies at the same time for different coloured flowers.

This is a great effect. If you don’t have the Daisy Dies you could use any layering flower dies.

How it works? Layer the dies together on one coloured card and diecut out. Diecut again on a different coloured card. This works well with white and another colour.

Swap over the different shapes and layer them together for a different look.

Try it out with what you have.

For more tips be sure to stop by often. Especially for our Wednesday’s WOW! You can search for other tips I have shared in the past by doing a search in the tags. There could be lots of helpful tips for your crafting.

Happy Crafting,

Jenny

Need some help with your crafting or to order?

I would love to help you out. Contact me directly

OR you can head straight to my store -> HERE. Please use the Host Code: DGASD34B

cards, Catalogues, Christmas

SWEET SUNDAY – WISHES ALL AROUND!

It’s not just one card for this Sweet Sunday. It’s the whole bundle. The Wishes All Around Bundle.

I think this bundle is so fun with the circles of trees and snowflakes. We don’t often make cards with snowflakes here in Australia. It’s too hot and sunny for that at Christmas. But the trees are very cool!

Let’s see them.

This one is stamping the trees twice. Once in Garden Green on Soft Seafoam and again in Garden Green on Garden Green. Then layer them together and add a little of the foliage. But how quick is it with the Brushed Gold Cards and Envelopes.

This is another one with the trees. Stamped in Bubble Bath and then again in Moody Mauve. The Moody Mauve trees are snipped out and layered on to the Bubble Bath ones. Oh! And check out the background. There Bubble Bath Ink has been swiped over the card base.

Here is another card so you can see the circle of snowflakes.

This is the Wishes All Around Bundle (stamps and dies).

You can see them more in my store -> HERE.

If you are in Australia and need some supplies you can stop by there and shop. Please use the Host Code: DGASD34B

Or contact me directly and I can help you.

Happy Sunday,

Jenny

cards, Classes, Stampin' Up!, Techniques, Videos

MAKE A STAND UP BOX CARD + VIDEO!

I have a Stand Up Box Card for you today. I have made this one a Christmas version but you could create one for any occasion.

The video will show you step by step in metric and inches.

Here is the card.

Side On view

Top view

Flat view. Ready to post in a standard envelope.

Ready to watch the video. See it on Youtube or you can watch it below here.

You can see the measurements in the video but if you want to receive it as a Tutorial this will be sent out in next week’s Newsletter.

I send out a Free Project Tutorial each week. You can join up with my newsletter and receive these great project inspirations. Head to this link to sign up http://eepurl.com/dHRjGv Or there is a link in my side bar of my blog. If you are watching this after October drop me a comment and I can add you to the newsletter mailout and send it then.

Hope you get to make one,

Happy Crafting,

Jenny

If you are in Australia and need supplies I would love to serve you. Pop on over to my store -> HERE. Please use the Host Code: 9U6Y3AFW Or contact me directly and I can help you.

cards, Catalogues, Stampin' Up!, Techniques

ABUNDANT BEAUTY – A HAPPY ACCIDENT!

This card came about by a Happy Accident.

When I was creating an earlier card I diecut a square from a piece of white card with the Stylish Shapes Dies. There was still some white on the scrap piece that I could do something with later. You save bits like that right??

When I made one of the Sunflower cards recently I grabbed it to stamp my sentiment on.

BUT I thought hang on a minute – that would make a great frame! So I sponged some more Sunflowers with the Abundant Beauty Decorative Masks, cut them out and added them to the frame. How good was it that I actually centred the words on it though too.

Here is the card.

Here it is side on to get a closer look.

The Abundant Beauty Decorative Masks has layers that you can build up your flower adding ink or texture paste or even heat embossing. It creates such a great effect.

The paper is from the Les Shoppes Designer Series Paper. The sentiment is from the Go To Greetings stamp set.

Do you have “happy accidents”?

Happy Crafting,

Jenny

If you are in Australia and need some crafting supplies I would love to serve you.

You can shop online in my store -> HERE. Please use the Host Code: 9U6Y3AFW

Or contact me directly.

cards, Stampin' Up!, Sunday Suites

SUNDAY SUITES – GARDEN WALK SUITE!

It’s Sunday Suites time. Today let’s check out the Garden Walk Suite a little more.

The Garden Walk Suite has stamps and paper to make floral paper crafts with a modern spin. Although I think it’s a little more rustic/vintage.

The images in this suite represent flowers from all seasons, so you can create your own season-specific floral cards or projects. So it’s great for Birthdays and Christmas and Just Because cards.

Let’s have a look closer at all that is included.

The Garden Walk Suite includes:

  • The Modern Garden Bundle (Stamp Set and the Modern Oval Punch)
  • Garden Walk 6″x6″ (15.2cm x 15.2cm) Designer Series Paper
  • Calypso Coral Braided Linen Trim 9.1m
  • Blooming Pearls – 120 adhesives pieces in Garden Green, Gold, Petal Pink and Pretty Peacock.

The Modern Garden Bundle can be ordered as a Bundle or individually. But you can save 10% by buying it as a bundle. The stamps can be used for all occasions and make up different flower combinations. The Modern Oval Punch can be used for many different elements not just for sentiments on your projects. The Punch is 6×4.1cm, 2-3/8″ x 1-5/8″

The Garden Walk Designer Series Paper comes in 48 sheets – 6 each of 8 designs.

It contains flower patterns ranging in size from small to large. Use it as a background or try fussy cutting some of the larger flowers to use as accent pieces. Even stamp directly on the paper prints with some of the flower images. The colours in the paper are –  Calypso Coral, Garden Green, Mossy Meadow, Poppy Parade, Pretty Peacock, Wild Wheat.

You want to see how it’s used though don’t you. These samples were created by Stampin’ Up! artists.

Use the punch as an element on your cards.

Use strips of the pretty Paper.

A gift bag box but check the tag?? It’s a little shaker tag with the Loose Daisy Embellishments inside.

Fussy cut some of the flowers from the paper out. But check the background too. White card was embossed with the leaves Embossing Folder and then circles diecut with the Deckled Circles Dies. Pretty cool effect!

Stamp directly on the paper.

You can see more of the Garden Walk Suite online -> HERE.

If you are in Australia and need supplies for your next project you can stop on by my store at that link there. Please use the Host Code: 9U6Y3AFW

Or Contact me directly and I can help you out.

Happy Sunday,

Jenny

cards, Catalogues, Techniques

SUNFLOWERS WITH THE STAMPIN’ UP! ABUNDANT BEAUTY MASKS

Can you believe it? This was my first time at using masks of any time. And I do love how you create the layering Sunflowers from the Abundant Beauty Masks.

The colours I used was Daffodil Delight first on the flowers and then a little Pumpkin Pie in the middle of the flowers. I used Pecan Pie for the centre and then Pecan Pie for the detailed area in the centre. The leaves were with Garden Green.

I was inspired by Patty Bennett to emboss the card with an embossing folder after sponging. This one uses the Painted Texture 3D Embossing Folder.

The paper strip behind the stamped image is from the Joy of Christmas Designer Series Paper. The sentiment is from the Go To Greetings.

This is one of the cards we were making in class today.

I have had lots of play with these masks so I will show you more soon.

If you are in Australia and need some supplies I would love to serve you.

You can shop directly in my store -> HERE. Please use the Host Code: 9U6Y3AFW

OR contact me and I can help you.

Happy Crafting,

Jenny

cards, Stampin' Up!, Techniques

WEDNESDAY’S WOW! #153 – TONE ON TONE WITH VERSAMARK

Wednesday’s WOW! #153 – Get a Tone on Tone effect with Versamark Ink Pad.

The Versamark Ink Pad is what you need to use when Heat Embossing. You ink the images with Versamark before adding your powder to heat up.

BUT Versamark is great to give a Tone on Tone effect. It’s really effective but also good if you don’t have the matching ink pad. You can use Versamark to stamp the images on the card and it gives a slightly darker tone. It does look cool!

Have you tried this?

What other ways have you used Versamark? Drop me a comment to let me know.

Hope you pull out your card and ink and start creating soon.

Happy Crafting,

Jenny

If you need some supplies and you are in Australia I would love to serve you. You can contact me directly

OR head to my store -> HERE. If ordering Online Please use the Host Code: PGECWEG9.

Thanks for shopping with me.

cards, Catalogues, Techniques

WEDNESDAY’S WOW! #152 – M&M

Wednesday’s WOW! #152 – M&M.

What???

Melt and Move. Not the chocolate variety. Although that would be nice right now …

Think M&M when you are Heat Embossing. That is Melt and Move.

Once your Embossing Powder turns shiny when heating you know that it has melted. Don’t stay heating there or it will burn. Keep on moving along to the next section.

So next time you are Heat Embossing think M&M.

Now I think I need some M&M’s. Some Crunchy Peanut ones. 🙂

Happy Crafting,

Jenny

Need some Crafty supplies and you are in Australia? I would love to serve you.

Head to my store ->HERE. Please use the Host Code: PGECWEG9

OR Contact me directly.

cards, Catalogues, Stampin' Up!, Techniques, Tutorials

WEDNESDAY’S WOW! #151 – FLAGGING YOUR RIBBON!

Wednesday’s WOW! #151 – Flagging your Ribbon ends.

Do you like to flag the ends of your ribbon? Flagging is cutting the ends to a ‘V’ Point. Don’t try and cut the points individually. They never turn out even…

Here is a tip for you to “flag” those ends. Fold the sides of one of the ends of the ribbon together in half and make one snip to a point. The longer part – the point is towards the end of the ribbon. It makes them cut so much easier.

Hope this helps you.

Happy Crafting,

Jenny

Need some supplies and you are in Australia?

You can head to my store -> HERE Please use the Host Code: R663PWDW.

Or contact me directly.