cards, Catalogues, Stampin' Up!

STAMPIN’ UP! LAYERS OF BEAUTY ~

I have been playing with the Layers of Beauty Bundle – the stamps, Dies and Masks. I have seen some beautiful creations with these.

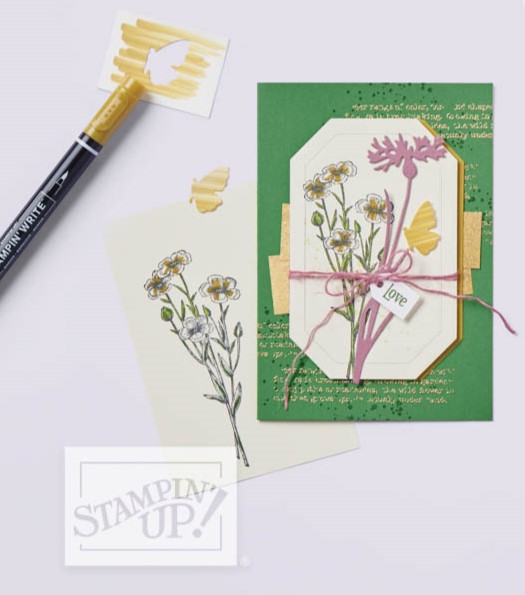
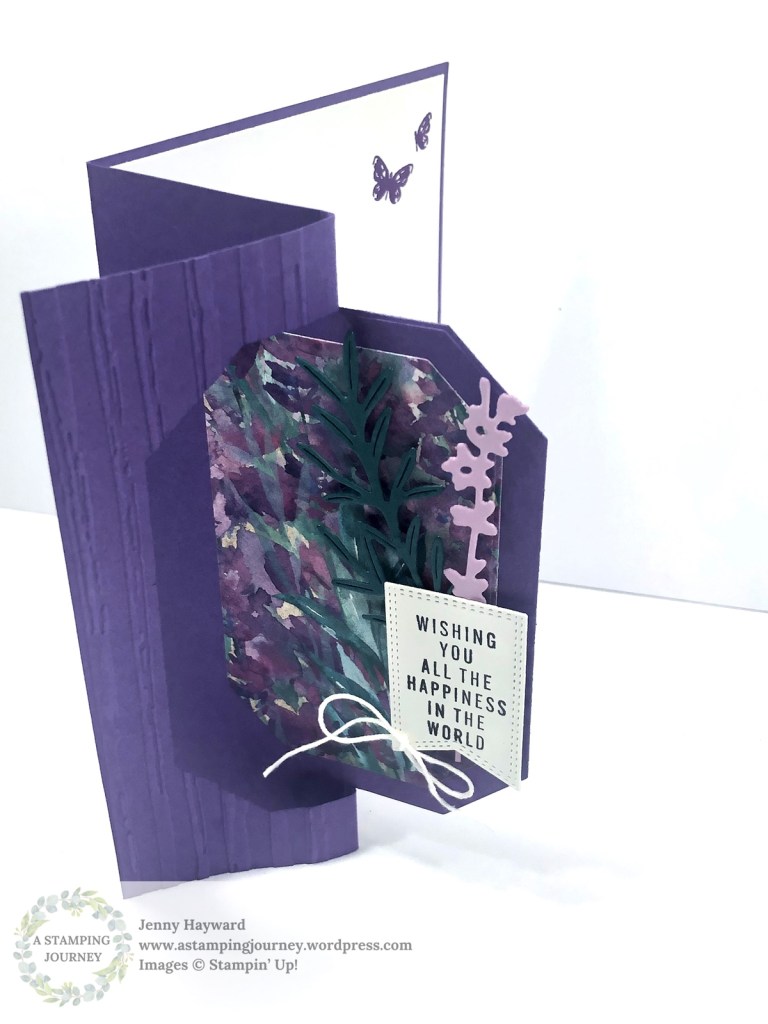
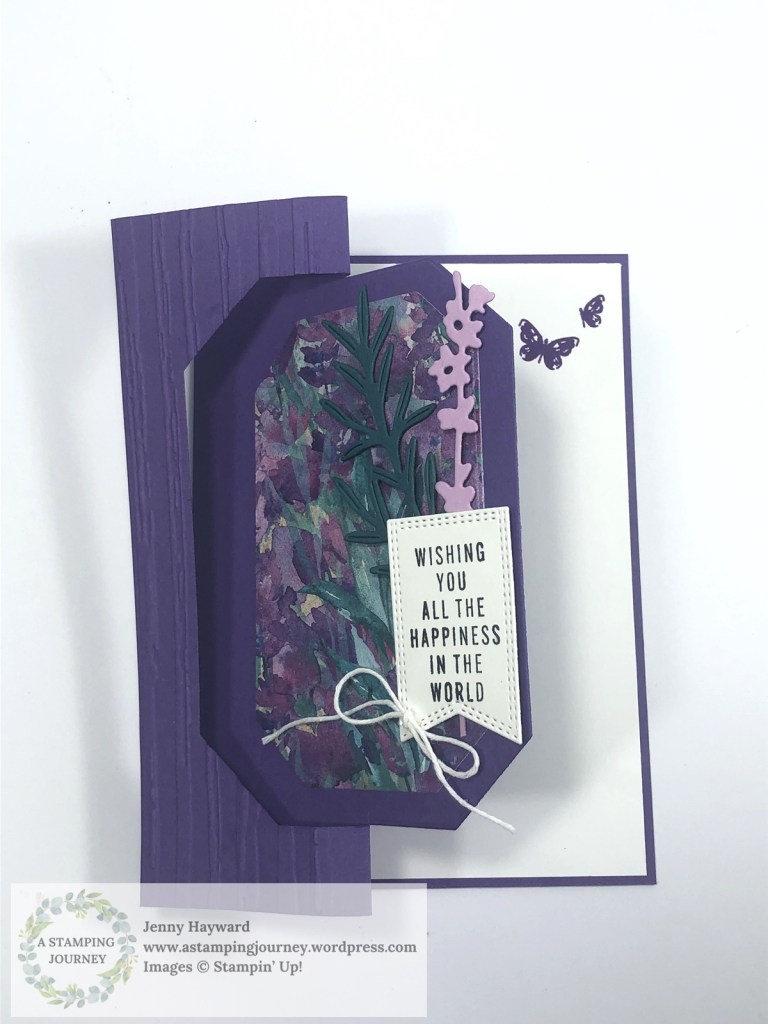
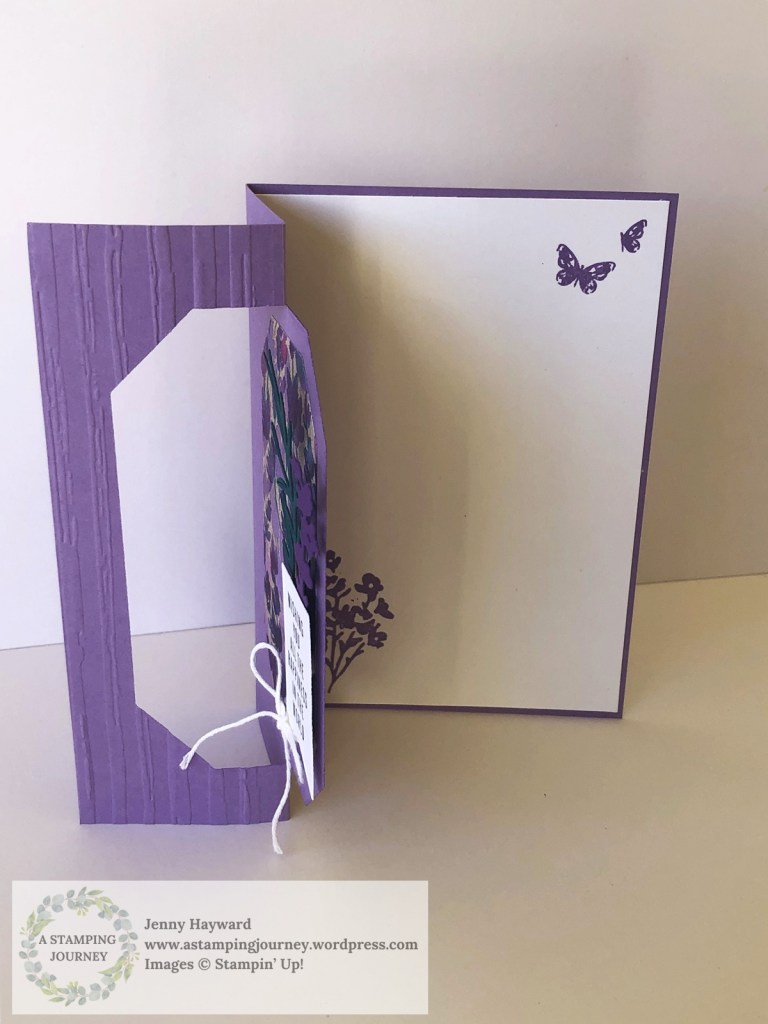
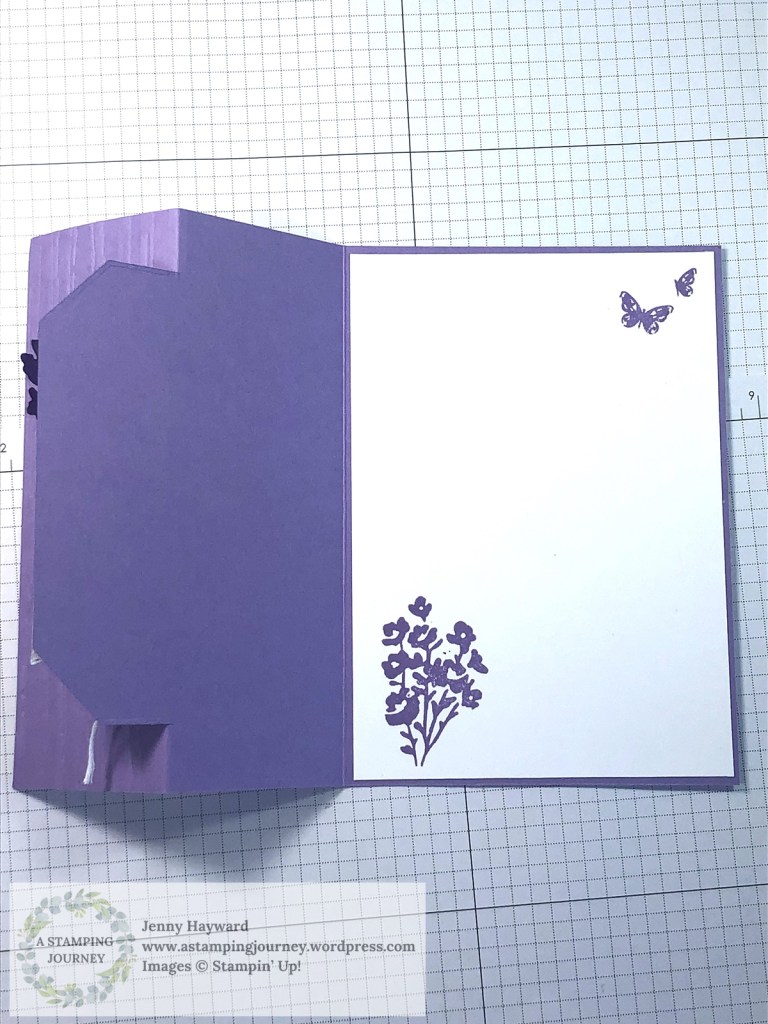
I’m still not sure of this card I created. I thought with this one I would stamp the outline in Basic Gray but looking at it afterwards you can see the lines and I’m not sure I like that. I added the colour through the masks. Perhaps I went a little heavy handed with the ink colour blending.

Still a work in progress. But here’s the card.

I added the strips of the Unbounded Beauty Designer Series Paper for something a little different.

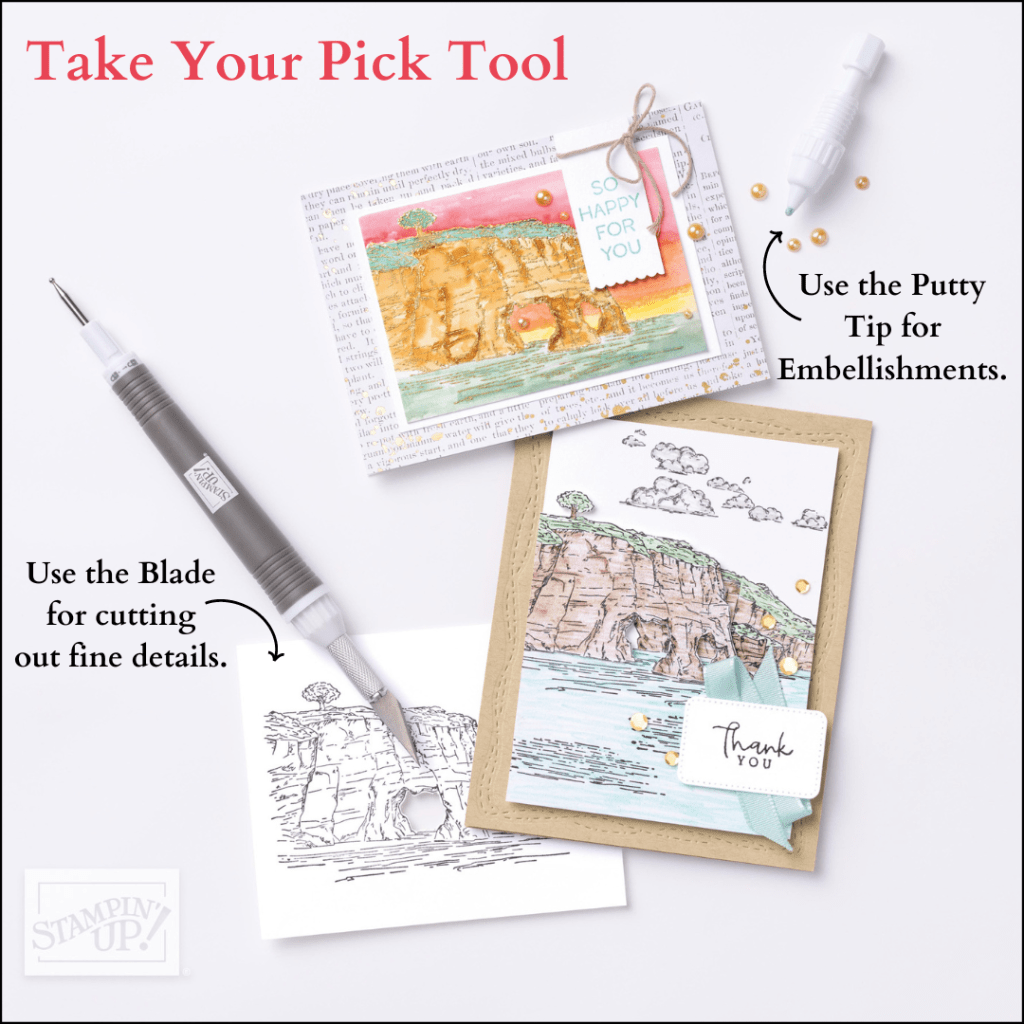
The Masks are easy to use I will say that. There are 5 masks all numbered. You use them from 1-5 to build up your layers. I would suggest starting off with the light colours first and getting darker to 3. 1-3 are the flowers. Then the 4 and 5 are for the leaves. So start with the lighter colour for 4 and darker with 5 for the highlights on the leaves.

I think I will head back to the craft room and work on these a little more. They are fun to work with.

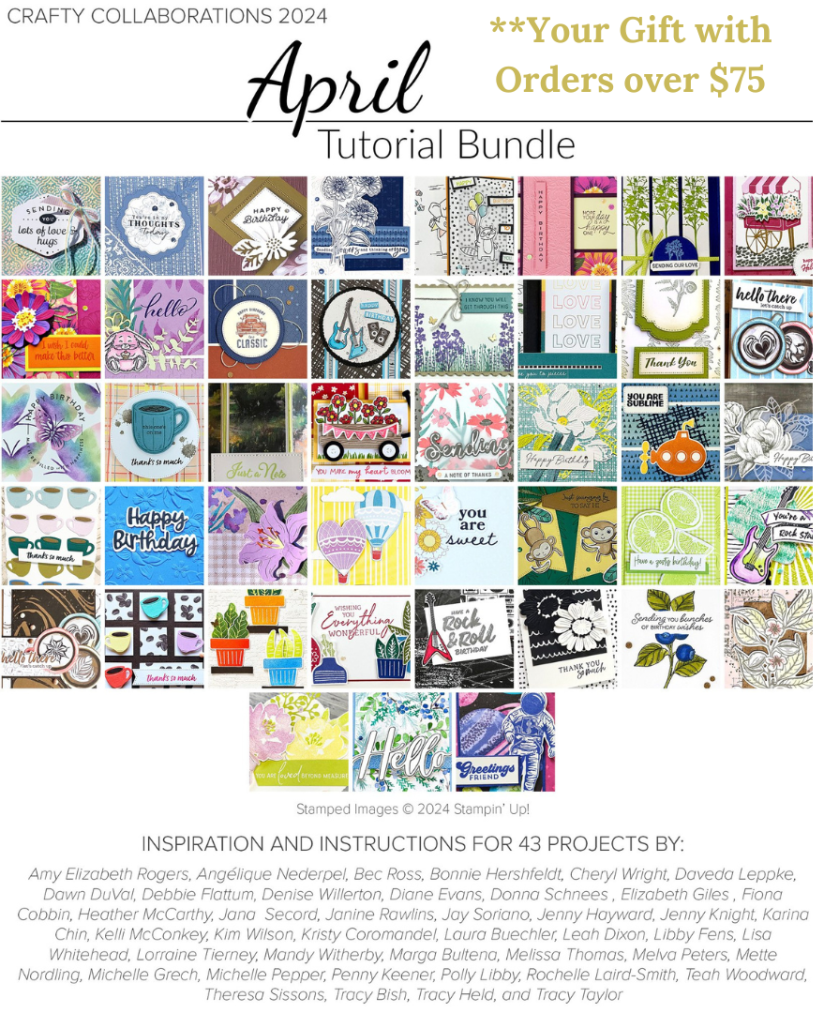
These are the Layers of Beauty Bundle. Great Bundle to get all 3 of the products together – and to save. You can get them separately too.

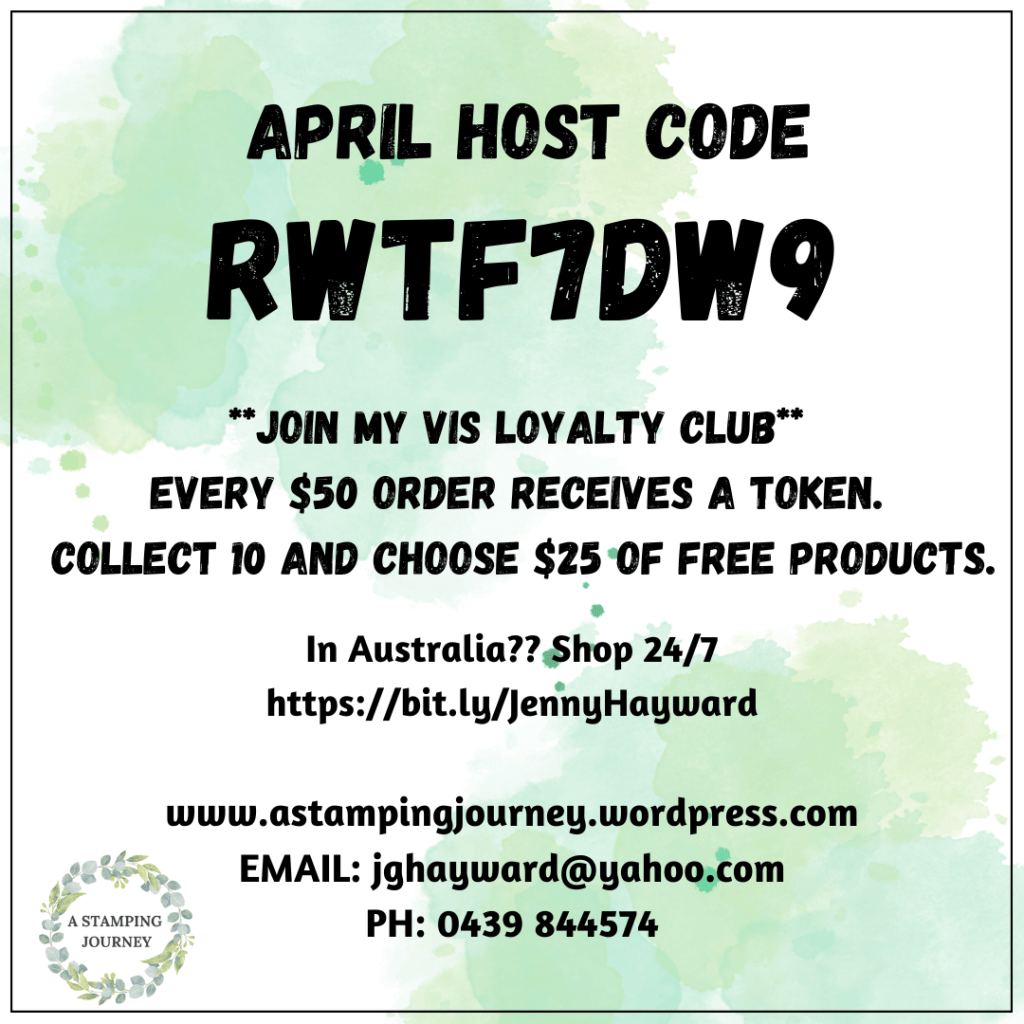
You can see this Bundle in store -> HERE. I see that it is low inventory so you may want to be quick with this one.

If you would like to shop for any products head to that link above to order

OR

Contact me directly and I would love to help you out. (Australian residents only sorry).

I do hope you get to play with them.

Happy Crafting,

Jenny

cards, Catalogues

SWEET SUNDAY WITH STAMPIN’ UP! TENDER HEARTED ~

Sweet Sunday and I just had to share this card with the Tender Hearted Stamp Set. Well it is just sweet …

I remember my little kiddies doing this when they were young. Pretending to be Dr’s attending to their toys. It brings back such precious memories. I just had to share it.

This card was created by Stampin’ Up! Artists.

I love how they have used the strips of Designer Series Paper on the card too. This is a great way of using your little scrap pieces. Perhaps you can use that idea on a card you make soon.

The Tender Hearted Stamp Set has some cute images in the whole set. It’s not just for the young kids. What a lovely one to use on cards for friends.

It is now available in my store (Australian residents). You can order this now -> HERE. Please use the Host Code: R4QU9DB3

OR

You can contact me directly.

Stampin' Up! Tender Hearted Stamp Set

Have a lovely week,

Jenny

cards, Techniques, Tutorials, Videos

FRONT PANEL GATEFOLD CARD + VIDEO!

I love Fun Folds. I have a cool Fun Fold card for you today AND a video to help you create it.

It’s a Front Panel Gatefold Card.

You have the Front of the card. Just like any regular looking card really. I have used the Stippled Roses Stamp Set for this one.

But lift the front and you have a Gatefold. It gives a little extra WOW! to the card. For this one I have used the Unbounded Beauty Designer Series Paper on the side panels.

Then open the 2 flaps and you have the inside. With a little stamping and a strip of the paper it adds to the specialness.

What do you think?

You can follow along with the Video to make your own.

The measurements are included in the video. Stop or pause or rewind. If you prefer the written version I’m sending that out in my newsletter next week.

If you are not a subscriber to my newsletter please consider it.

I send out a Free Tutorial each week with a bonus one when you first subscribe. You can find the tab to subscribe in the right hand column on my blog.

Hope you get to make one.

Happy Crafting,

Jenny

Need some supplies and you are in Australia?

Contact me directly

OR

Head to my store -> HERE. Please use the Host Code: R4QU9DB3

cards, Catalogues, Stampin' Up!

BEACH DAY BOARDS!

It’s Beach Days Today. We have had so much rain here recently and I’m missing the beach. So I pulled out Beach Day stamps and dies that I had just received and created my own beach days.

The circle was diecut with one of the Deckled Circles Dies. I then diecut a circle using the small Circle in the Beach Day Dies to create a mask to blend the sun. The colours for the sun was Daffodil Delight and Pumpkin Pie. After that I sponged Balmy Blue around the edges for the sky.

If you want to see how it is done I have added a quick video on my Facebook page and on Instagram. You can view it on Facebook -> HERE. By the way do you follow me there? Be sure to HIT the Follow so you can catch what I share there.

The board were stamped in Poppy Parade, Shaded Spruce and Daffodil Delight. Then with the light Stampin’ Blends I coloured an outline inside the board edge. I saw this idea on another card on Pinterest but now I don’t know who that was.

When I diecut the sand from Crumb Cake I brushed on some Crumb Cake Ink to the edge and then stamped the seashells.

The paper background is from the Unbounded Beauty Designer Series Paper. The greeting was diecut from the Happy Little Things Dies.

Does that bring you Beach Day vibes? I hope so.

These are available in the new catalogue now.

Need them or any other crafty products? You can order directly in my store -> HERE. Please use the Host Code: R4QU9DB3

Or contact me and I would love to help you get them.

Happy Crafting,

Jenny

cards, Catalogues, Stampin' Up!, Techniques, Tutorials, Videos

SPOTLIGHT ON NATURE FOR THE BEGINNER STAMPER!

The new catalogue began this week. Woo Hoo! Have you checked it out yet?

This week I was part of the Crafty Collaborations Beginners Stamping series. It’s a large number of videos with tips for the Beginner crafter. They may even help the “well-seasoned” stamper too.

You can follow along with these videos -> HERE. Take your time and work through them. You can come back to them anytime too. AND it’s free!

It will take you through the basics of the types of stamps, inks, adhesives. Also, Cutting and scoring your cards (which I created a video for). That’s always tricky! Then goes through some simple techniques to try.

Head over and check in on it.

As part of this series there is also a number of videos with some more Simple designs. Simple stamping can be a challenge even for the more advanced stamper.

Continue on with that video series and you will find them.

I have added my video here for you to check out. This one is Cutting and Scoring your card in Metric.

I have added the Imperial Cutting and Scoring too as I know many of my followers here are from the US.

This is the project I created for my Simple stamping card.

I will add my video below here on the Simple Stamping project you can create. This simple card is above. For the Stepped Up version check below.

I created a Stepped Up version. Adding a little more texture and elements. Of course you could go way more avid but a few additions can really add to your project already.

I have used the Spotlight on Nature Stamp set.

You can see the added texture and elements here. I think a little glitter should be added to the butterfly.

So with a few steps you can take your card to the next level.

This Spotlight on Nature stamp set is really gorgeous for any level of crafter.

It does come as a Bundle too with some gorgeous shape dies great layering.

You can see it more -> HERE.

Head over and check the videos out.

Happy Crafting,

Jenny

Need to order some great new products and you are in Australia?

You can order in my store -> HERE. Please use the Host Code: R4QU9DB3

OR

Contact me Directly. I would love to assist you.

cards, Stampin' Up!, Techniques

WEDNESDAY’S WOW! #161 – CREATE YOUR OWN EMBELLISHMENTS!

Wednesday’s WOW! #161 – Creating your own Embellishments.

Do you want to know a fun way of creating your own embellishments or accents? So easy. Let me show you.

Colour a piece of card with your Stampin’ Write Markers. You want to use the Markers rather than the Stampin’ Blends as you don’t want the colour to blend. It gives you the mottled, rough look.

Once you colour your card diecut it or punch it out and add it to your projects. It will give added texture to them.

See how it looks below.

This card is using the Quiet Meadow stamp set. What dies or punches could you use with this effect?

Hope you get to try it yourself.

Happy Crafting,

Jenny

Need supplies for your crafting and you are in Australia? You can head to my store -> HERE. Please use the Host Code: RWTF7DW9

OR Contact me directly.

Don’t forget the Last Chance and Clearance Rack items to save on your crafting supplies.

When your order is over $75 AUD. You will receive a Bonus Tutorial Bundle of over 40 projects. That will keep you inspired for some time.

Stampin' Up!

MAKE A FLIP Z-FOLD CARD + VIDEO!

For our recent Onstage event in Melbourne I created a Flip Z-Fold Card for my swap. Swapping is great fun to give and receive the cards. It’s always good to see the different ideas others use – and to meet with other Demonstrators too.

I created 3 coloured versions.

The Gorgeous Grape.

The Berry Burst version.

The Highland Heather version.

The Gorgeous Grape and the Highland Heather version uses the Perennial Lavender Designer Series Paper with the Painted Lavender Dies. The Berry Burst version uses the Delightful Floral Designer Series Paper with the Bough Punch. The sentiment for all 3 is from the Translucent Floral Stamp Set.

So what colour do you like?

I thought I would put together a video to show you how to make one yourself.

Hope you get to make one yourself.

If you need any of these lovely products or others and you are in Australi head to my store -> HERE.

Happy Crafting,

Jenny

Catalogues, Stampin' Up!, Techniques

WEDNESDAY’S WOW! #160 – USING THE TAKE YOUR PICK TOOL!

Do you love the Take Your Pick Tool? It’s like a Swiss army knife for crafters. 🙂

Wednesday’s WOW! #160 – Let’s look at just some of the features of the Take Your Pick Tool.

About the Take Your Pick Tool:

  • It is a Multipurpose Pickup and Precision tool simplifies some of the fiddly crafting tasks.
  • The Tacky Putty end easily picks up sequins, paper accents, and other small objects; twist to dispense more putty. There is also a Putty Refill that you can replace on the tool when you run out. AND TIP: Don’t sit there fiddling and twisting the end when you are not noticing. Ask me how I know …
  • The other end has 2 changeable, double-ended tips with paper piercer, mini spatula, small stylus, and large stylus. See I said it was a the Swiss Army Knife.

Here is the Take Your PickTool plus the extra Attachments.

There is the Take Your Pick Die Brush attachment. This will help remove those tiny little diecuts from the dies when diecutting.

There is also the Take Your Pick Crafter Tips. These tips include:

  • The Hobby Blade for precision cutting.
  • A Double-Ended Pick Tip for piercing or removing pieces from intricate die cuts.
  • And a Rotary Perforating Tip for cutting perforated patterns. 

These tips fit onto the Take Your Pick Tool to give you even more crafting tools to work with! Simply remove a tip from the tool and insert a different tip for the task you need. 

What a versatile Tool! It certainly makes some of those crafting tasks that much easier.

See it in action.

You can see it more in my store -> HERE.

If you need assistance you can contact me directly if you are in Australia. Or shop in my store at the above link.

Happy Wednesday crafting,

Jenny

cards, Classes, Techniques

FRACTURED AND PATCHWORK CARD CLASS!

Create 3 fun cards with pretty papers in this Fractured and Patchwork Card Class.

You will make 2 Fractured Style cards and 1 Patchwork card and find out just how easy they are yet so impressive.

Class is available in person and there is a Class By Mail option if you aren’t able to make it.

There are 2 time sessions for in person.

WHEN: Friday 8th March 10am and
Saturday 9th March 2pm

WHERE: My Studio, East Corrimal

COST: $25 (additional cost for mailing out kits if you are receiving the Class By Mail.

BYO: Scissors and Adhesives

RSVP: Thursday 7th March (Please reply by that date to reserve your seat).

TO RSVP: Drop me a comment here or email me at jghayward@yahoo.com

CLASS BY MAIL: Receive card kits and basic Instructions. Use your own stamps.

I look forward to creating with you. Share it with a friend too. They may just like to give it a try themselves.

Jenny

cards, Stampin' Up!, Techniques, Videos

STIPPLED ROSES HALF FRONT CARD + VIDEO!

I have shared this card recently. Perhaps you caught it? It’s a Half Front Card with the Stippled Roses Stamp Set.

I shared it on Facebook recently and had requests to make a video to share the ‘How to’.

So would you like to create one yourself? Follow along with the video below. Or head straight to my Youtube channel and watch it.

The Stippled Roses Bundle is so gorgeous to use. It’s available now in the current Mini Catalogue.

Or try it with other stamps you have.

If you love this Stippled Roses Bundle and would love to get it yourself. Head to my Store and order -> HERE. (Australian residents only). Please use the Host Code: EWHZ23PV

Or contact me directly and I can help you out.

And don’t forget it’s Sale-A-Bration. You can pick up your bonus gifts with your qualifying orders. And getting the Stippled Roses Bundle will already qualify you for a freebie. 🙂

Happy creating,

Jenny