Wednesday’s WOW! #161 – Creating your own Embellishments.
Do you want to know a fun way of creating your own embellishments or accents? So easy. Let me show you.
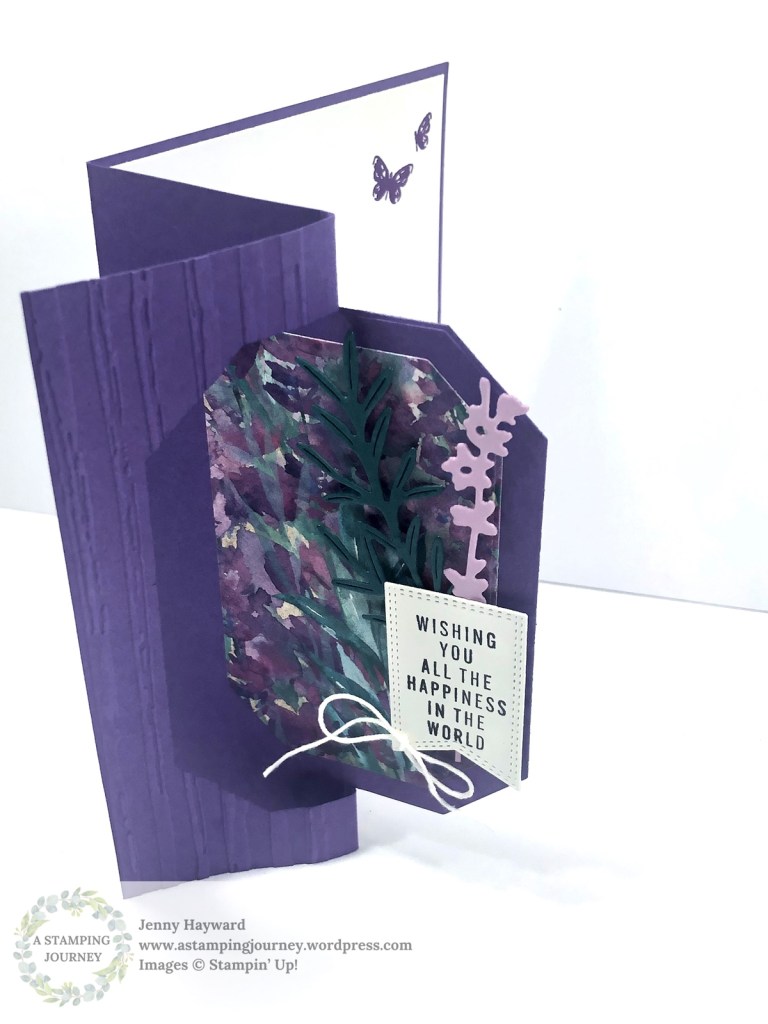
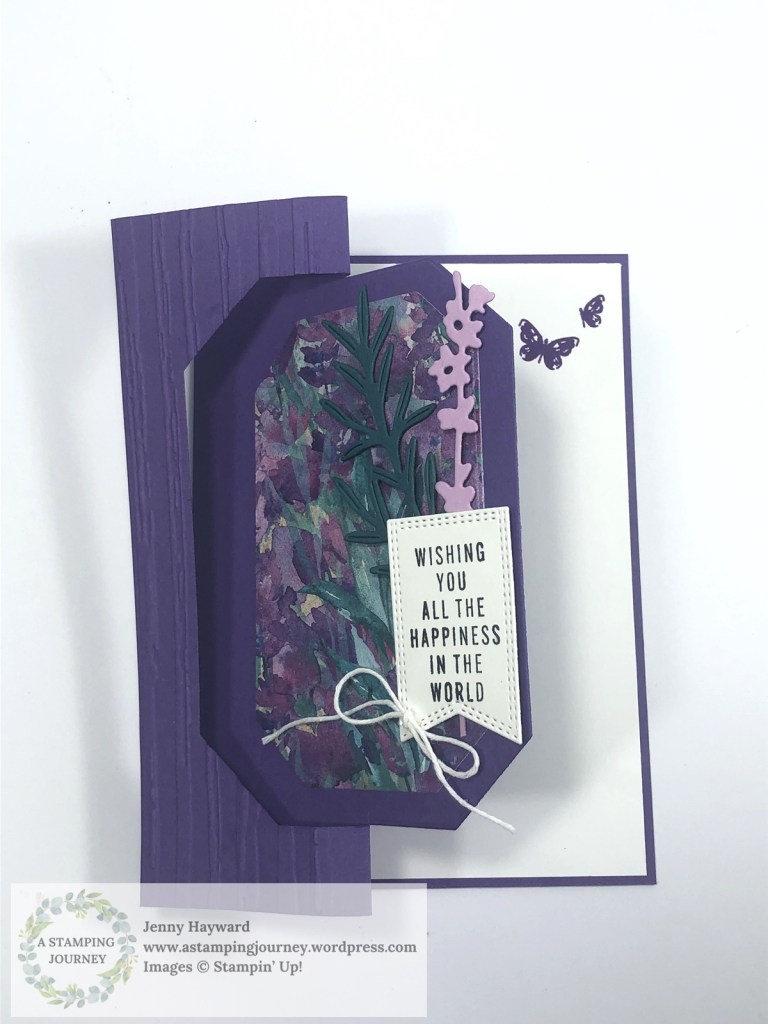
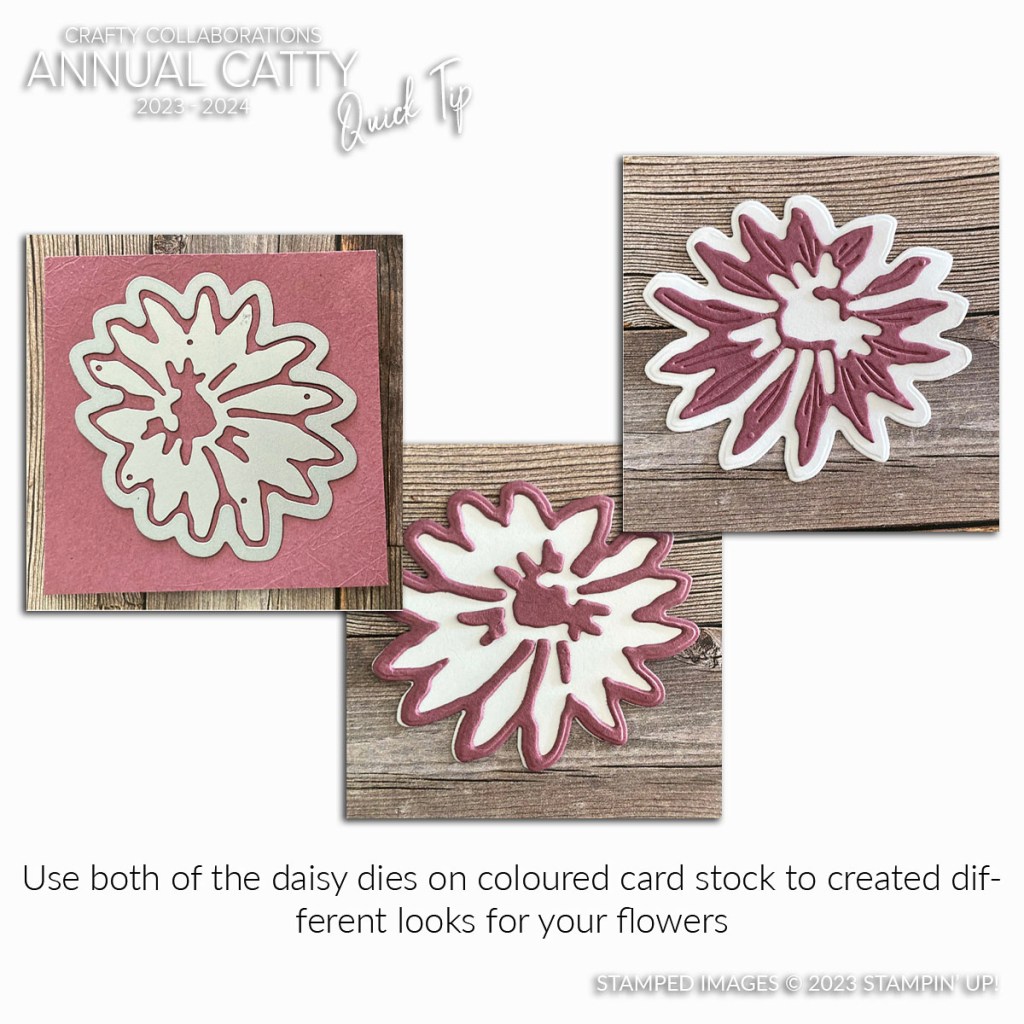
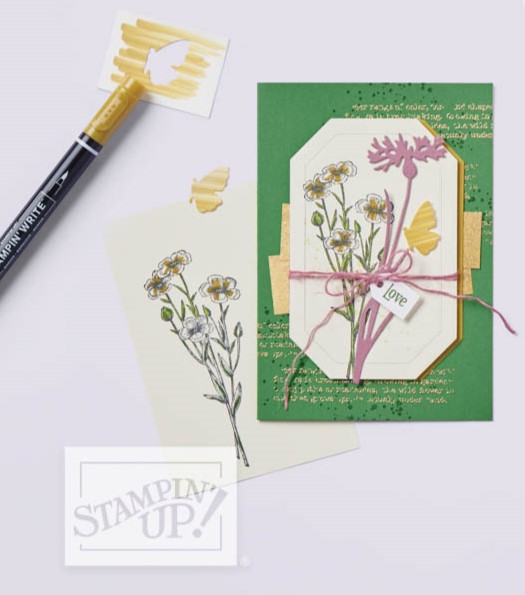
Colour a piece of card with your Stampin’ Write Markers. You want to use the Markers rather than the Stampin’ Blends as you don’t want the colour to blend. It gives you the mottled, rough look.
Once you colour your card diecut it or punch it out and add it to your projects. It will give added texture to them.
See how it looks below.
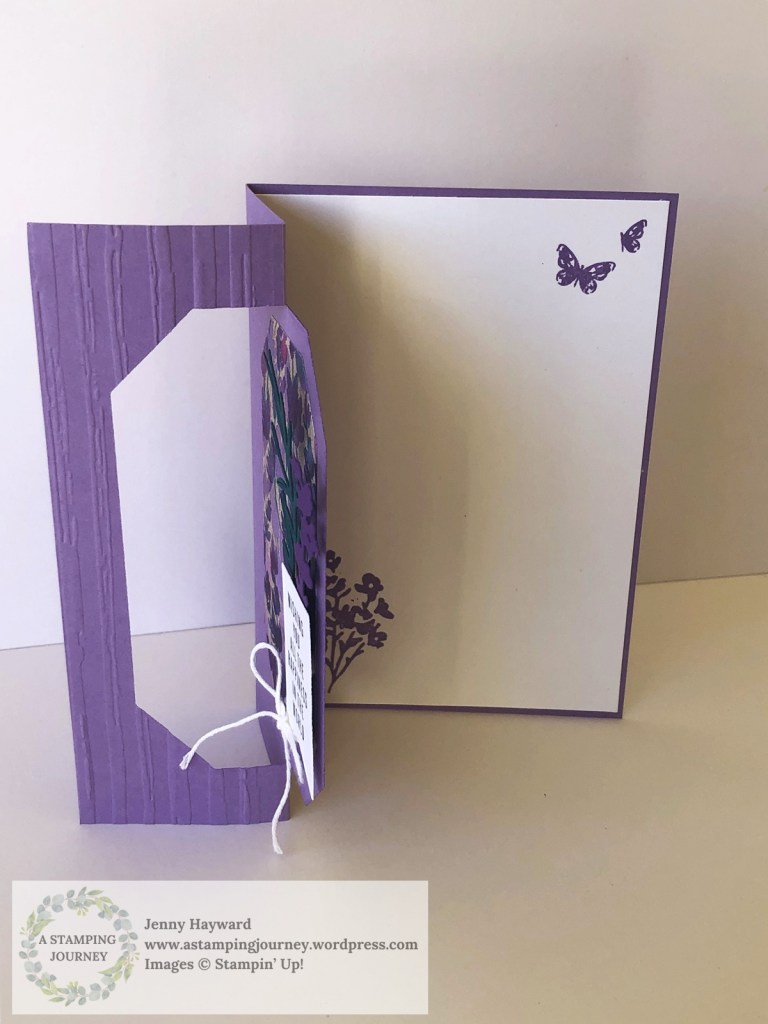
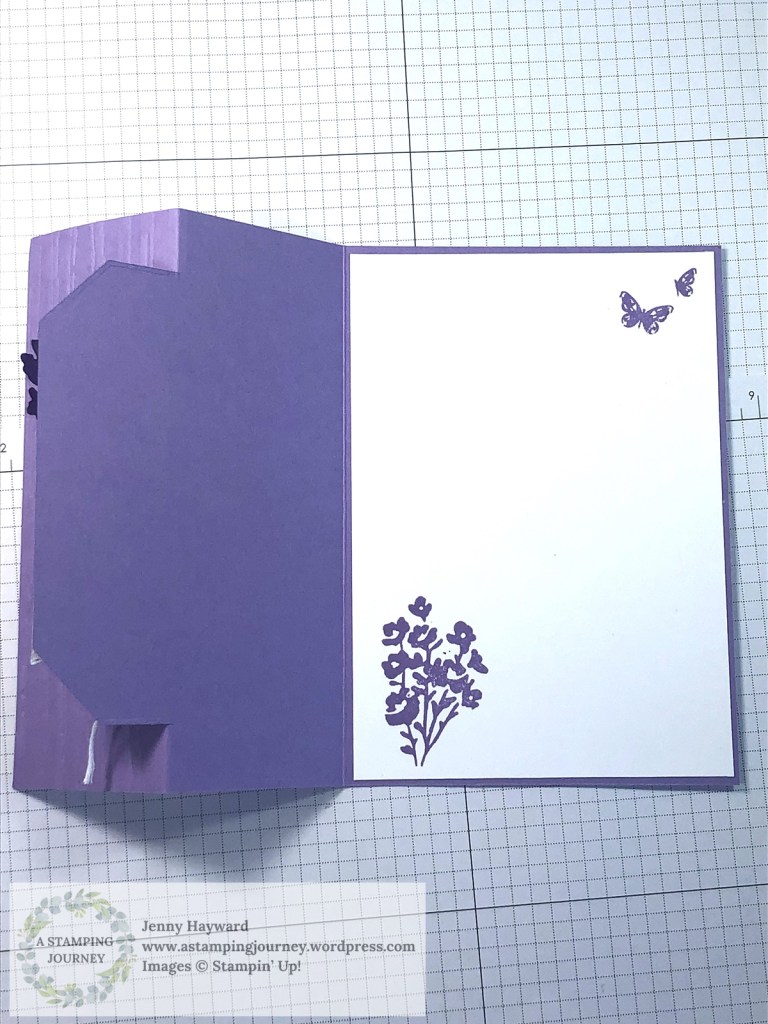
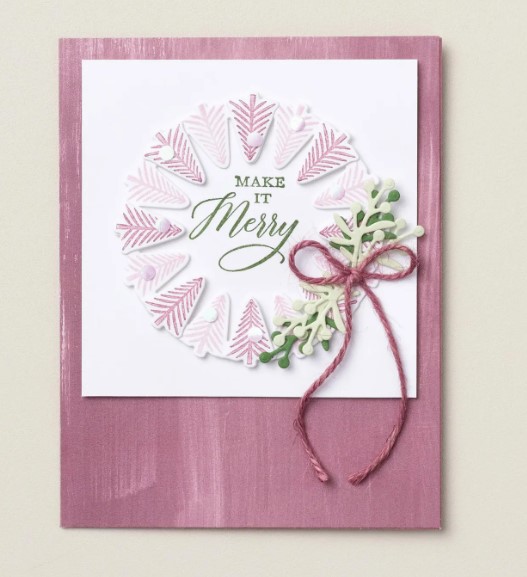
This card is using the Quiet Meadow stamp set. What dies or punches could you use with this effect?
Hope you get to try it yourself.
Happy Crafting,
Jenny
Need supplies for your crafting and you are in Australia? You can head to my store -> HERE. Please use the Host Code: RWTF7DW9
OR Contact me directly.
Don’t forget the Last Chance and Clearance Rack items to save on your crafting supplies.
When your order is over $75 AUD. You will receive a Bonus Tutorial Bundle of over 40 projects. That will keep you inspired for some time.