I am married to Glenn and we have 2 adult children: Josh and Carlie. I live in the Northern Suburbs of Wollongong; just south of Sydney, NSW Australia.
I joined Stampin' Up! in August 2008. I'm having a great time playing with ink and paper and sharing my creations with you.
Thank you for visiting me in my corner of the blogosphere. I hope I inspire you along the way. I hold regular classes and workshops in my studio in East Corrimal and offer classes and tutorials by mail. I hope I can share stamping with you and your friends soon.
Take a look around. If I can help you with any of the gorgeous Stampin' Up! products please don't hesitate to ask me.
Happy creating,
Jenny
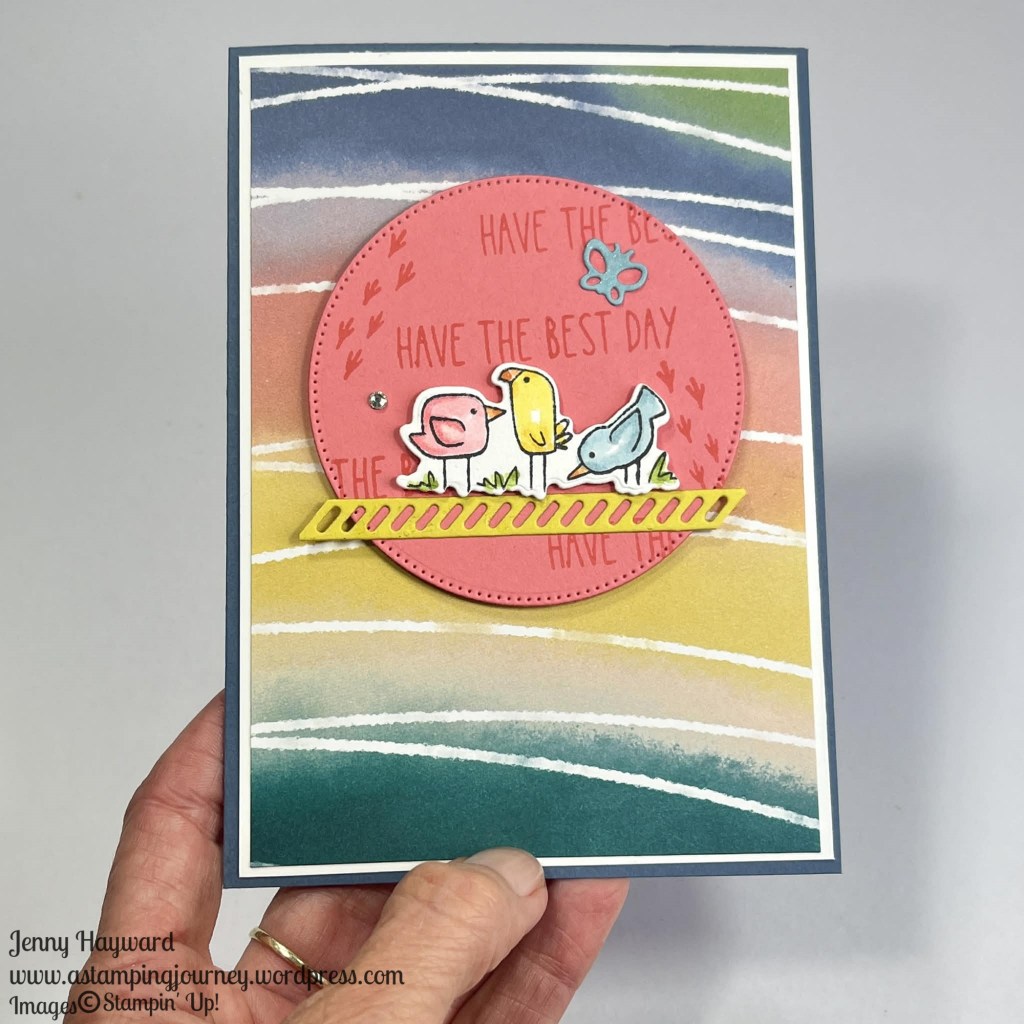
This time it is the birds I have created with the Cutest Crew Bundle. It’s such a fun, cute set.
I coloured these ones with the Stampin’ Blends. Then I realised how was I going to finish the card. Sometimes I really don’t plan ahead. I found this piece in the Painted Illusions Paper matched well.
Trying something different too with stamping the sentiment over the diecut circle. That’s out of the norm for me.
Have you been creating with the Cutest Crew yourself?
The Cutest Crew is an Online Exclusives. If you would like this in your collection and you are in Australia, you can order through my store -> HERE Or Contact me directly. I hope you might grab this on as it is so fun to create with.
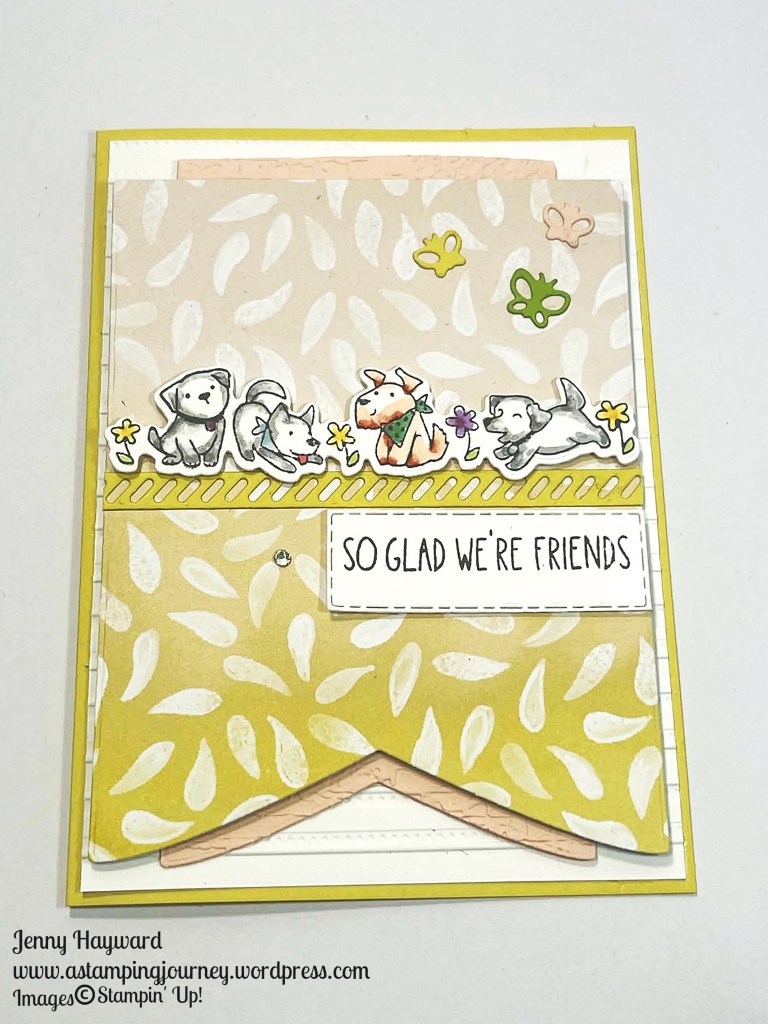
I had the little puppies coloured for a few weeks. Then to put the card together I couldn’t get it to work where I was happy with it. I probably redid this card 4 times.
Here it is though. Because we can share the good, the bad and the ugly.
I diecut the banner from the Painted Illusions Paper but the background… Do I add a strip of card? The colours weren’t working. I diecut the strip? Still not great. Do I emboss the white card mat. One time the embossing just wouldn’t work with the paper. It seemed too busy for the pattern on the paper. Maybe I was overthinking it all.
So I settled on this. I’m still not sure about it but I think it is the better option. 😁
What are your thoughts? Should I change the colour? Maybe file it in the bin? HAHA! At the end of the day the puppies are cute. 😊
Oh! And if you hadn’t seen the stamps and dies bundle before it’s the Cutest Crew Bundle.
The diecut banner is from the Party Banners Dies. And another one I have had for a while and this was the first time using it … The White card is embossed with the Lovely Stripes Embossing Folder.
If you need the cute little puppies and kittens in your crafting life you can see them more -> HERE.
You can shop there if you are in Australia OR Contact me directly and I would love to help you out.
You have probably heard a lot of talk of the Stampin’ Up! Onstage event last weekend. You might have even gone yourself at one of the event centres. I went to the Onstage in Sydney, Australia. It was awesome connecting with all my Stampin’ Up! Friends again rather than see them on a screen or on Social Media. It fills your cup. 🙂
I put together a Video Sharing the Swaps I receive. You could see photos of the Swaps. (And I will share them in the next post later) but showing them in the Video I can look more closely at the details and look at all that extra texture. I share some Sneak Peeks and news too. And What is happening in my World. Changes are coming! (I will add that further below too).
You can see that Video -> HERE (if it doesn’t show below)
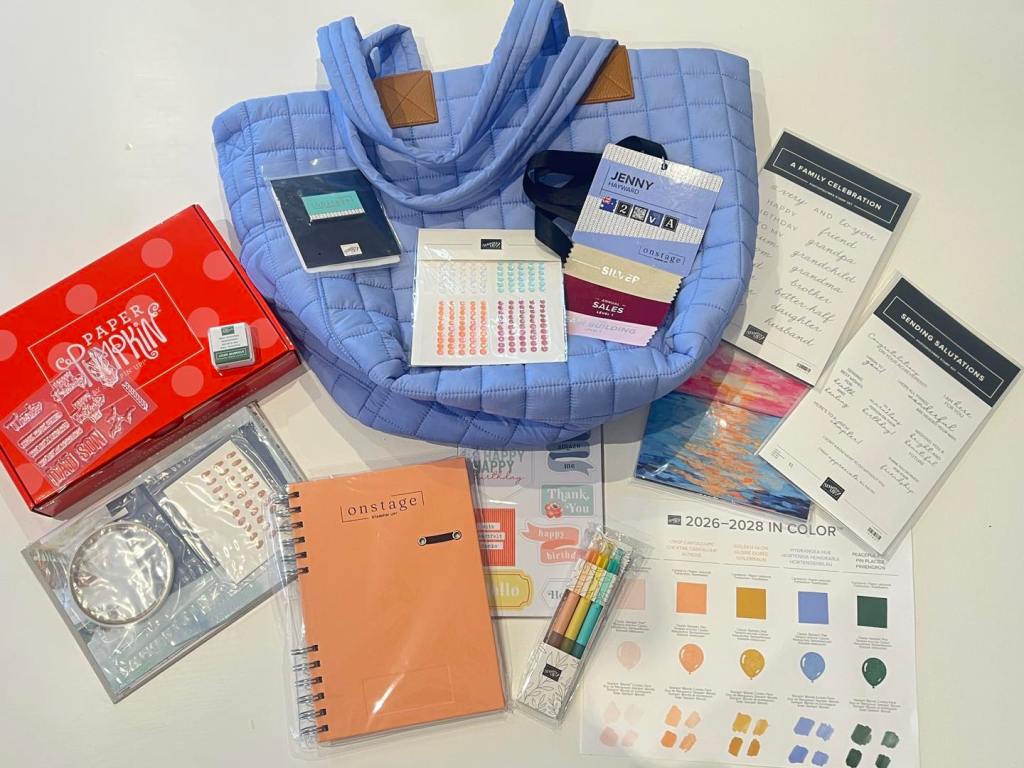
Of course going to Onstage we receive a Swag of goodies including a Tote Bag, pens, notebook and other bits. Also some Prize Patrol and … Paper Pumpkin. More on that in another post too.
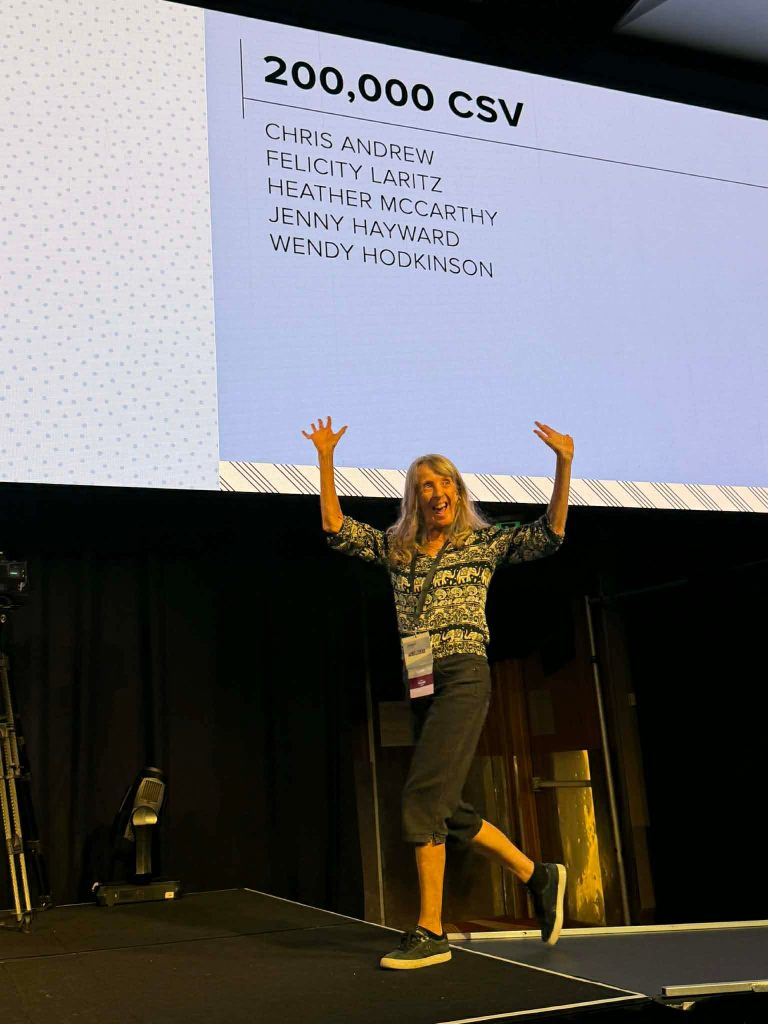
It’s taken a while and finally cracked the 200,000 CSV in Sales (equivalent to just over 300,000 AUD). I got to do a stage walk for that. Pretty exciting!
So, What’s happening in my World…
Changes are coming. I’m still not 100% sure how I will navigate it but it will work out I am sure. I mention briefly in the video but thought I would give more background.
I have been running Face to Face Classes for nearly all of the 18 years I have been a Demonstrator. It’s been wonderful meeting in person and sharing cardmaking.
We are moving. Soon, my studio, our large shed and our house is being demolished. (Quietly freaking out here now …). We are building a new house so will rent elsewhere during the build. With our rental house I will have a small craft room and when we return to our new house I will have a small craft room also. But the designated Studio will be gone. I still endeavour to hold classes though. You can still have fun around the Dining Table. While I’m renting it may be a little more difficult but I will try.
I’m planning to turn more frequently to Online. Maybe some more regular videos, maybe some Online Classes. What would you like to see more of?
It’s all fun and exciting, scary and overwhelming. But we will work some way to create together.
So I will leave you to watch the video. I will share more of the swaps and news in later posts.
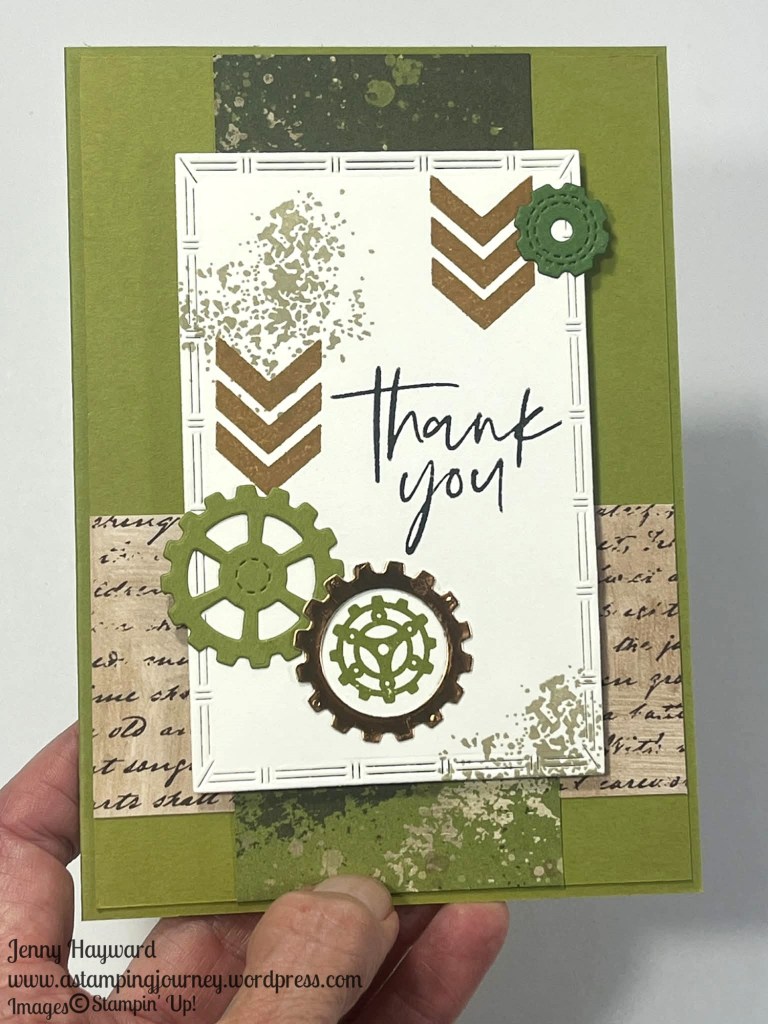
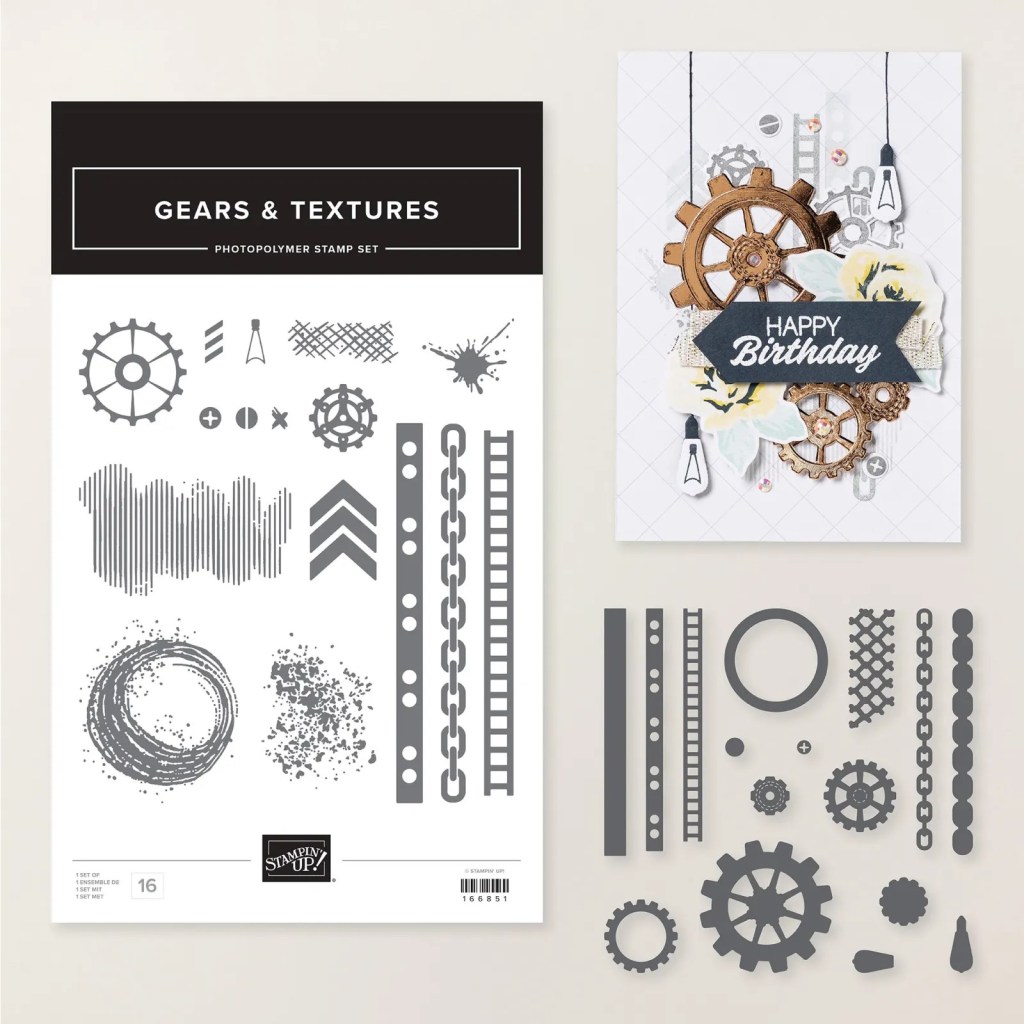
I have been playing with the Stampin’ Up! Gears and Textures Stamps and Dies. This is a great bundle for those boys cards – or for those who like the Steampunk style. This would work so well.
This is the card.
I teamed it with the Nature Walk Designer Series Paper. The sentiment is from the Fabulous Sayings set that was the Product of the Month for January.
If you struggle with Masculine cards maybe this one will fill in that gap for you. It has different sizes wheels and strips that work together.
If you would love to order it or other products and you are in Australia head to that link or Contact me directly. I would love to help you grab that to solve that manly card dilemma.
Sunday Suites with the Nature Walk Suite. I love greens and Nature is my happy place so I do love this one. Although I have to say I haven’t got it – yet…
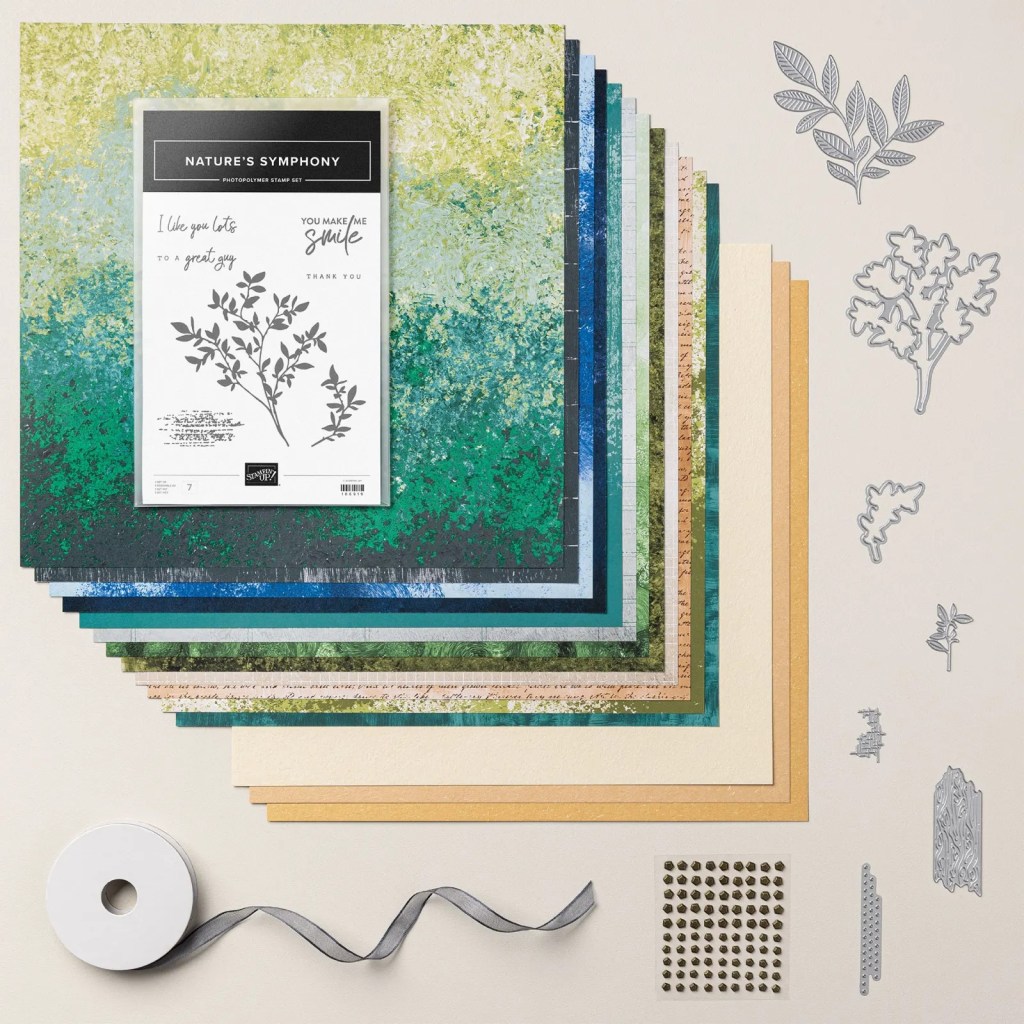
Here is all that is included in the Nature Walk Suite.
The Suite includes:
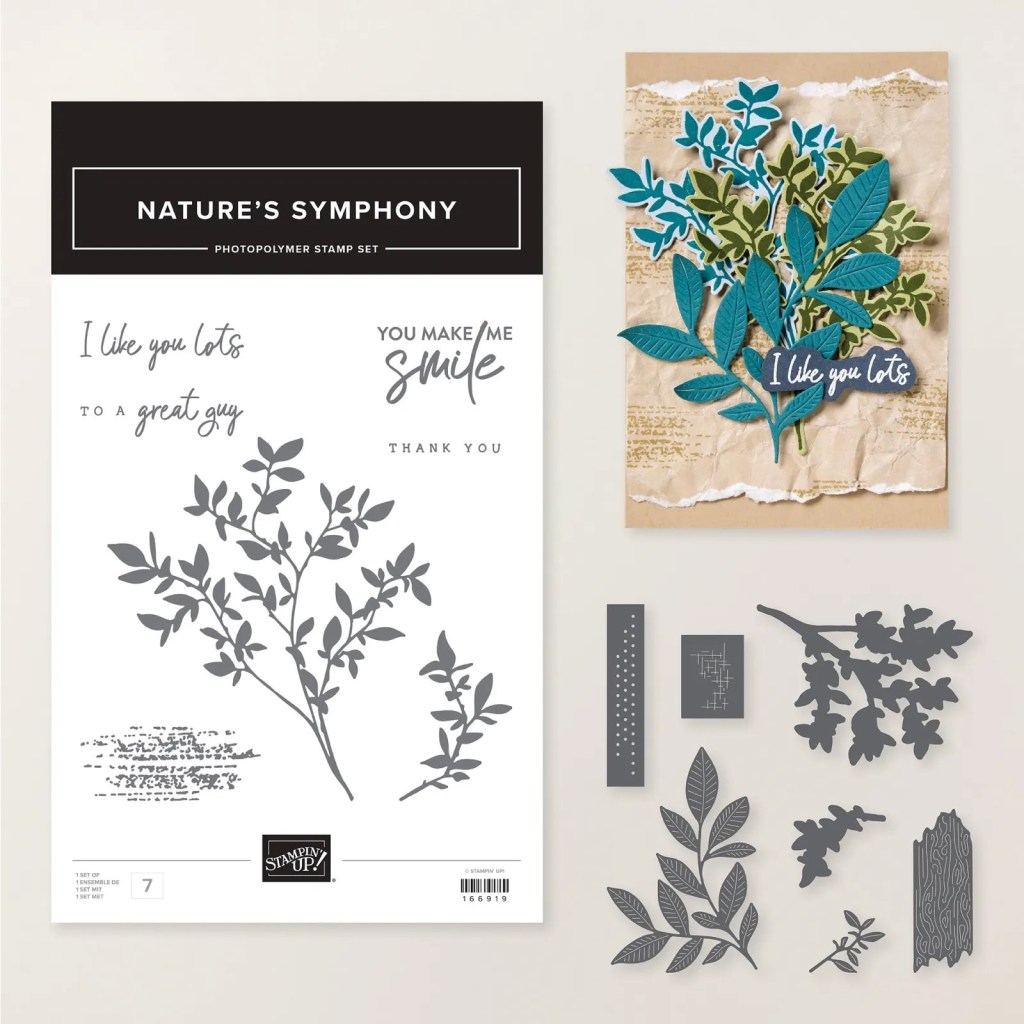
The Nature’s Symphony Bundle (Stamps and Dies)
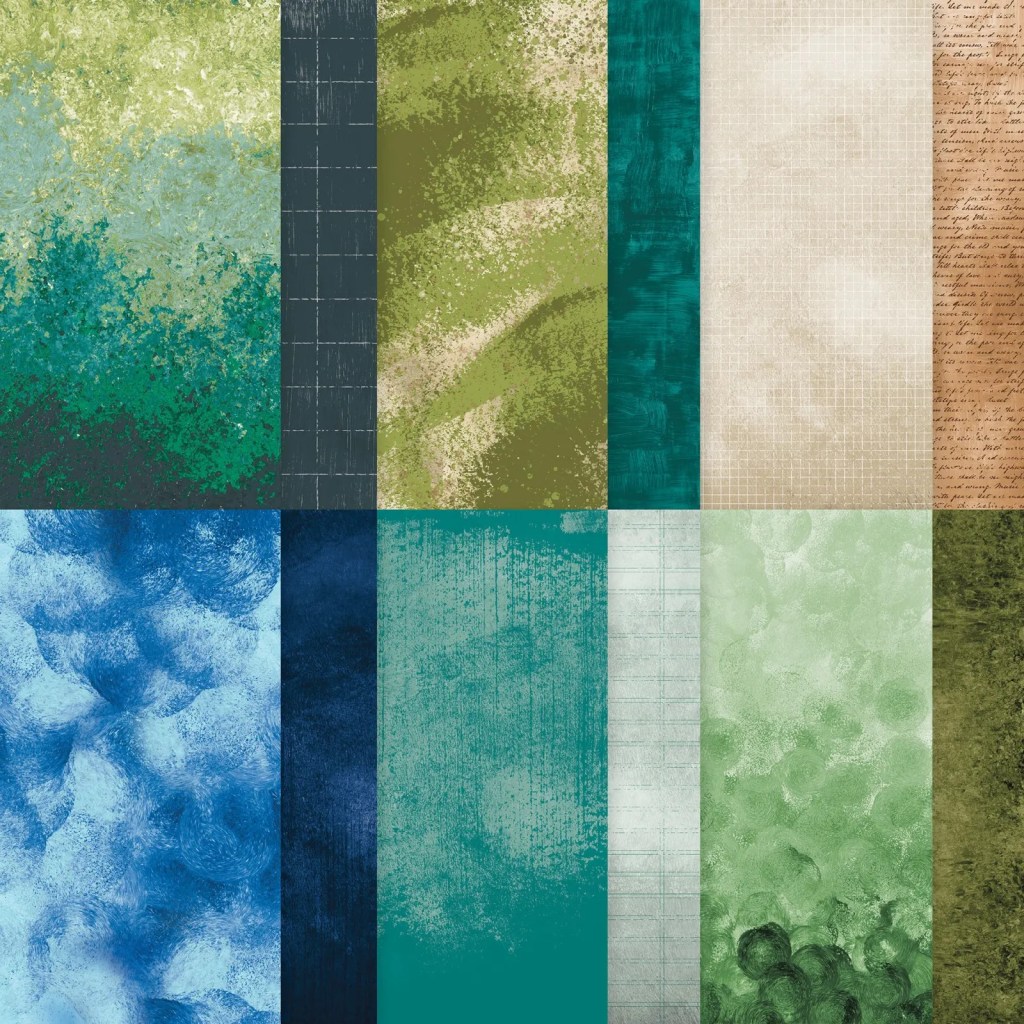
The Nature Walk Designer Series Paper. 12 Sheets of 12″x12″
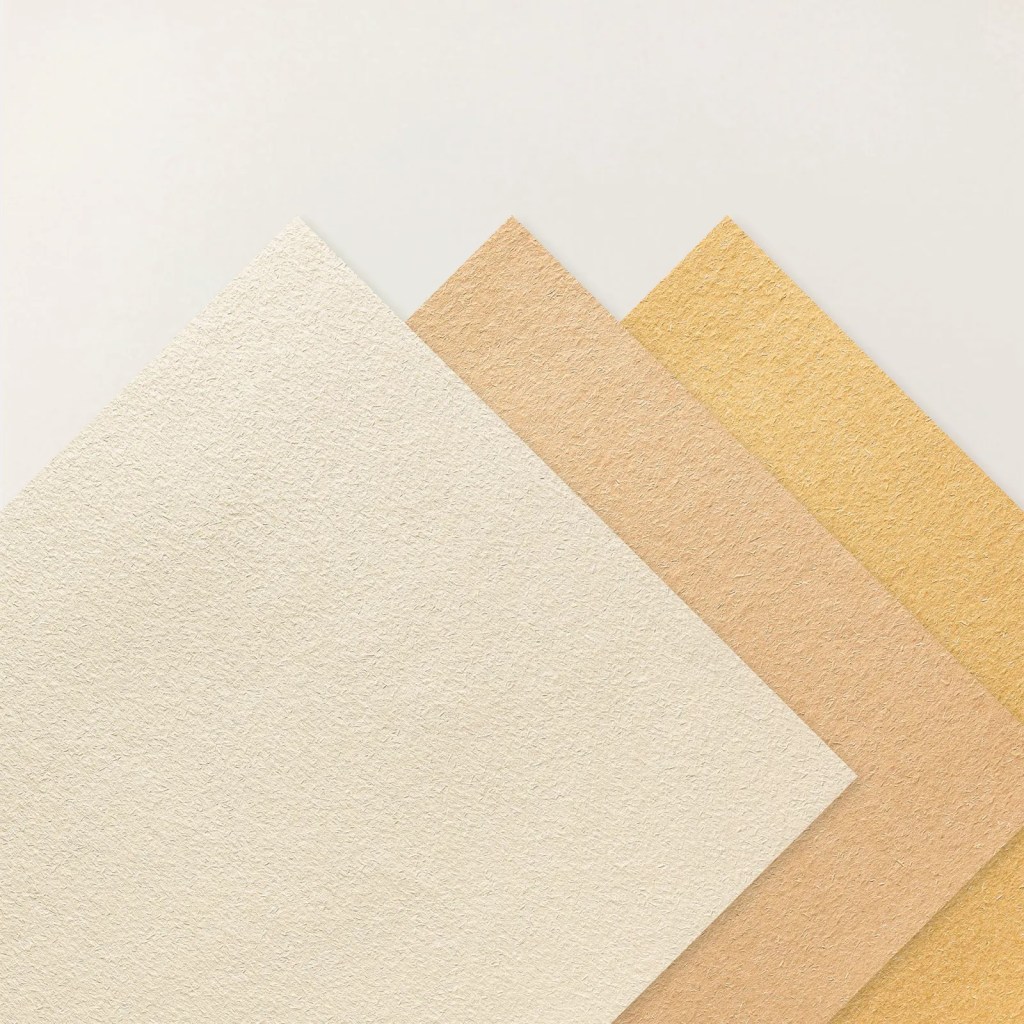
Natual Hues 12″x 12″ Textured Specialty Paper
Secret Sea 1cm (3/8″) Bordered Open Weave Ribbon 9.1m (10 yards) in length
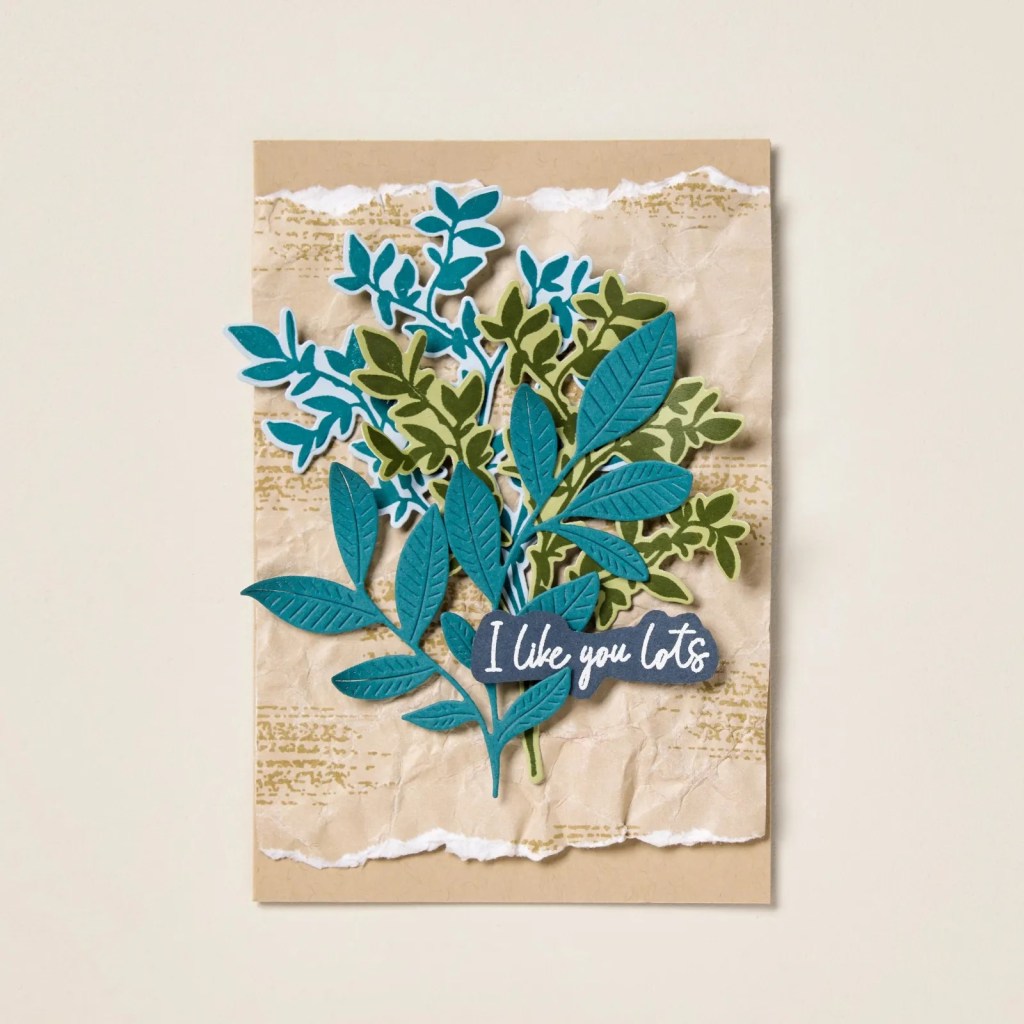
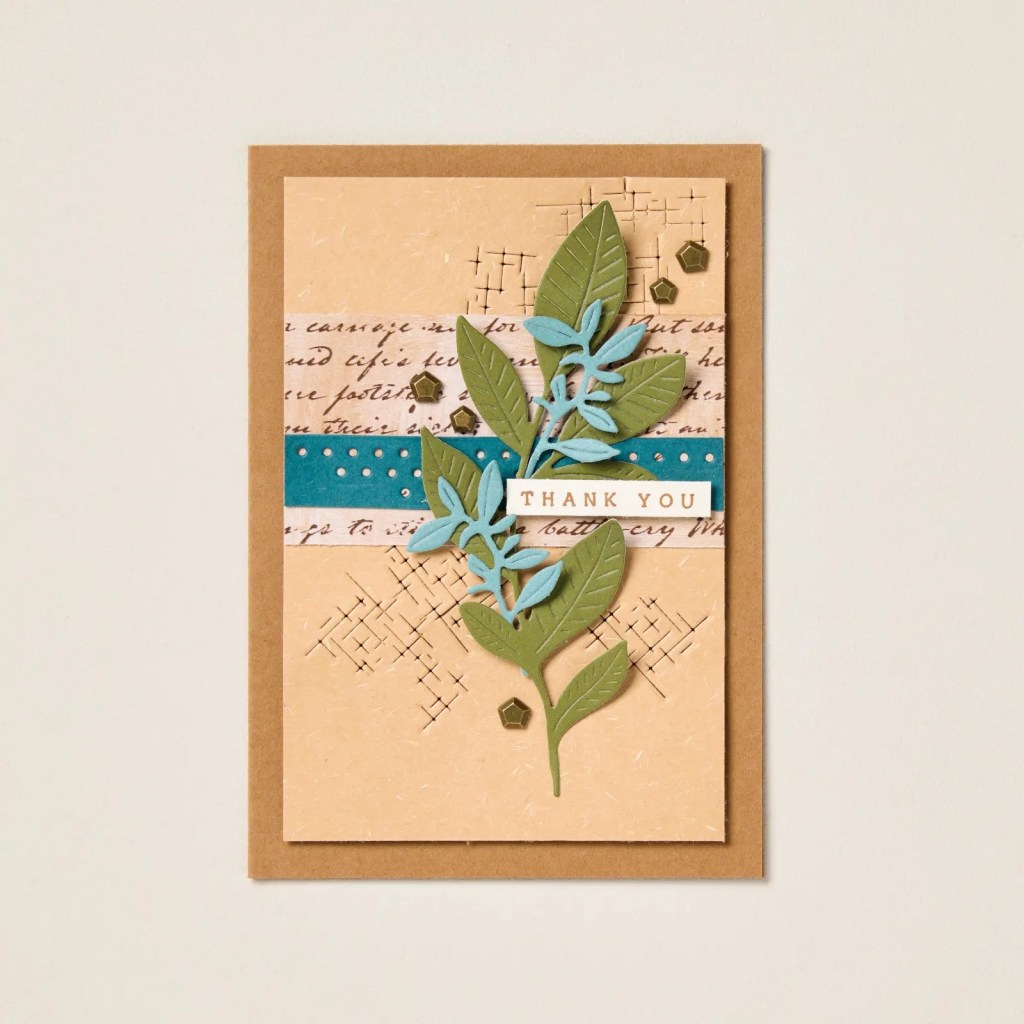
The Nature’s Symphony Bundle includes stamps and dies that cut out leaves and sprigs. Some of the dies have little well as peek-through patterns that adds that extra beautiful detail to your projects. The versatile sentiments and leafy designs are great for crafting for any occasion – including those male cards…
The Nature Walk paper has distressed patterns adding an organic touch. Also some textured Specialty paper to tear or sand to add more rustic effect.
The Colours in this paper are: Balmy Blue, Blueberry Bushel, Cloud Cover, Crumb Cake, Garden Green, Lost Lagoon, Mossy Meadow, Night of Navy, Old Olive, Pecan Pie, Pretty Peacock, Secret Sea.
Also the Natural Hues Textured Paper that features a textured surface in earthy hues of cream, gold and tan.
Then you have the little embellishments and ribbon.
Check these projects out. These were created by Stampin’ Up! artists so I can’t claim them but I love how the dies have been used on them.
The Nature Walk Suite is available now in the current Mini Catalogue. You can read more about it -> HERE.
If you need to order this, or any other products, then head on over to my store at the link above OR Contact me directly.
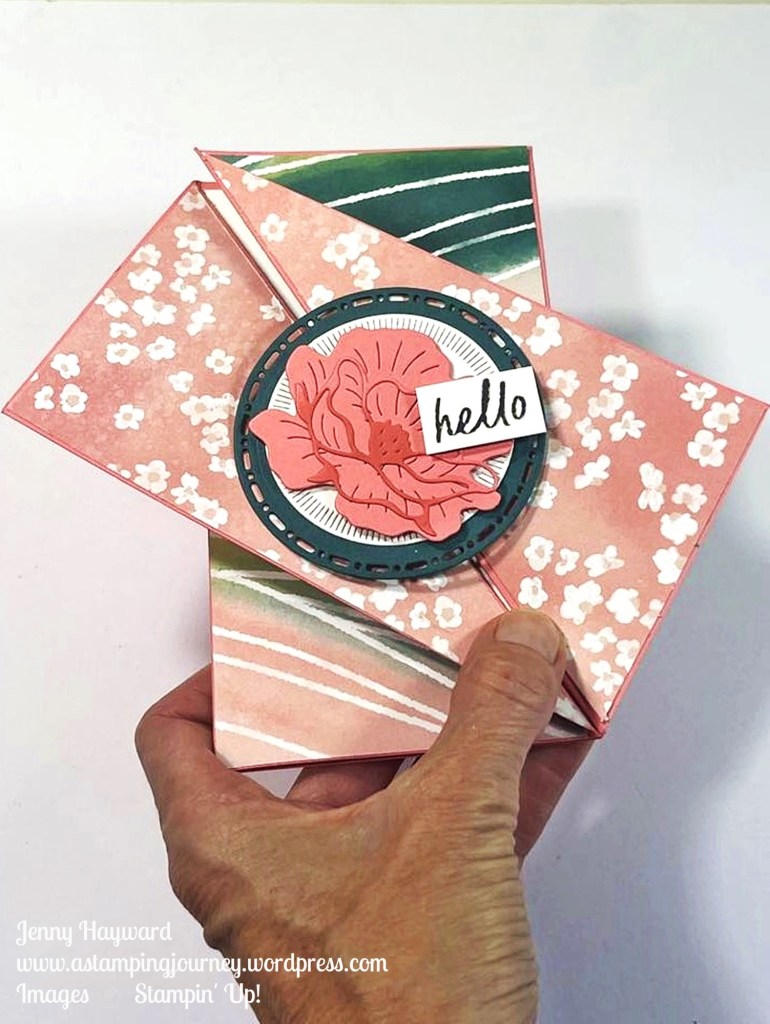
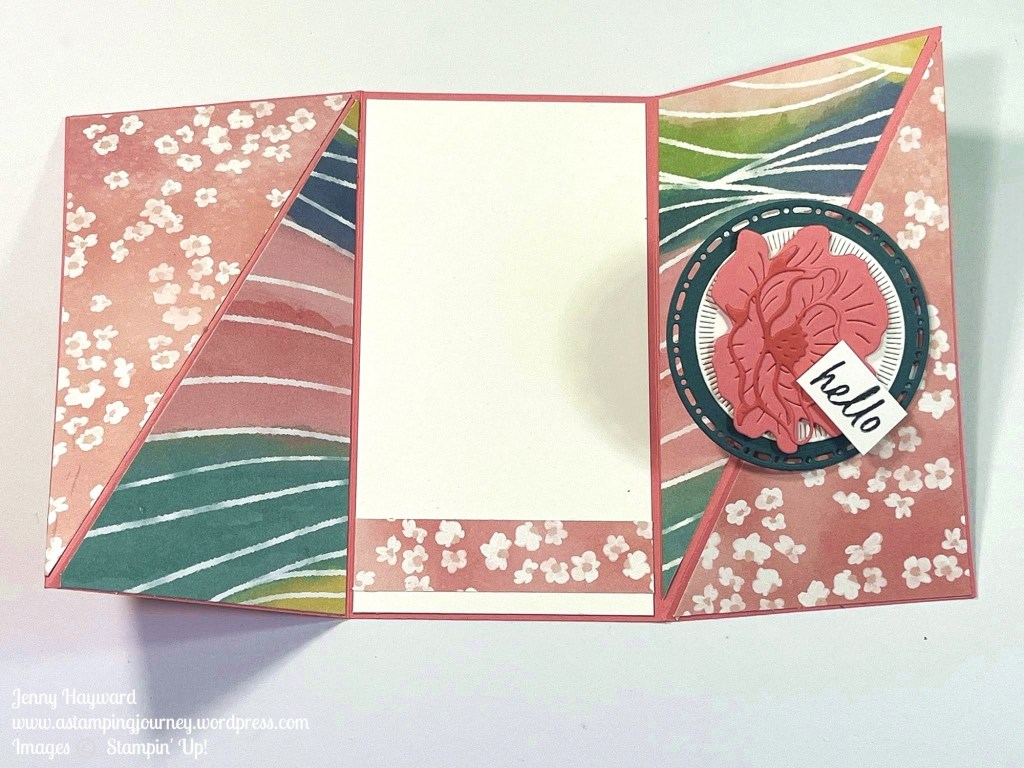
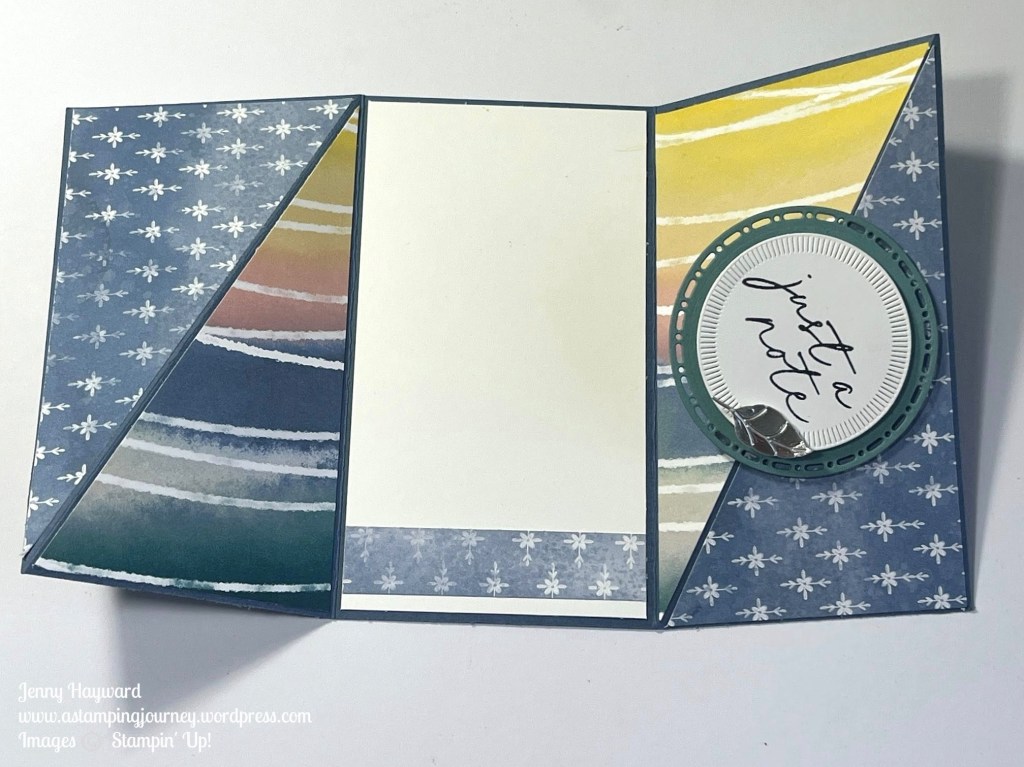
This card might look complicated but it’s really not. It’s called a Diagonal Gatefold Card. You can create it with the card and paper you like. For this one I have used the Painted Illusions Designer Series Paper.
You open it out. This is the inside. I love the angled look.
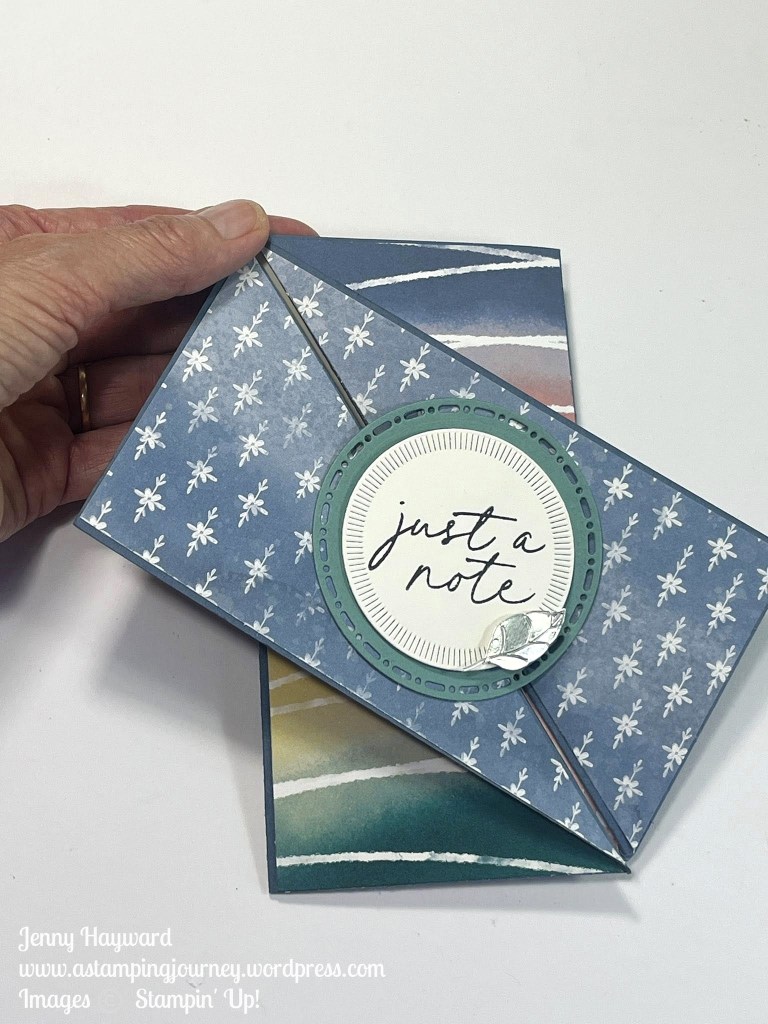
Here is another one using the same paper pack, but just doing that that can change it up a lot by using different colours.
It really is easy and I can show you. I share the measurements in Metric and Inches for you.
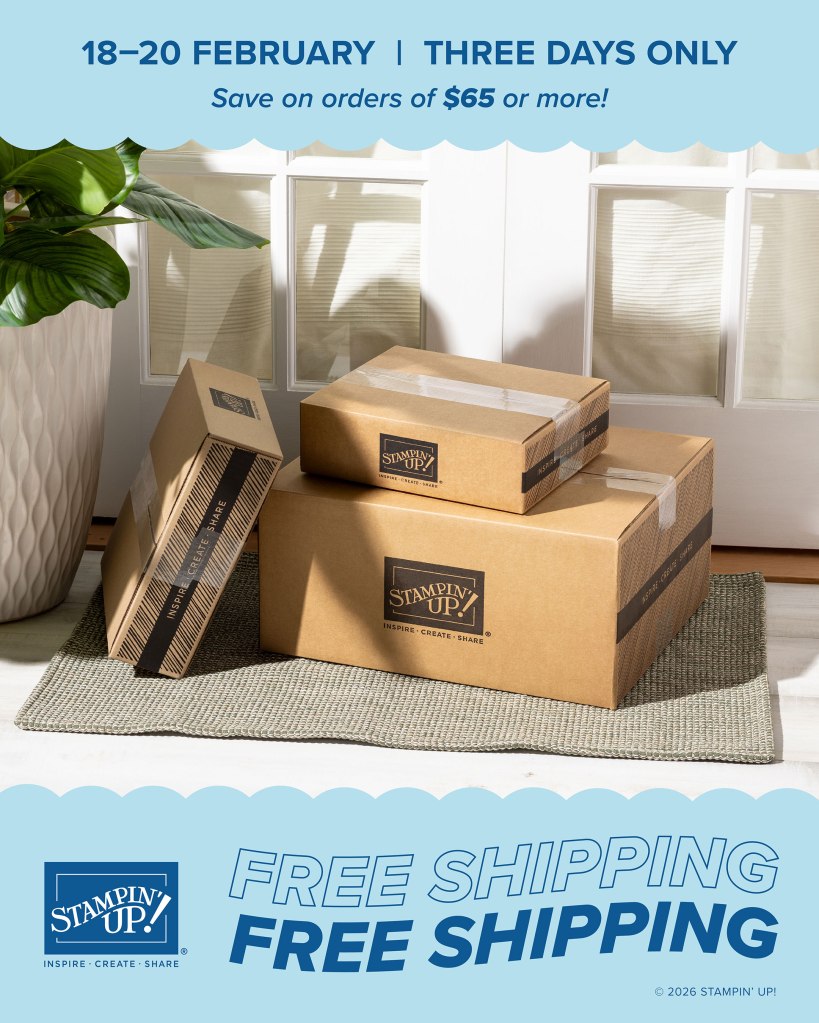
Just announced – Free Shipping for you from Wednesday 18th to Friday 20th on your orders over $65 AUD.
Maybe a little savings for you OR maybe you can put that towards some bonus crafting supplies. Ooh! Either way that’s so good.
So what is on your list??
And while you are at it. If you have even more supplies to order and it reaches over $125 you can pick up the Product of the Month for an additional $9.
This month it is the Painted Illusions Paper but the past months are still available if you would prefer those choices.
So get your list together and head on out to my store -> HERE OR Contact me directly. (For Australian residents)
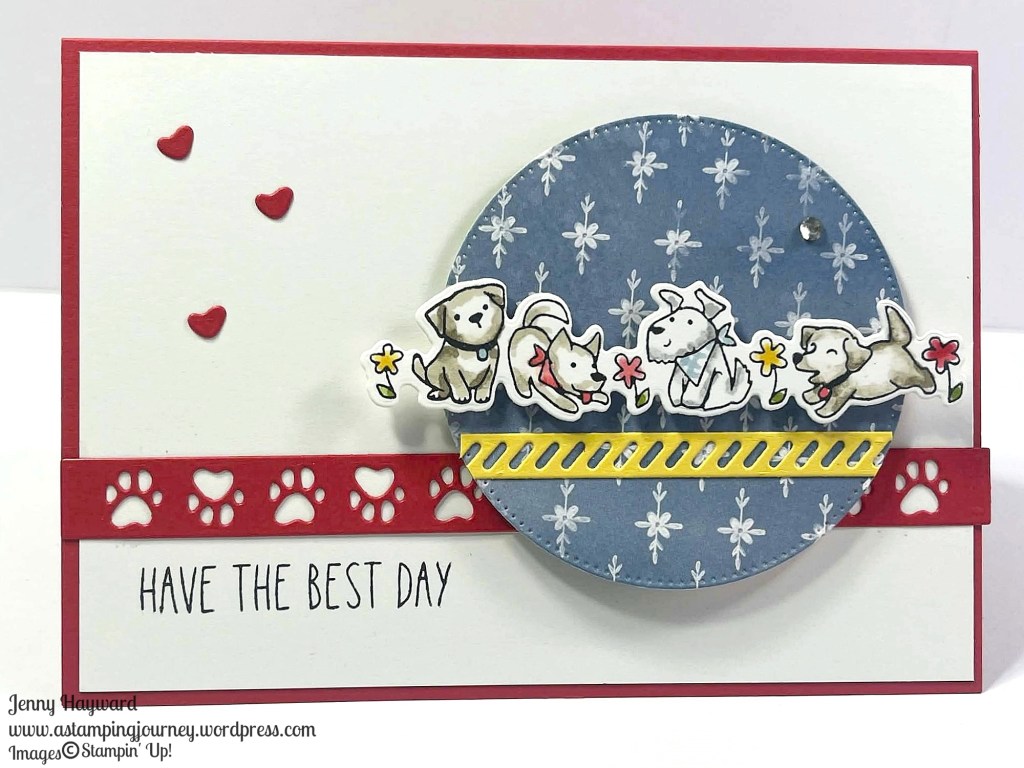
I have just received the Cutest Crew Bundle that will be starting in March. It is very cute. And I discovered something fun when I was using it.
Firstly, the card and I will tell you about it.
I’m not much for colouring but I am trying to work on it. I coloured the cute dogs with Stampin’ Blends. The paper circle is from the Painted Illusions pack.
The Cutest Crew has a row of dogs like this, a row of cats and then 3 birds. It has some cute dies for them all. It will be available as an Online Exclusives starting in March. I think it is going to be popular.
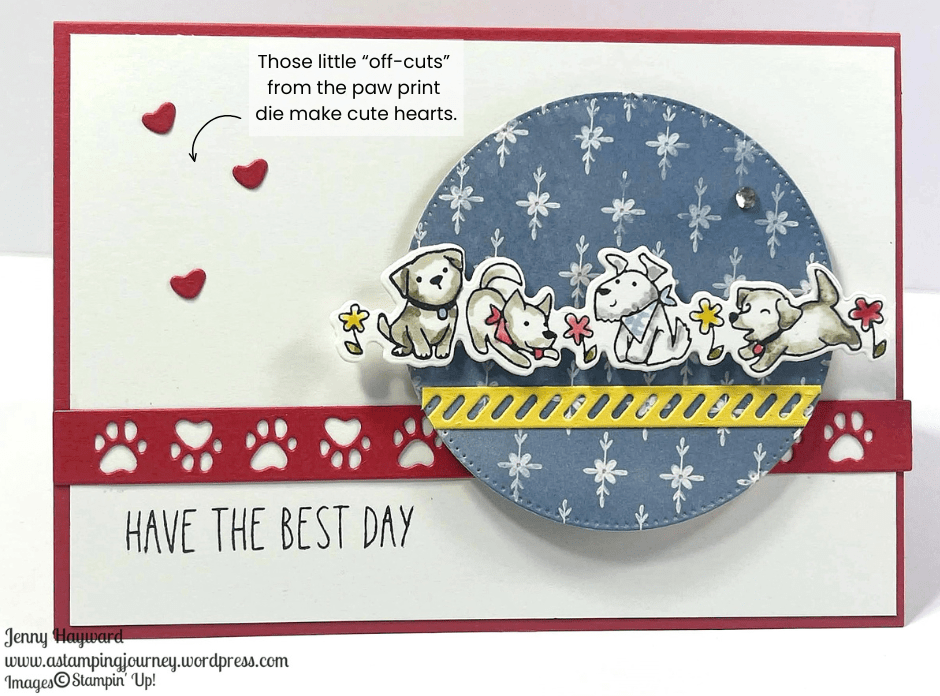
Something I discovered though. When I diecut the red paw print strip those larger “bits” looked like hearts. So I added them to the card. It just adds to the cuteness. Don’t waste those little hearts.
You can see the Cutest Crew Bundle in March. I will play with it more very soon too. So much to play with not enough time. Do you find that?
If you need supplies and you are in Australia head to my store and you can grab your goodies. Head -> HERE. OR contact me directly and I can help you out.
If you would like the Painted Illusions Paper. That is this month’s Product of the Month. You can receive that when your order reaches the qualified amount. In Australia that is $125 and purchase the paper for $9. Check your market for your own amount.
I have been sharing a lot of projects with the Painted Illusions Paper on Facebook. You might have caught them there but I will try and share them here for you to catch.
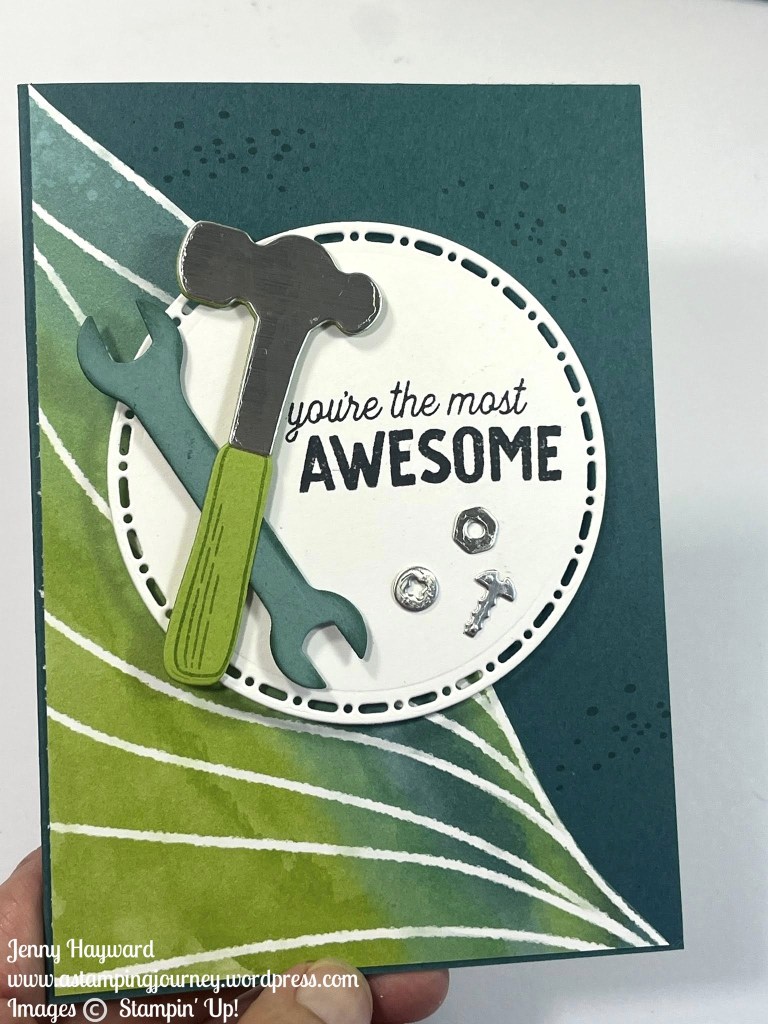
Did you notice the wavy patterns in the Painted Illusions Paper? I thought it would be cool to cut along the wavy outline to add to the card front. There are lots of different wavy formations on this paper so you could create any effect.
And I dragged out the fun Trusty Tools set.
I think this Trusty Tools set works well with the paper. And it’s great to pull out some of the older sets to create with. Sometimes they get a little neglected.
What do you think of the curvy lines in the paper? How could you use them?
The Painted Illusions Paper is the February Product of the Month.
I do love the colours and the patterns in this paper.
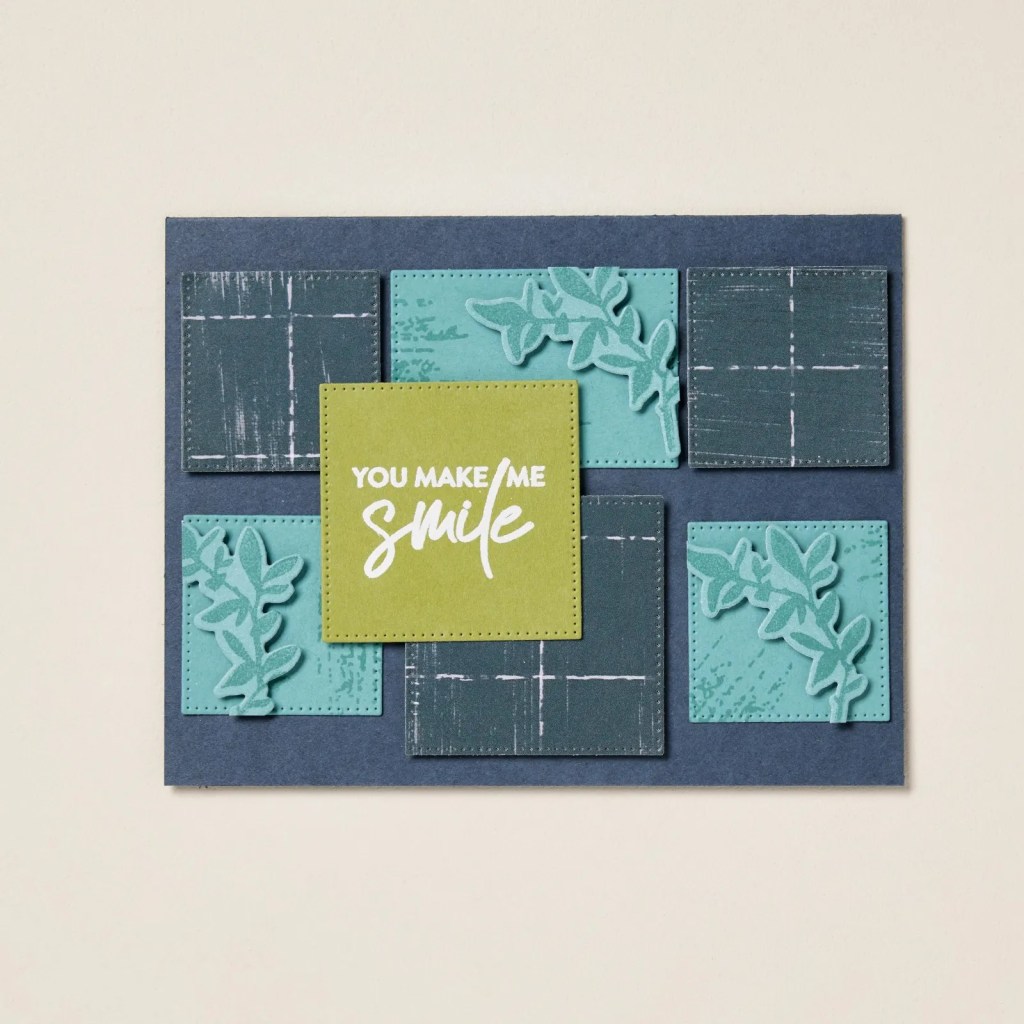
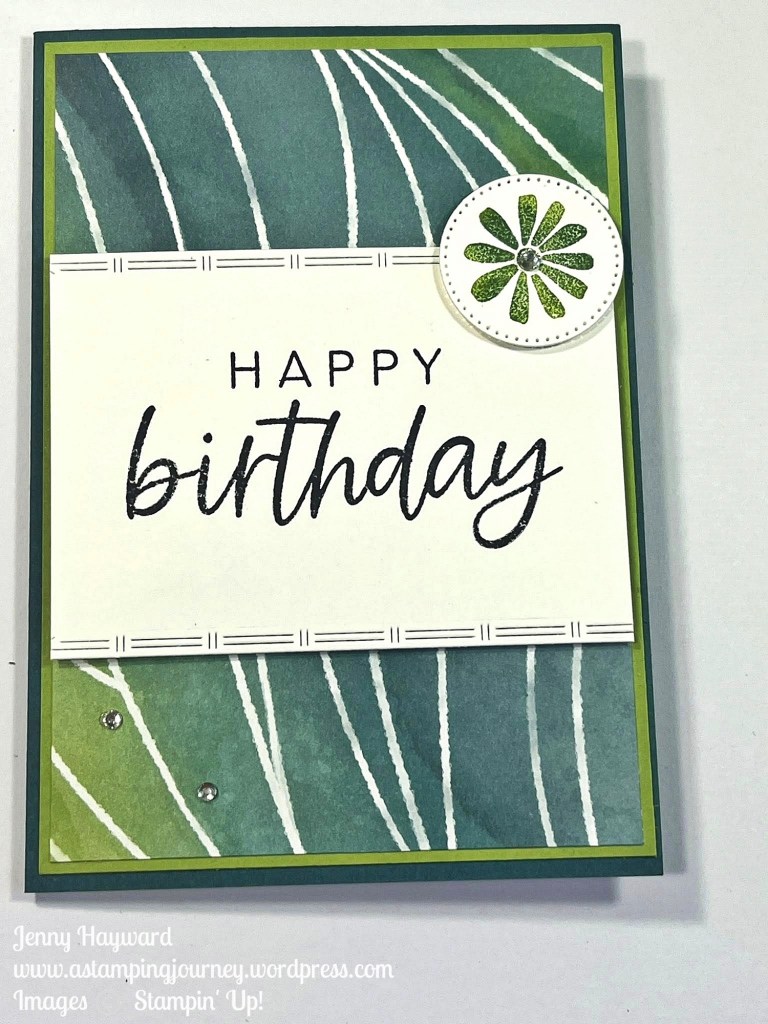
More with the Painted Illusions Designer Series Paper. I kept it simple again highlighting the wavy paper and bold colours.
The Happy Birthday is from the ‘With You In Mind’ Stamp Set. I stamped it on white card (it is white…) and then diecut it with one of the Textured Notes Dies. It was wider than the width of the card so I trimmed it down. Having the edging top and bottom of that piece adds some extra detail and texture.
Take a closer look at the “flowery” shape in the circle. Rather than just simply stamping it I added extra colour. Firstly, it was inked in Granny Apple Green and then I used a dauber to add some Pretty in Peacock in areas over it. You only need a little dab of ink. Then it was diecut with one of the small circles in the Stylish Shapes Dies.
Then I added some Rhinestones for the finish. You could add more to this card if you like to but I just kept it simple for the paper.
The Painted Illusions Paper is February Product of the Month.
With Product of the Month you can receive this with your qualifying order. In Australia when your order reaches $125 then you can purchase the Product for $9. There is only One per person. And While Supplies Last. Check your market for the qualifying amount.