cards, Masculine, Stampin' Up!, Techniques, Tutorials

QUICK MULTI STAMPING WITH YOUR STAMPS!

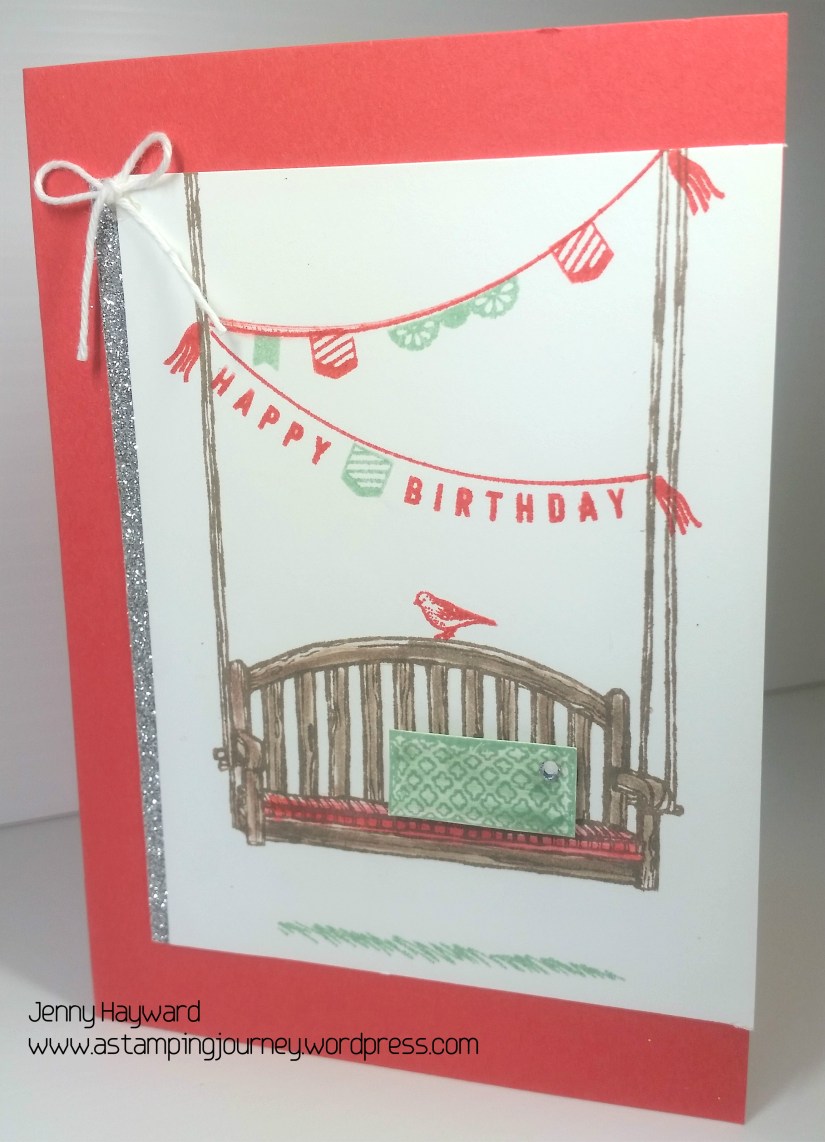
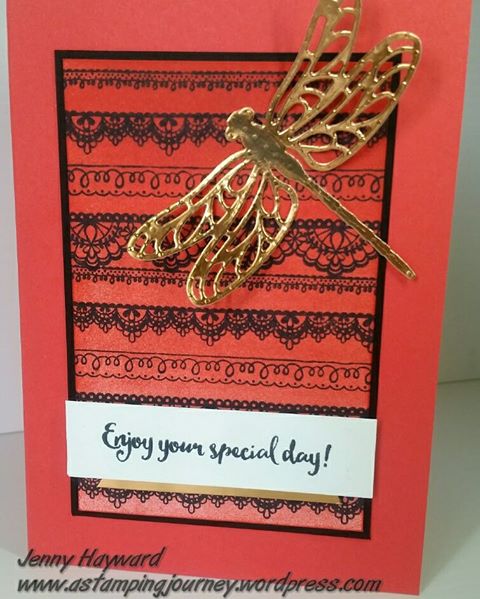
Last post I showed you a card using the Nailed It set and I used the stamps to create a background on your card.  You can go back to the last post to see that if you like but here is the card again.

Now when creating this card I didn’t stamp each tool individually.  I couldn’t get them so evenly spaced!  I thought I would share with you today how I did it quickly and easily.

Rather than ink and stamp each one, add your stamps to one large block and then you can stamp that multiple times over your card.   See below what I mean.

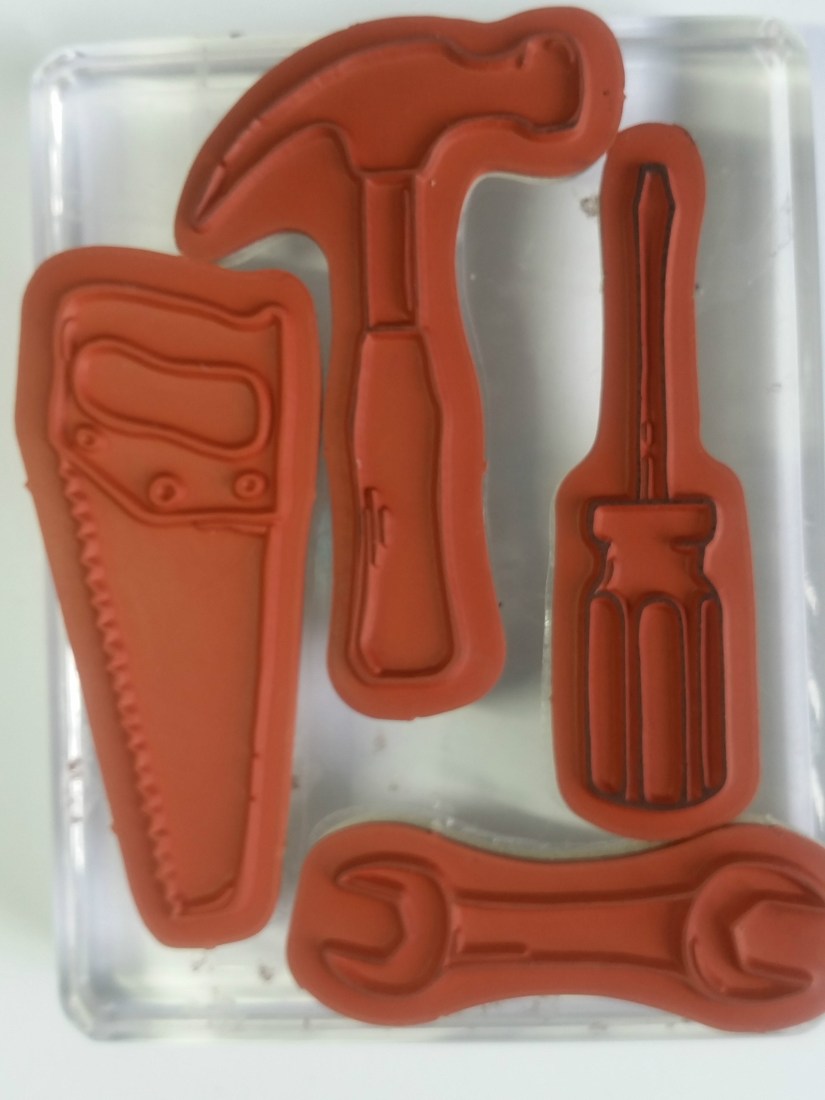
These all fit on the clear block ‘E’.  You can try this with any stampset and make life so much easier on yourself. 🙂

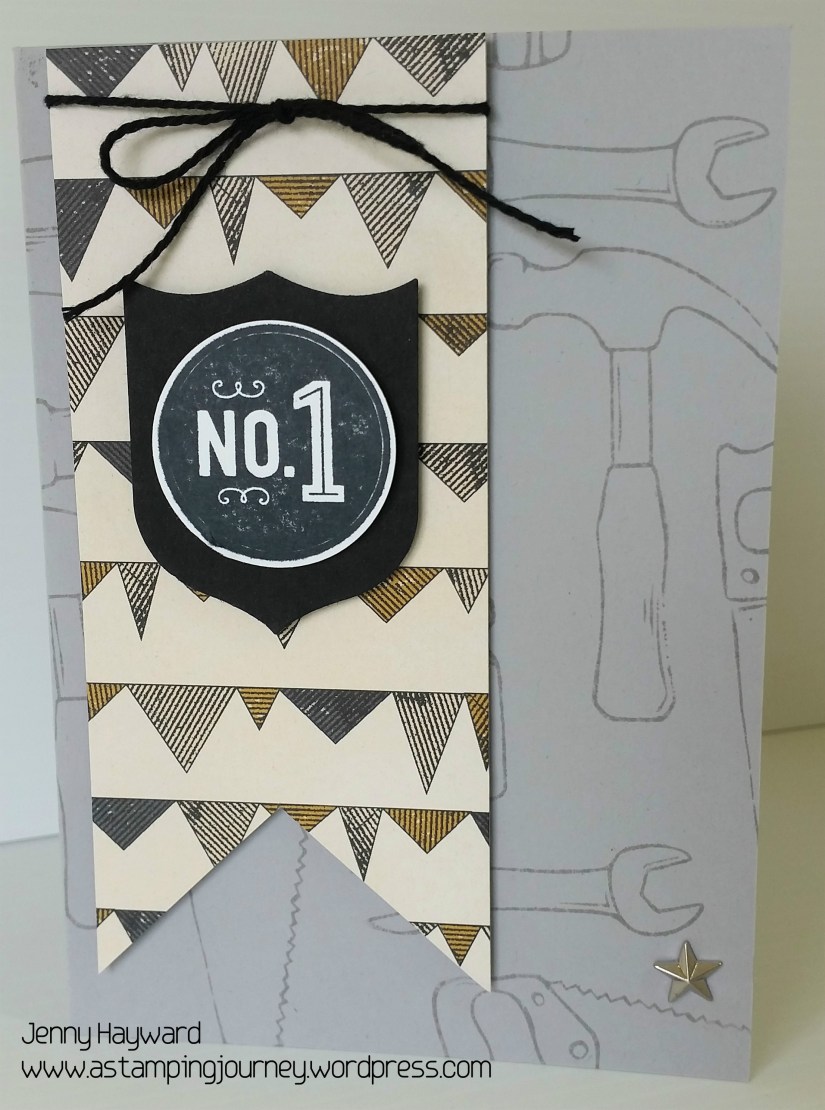
While I had these assembled on the block I created this card.

The stamps were inked in Versarmark and then heat embossed with White Embossing Powder on to black card.  Don’t forget to wipe over with your embossing buddy.  While I did do that I still picked up a few stray specks of the embossing but it doesn’t matter right. 🙂

Some Linen Thread was wrapped around the card several times and then I added some strips of the Urban Underground Specialty Designer Series Paper to the back of the black card. Before adhering it to the Delightful Dijon base card stamp your screws, bolt and nails with Delightful Dijon ink.  For this I also added all those little stamps to one block to stamp.  The sentiment from the Confetti Celebration stamp set is stamped in Memento black. 

The layout of this card was from Freshly Made Sketches #278.

I have just created a little visual for you which I will add to Pinterest.

Thanks for stopping by,

Jenny


cards, Masculine, Stampin' Up!

TOOLS AND URBAN UNDERGROUND!

I started sharing some cards with the Nailed It set a few weeks ago and then got in to Sale-A-Bration so I thought it was time to revisit this set again.  I have a couple of cards for you and some tricks.

This card was CASED from Pinterest.  It really is a simple card but you don’t need complicated right and the boys usually don’t care anyway. 😉

The tools were stamped onto the Smoky Slate Background with Smoky Slate ink.  Quite evenly mind you.  I will share a trick to that in the next  post.

I cut a strip of the Urban Underground Designer Series Paper and cut a banner with scissors.  This piece is too wide to fit in the Banner Triple Punch. I wrapped around some Black Baker’s Twine. (You can have bows on boy’s cards!). Then punch the black card with the Best Badge Punch.  The No. 1 is stamped in black ink on to white card and punched out.  This is from the set ‘Badges and Banners’. They were raised up with Dimensionals.  To finish I added a star from the Urban Underground Embellishments Pack.

Stay tuned for the next post with this cool set and a tip for you.

Jenny

cards, Catalogues, Sale-A-Bration, Stampin' Up!

FAREWELL AVANT GARDEN!

I have my last Sale-A-Bration class on tonight.  I needed 3 cards.  Two of them I already had from past classes but I needed one more card.  I have been a little time poor this week with a few things going on so I headed to Pinterest – and that’s OK. 🙂

I wanted to showcase Avant Garden one more time and found THIS card by Lyssa on songofmyheartstampers.com  It is such a pretty card.  I think I am loving Sweet Sugarplum lately.

So I CASED this for the class tonight.

So farewell Sale-A-Bration 2017.  You have been fun!

Have a great weekend,

Jenny

cards, Catalogues, Sale-A-Bration, Stampin' Up!

ANY OCCASION SITTING HERE!

Last day for Sale-A-Bration tomorrow.  Unbelievable!  I can’t believe that we are 1/4 of the way through the year either.  Crazy!

I have had in mind for a few weeks to do this card but I wasn’t sure how it was going to work.  I managed to grab a little time yesterday to put it together.

I wanted to hang the banners from the Sale-A-bration set Any Occasion across the “ropes” of the bench on the Sitting Here set.  I was pleased that they actually fit.

Colours are Watermelon Wonder, Mint Macaron and Tip Top Taupe.  Three colours that will be leaving us at the end of May.  😦  You better stock up on these colours now.

I coloured the bench seat with the Inkpad and the Blender Pen. The cushion was stamped separately and coloured, then raised up off the card with Dimensionals.  The card layout is based on a Freshly Made Sketches #179 sketch.  I added some Silver Glimmer Paper down the side but thought it still needed something.  I then added a Baker’s Twine bow and a Rhinestone on the cushion.

Hope you like it?

Last orders will go in tomorrow night for Sale-A-Bration so don’t delay.

Keep dry if you are on the East coast of Australia.  It is a little wet around these parts.

Jenny

cards, Sale-A-Bration, Stampin' Up!

THE VERSATILE AVANT GARDEN!

The Sale-A-Bration set ‘Avant Garden’ was one of my early choices.  I loved how versatile it was and I have seen so many different ways with it over the last few months.

Here are just a few more that was shared by Stampin’ Up! this morning.  I thought I would share them with you.

Create a wreath, or clear emboss them and give the card a wash with watercolour, or what about some Palm Trees?  I have been wanting to give that a go for a few weeks but time has been a bit short.

Only 3 days left for Sale-A-Bration.  Don’t miss out on getting your free choices.  If Avant Garden is not your choice there are so many other options and even some catalogue products.

Check them all out HERE.

Order Online HERE for those last minute orders.

Jenny

cards, Catalogues, Sale-A-Bration, Stampin' Up!

HEY CHICK IS A WINNER!

The Hey Chick has been a popular choice for Sale-A-Bration.  Everyone loves these chicks with personality!

I haven’t got a chance to play with this fun set but I thought I would show you the great cards from Stampin’ Up!.

What do you think of these chicks??

They are a great set to colour with the Watercolor Pencils or your inkpads.

You still have a chance to get this set with your $90 order but don’t leave it too long.  Friday is the end. That’s it and these chicks then head home. 😉

Jenny

ORDER ONLINE -> HERE.   PLEASE USE THE HOST CODE:   FUCQ2STG


cards, Catalogues, Sale-A-Bration, Tutorials

MINI SCALLOP SQUARE CARDS WITH ANY OCCASION!

I have been making these mini Thank You cards recently for all my lovely customers who have placed orders with me during Sale-A-Bration.   I used one of the Sale-A-Bration sets ‘Any Occasion’ which I think is overlooked in the Sale-A-Bration catalogue.

The cards are about 7.5cm square (about 3″). They are quite simple cards cut with the largest Layering Squares Framelits.  I will show you how to do that below.

The left one is Watermelon Wonder with a little Blushing Bride for some banners. The right one is Bermuda Bay with a little Mint Macaron.  I added a bow with White Baker’s Twine.  I really should have added some bling I think???

To create your own Mini Scallop Square Cards:

Place the largest Scallop Square of the Layering Square Framelits on your folded card base so as the top edge of the framelit is just off the edge of the fold of the card. This will mean that the top won’t be cut through. See the photo above.

Run the card and Framelit through your Big Shot as you would normally.  Below shows how the card looks after cutting it.

Decorate the card as you like.  I also added a piece of card inside to write on.  They make quick little cards to give with a gift.

Jenny

Less than a week now to the end of Sale-A-Bration.  Make sure you SHOP or JOIN before the end of Friday.  If you love FREEBIES you won’t want to miss out. 

If you want to shop contact me directly or Order Online -> HERE.  Please use the Host Code FUCQ2STG

To JOIN and get up to $245 of products when you order $169 then Head -> HERE.

cards, Catalogues, Classes, Sale-A-Bration

DELICATE DETAILS AND DETAILED DRAGONFLY!

I can’t believe there is only about 10 days left of Sale-A-Bration.  Seriously where has the time gone!

This Friday at our Card Class we will be using some of the loved Sale-A-Bration items for one last time and make 3 Classy cards.

If you are local to Wollongong come along.  Here are the details.

WHEN: Friday 24th March at 10am or 7pm.

COST:    $15  (extra $5 to use my adhesives).

Please RSVP by Thursday 23rd March.  Book early to reserve your seat.

Here is just one of the cards we will be making.  This is using the Sale-A-Bration set Delicate Details.  It pairs so well with the Detailed Dragonfly Thinlits.

This card was inspired by a card I made right back at the beginning of Sale-A-Bration.  If you missed that card then see the post HERE.

Have a great week,

Jenny

cards, Challenges, Techniques

FALLING PETALS SPOTLIGHTING!

This weekend I have had a play at this week’s Colour Inkspirations Challenge #05.  The colours we had were Blushing Bride, Soft Sky and Sahara Sand.

They are such pretty soft colours and lend themselves to cute baby cards or soft floral or even butterflies??

Recently I shared a card with you of a different way to use the Falling Petal Embossing Folder.  You can see that post HERE if you missed it.  I have wanted to play with this idea since then and thought I would try it out with this challenge.  This is the card I ended up with.

The lighting is not very good today.  It is wet and overcast so not the best.  Actually it has been torrential rain for the past week!

To the card:  The base card is Blushing Bride and the mat is Sahara Sand.  I embossed a Whisper White card mat with the Falling Petals Embossing Folder.  Tied around some White Baker’s Twine before adhering it to the Sahara Sand card mat and card base. I cut a piece of Thick Whisper White with one of the larger Layering Circles Framelits Dies and embossed it with the Falling Petals Embossing Folder.

On this circle piece I created some little flowers with the embossed hearts/petals.  I used the Sahara Sand Marker to first draw some lines from each petal to create the flower stems.  Then coloured each flower with the Blushing Bride inkpad and Blender Pen. Then with the Aquapainter I added a light wash with the Soft Sky inkpad around the flowers. Just a note: After giving it a light wash with the Soft Sky it did wash out the Sahara Sand stems so I went over that lightly again.  I went over the petals with the clear Wink of Stella pen too to add some sparkle but it is hard to tell in the photo.

This coloured piece was then adhered on to a Blushing Bride circle a bit larger. I then adhered it to the white card mat lining it up roughly in the same place.  This created a type of spotlighting of the petals at the top of the card.

The sentiment is from Birthday Blossoms and cut with the Project Life Framelits.  I added some small adhesive pearls to the sentiment piece.  A small dragonfly was cut from the Blushing Bride Glimmer Paper to add some extra sparkle.

What do you think of this card?? I felt it was missing something?? Not sure.

Anyway, I think these challenges are good.  It makes you think a lot about your creating. It’s nice to steal away a little “me” time stamping too.

I hope you have a lot of creating opportunities this coming week.

Jenny

cards, Classes, Masculine, Stampin' Up!

NAILED IT IN RED!

I was looking for ideas on Pinterest for the Nailed It set.  I came across this card that I liked.  I changed a couple of things with it.

To Recreate it:

Adhere Real Red card mat to the Black card base.

Cut a strip of the Crumb Cake with a line of the screws alternating the direction of them.  Sponge touches of black on the screws.  Adhere the strip on to the Red card mat and adhere the screws back into the gaps.  Cut a strip of the Crumb Cake with the ruler measure die. Adhere the strip on to the card also.

Stamp the screwdriver image on to Thick Whisper White card with Black Stazon and then colour it with the Red and Crumb Cake inpads and the Aquapainter.  Loop some Silver thread around behind the screwdriver before adhering it to the card with Dimensionals.

Stamp the “Enjoy You Day” Stamp from the Badges and Banners stamp set and punch it out with the Best Badge punch. Adhere that on to the card with Dimensionals.  It doesn’t hurt to add a little bling to the boys card either with a Rhinestone. 🙂

I will share some more cards with the Nailed It bundle again soon. Stay tuned. Hope your weekend is going awesome.

Jenny