3D projects, Christmas, Stampin' Up!, Tutorials

MID-SIZE GIFT TOTE FOR SECRET SANTA!

I can share this project now.  I made this Gift Tote last week with a small gift in it for our team Secret Santa.  I thought you might like to see it and if you are still in need for some Christmas packaging it might be just the size you need.  I have the tutorial below.
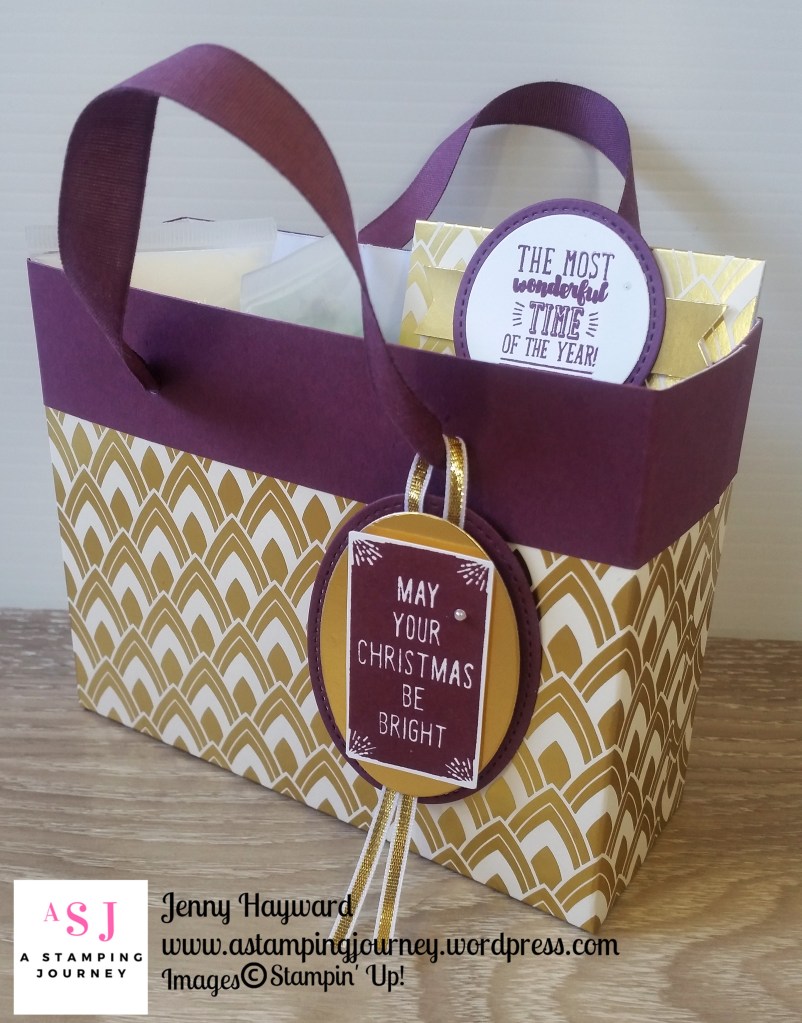
It was just the right size for my gift of 2 small tubes of lotion and some chocolates.
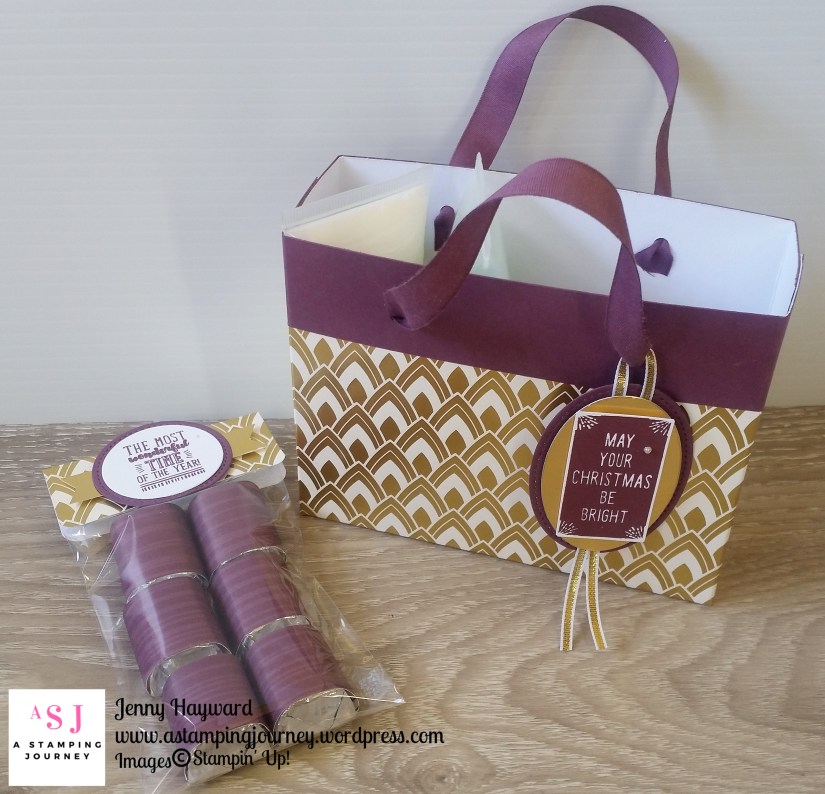
The chocolates were wrapped Hershey Nuggets. We can’t get these here in Australia but I grabbed some when I went to Hawaii recently.  Score!! I put them in a cello bag with a little topper.

I wanted to make up a little Tote but I didn’t have any Christmas paper left.  This sheet of the Gold from the Eastern Palace Specialty Designer Series Paper is kinda Christmas-sy. 🙂 Teamed with some Fresh Fig card trim and the ribbon it makes it a little classy don’t you think?

Here is a close up of the tag on the bag.

The sentiment is from the Brightly Lit set layered on a Gold Foil oval and then layered on a Fresh Fig oval cut from the Stitched Shapes Framelits.  The Gold ribbon is looped around the handle and adhered between the Fresh Fig and the Gold layer.  The label on the chocolates which you don’t see too well is also from the Brightly Lit set and cut with a circle from the Layering Circles Framelits and one from the Stitched Shapes Framelits again in Fresh Fig.

To make this I was inspired by a tutorial I had saved quite a few years ago before the days of Pinterest.  I converted it to metric and modified the instructions.

Do you want to know how to make your own Tote? I have the tutorial below for you in step-by-step instructions in both metric and in imperial.

If you like a more visual tutorial just hang tight and I will get that out to you shortly.

MID-SIZE GIFT TOTE

1. Cut Designer Series (patterned) paper to 21cm x 28cm (8 ½” x 11”).

2. On the short side score at 3.5cm (1 3/8”) on one side. Turn your paper 180 degrees and score at 3.5cm ( 1 3/8”) on the other side.

3. On the long side score the paper at 11.5cm (4.1/2”) on one end. Turn your paper 180 degrees and score at 11.5cm (4 ½”) on the other end.

4. Cut in on the middle tabs on the long side on both sides. Fold on all the scored lines.

5. Cut 2 strips of Co-ordinating card measuring 21cm x 3.5cm. (8 ½” x 1 3/8”). Score at 3.5cm (1 3/8”) in on each end on each piece. Adhere these strips along the top and bottom edge of the Designer Series Paper.  (ie the short side).

6. Add adhesive to the outside of the small centre tab on the side. Fold up one long side tab over this tab to adhere. Repeat the same on the other side.

7. Run Adhesive on the inside edge of the other long tab and fold over to adhere on to the other side tab. This forms a bag shape.

8. Punch 2 holes along the top evenly spaced. If it helps mark with pencil the points you want to punch to help you line it up.

9. Run your length of ribbon through the holes on one side and tie on the inside to secure. Repeat with ribbon on the other side.

——

If you make one do share your version with me.  I would love to see it.

Have a great day,

Jenny

Catalogues, Christmas, Classes, Stampin' Up!

NEW CLEARANCE RACK ITEMS! IT’S UNBELIEVABLE!!

I stopped by the Clearance Rack today in store.  My jaw dropped literally with some of the bargains there.  Seriously! If you have a few coins left over after your Christmas spending you might just like to pick yourself up a bargain.  Some of the items are more than 50% off. 

Check these just as an example.

40% off Stylish Stems Framelits. These are such gorgeous Framelits.

There are a number of Embossing Folders reduced.  This Lovely Lace one is 40% off.

This Christmas Designer Series Paper.  This is 60% off!  Grab this for next year’s Christmas projects.

Lots of pretty ribbons reduced.  This Sweet Sugarplum ribbon is 60% off.


So go and check more out.  Unfortunately they won’t arrive before Christmas but you get to extend Christmas unwrapping. 🙂

See in my store -> HERE.  If ordering online please use the Host Code: MFJY7AKX 

Have a wonderful day,

Jenny x

cards, Catalogues, Christmas, Classes, Stampin' Up!, Techniques, Tutorials

CHRISTMAS TAG TIME CLASS!

This Friday and Saturday for my last class for the year we made Christmas tags.  It was a lot of fun and my class members were very creative.  I wanted to share them with you.

Firstly, I made up a Circle Christmas tag which I will show you further below.  They all got to make one of these (or more if they wanted too).  Then I had some other tag samples from the past year or 2 I had made or received and put out my retired and current papers and ribbons and Christmas stamps and let them be creative.  I forgot to take photos from Friday’s class but here is Saturday’s creative achievements.

Aren’t they great???

——-

I wanted to show you the Carols of Christmas Circle Christmas tag particularly and how we made it.


You can make these type of tags to any size or any shape you like.  The principle is the same. I will give you the general instructions but then give you the measurements I used below.

The card will be cut depending on the size of the circle Framelit you use. Cut your card to about twice the length of the circle and score in half.  This is for your card base.

You will need a second piece of card for the front measuring just larger than your die.

For the measurements for this tag:

Cut your card to 9cm x 18cm score at 9cm.  (3 1/2″ x 7″ score at 3 1/2″)

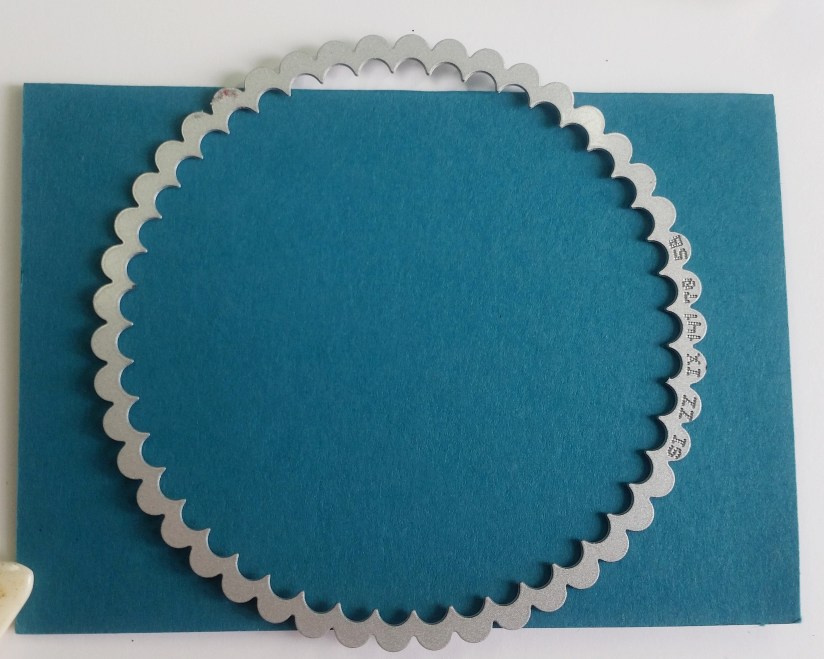
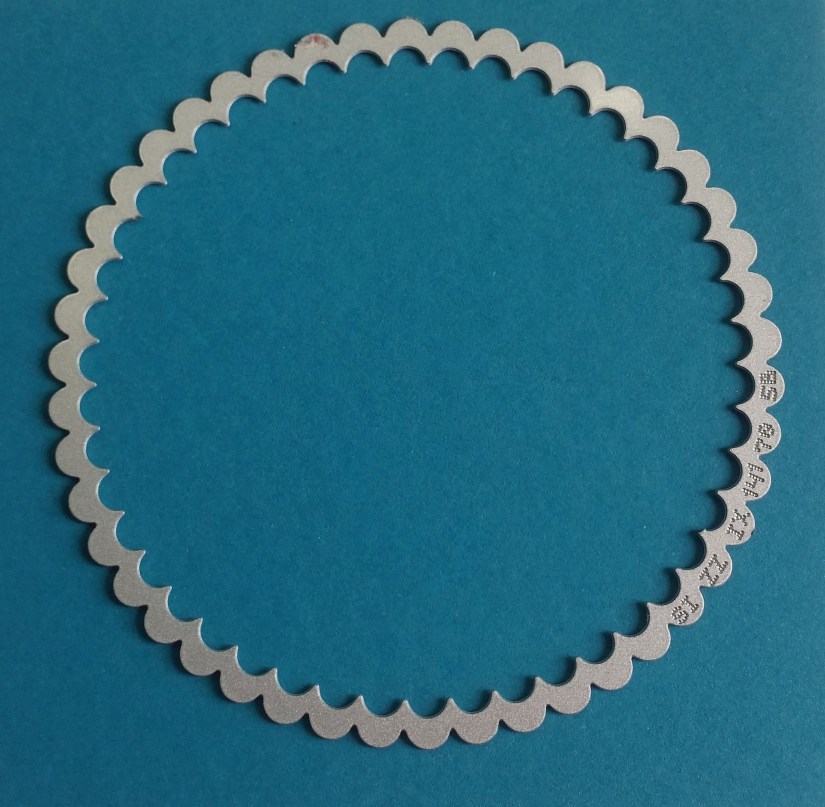
1. I used the Largest scallop circle of the Layering Circles Framelits.  Place the top of the Framelit just off the edge of the scored fold.  This edge won’t cut creating your fold for the card.

2. On a smaller piece of card cut a full size scallop circle with the same Framelit.  This is for the front of the card.

3. Adhere the full size scallop circle onto the front of the folded scallop card lining up the scallops carefully.  I found using the Multipurpose adhesive gives you a little more sliding room.

4. Using the largest circle in the Layering Circles Framelits cut a circle from Whisper White to stamp your sentiment from the Carols of Christmas set.

5. I cut a smaller circle in white to line inside the tag so you can write on.

6.  Using a hole punch or I used the Crop A Dile, punch through at the top to tie your ribbon through.  You may like to mark the place to punch with a pencil to mark it in the right spot.

Here is a condensed photo for pinning.

Hope you like it.  Everyone loved it that came to class.

Thanks for stopping by,

Jenny


3D projects, Christmas, Classes, Stampin' Up!

MERRY LITTLE CHRISTMAS PIZZA BOX!

I created this Pizza Box project for a Christmas class a few weeks ago.  I didn’t share the box close-up at the time so I thought I would share it with you today.

I used 2 different pieces from the Merry Little Christmas Designer Series Paper pack. and layered them on an Old Olive Card mat.

A Stitched Shapes Circle was cut from the Gold Foil Sheets.  The sentiment from Snowflake Sentiments was cut with a Layered Circle Framelit.   To finish it I stamped holly leaves and berries from the Holly Berry Happiness set and punched with the Holly Berry Builder Punch.

You can decorate a number of these boxes in no time and fill them with treats for Christmas.

Hope you are not getting too stressed with all that last minute Christmas preparations,

Jenny

cards, Christmas, Classes, Stampin' Up!

TAG TIME CLASS. LAST ONE FOR THE YEAR!

Just a quick post for you today.  Wollongong Peeps! If you still need some Christmas tags for your gifts then stop by this weekend.

TAG TIME CLASS

Friday 16th 10am or Saturday 17th 2pm.  Cost: $15

Make as many tags as you like in the time.  I will have a few samples you can copy or create your own with the papers and embellishments I have out.

Let me know by Thursday.

Jenny 

Catalogues, Christmas, Stampin' Up!

FILL YOUR STOCKING WITH FREE SHIPPING TODAY!

Would you like stamps, paper and ink for Christmas?  You can stock up today and get FREE SHIPPING!!  Isn’t that so great! 🙂

Today only 11th December. 

TO ORDER:

Contact me directly

or

Stop by my store -> HERE  Please use the Host Code:  9NJXT4Q9

Have an awesomely, wonderful day,

Jenny 🙂

cards, Catalogues, Christmas

MERRY LITTLE CHRISTMAS SLEIGH RIDE!

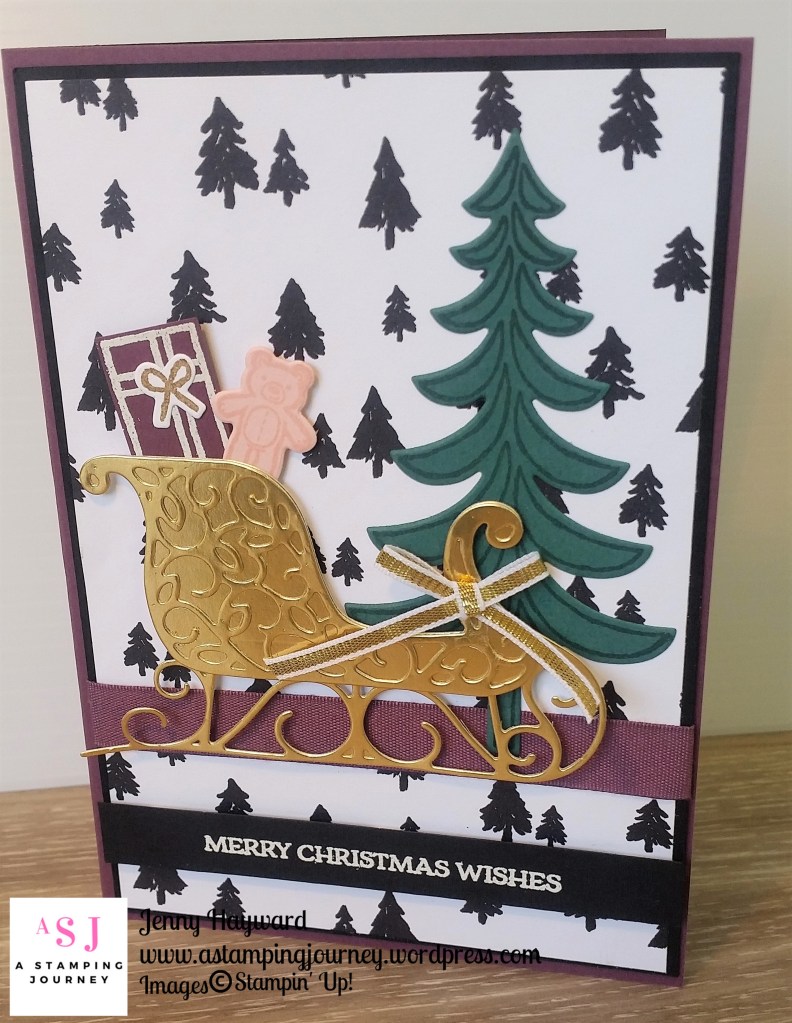
I made this card a couple of months ago now but only just getting around to sharing it with you.

I have used the Santa’s Sleigh set.  You tend to forget the Christmas sets in the Annual Catalogue with all the other exciting ones in the Holiday Catalogue.

The tree is inked in Tranquil Tide on Tranquil Tide card and the bear is stamped in Powder Pink on Powder Pink card.  They are both cut with the Sleigh Thinlits Dies.  Using the Thinlits I cut a Sleigh from the solid die and the ornate die from Gold Foil Sheets.  For the gift I heat embossed the stamped image in White Embossing powder and cut that out and the bow is heat embossed with Gold Embossing Powder.

The sentiment is heat embossed in White Embossing Powder on a strip of black card.

To assemble it all together I layered a piece of the Merry Little Christmas paper onto a black card mat.  I wrapped around some Fresh Fig ribbon before adhering it to the Fresh Fig card base.  Finishing it off with a bow from Gold ribbon.

Thanks for visiting today.  I hope your Christmas preparations are going along well.  I have just returned from holidays so I guess I should start thinking about it.

Jenny


cards, Catalogues, Christmas

SHELL CHRISTMAS TREE WITH BEACHY LITTLE CHRISTMAS!

Another different card for you today with the Beachy Little Christmas set.

The tree was coloured with the Watercolor Pencils.  I did add some Wink of Stella to the larger shells although it is hard to see here. I added a strip of Red Glimmer Paper under the left edge of the white mat.

The Desiger Series Paper added to the Old Olive card base is from the Merry Little Christmas pack.

A simple, summery Christmas card.

Jenny


Catalogues, Christmas, Stampin' Up!

GRAB SOME HOLIDAY CATALOGUE BARGAINS IN THE CLOSE OUT SALE!

Only a few weeks left of the Holiday Catalogue. Many of these gorgeous products are leaving us and you can grab them in the YEAR END SALES. Some of them have been discounted now so why not check them out.

** The items on the discounted list are while supplies last.

Head to my store and shop online -> HERE.  Click on the ‘Shop Now’ at the top tab, then click ‘Year End Sale’ in the left hand column.

Every order will receive a little Thank You gift from me. Be sure to use the Host Code: MFJY7AKX.

Thanks for shopping with me.

Happy shopping,

Jenny


cards, Christmas

BEACHY LITTLE CHRISTMAS WEEK!

The weather is warming up here and it is Summer this week.  I thought it’s time to share some Beachy Little Christmas cards for you that I have been making over the last few weeks.

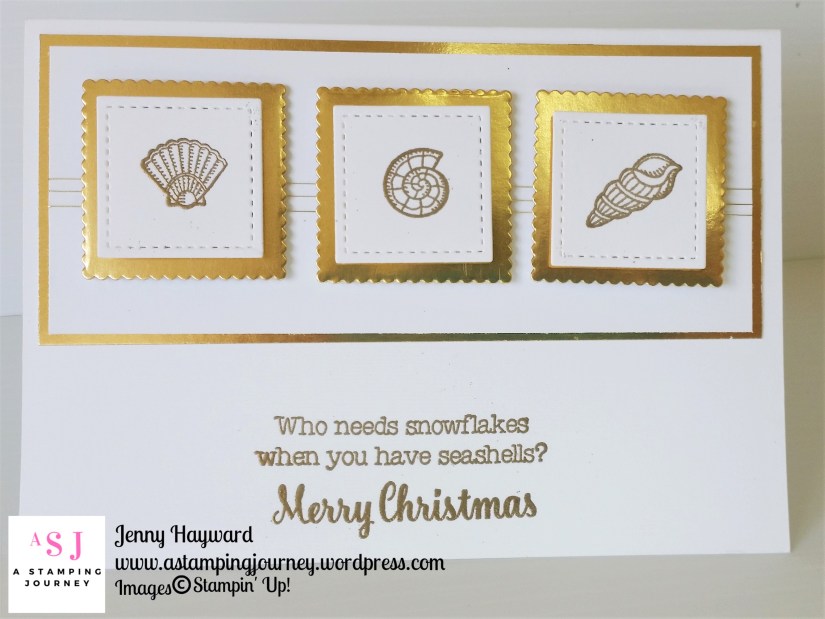
Here is the first one.  I think this is my favourite one.

I heat embossed the shells and the sentiment with Gold Embossing Powder on to Thick Whisper White card base. The shell sentiment is from the Beachy Little Christmas set and the “Merry Christmas” is from Star of Light set.  The white squares are cut with the Stitched Shapes Framelits and then I cut gold squares from the Layering Squares Framelits.

I wrapped around some Gold Thread before layering it on white card layered on a Gold Foil Sheet mat. I think the gold makes it classy.

Thanks for stopping by,

Jenny