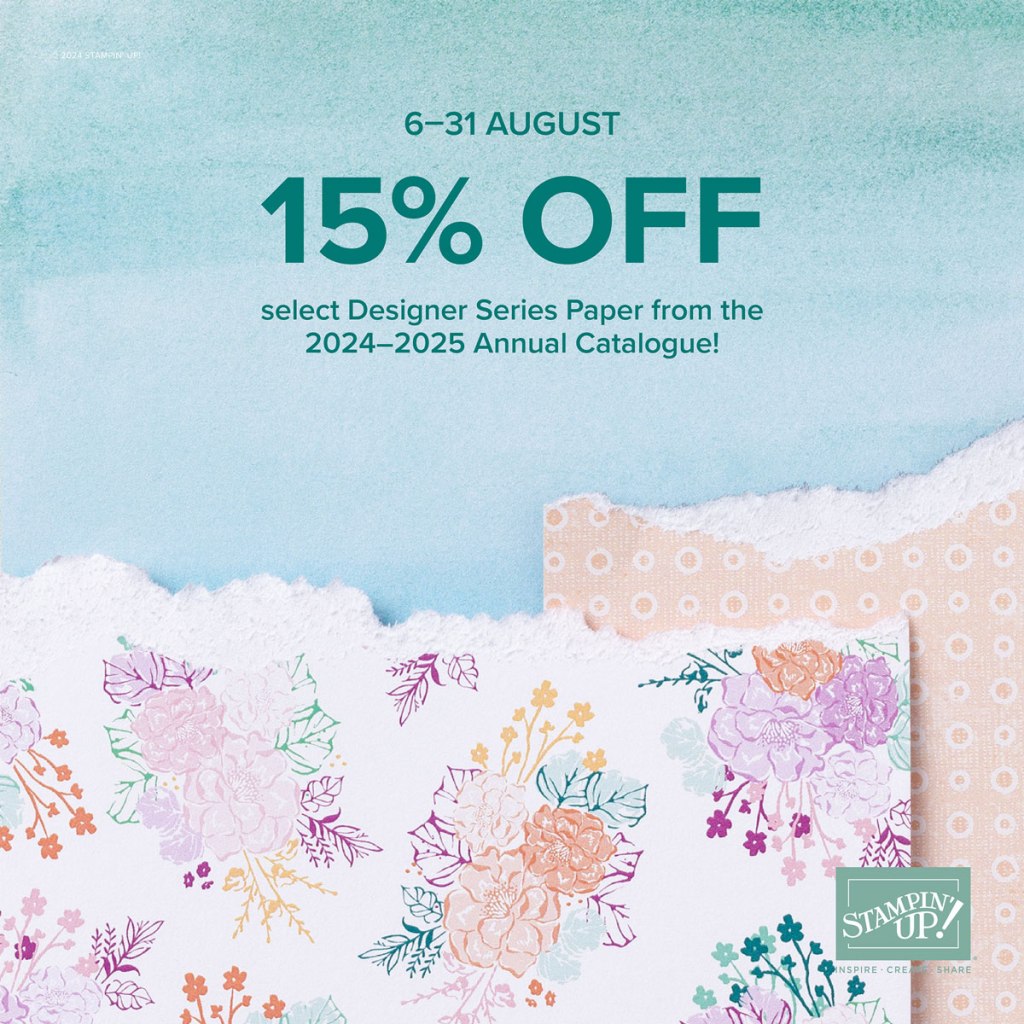
It’s on all August. 15% off Select Papers from the 2024 Annual Catalogue.
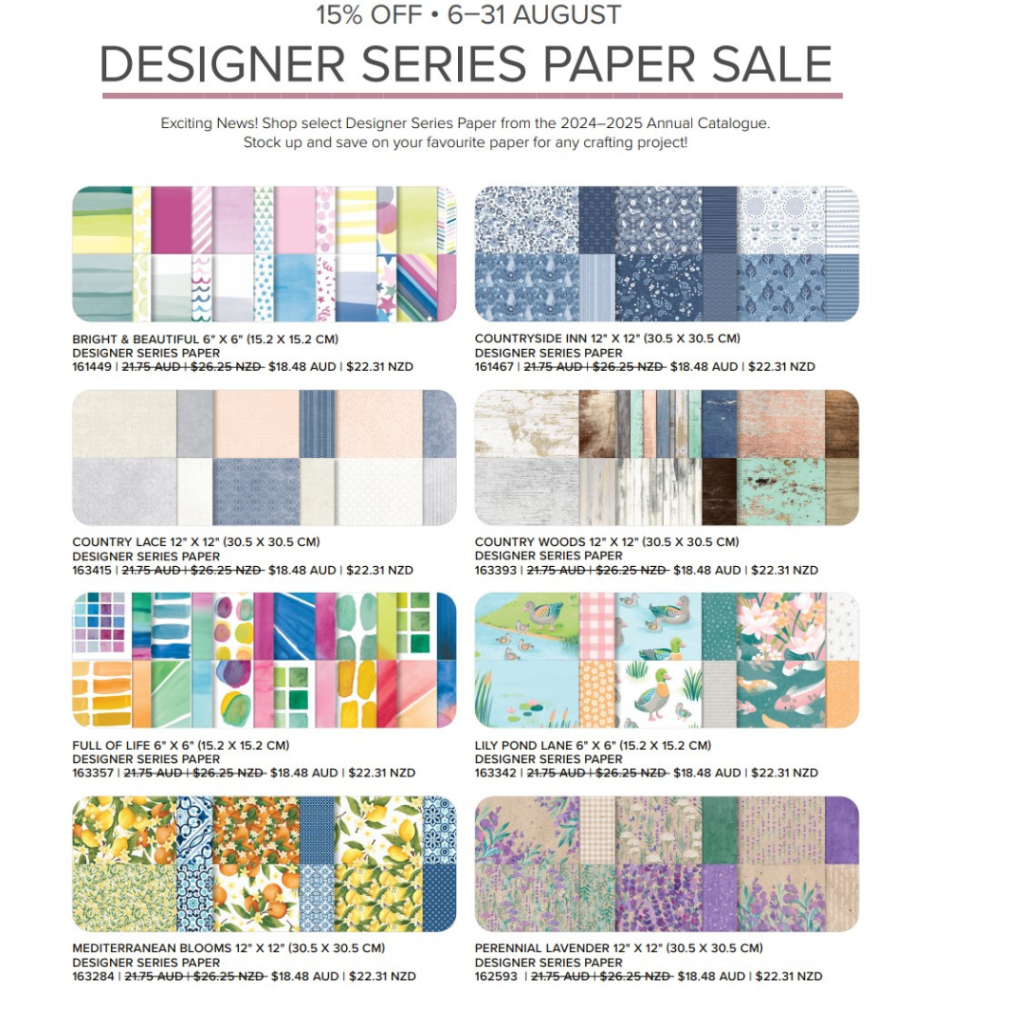
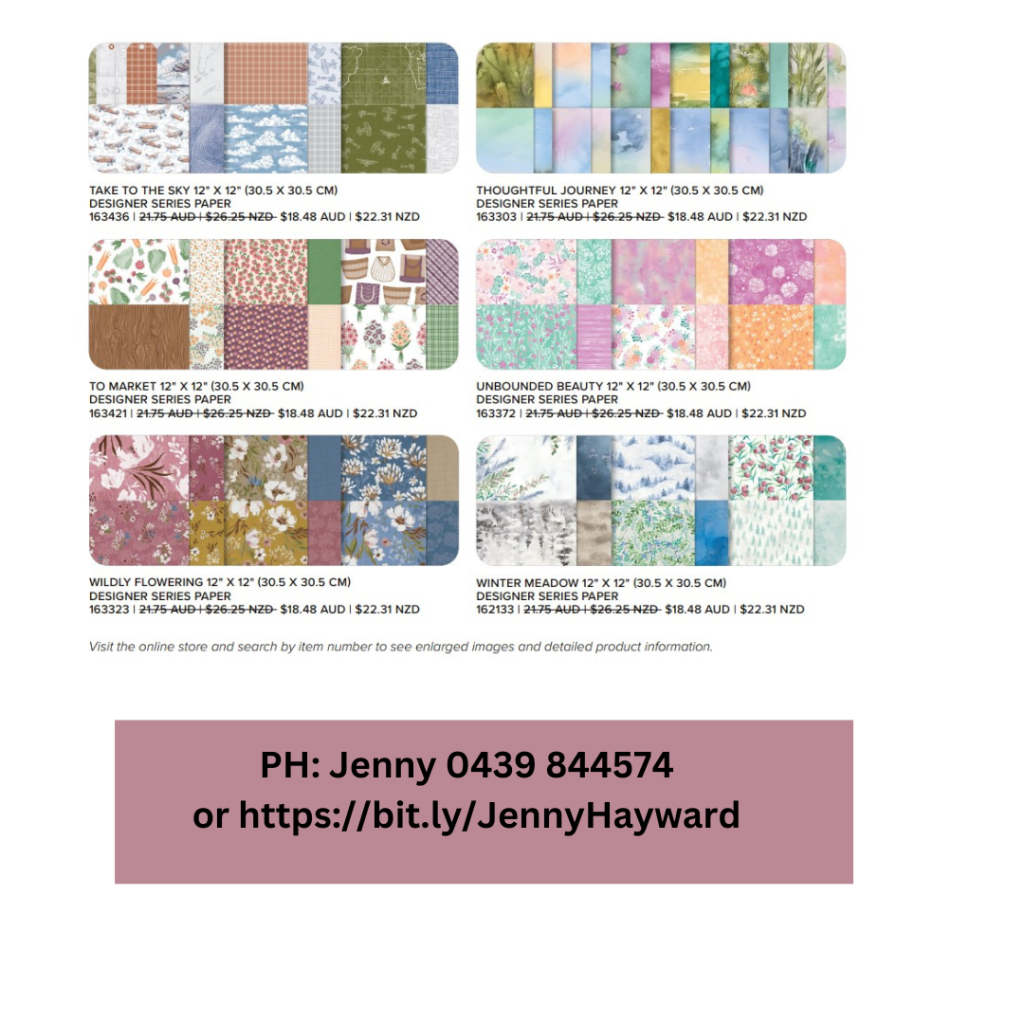
The papers at $21.75 reduced to $18.48.
There are the brights in the Full of Life Paper, the subtle prints in Country Lace and Country Woods. My personal favourites are the Perennial Lavender Paper and the Unbounded Beauty Paper.
Here they all are.
Let’s check some projects with these pretty papers.
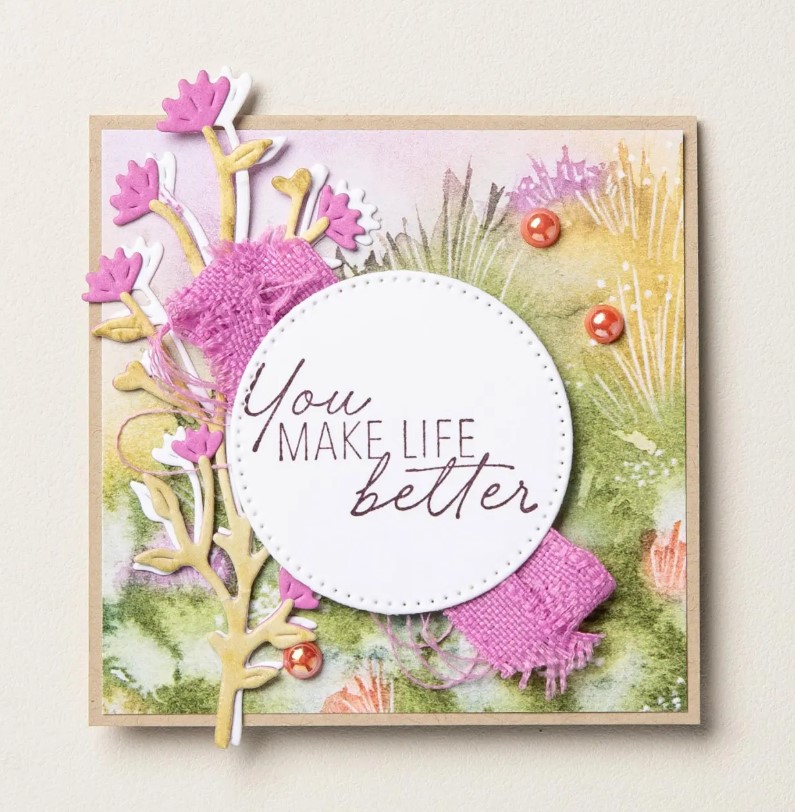
The Perennial Lavender.
Unbounded Beauty.
But what about some others from Stampin’ Up!
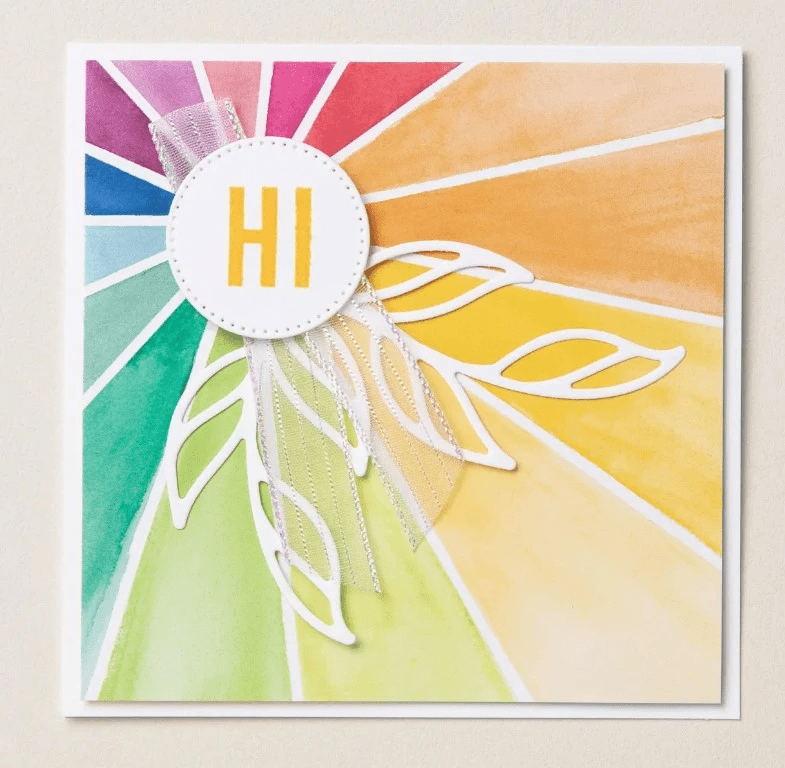
Full of Life.
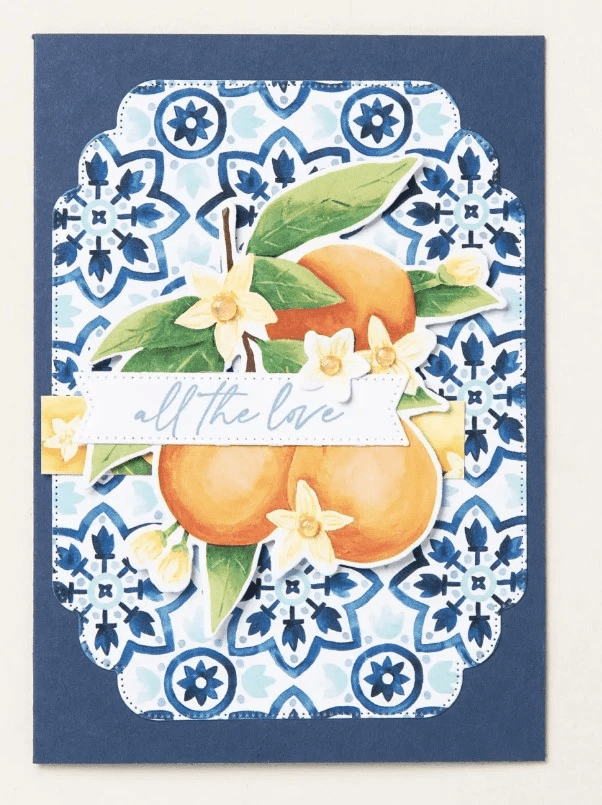
Mediterranean Blooms
Thoughtful Journey
Now is your chance to get some of this paper and save.
See them more -> HERE. You can order directly there or Contact me directly and I can help you out.
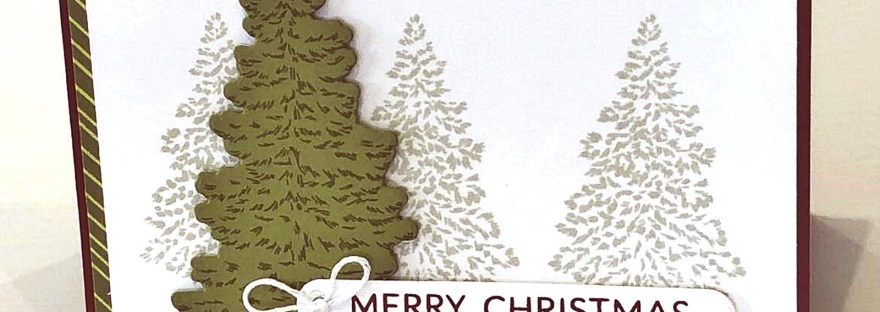
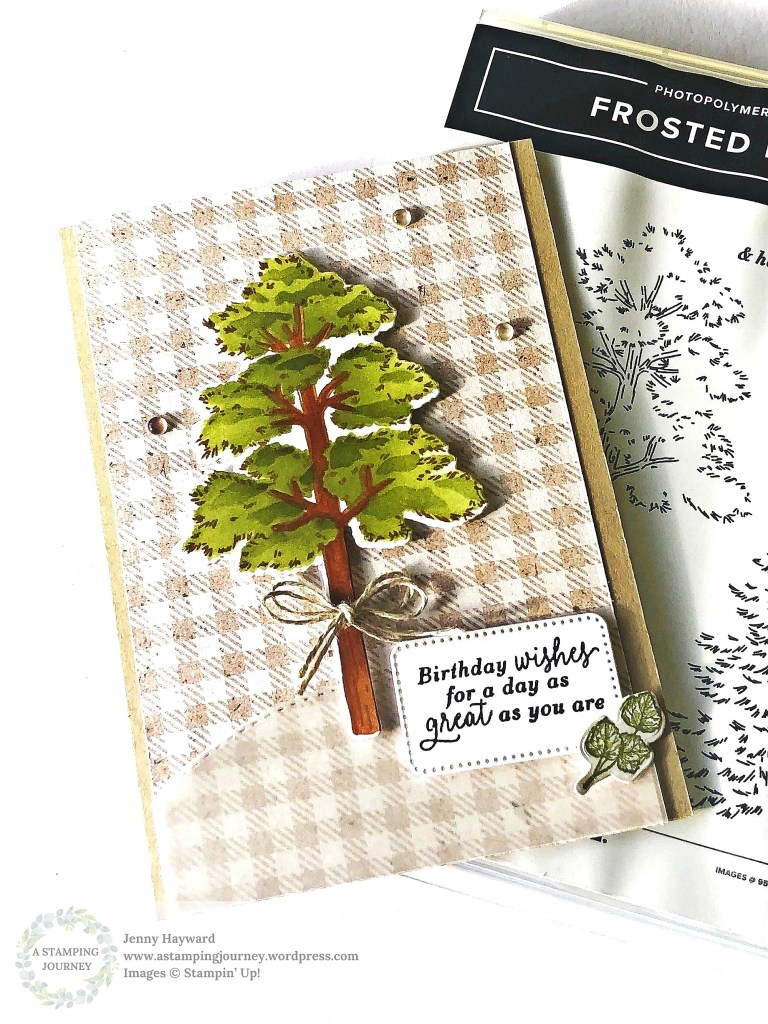
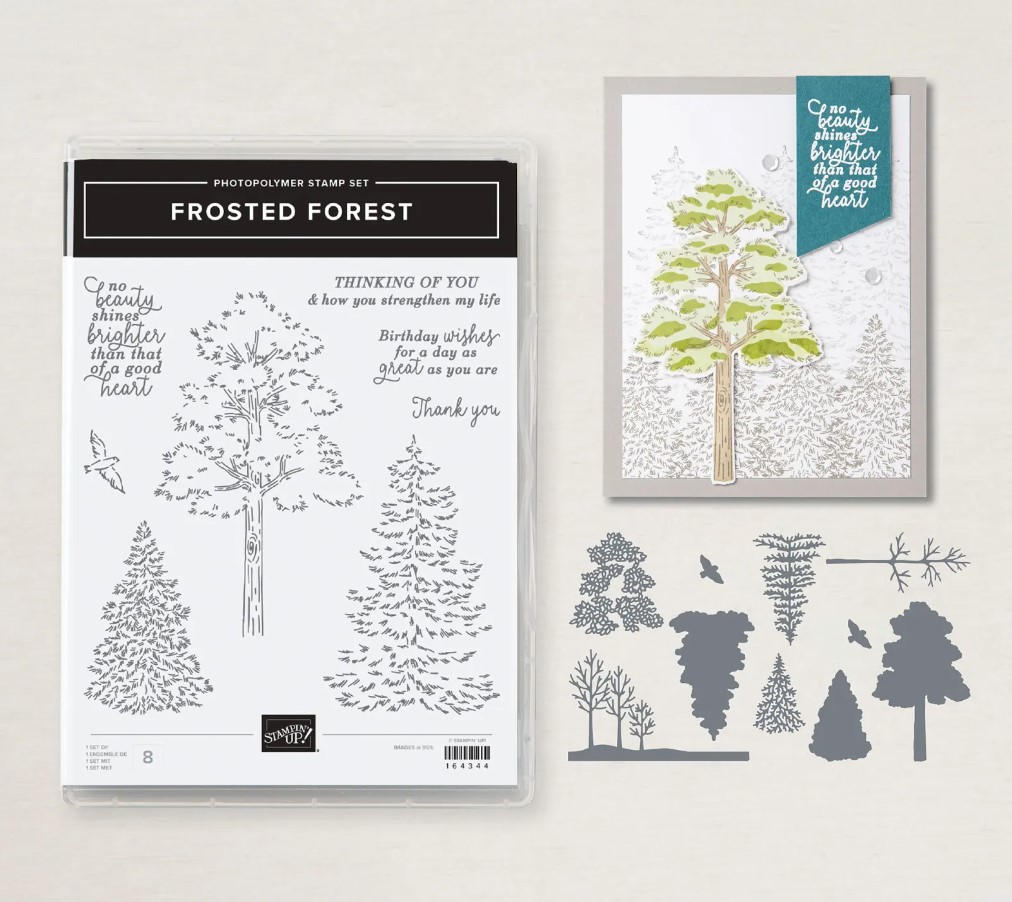
This card is one of the cards we made at our Christmas in July event last weekend. This one uses the Frosted Forest Bundle.
While this bundle does have the masks this card just uses the stamps and dies.
Firstly stamping 3 trees on the white card mat. Basic Beige has a subtle green tinge to it making it work really well with the colour tones on this card. Just a tip: Stamp the centre tree first and then stamp the other 2 either side. That helps them to be more centred.
The larger tree was stamped on Old Olive card in Old Olive ink and then diecut. The sentiment is from the Greetings of the Season stamp set and diecut with one of the dies from the die set.
Adding a little strip of patterned paper adds an extra element to a very simple card. The paper is from the Flowering Zinnias Paper pack.
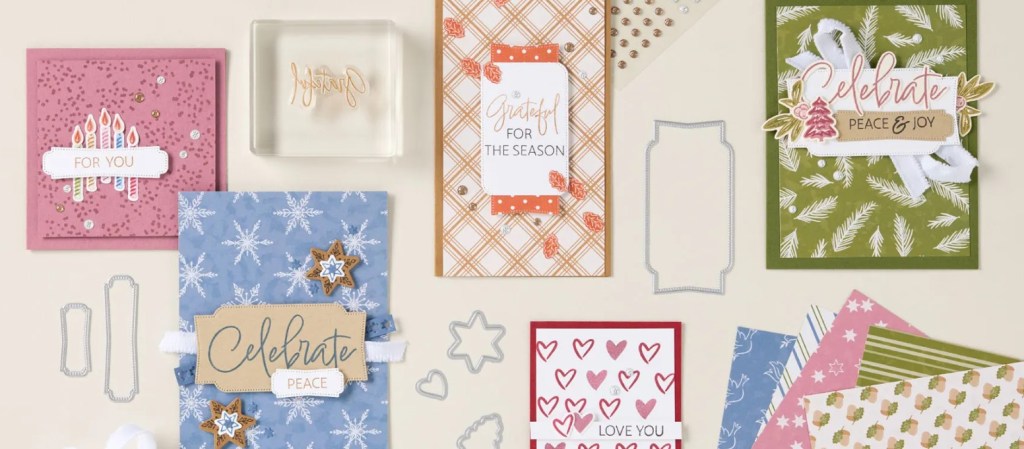
This is the Greetings of the Season Bundle. There are a variety of greetings for the festive sesason you can put together or use just on there own. They are in 2 different font styles. I particularly like the die shapes. You can use them for any occasion. And they have a stitched edge!! Don’t we like that.
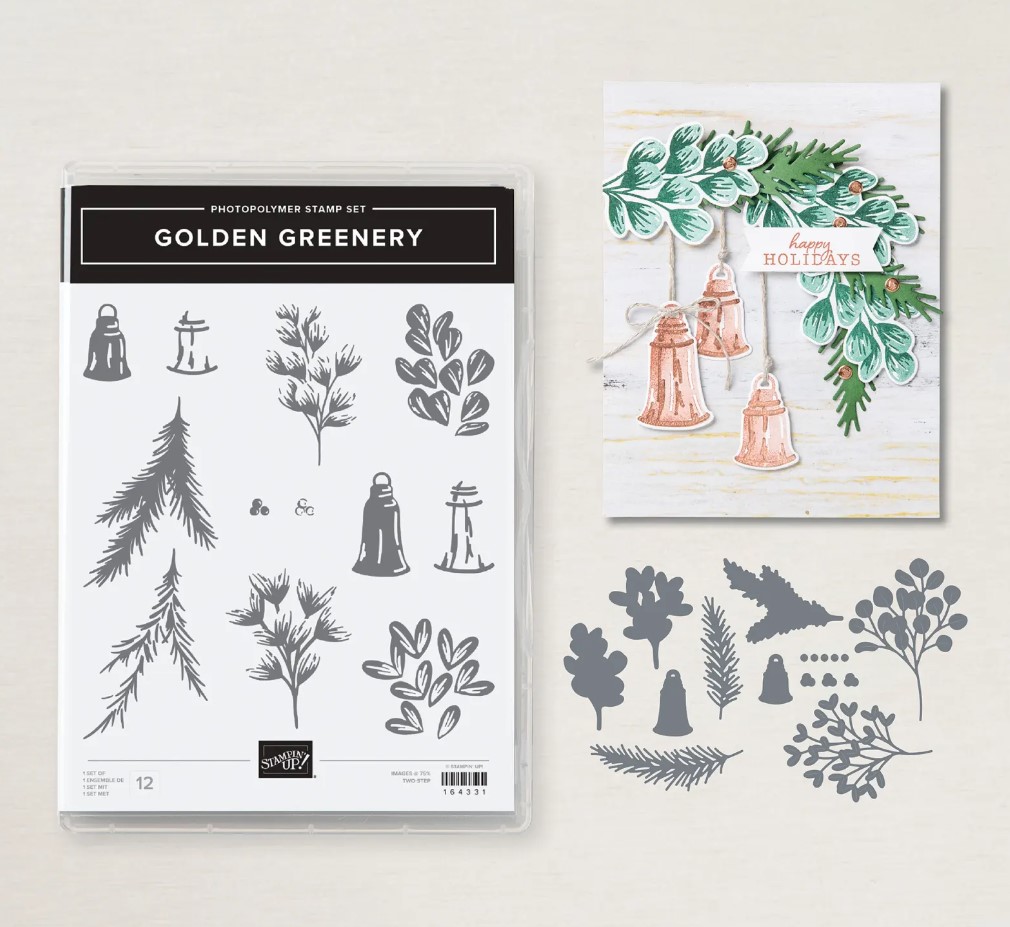
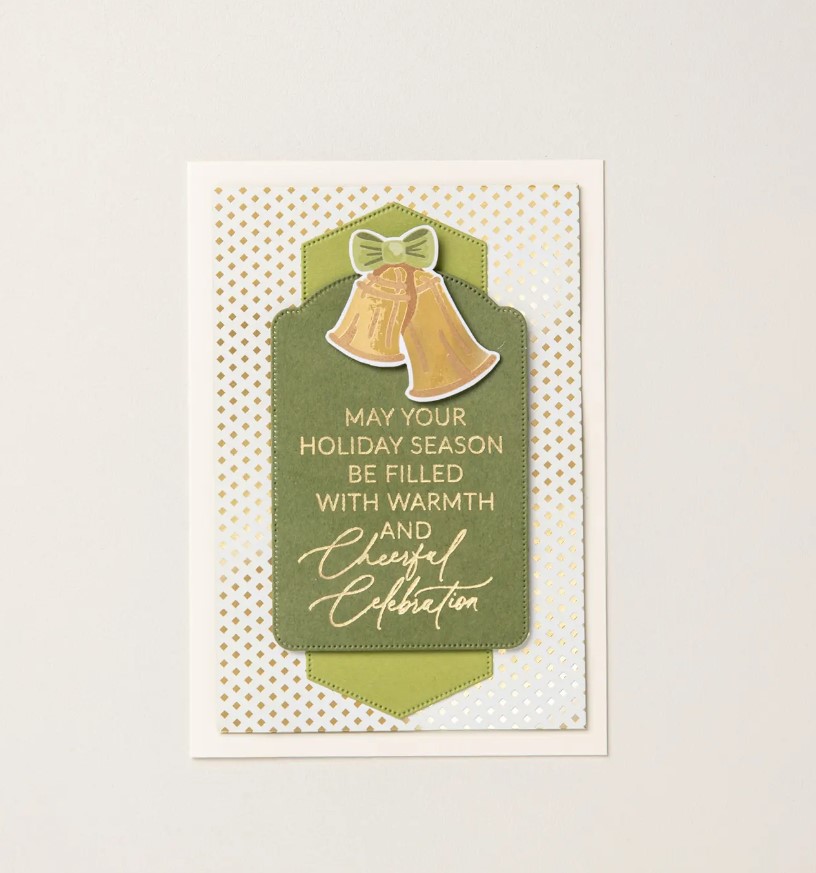
This one is the Golden Greenery Bundle. With traditional images of greenery and bells and berries. There are a number of co-ordinating dies for these too.
These are available as Online Exclusives. They can be ordered online or ordered directly in my store. HERE
Wednesday’s WOW! #164 – Creating a masked background.
Here’s a technique for you to try sometime. You can create a masked frame and add colour to the centre area.
To do this use the Masking Paper to add strips around the edge of your card leaving a rectangle or square shape in the middle. Using the Brayer or the Blending Brushes roll (or brush) over your ink. Try different colours to create a coloured background.
Once you are done gently remove the masking paper and stamp over your images. Stamping them in black ink will really highlight them against the background. Then it is a matter of adding a simple greeting.
Hope you get to try this out in your crafting soon.
Happy Crafting,
Jenny
Bonus Days are happening now. Receive a $9 voucher now to redeem in August when your orders are over $90.
Need supplies and you are in Australia? Head to my store -> HERE. Please use the Host Code: JTRANKN3
Or contact me directly and I can help you with your order.
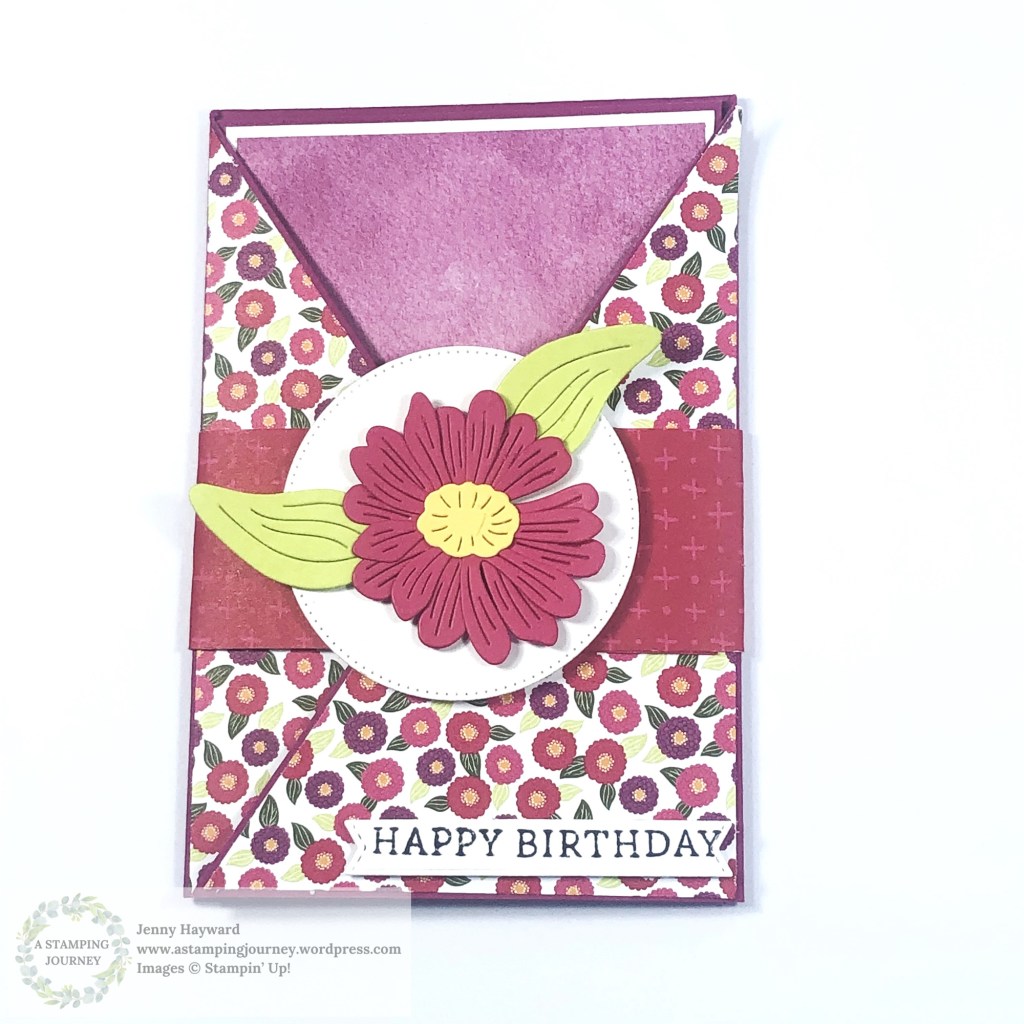
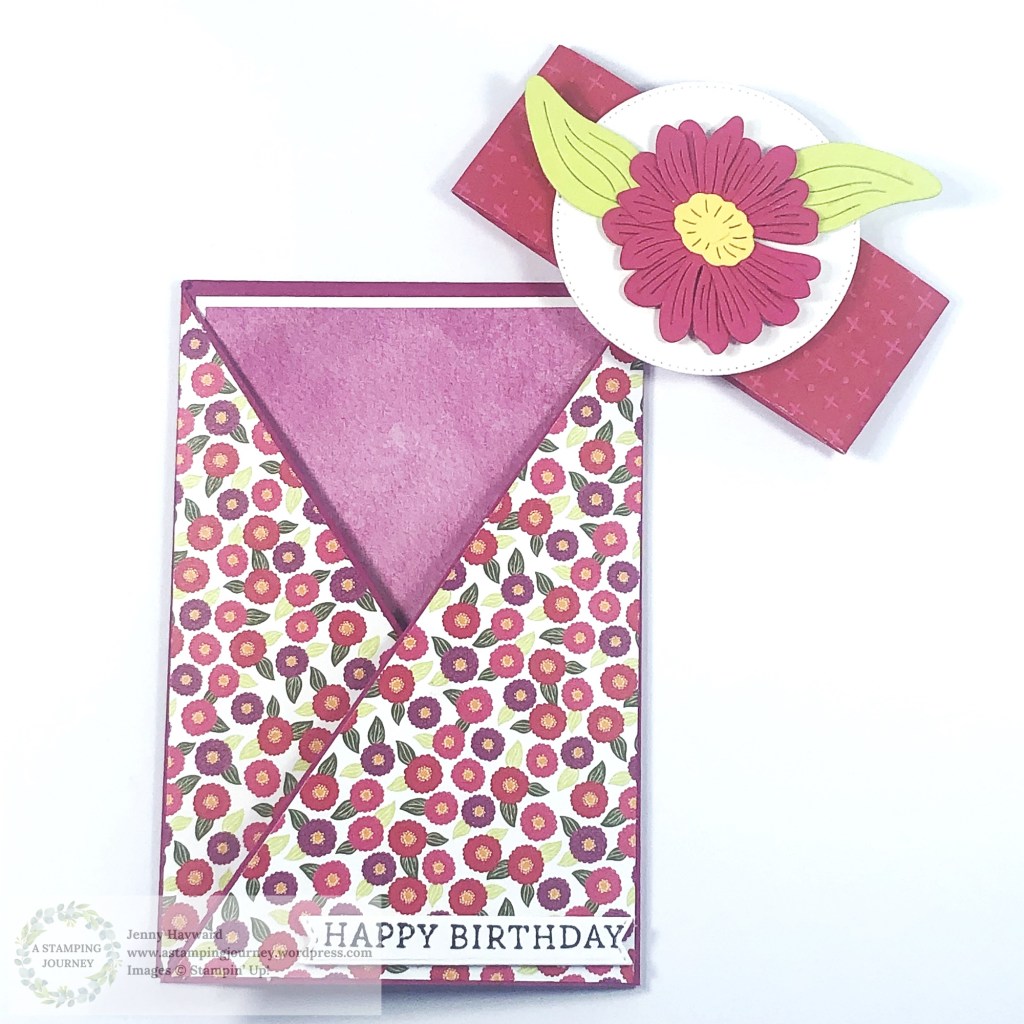
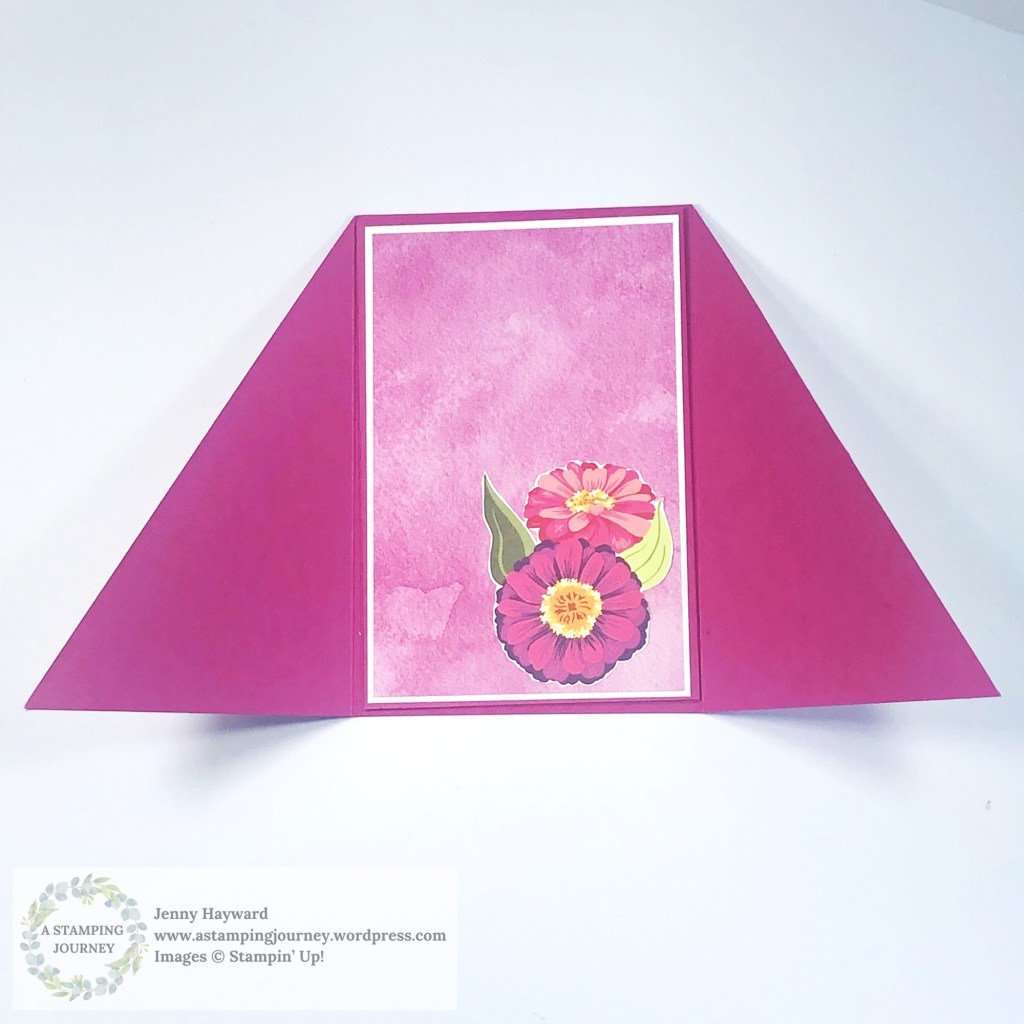
You can make a wrapper to keep it closed up – or you can leave it off.
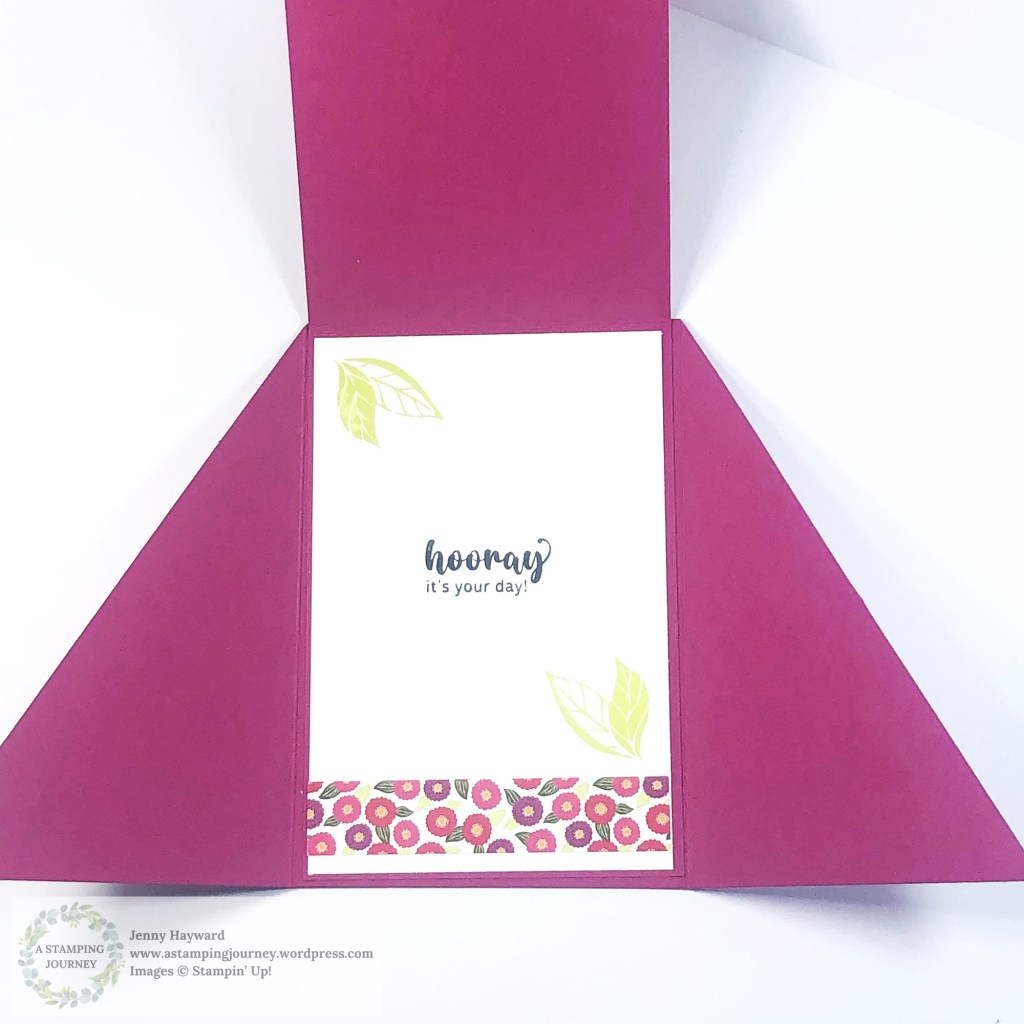
But then you open it…
Here’s the video to follow along with.
The written Tutorial will be sent out in my newsletter next week. Have you subscribed to my newsletter yet? I send out a Free Project Tutorial each week to keep you inspired. You can find the link for that in the right hand column. And there is a bonus Tutorial when you first subscribe.
Happy Crafting,
Jenny
Need some crafty supplies and you are in Australia? Head to my Online Store -> HERE.
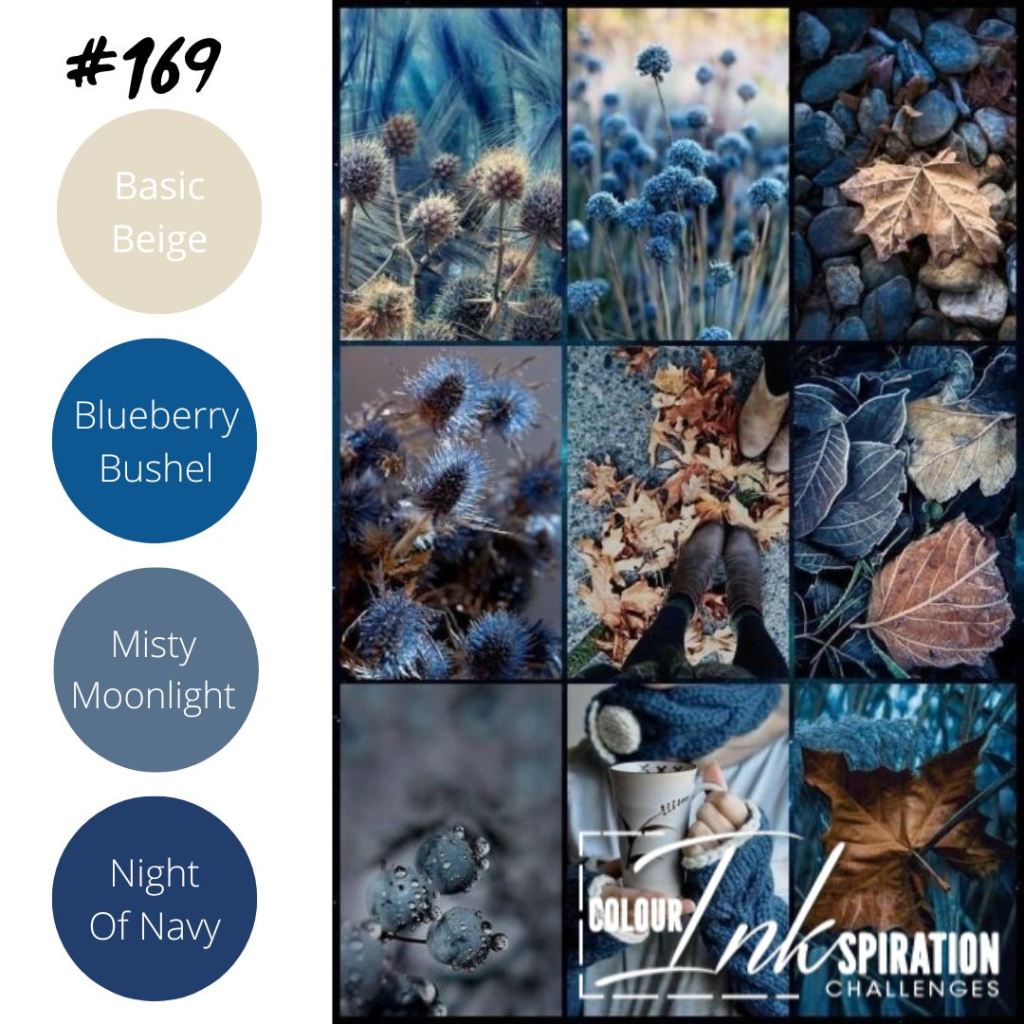
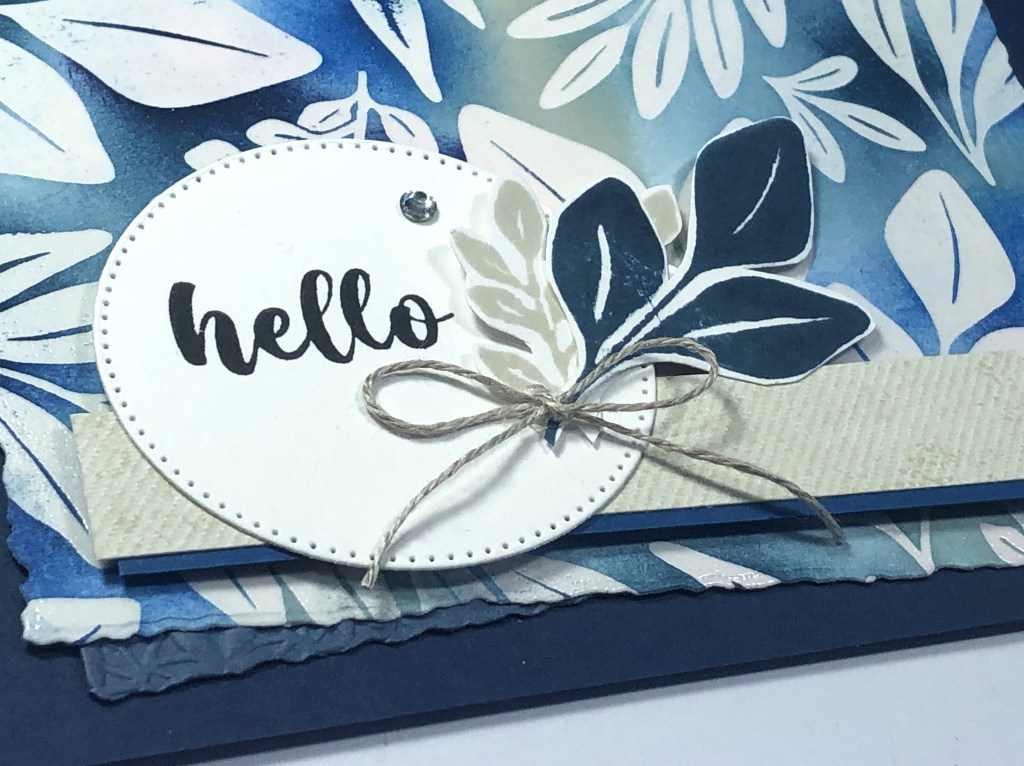
I had a little play over the weekend just for me. I checked out the Colour Inkspirations Challenge and created along with the colours for this week.
The CI 169 colours for this week were: Basic Beige, Blueberry Bushel, Misty Moonlight and Night of Navy.
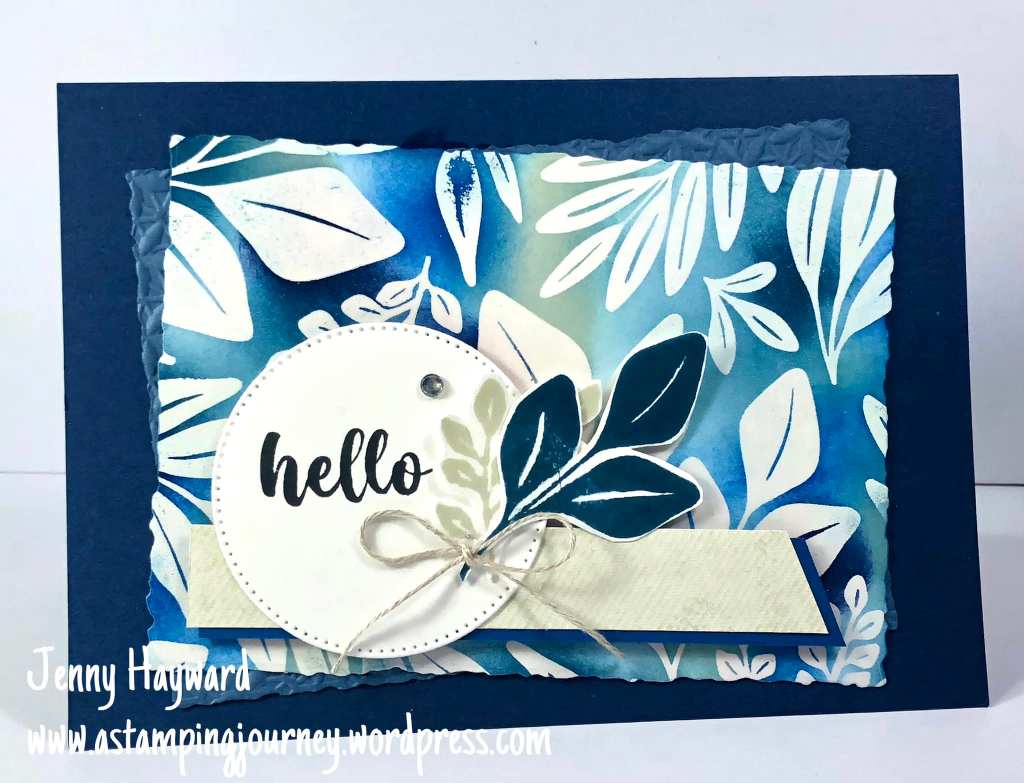
I had the Leaf Collection stamp out from other creating so thought I would try these colours with this stamp. This is the result.
I used the Emboss Resist Technique and then sponged over the different colours in different areas over the white card. It gives it a Batik style to the look.
To do this technique – Ink up the stamp in Versamark. Press the stamp on to the card and pour over the Clear Embossing Powder. Heat to melt the powder. Then with the Blending Brushes rub over ink in different parts. You will get some ink on the Embossed areas but that’s ok. Wipe off the excess ink with a tissue.
Heat Embossing is one of my favourite techniques.
You can join in with this colour challenge. Head to the Facebook group there. If you are not already a member then request to join. Then add your projects too. There is a different colour challenge every 2 weeks.
Happy Crafting,
Jenny
Need to order supplies and you are in Australia. I would love to serve you. Head to my store -> HERE. Or contact me directly.
Sunday Suites. We need to have a look at this gorgeous new Season of Green and Gold Suite.
I mean I’m a green fan so of course I’m going to like it but the leafy green colours are beautiful.
This Suite was just released as part of the new offerings for the Online Exclusives.
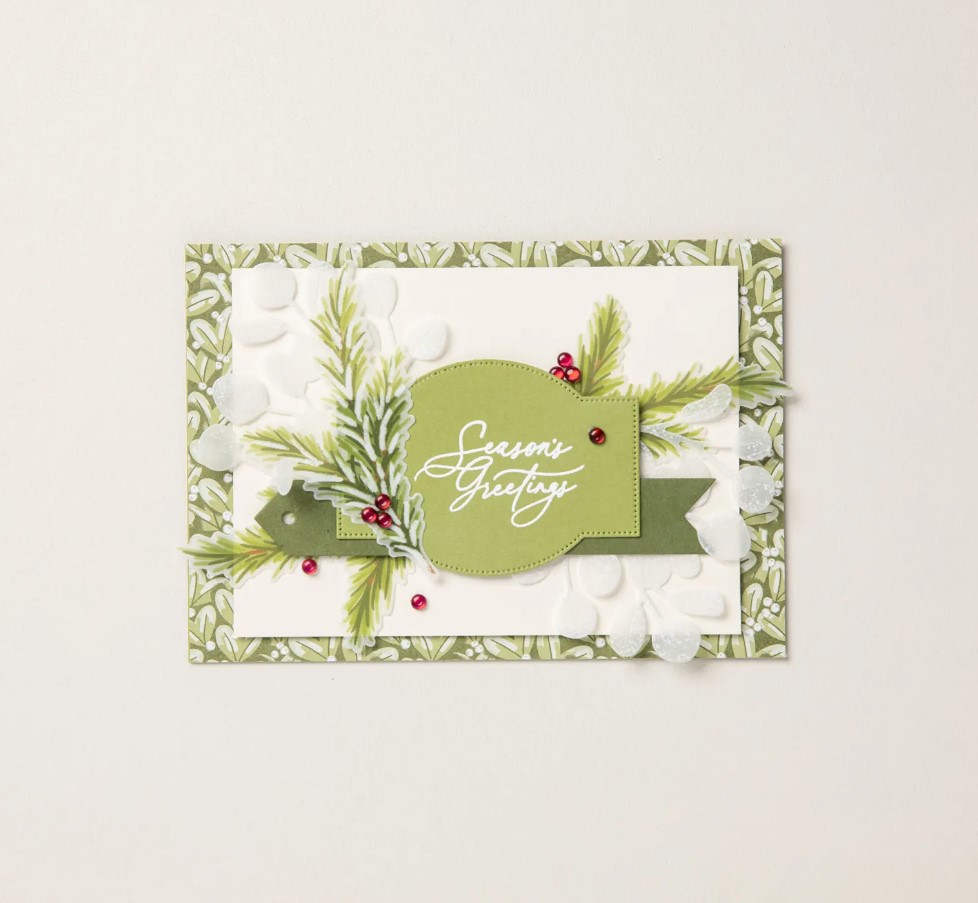
This is the Season of Green Suite Collection. There are lots of loveliness in this suite.
The Suite includes:
Greetings of the Season Bundle
Golden Greenery Bundle
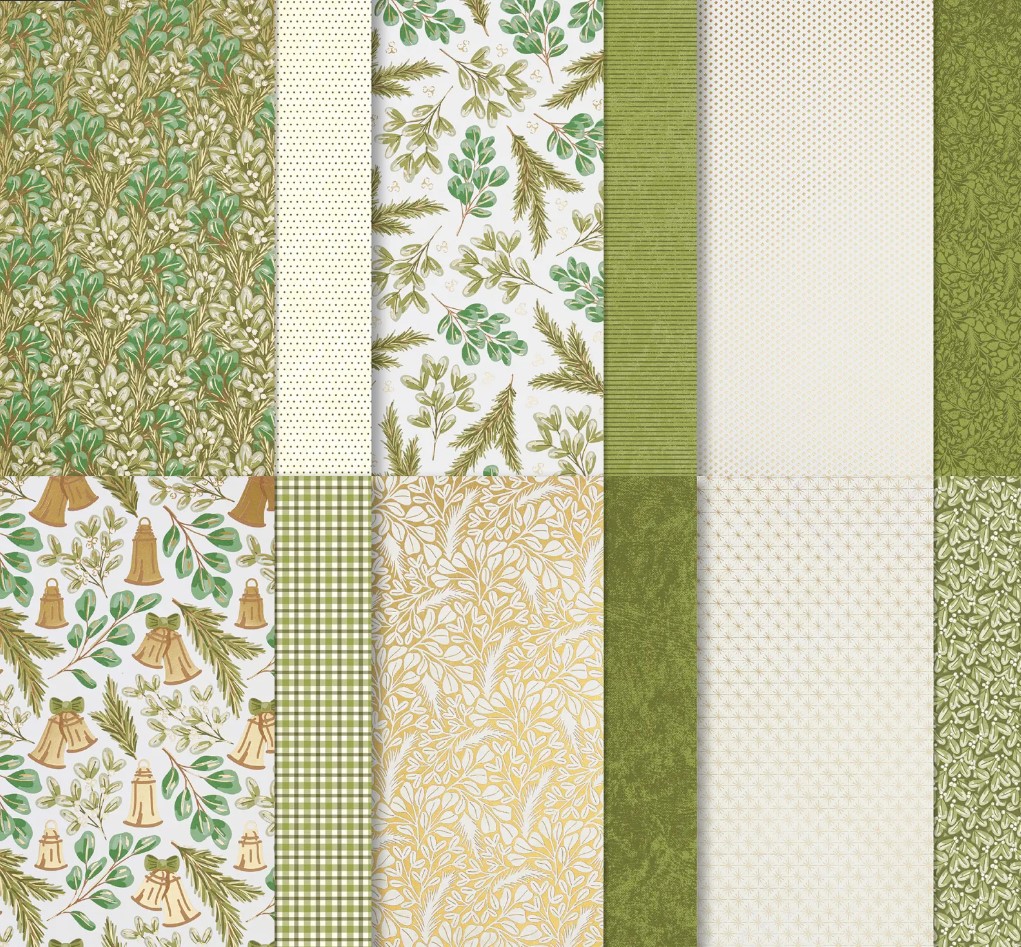
Season of Green and Gold Specialty Designer Series Paper
Graceful Greenery Vellum Specialty Designer Series Paper
Very Vanilla Satin Ribbon – 9.1m (10 yards) and is 1.9cm (3/4″) wide
Cherry Cobbler and Pearl Adhesive Backed Berries – 64 pieces in total in Cherry Cobbler and Vanilla
There are 2 different bundles. You can choose them both or only one of them.
The Golden Greenery Bundle. I particularly like the foliage dies.
The Greetings of the Season Bundle. This one is so versatile. I love the dies in this bundle.
But this paper…
The Season of Green and Gold Specialty Designer Series Paper.
It comes in 12 12″x12″ sheets. 2 of 6 patterns. It has green patterns with glistening gold accents. You really have to see it. The colours in this paper are Garden Green, gold, Mossy Meadow, Old Olive, Pecan Pie, Very Vanilla.
There is also the Graceful Greenery Vellum Specialty Designer Series Paper.
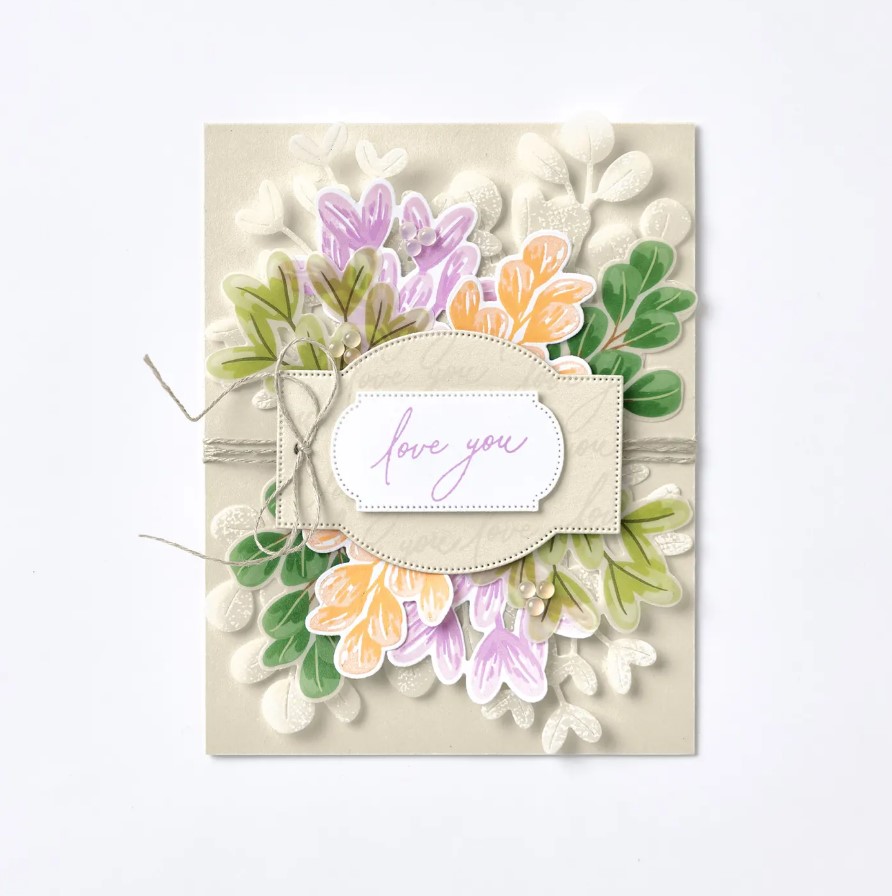
It comes in 6 12″x12″ sheets. 2 each of 3 single sided designs. The printed foliage patterns can be used as a layering piece on cards and tags.
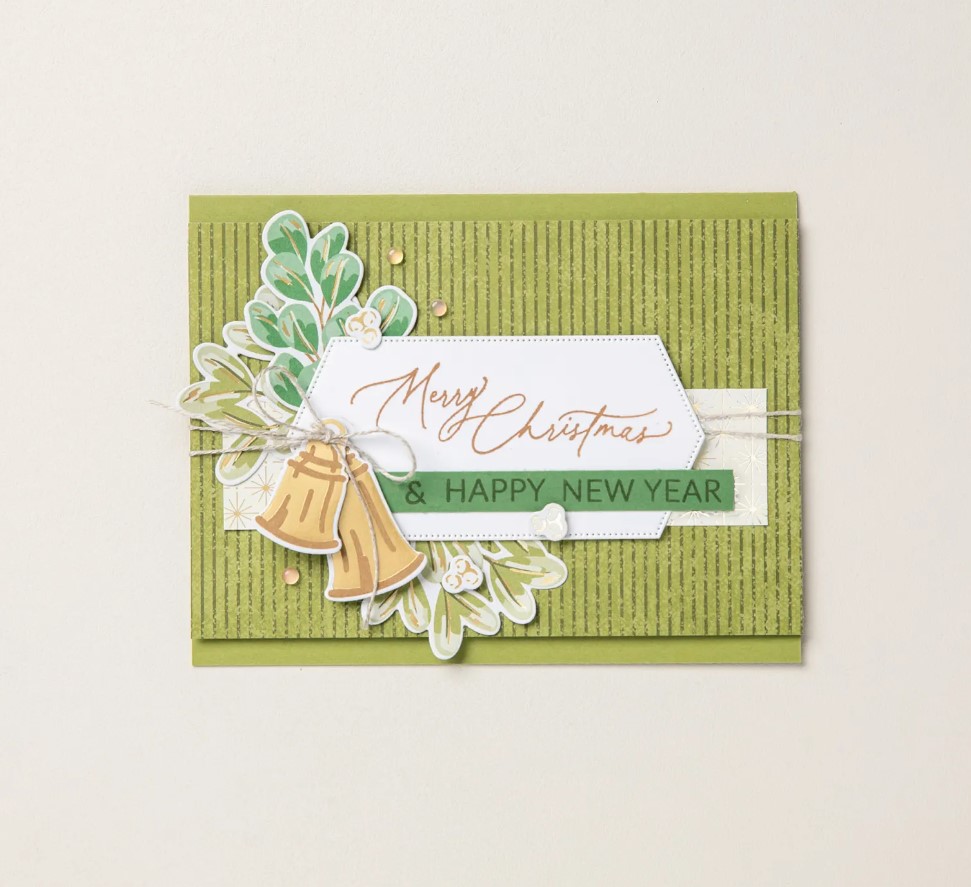
I have just got hold of some of these lovelies and while I start creating with it let’s check some of the projects that Stampin’ Up! have created with this gorgeous suite.
Don’t just think of it for Christmas with those lovely leafy images and the dies.
You can see more of the Season of Green Suite online -> HERE.
If you are in Australia and would love any of these products then head to that link just above. Please use the Host Code: JTRANKN3
Or contact me directly and I can help you out.
And it’s Bonus Days. Which means for your $90 order you receive a Bonus Card to redeem towards your order in August.
Wednesday’s WOW! #163 – A Watercolour Wash on your images.
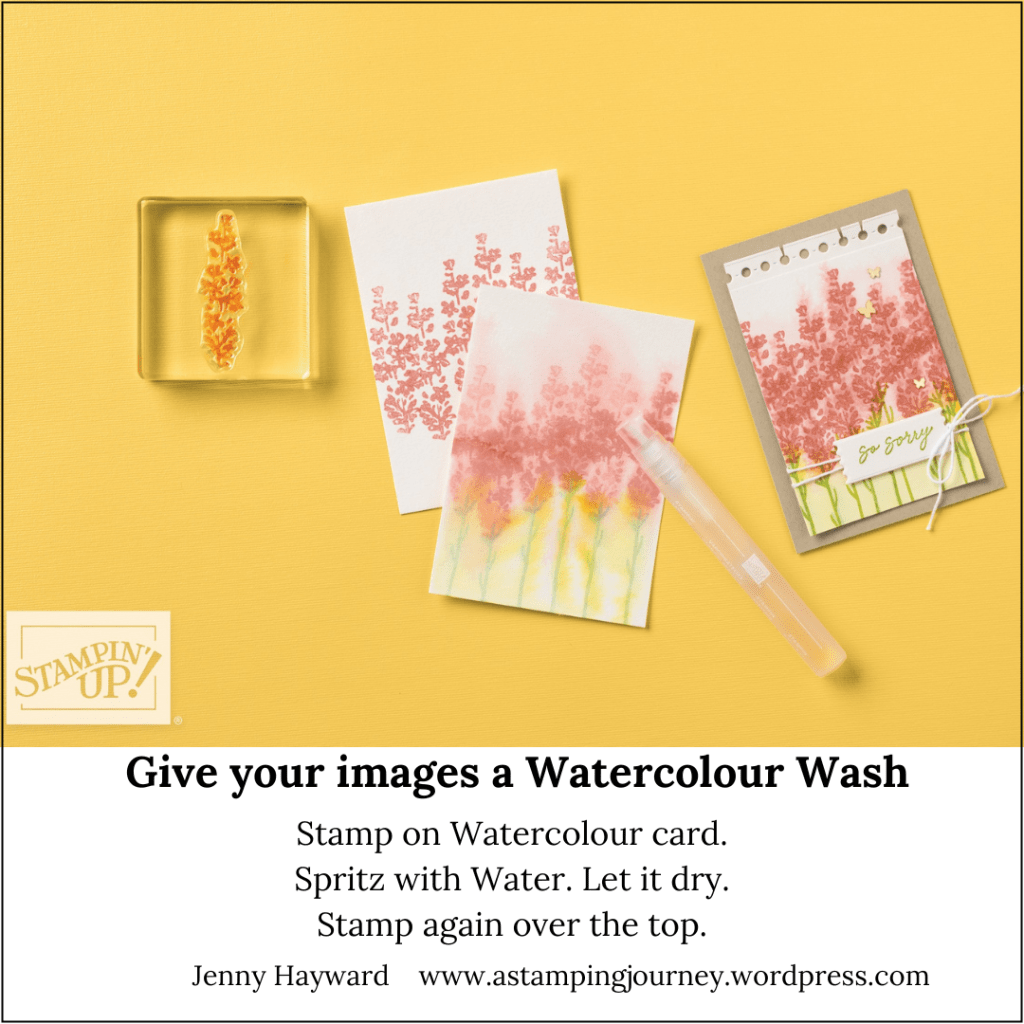
You might have tried Watercolour Washing over your card to create a background, but have you tried giving your stamped images a wash? It creates a really soft look.
Stamp your image on to Watercolour Paper. This one uses the Painted Lavender stamp set. Spritz over the image lightly with water. Allow to dry for a short time. Then stamp over the washed area again with the same image. You will get a mottled look with a wash in the background. It looks really lovely.
Hope you get to try it out. I have added this image below so you can save it to try later.
Happy Crafting,
Jenny
In Australia and need supplies? I would love to serve you.
Head to my store -> HERE. Please use the Host Code: JTRANKN3
OR contact me and I can help you out.
Don’t forget it’s Bonus Day. When you order over $90 in one order you will receive a $9 bonus voucher to redeem in August.