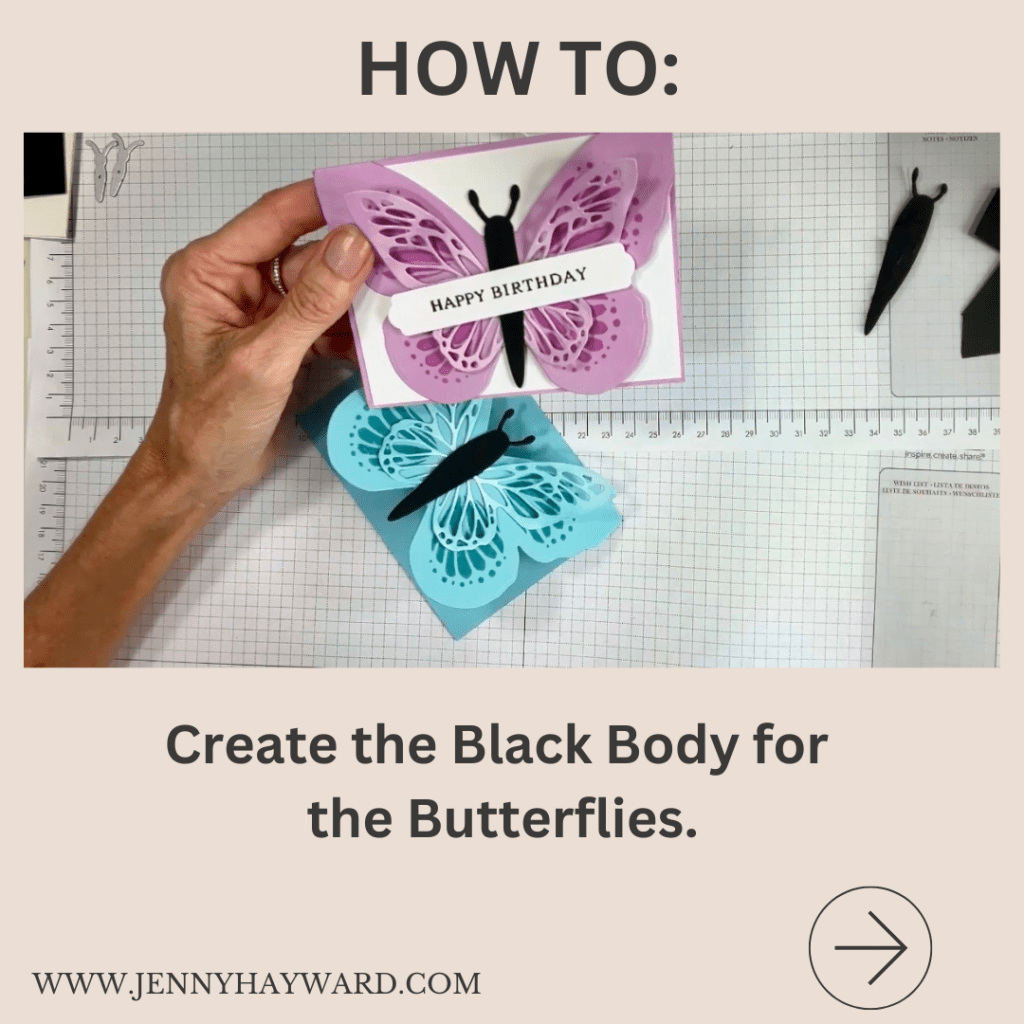
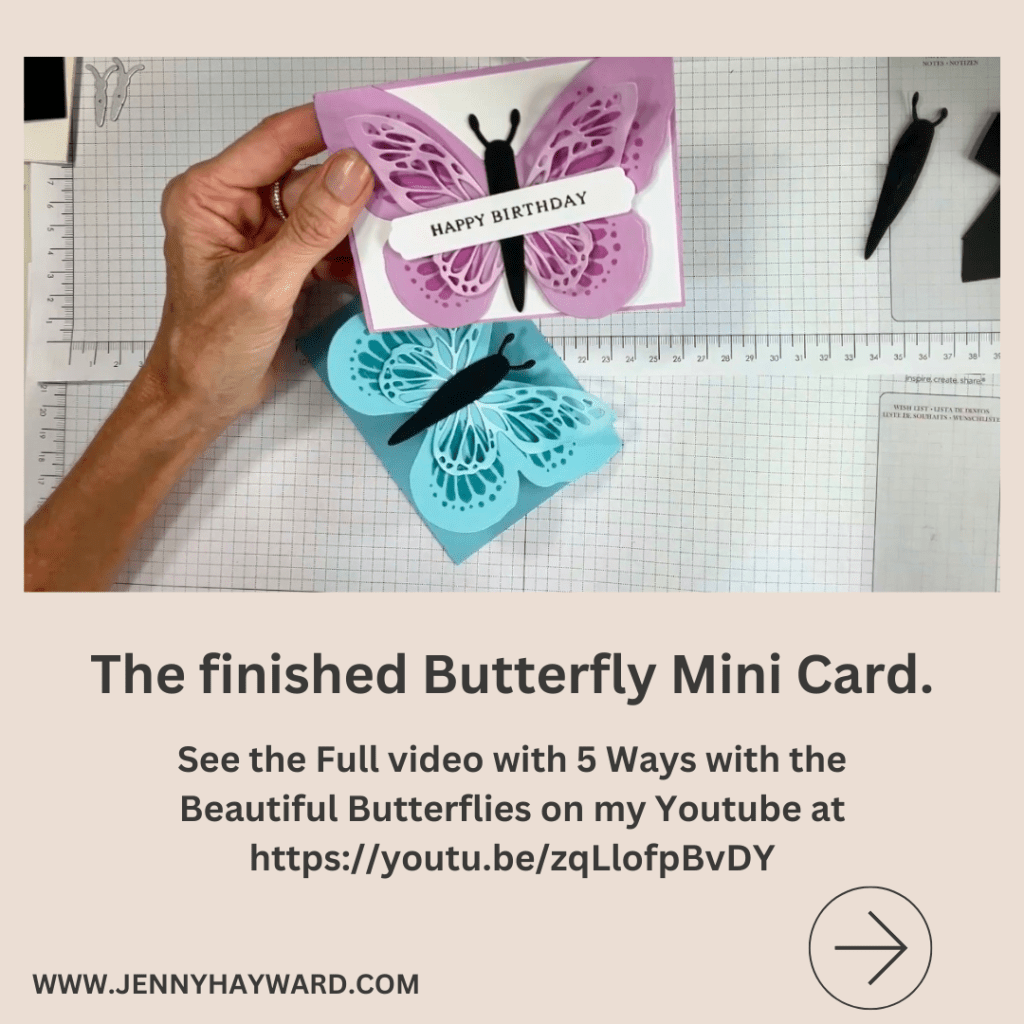
I have been sharing the Beautiful Butterflies. They are gorgeous. I recently shared a video of 5 Ways with the Beautiful Butterflies. You can head back a post or 2 to see that.
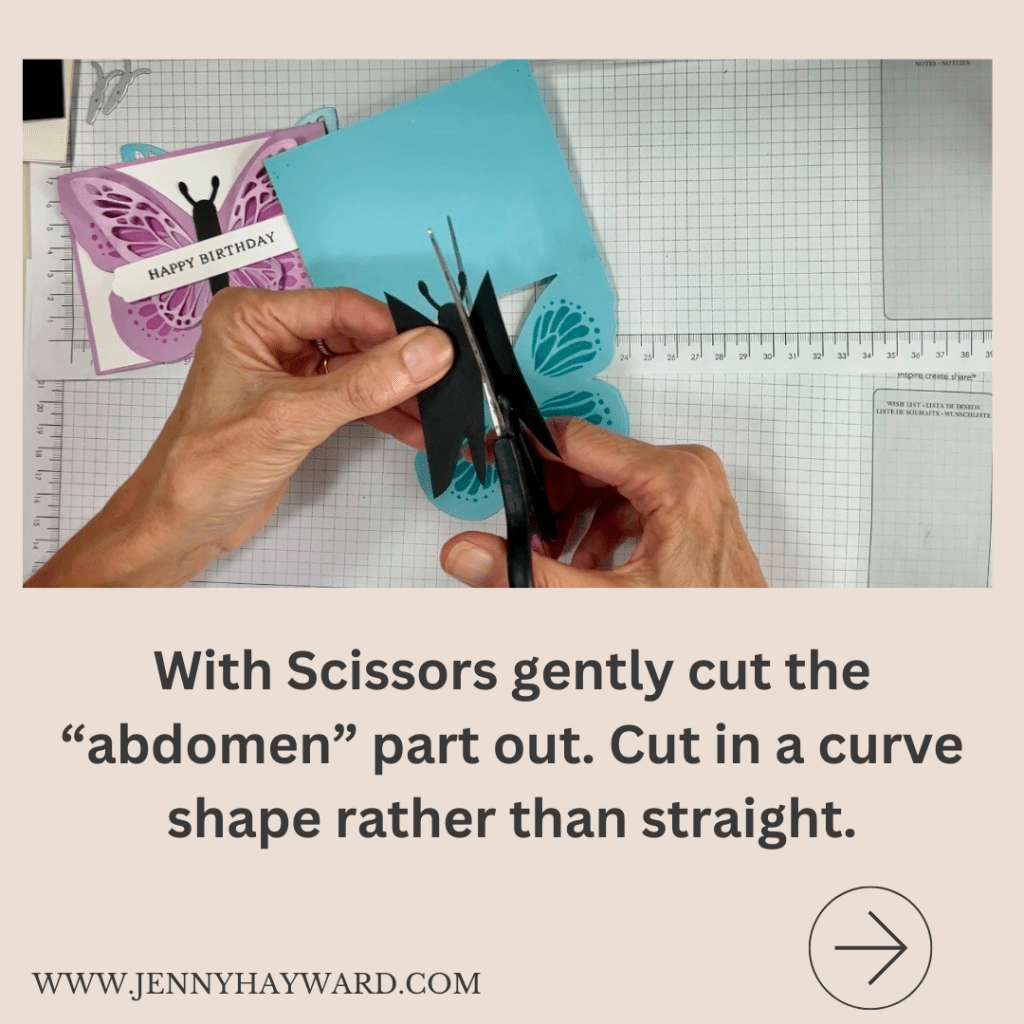
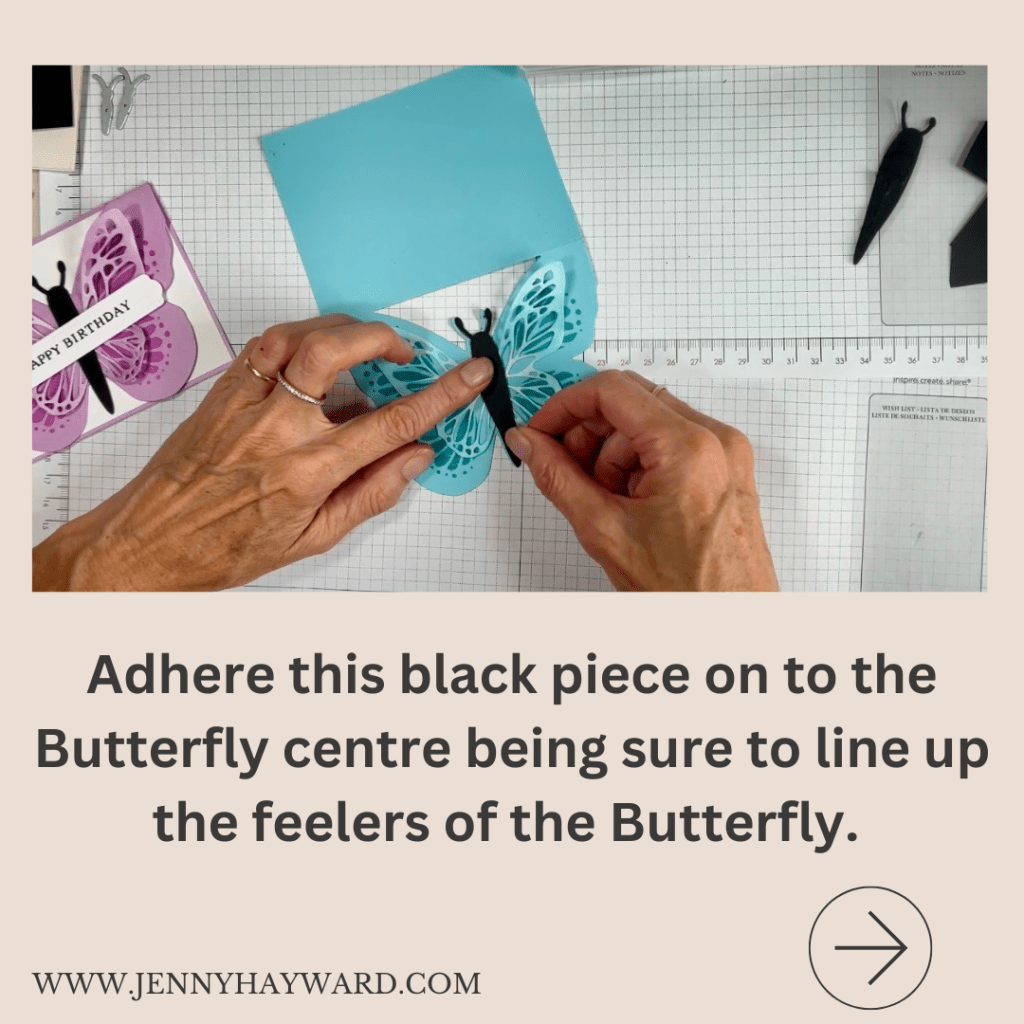
But how did I create the Black centre of the Butterfly. Let me show you below. (If the images don’t show head to the blog directly to view them).
I hope you find this helpful when you create with the Beautiful Butterflies.
Happy Crafting,
Jenny
Are you in Australia and need crafting supplies yourself? I would love to help you out. Head to my store -> HERE. Please use the Host Code: 32KKQAX6
Or Contact me Directly.
Don’t miss out on the bonus Sale-A-Bration gifts you can choose from with your orders over $100 or $200 AUD.
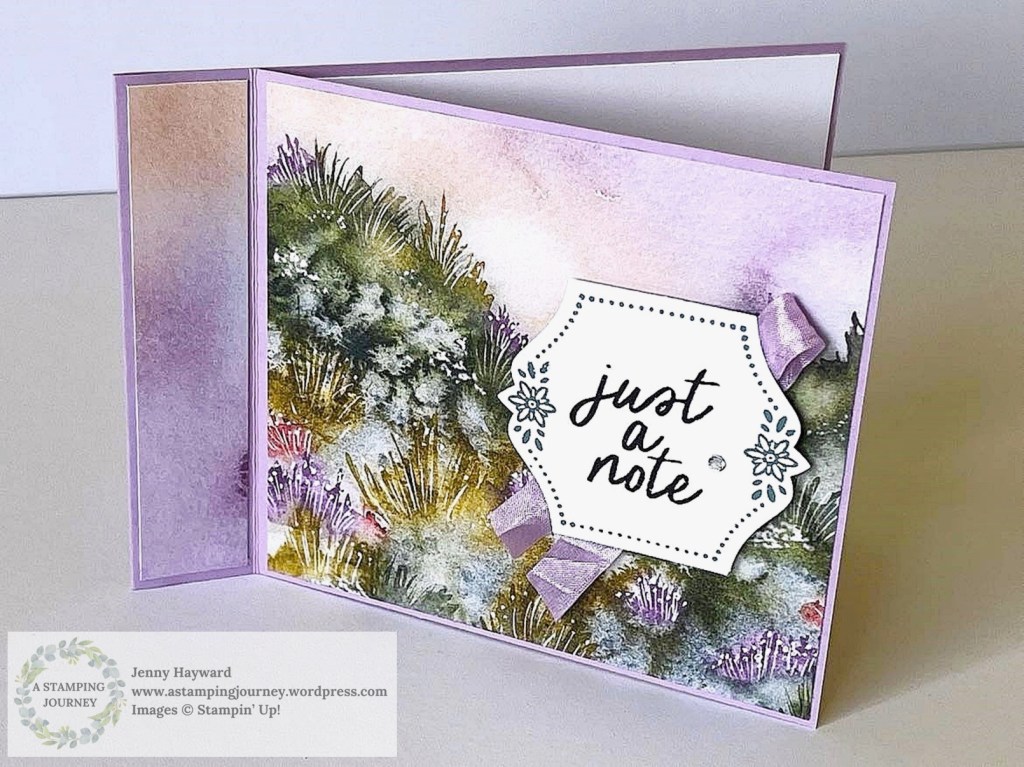
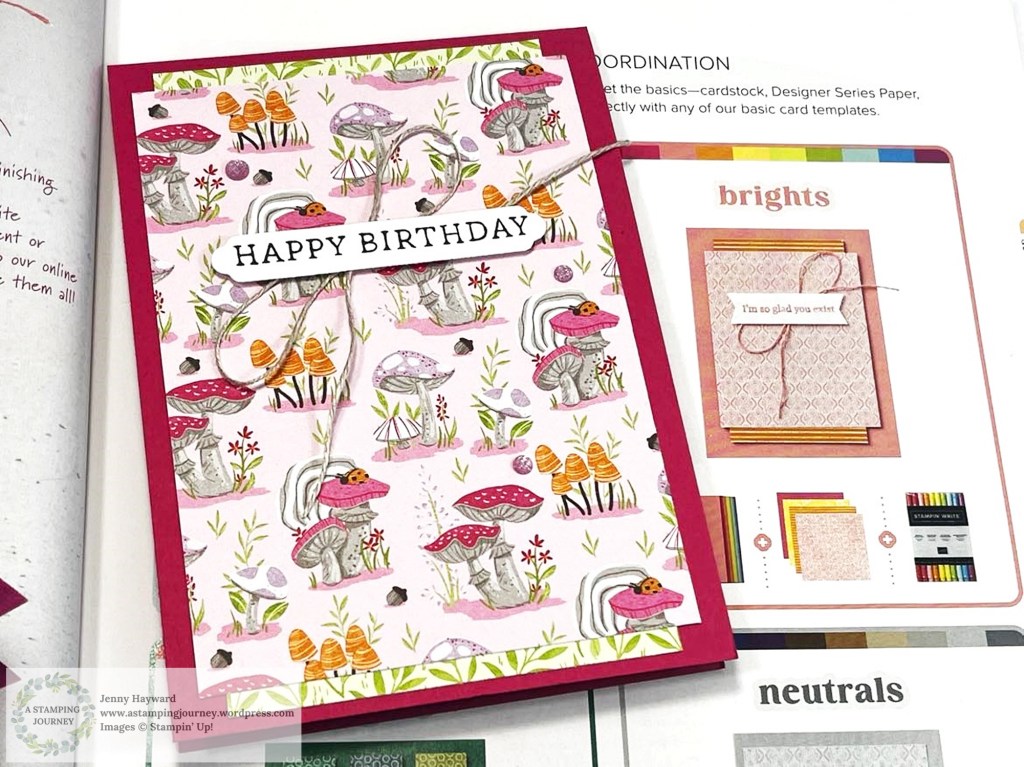
Recently I shared a Book Binding Card with the cute Toadstool Gardens Paper. That was part of a Blog Hop I was in. Today I’m sharing another version along with the link to create your own.
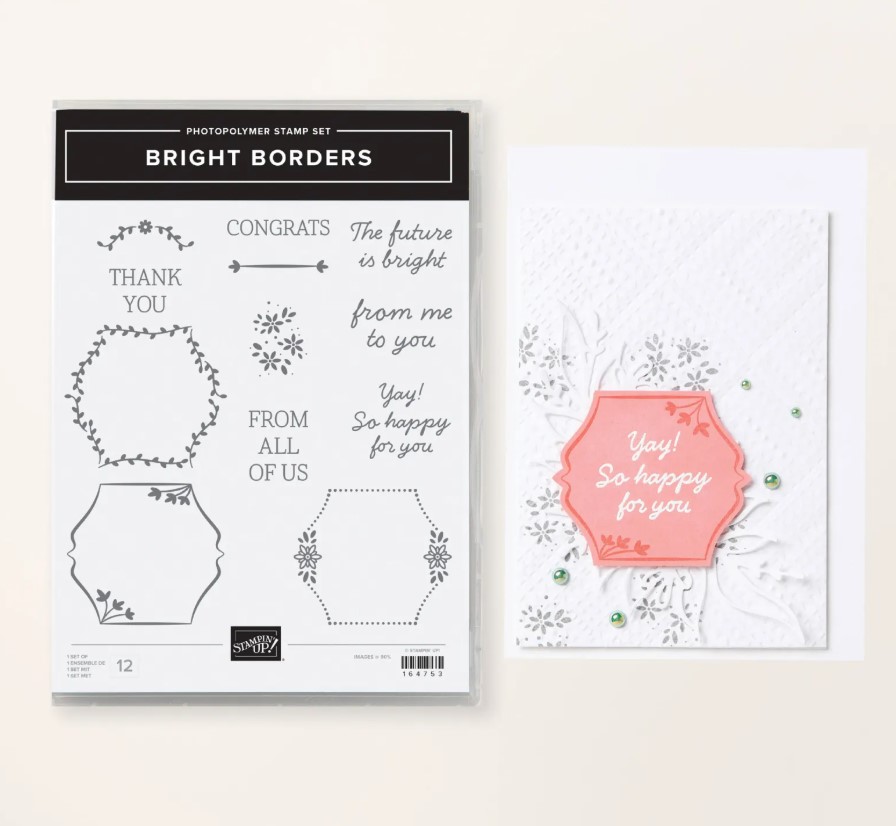
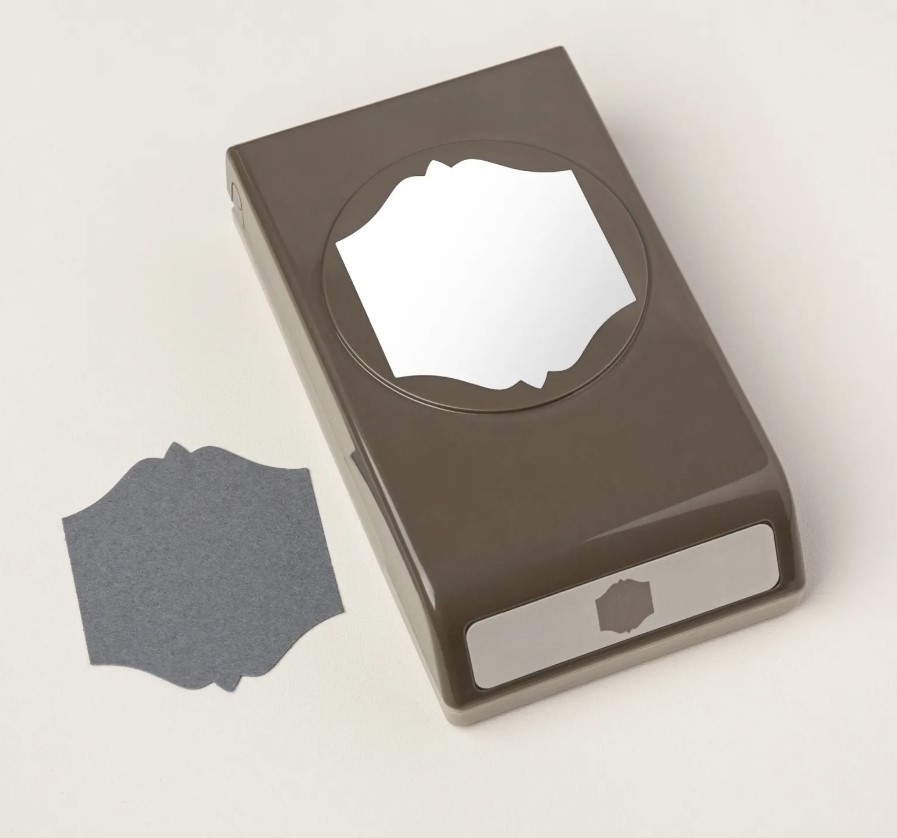
This one is created with the Thoughtful Journey Paper. The sentiment is from the Bright Borders Stamp Set and using the To The Point Label Punch.
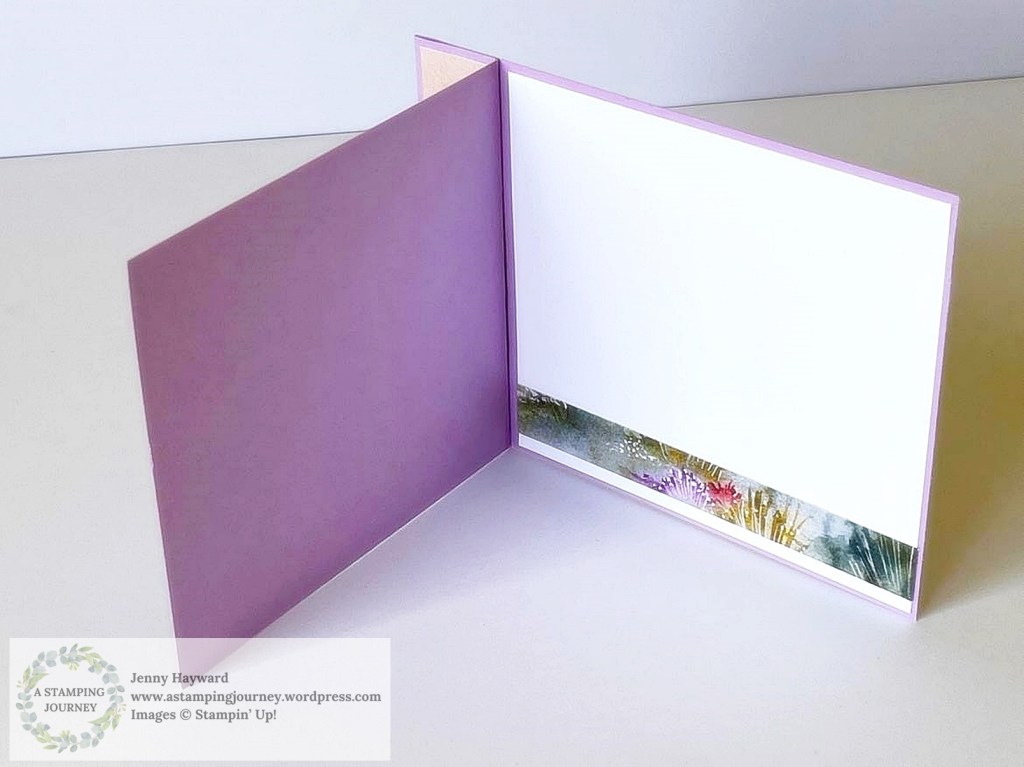
This is the inside. I added a strip of the paper across the bottom.
The Bright Borders Stamp Set has some really versatile sentiments and I love the pretty bordered edges.
One of my favourites is the Starstruck Embossing Folder. This is a great one for birthdays. Available as your gift with $100 order.
—
B. Love the Products and want great value for your crafting? Join the Stampin’ Up! Community.
With access to a fun network of crafters, early product releases, attending Stampin’ Up! only events. Plus discounts all the time. It is the best way to go.
During Sale-A-Bration there are 2 awesome opportunities.
1. $235 worth of products PLUS a choice of two Stampin’ Write Marker Assortment packs of your Colour Choice. Choose from the Brights, Regals, Subtles and Neutrals.
Also receive the Handmade Designs Cling Stamp Set, an exclusive stamp set designed to work with the markers.
So you receive $397 value of products all for just $169. That is $228 of Free Products! I’m sure you have more on your Wish List than $169 right??
2. Get $235 worth of product of your choice PLUS an additional $51 worth of products of your choice for $169.
That’s $286 of products for $169!
With either of these options you don’t pay any Shipping costs so that is even more savings!
And Stay as long as you like to enjoying the discount and all the other benefits while you stay.
Learn more ->HERE Or reply to this message with any questions. I’m happy to chat, no pressure at all!
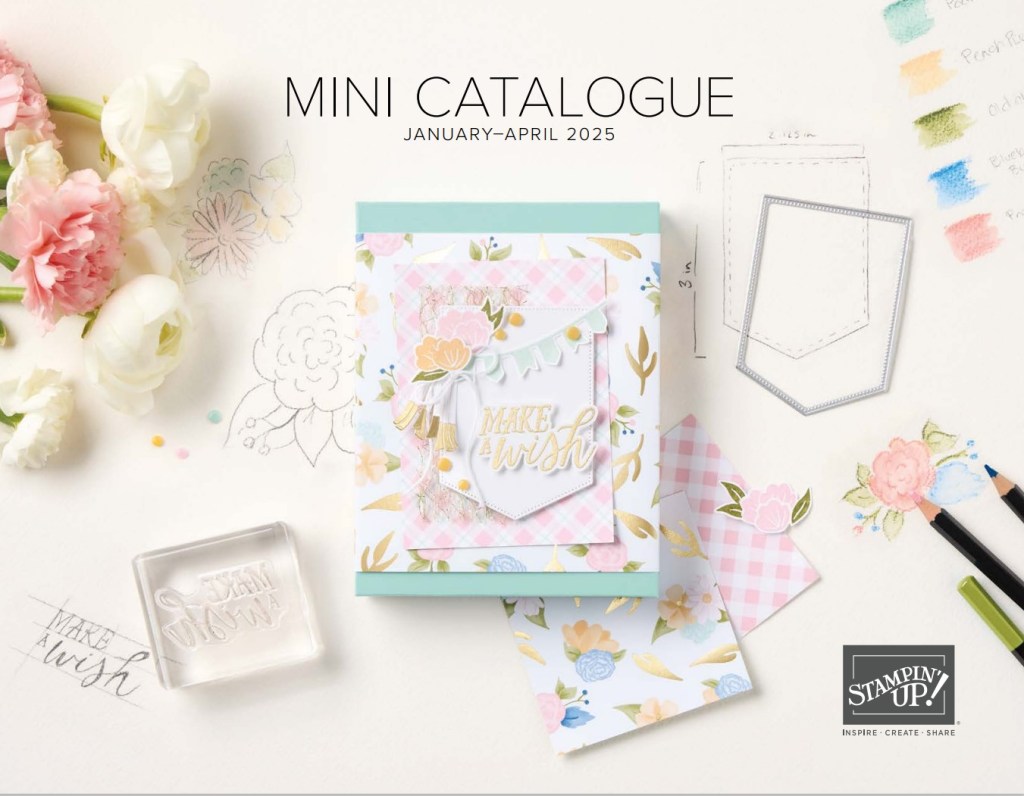
We have welcomed in the 2025 Mini Catalogue and Sale-A-Bration. It’s an exciting time with lots of great new products. Today I’m joining in with the ESAD Mini Catalogue and Sale-A-Bration Blog Hop. Thanks for joining in with us.
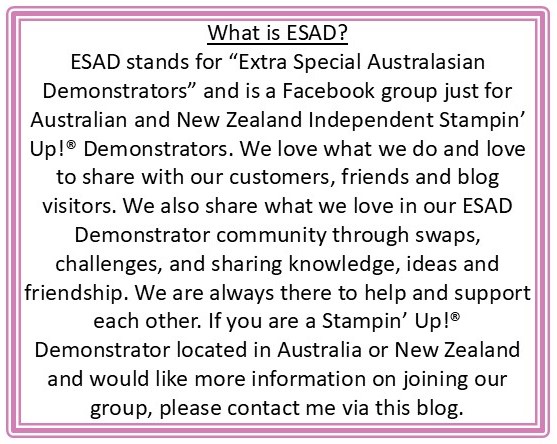
Firstly, what is ESAD?
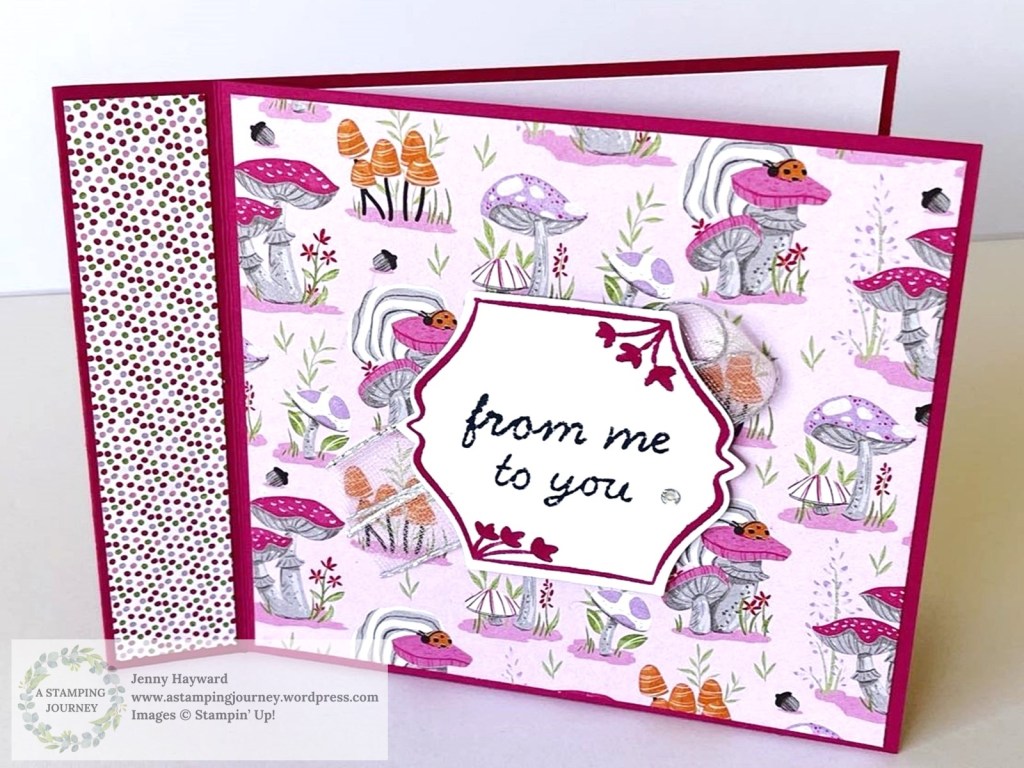
For our project today I have used the Toadstool Gardens Designer Series Paper available as a bonus choice for Sale-A-Bration and created a Book-Binding Fold Card. They are so easy to make and the paper makes it so fun!
The sentiment is from the Bright Borders Stamp Set from the Mini Catalogue and punched out with the To The Point Label Punch.
I created another version of this card and will show that to you in my next post and share more details on how to make them. So be sure to check back.
Now you can head off to Odette’s Blog -> HERE which is the next Blog in the Hop and they will share some more amazing creations. (Or click on the arrow below).
Enjoy your Hop,
Jenny
If you are in Australia and “need” some crafty supplies. You are in the right place. I would love to serve you. You can contact me directly OR head to my store -> HERE.
Also, not only are there some wonderful new products don’t miss some of the Last Chance Products that are greatly reduced. Great time for savings there. See the Last Chance items -> HERE.
Lots of gorgeous products to inspire you. If you have already received your catalogues you would have checked it all out now. I wanted to let you know some of my favourites.
Along with the new Catalogue it’s Sale-A-Bration time. That’s where YOU get the bonus gifts.
So, here’s just some of my favourites.
I have to say it was hard to narrow it down to my 3 Favourites with lots of gorgeous papers and the great Stamps and Dies. You might have other favourites.
1. GEOMETRIC SHAPES
What’s striking me in this catalogue is the different Geometric shapes in some of the die sets. They take your project to another level.
LINKED TOGETHER BUNDLE
I think it is that diamond shape die which is a great addition to your creating – and it has a stitched edge! There is the additional masks in the bundle as well which are great for blending and layering your ink colours.
They can be ordered as a bundle or separately. Bundle is $103.50. Dies on their own are $60. Masks $23. See the Bundle -> HERE.
MEMORABLE BLOOMS BUNDLE
Once again I’m liking those dies. Layer the diecut flower shape on your projects or diecut them with the geometric shape. Lots of variations with this one. And did I say Stitched edge with this one… Bundle is $98. See the Bundle -> HERE.
2. FLORAL AND GINGHAM VELLUM
There are always so many lovely papers but the Single Sided Printed Vellum is very soft and gorgeous. 6 Sheets of 12″x12″ $17.50. See it more -> HERE.
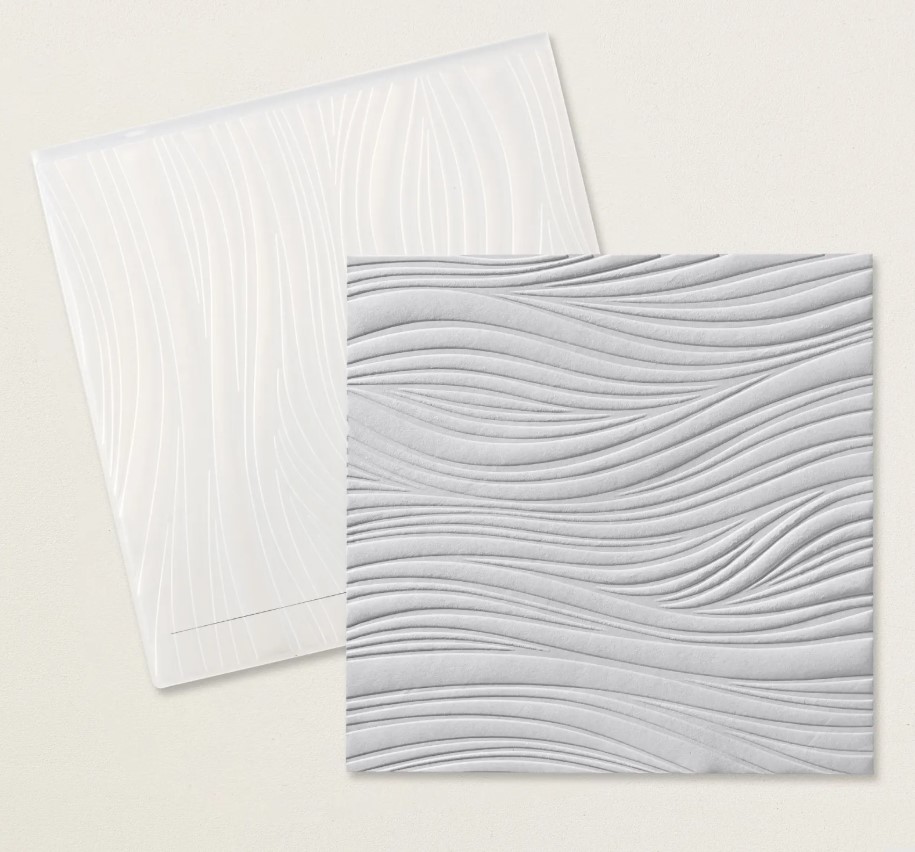
3. SOFT WAVES EMBOSSING FOLDER
The wavy pattern adds great depth and texture to your projects. $19.25. This folder measures 15.2 cm x 15.9 cm See it -> HERE.
There is so much more I love too. Why not see what you would love.
I’ve been having a little play with the Toadstool Gardens Paper. Not tell me – Does this give you Alice in Wonderland Vibes?? I’m expecting to see the Big Green Caterpillar sitting on those toadstools. What do you think?
I kept the layout simple for this one. I wanted to make the paper the highlight. I was inspired for this one by a card on Page 23 in the Annual Catalogue.
Here is a side view.
I added some gems on it for a little dazzle. The sentiment is from the Simply Said Stamp Set and was diecut with a die from the new Heart Shaped Dies Set.
The paper and the dies I used are available as Free choices for Sale-A-Bration. This all starts TOMORROW! (Tuesday). This is always an exciting time. Watch out for more news on that shortly so stay tuned.
Happy Crafting,
Jenny
Are you in Australia and need supplies? I would love to help you out.
You can contact me directly or Head to my store -> HERE. Get ready for Sale-A-Bration.
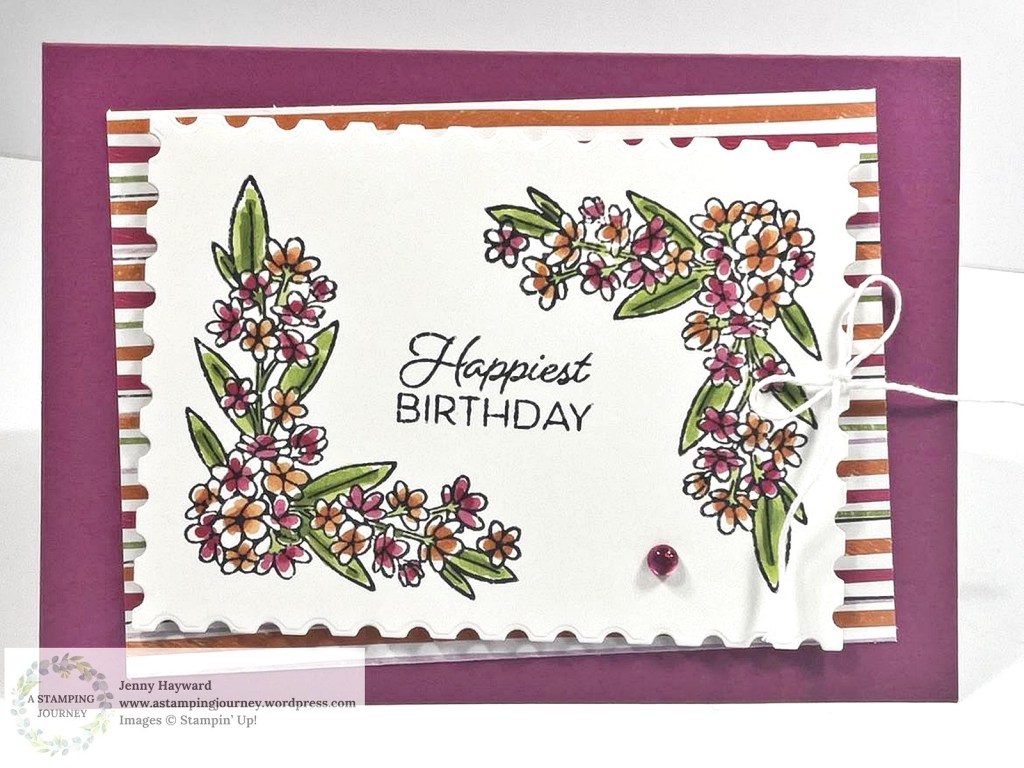
I’m feeling tropical at the moment. Maybe it’s the hot weather we are having here in Australia. So this card turned out a little tropical I think. Inspired by the Frangipanni flowers I coloured the flowers in one of the Corner In Bloom Stamps.
The Corner in Bloom Stamp Set is one available for Sale-A-Bration starting on January 7th. I will share more about this in a later post.
The flowers were coloured with the Stampin’ Blends. The paper is also available as a Sale-A-Bration choice. It is the Toadstool Gardens Paper. I love the bright, fun colours in this pack. So be sure to check back with more on this soon.
Not long to go now until Sale-A-Bration – and the new Mini Catalogue. Ooh! Exciting new products.
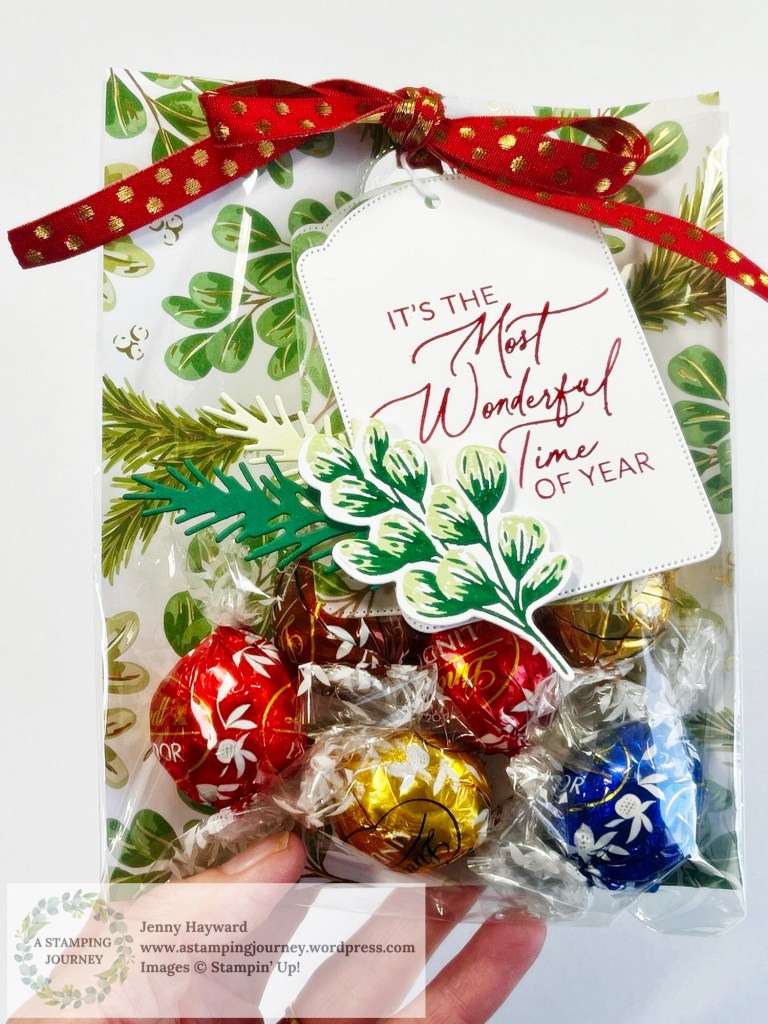
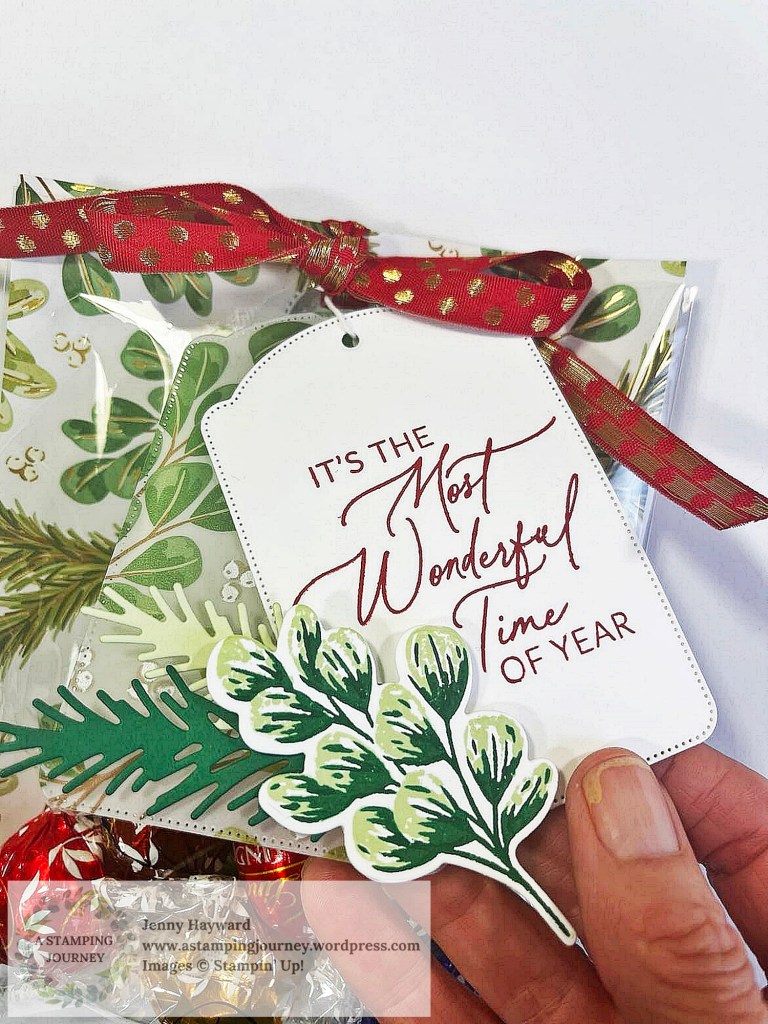
We have arrived to our last week for our 12 Weeks of Christmas Series. Our Week 12 project is a quick and easy Treat Bag.
For this one I have used the Green and Gold Specialty Designer Series Paper.
Here’s a close-up of the tag.
A tag was diecut from White card but also from the Graceful Greenery Vellum. I used the Greetings of the Season stamps and dies. Add a stamped leaf from the Golden Greenery stamps and dies and then also diecut leaves. One from Shaded Spruce and the other from Soft Sea Foam card.
It’s nice to dress up some chocolates in a cute bag. All you need is a clear plastic or Cello bag and some pretty paper. I share some tips in how to create them in the video below.
I hope you have enjoyed the projects through our 12 Weeks of Christmas Series and that they have inspired you. Some would work for any occasion so file them away for upcoming ideas.
Did you know you can create your own textured background with dies?
For this card I diecut lots of white Berries and Holly leaves from the Reindeer Fun Dies and adhered these together. Then I added them to a white card mat. It adds a subtle texture.
Here’s how to Create this effect:
Diecut lots of Holly Leaves and Berries from the dies on white card.
Adhere the Holly and Berries together.
Lay all the Holly/Berry pieces out on the white card mat to position them how you like. Have some overhanging the edges.
Adhere them down to the card mat. Turn over the card and trim off the overhanging pieces.
Then complete the card as you like.
I added a strip of Reindeer Days Paper and a strip of the Green Glimmer Paper along with the bells coloured with Stampin’ Blends. I finished it off with a bow from the Real Red and Gold Ribbon.
Try this idea with some dies you have. It takes a little diecutting and sticking together but it is a fun way to use them.
Hope your Christmas Creating is going along well.
Jenny
If you need some crafty supplies and you are in Australia you can stop by my store -> HERE. Or Contact me directly. I would love to help you out.
It’s Week 11 for our 12 Weeks of Christmas Series. The time has flown by. Here we are nearly at our last week.
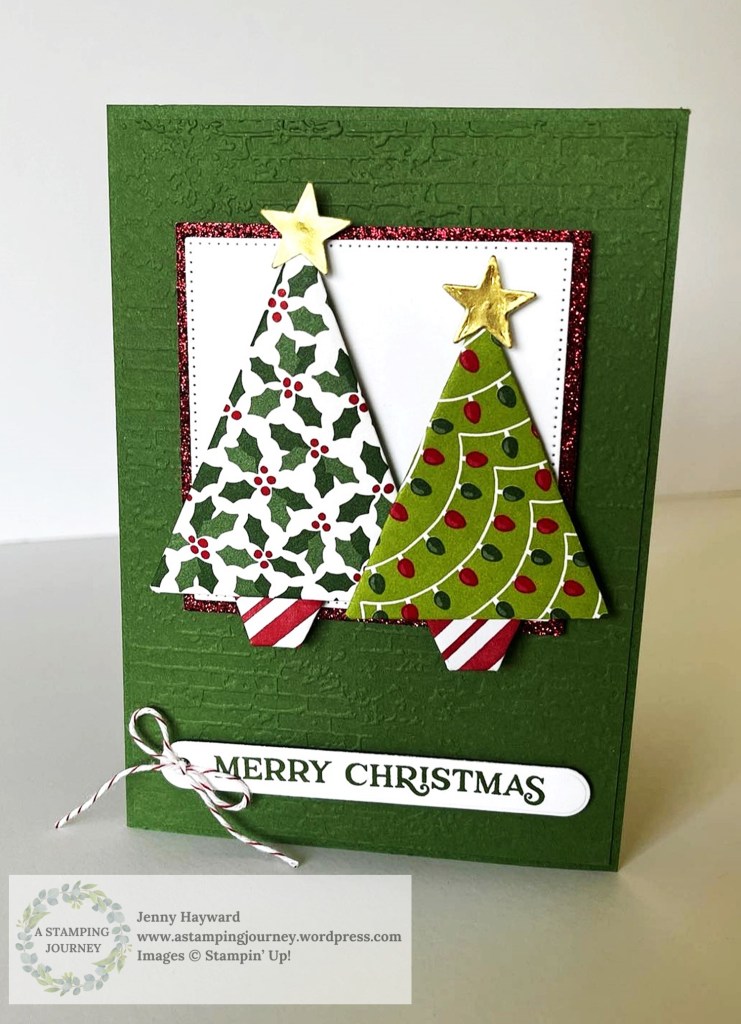
Our project today is using some of those scraps of Christmas Paper you have. I’m going to show you how to make Paper Folded Trees. They can be added to a card or to a tag.
They are very easy to do and you can create them in any size. Just be sure it is a square piece of paper. You can fold little bases for them too.
Check the video to see how to fold them.
Have fun making them.
If you need any products and you are in Australia. Do stop by my store-> HERE or Contact me directly. I would love to help you out.