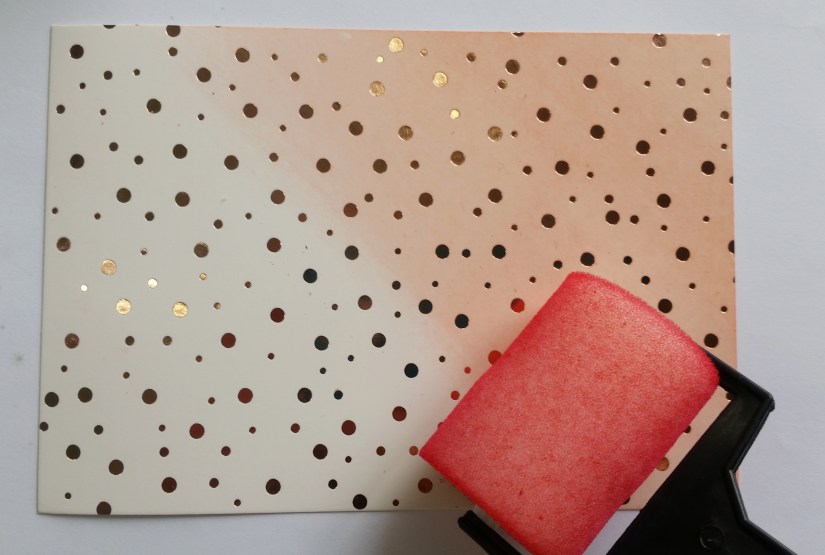
Today, Part 2 of colouring the Springtime Foils Designer Series Paper I will show how you can sponge the paper with ink.

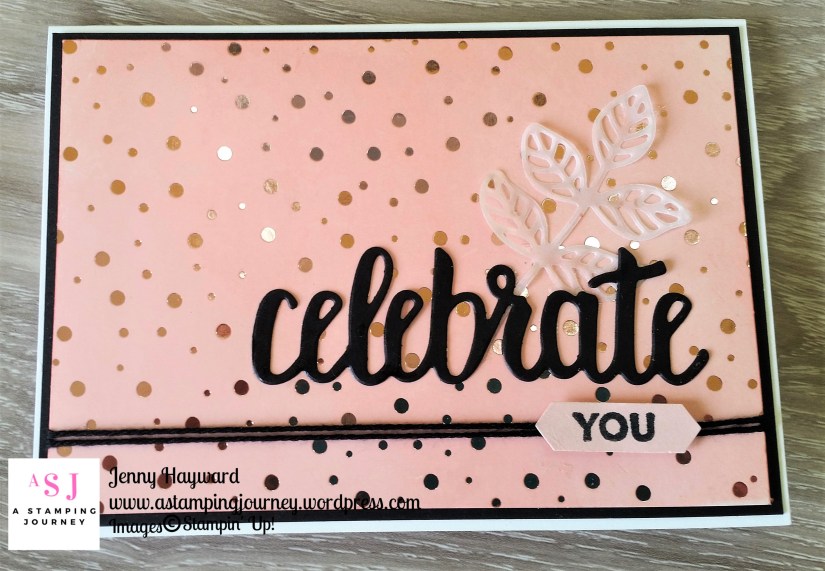
On the striped piece of Springtime Foils paper I sponged over the piece with Pool Party ink using a sponge. The lower part of the card was sponged darker than up towards the top where that was very light to no sponging. Once you have sponged the piece just lightly wipe over it with a tissue to remove any ink sitting on the embossed stripes. I adhered some Silver Foil strips behind it before adhering to a Thick White card base. The sentiment is from Beautiful Day. I added a small angled strip of Pool Party under the sentiment. I just noticed that the Rhinestone I put on the sentiment piece has slipped to the corner of the card. Oops! I will fix that on the card. 🙂
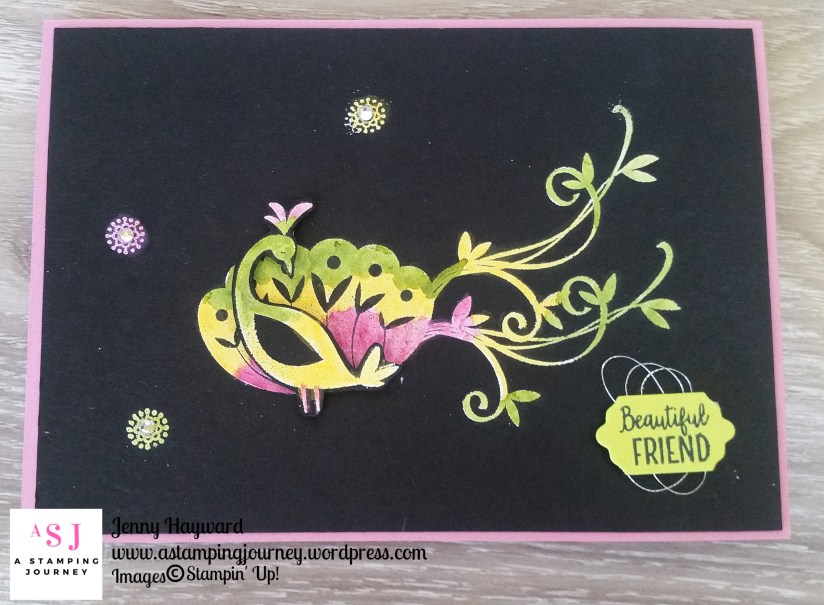
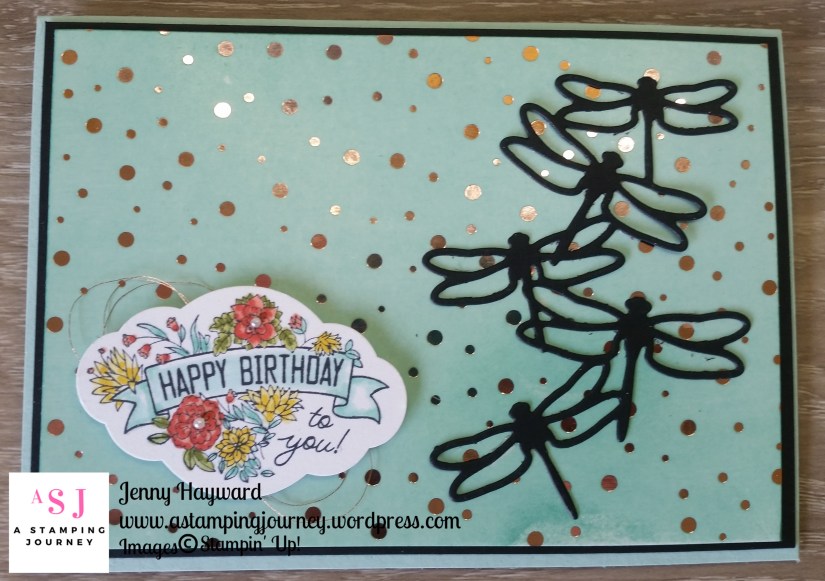
On the next card I loved the colours in a card I saw on Pinterest.

I randomly sponged Pear Pizzazz, Daffodil Delight and Soft Sky over the card then sponged over with a tissue. I kept the layout the same as the one above layering it on Gold Foil strips this time.
Tomorrow another way to colour your Foils so be sure to check in with that.
Jenny
———-
***Only days left for Sale-A-Bration. If this paper is one you would like to get then grab it for free with orders over $90. You won’t regret getting this paper let me tell you.
*Order directly from me or Shop online -> HERE. Select this paper after you add your merchandise (or any of the other choices!). Please use the Host Code: FSX2YS39
PLUS this week only. Receive Double Loyalty points.
So for every $50 order receive not 1, but 2 punch outs on your VIS (Very Important Stamper) card. Once you collect 10 you receive free products up to the value of $24.95. For Australian residents only.