The new catalogue began this week. Woo Hoo! Have you checked it out yet?
This week I was part of the Crafty Collaborations Beginners Stamping series. It’s a large number of videos with tips for the Beginner crafter. They may even help the “well-seasoned” stamper too.

You can follow along with these videos -> HERE. Take your time and work through them. You can come back to them anytime too. AND it’s free!
It will take you through the basics of the types of stamps, inks, adhesives. Also, Cutting and scoring your cards (which I created a video for). That’s always tricky! Then goes through some simple techniques to try.
Head over and check in on it.
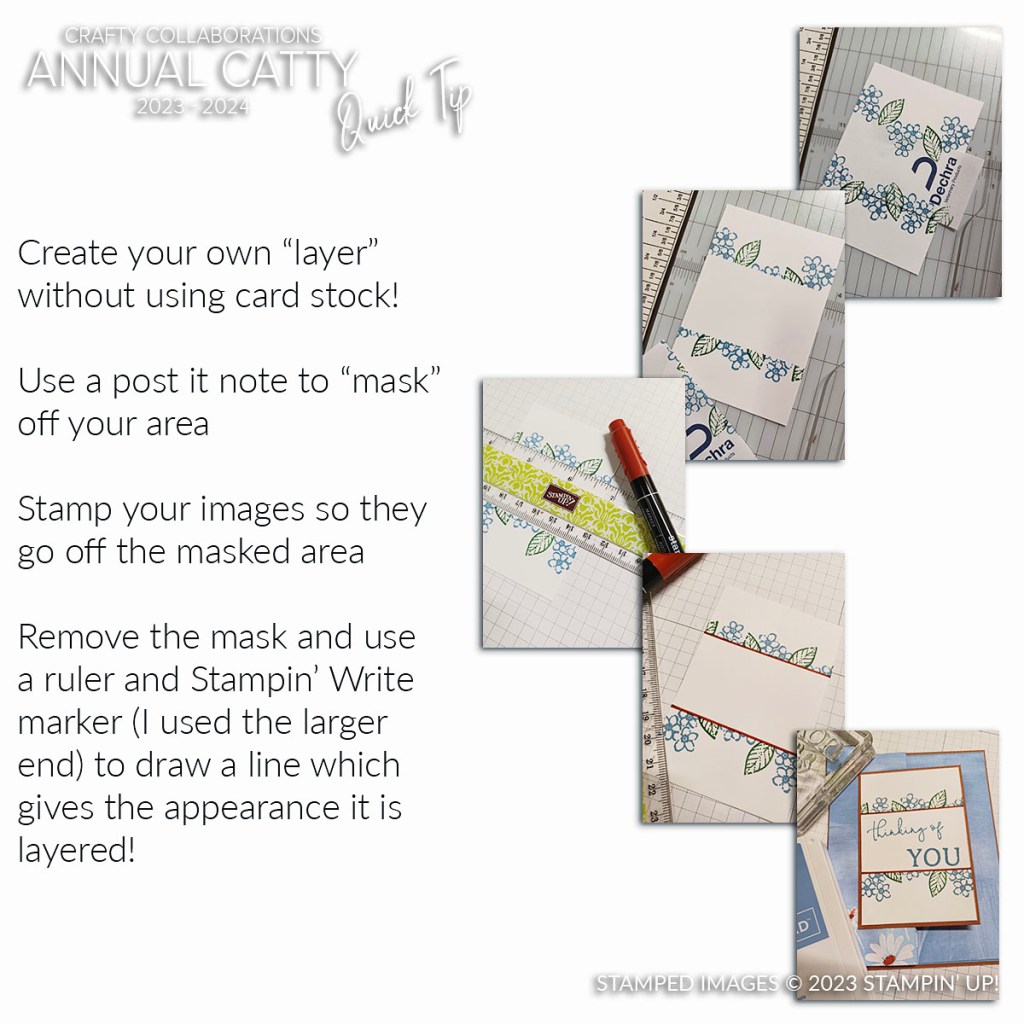
As part of this series there is also a number of videos with some more Simple designs. Simple stamping can be a challenge even for the more advanced stamper.
Continue on with that video series and you will find them.
I have added my video here for you to check out. This one is Cutting and Scoring your card in Metric.
I have added the Imperial Cutting and Scoring too as I know many of my followers here are from the US.
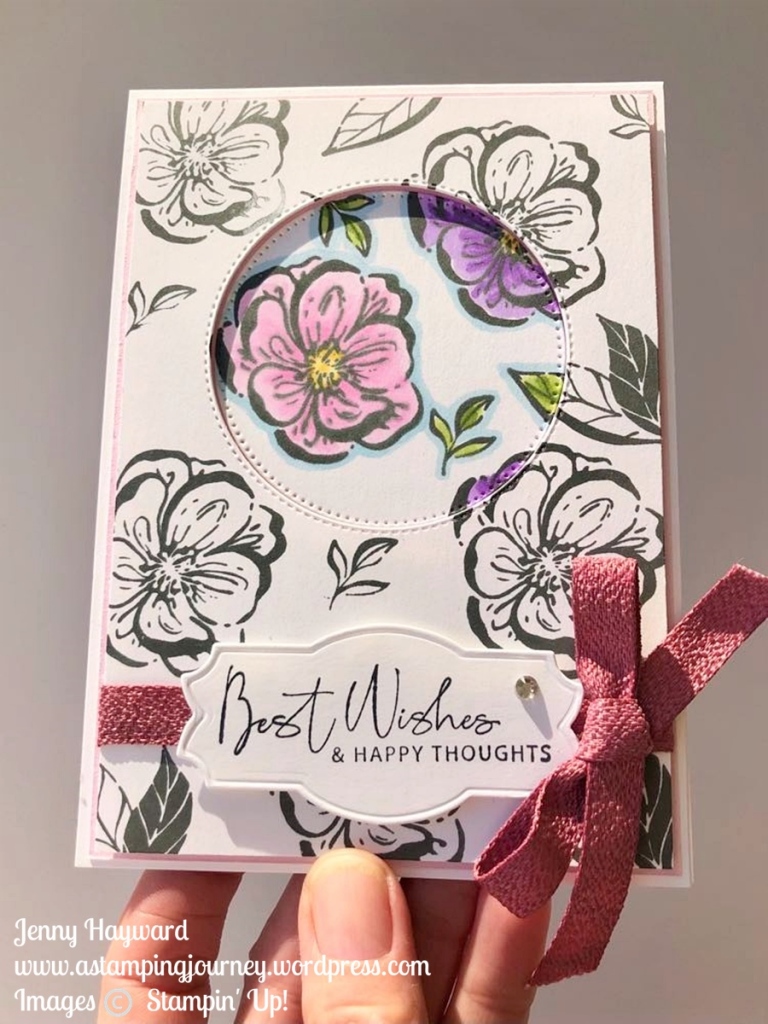
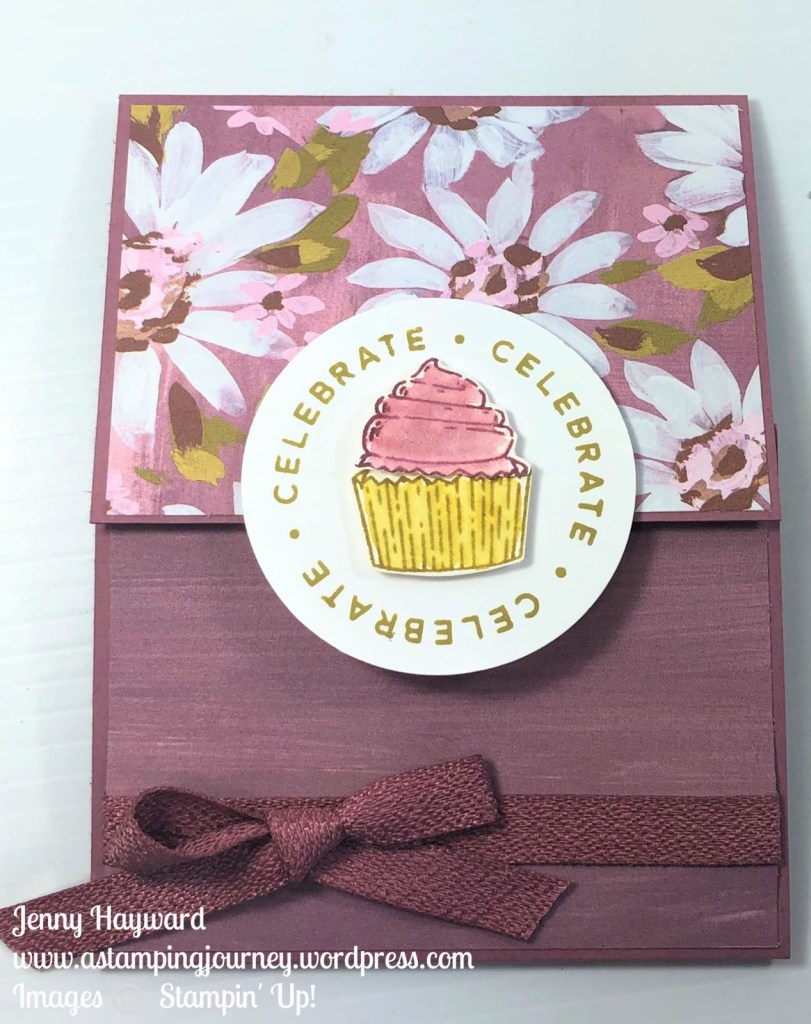
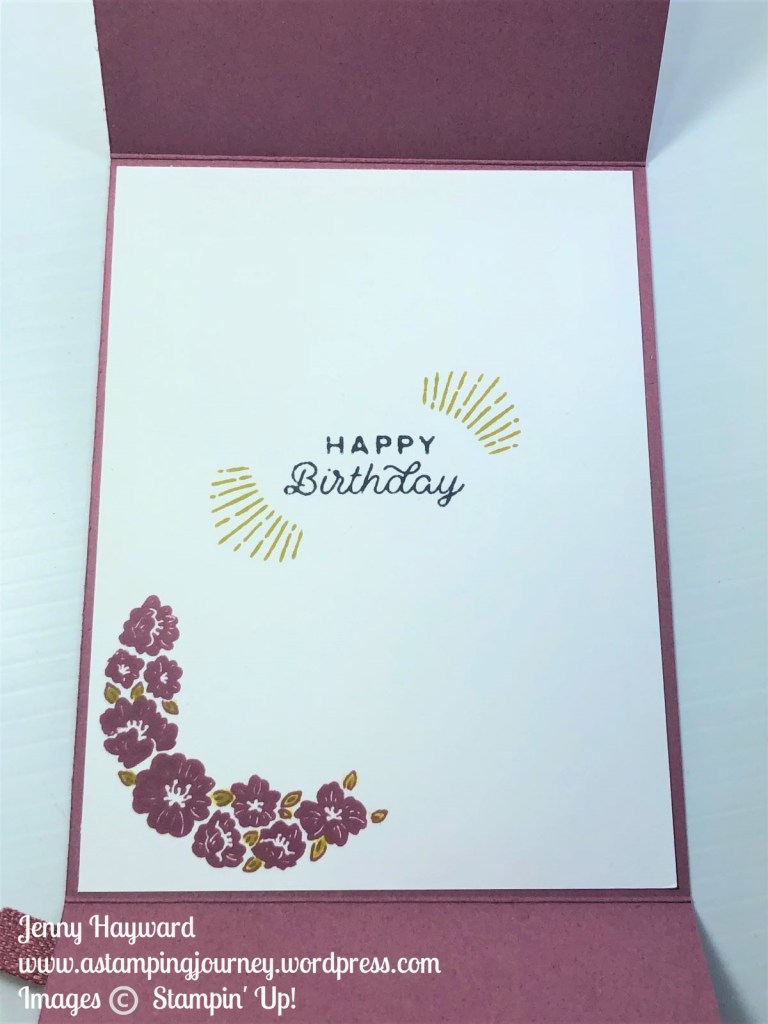
This is the project I created for my Simple stamping card.

I will add my video below here on the Simple Stamping project you can create. This simple card is above. For the Stepped Up version check below.
I created a Stepped Up version. Adding a little more texture and elements. Of course you could go way more avid but a few additions can really add to your project already.
I have used the Spotlight on Nature Stamp set.

You can see the added texture and elements here. I think a little glitter should be added to the butterfly.

So with a few steps you can take your card to the next level.
This Spotlight on Nature stamp set is really gorgeous for any level of crafter.

It does come as a Bundle too with some gorgeous shape dies great layering.
You can see it more -> HERE.
Head over and check the videos out.
Happy Crafting,
Jenny
Need to order some great new products and you are in Australia?
You can order in my store -> HERE. Please use the Host Code: R4QU9DB3
OR
Contact me Directly. I would love to assist you.