3D projects, Christmas, Classes, Stampin' Up!

MERRY LITTLE CHRISTMAS PIZZA BOX!

I created this Pizza Box project for a Christmas class a few weeks ago.  I didn’t share the box close-up at the time so I thought I would share it with you today.

I used 2 different pieces from the Merry Little Christmas Designer Series Paper pack. and layered them on an Old Olive Card mat.

A Stitched Shapes Circle was cut from the Gold Foil Sheets.  The sentiment from Snowflake Sentiments was cut with a Layered Circle Framelit.   To finish it I stamped holly leaves and berries from the Holly Berry Happiness set and punched with the Holly Berry Builder Punch.

You can decorate a number of these boxes in no time and fill them with treats for Christmas.

Hope you are not getting too stressed with all that last minute Christmas preparations,

Jenny

cards, Christmas, Classes, Stampin' Up!

TAG TIME CLASS. LAST ONE FOR THE YEAR!

Just a quick post for you today.  Wollongong Peeps! If you still need some Christmas tags for your gifts then stop by this weekend.

TAG TIME CLASS

Friday 16th 10am or Saturday 17th 2pm.  Cost: $15

Make as many tags as you like in the time.  I will have a few samples you can copy or create your own with the papers and embellishments I have out.

Let me know by Thursday.

Jenny 

cards, Classes, Tutorials

WEDNESDAY’S WOW! COLOURING OVER EMBOSSING!

This project for today’s Wednesday’s WOW! is a card we made at class a couple of weeks ago using the Stampin’ Blends. I thought it might be a good technique to share with you.

I have used the Lift Me Up set and heat embossed it with white embossing powder and then coloured it with the Blends markers.

Do you want to see how to do this? 

I haven’t done a video as yet but I have an earlier tutorial from some time ago using the Blendablilities.  They work the same way.  To find out head -> HERE to see the blog post.

Happy Colouring!

Jenny

cards, Classes, Online events, Stampin' Up!

MINI THANK YOU CARDS!

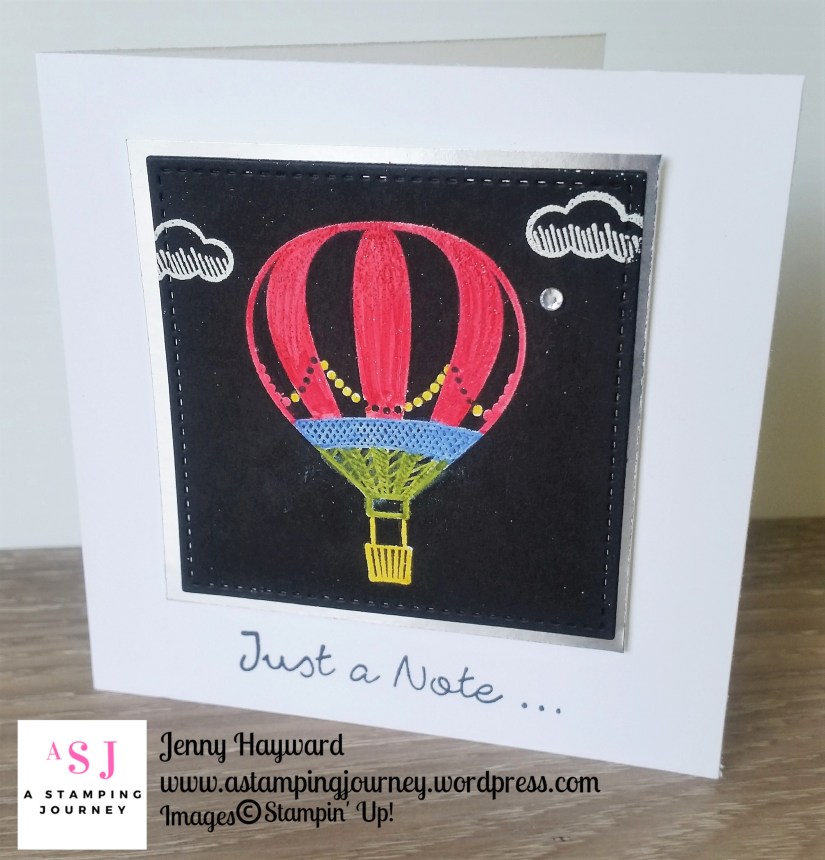
I forgot to show you some Thank You cards I have made recently for customers and team members.  These are all little 10cmx10cm (4″x4″) cards.  I like making these size cards.

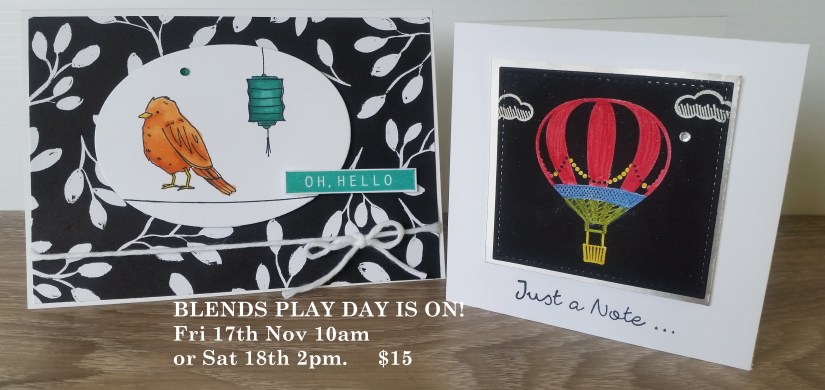
This first one uses the Vertical Greetings set.  I don’t use this set nearly as much as I should.  It is so cute.  I coloured the stamps with the markers to get the different colours.  One heart version was in Sweet Sugarplum and the other heart version was in Flirty Flamingo. A little Linen Thread bow finished them off. These cards where made for my customers a couple of months ago. Yes it has taken this long to show you.

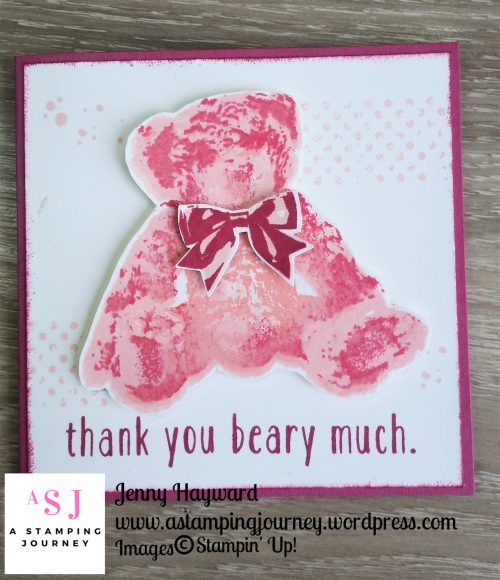
This next little cutie card using the Baby Bear stamp set was for some of my team members for an online team event we had last month. I wanted to send out a “Thanks” for them sharing in the Facebook group event.

Side Note: Hey! Have you considered joining Stampin’ Up!??  Not just for the discount (although that’s great!) but for all the team fun and the sharing and the creating and the …. Really, so many reasons why!

Let me know if you would like more information or stop by my page on this blog for “join my team”.  See the link at the top of my blog.

This Thank You card was for a challenge on my Facebook page I held last month to share a card that my readers have made and I sent out a prize at random.  The card was made up with some “bits” I had on my desk from another project. They come in handy sometimes.  This one was using Happy Birthday Gorgeous set. 

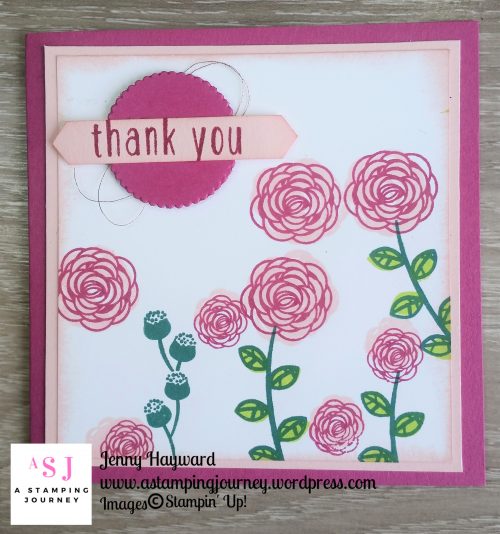
Mmm! I am noticing a pink theme here (sorry Lynda).  Unintentional I assure you. 🙂

————-

Have a great day and for all my US blog readers wishing you a Happy Thanksgiving.  Enjoy the special celebrations.  We don’t celebrate Thanksgiving in Australia but I think it’s great to take some time and be Thankful for all that we have.

Jenny

Classes, Stampin' Up!

STAMPIN’ BLENDS PLAY DAY!

You have seen them around your blog travels and I have been talking about the Stampin’ Blends for a while.  I know it is a big investment so why not try them out.   If you are a Wollongong local come to my Blends Play Day.  

WHEN: Friday 17th November 10am and Saturday 18th 2pm.   

COST: $15  All materials to create 2 fun cards with different ways to use the Blends. 

BYO: Scissors and Adhesives.

Please RSVP  Thursday 16th.

I hope you can come along.  Let me know soon though.

Jenny

3D projects, cards, Christmas, Classes

CHRISTMAS GIFT CARD/TREAT HOLDER CLASS!

Christmas is coming!  Now is the time to start thinking about gifts for family and friends.  Sometimes these gift ideas can be difficult right!!  Gift cards are always a great gift and why not dress them up fancy.  This Saturday’s class is all about that.  If you are not local to the Wollongong area you can get the kits for these projects sent directly to you.  Here are the details.

Christmas Gift Card Holder Class

Saturday 11th November 2pm.  

We have 3 very special gift card holders/gift boxes for you.
(Can’t make it? grab the kit)


COST: $20  Includes all materials.     NB: Chocolates are not included. Patterned paper may vary.  

BYO: Scissors and adhesives.

Please RSVP Thursday 9th.  Book early as seats are limited. 
Places are filling already so reserve your seat now. 

Can’t make it or you would like an additional kit to make later?? Kits: $20 each (plus postage).  Australia residents only. Includes all materials to make the 3 projects excluding the stamped images.

Hope to see you there,

Jenny

Stampin' Up!, Techniques, Videos

WATCH IT WEDNESDAY #8 – WHO KNEW YOU COULD EMBOSS WITH WATER!

I have been heat embossing today.   I always love heat embossing.  It’s what first drew me in to stamping.  I love the magic as the powder melts and sets.

I came across this video today from Stampin’ Up!.  I was so surprised that you can actually use water when you heat emboss.  It looks so cool! You will have to check the video out.  There are some other cool tips in the video too so be sure to watch it.

WATCH IT WEDNESDAY #8 – HEAT EMBOSSING WITH A DIFFERENCE.

Now when I spill water on my card I can just heat emboss them right!   🙂 🙂 🙂

I hope you enjoyed these tips. I thought they were so cool and I just had to share them with you.

Thanks for stopping by.

Why not drop a comment and tell me what you think of these videos I am sharing and maybe some suggestions of what you would like to see.

Have a great day,

Jenny

cards, Challenges, Techniques

ECLIPSE TOUCHES OF TEXTURE FOR CI18!

It’s another Colour Challenge at Colour INKspirations group –  Colour INKspirations #18

The colours this round are so pretty. Powder Pink, Basic Gray, Sahara Sand and Sweet Sugarplum.

So of course the card had to be pretty right?  I hope my card is anyway.

I have been playing around with the Eclipse Technique lately.  You might have seen that around your blog travels.  To do the Eclipse technique: You stamp over your white card mat (or you could use a piece of Designer Series Paper).  Then cut your letters or shapes out from the piece.  Once the card (or Paper) is adhered to your card mat, the letters are then adhered back on to your card mat raised up with Dimensionals giving a 3D look.

This is my card I created using the colours and using the set Touches of Texture.

The “Just For” is stamped in Basic Gray from the Work of Art stamp set.  Check the dragonfly.  I stamped it on Vellum and coloured it in on the back with markers. Then went over it with the Wink of Stella pen.

You still have time to have a play.  Head -> HERE to join the Facebook group if you are not already a member there.  Challenges are great to take part in.

EDITED TO ADD:  I was picked in the TOP 5 at Colour Inkspirations challenge for this card.  So that is very exciting! 🙂

Thanks for looking.  Have a great day,

Jenny


cards, Catalogues, Stampin' Up!, Techniques, Tutorials, Videos

WATCH IT WEDNESDAY #5 – BLENDER PENS VS AQUAPAINTER!

Welcome to Watch It Wednesday #5 edition.  I have been playing a little with watercolouring lately.  (still much to learn!).  I have had a few questions from customers asking what the difference is between the Blender Pens and the Aquapainters.  I came across this video from Stampin’ Up! so thought I would share it with you.  Perhaps it will help you too with your watercolouring.  Don’t miss the fun tip at the end.

NB: If you receive this blog post update via your email the video link may not show up.  Just click on the blog post title in your email and it should take you to the blog post and you can view it there.

What did you think??  I liked the tip with the Reinkers.  Must try that sometime.  I think the effect looks great.

What do you prefer to use when you are watercolouring?  I prefer the Aquapainter but it also can depend on what you want to colour and how you want it to look.  The Aquapainter gives a lighter, washed look whereas the Blender Pen gives more a look of colouring with Markers.

Just a note too:  In the video she stamped with Stazon.  Stampin’ Up! doesn’t carry Stazon any longer.  You could use the Black Archival ink pad. Be sure to let that dry a bit or give it a blast with the Heat Tool. Also, she suggested stamping on Watercolour Paper.  That is very important to stop pilling but you can also use the White Shimmer paper or even the Thick Whisper White if there is not too much water used.  I mostly use the White Shimmer paper.

The Aquapainters and the Blender Pens are available in my store now for your watercolouring.  The Aquapainters are $20 for 2 available HERE.  The Blender Pens come 3 per pack and they are dual ended (even more value).  They are $21 available HERE.  

Thanks for stopping by today for this week’s edition of Watch It Wednesday.  If there is something particular you would like to know about or to see a video of then drop me a comment and I will see how I go.

Jenny

3D projects, cards, Techniques, Tutorials, Videos

WATCH IT WEDNESDAY #4 – TYING THOSE PESKY BOWS!

#4 WATCH IT WEDNESDAY is all about tying those bows.  If you come to my classes you can hear the groans every time I say we have a bow! 🙂 🙂

If you are groaning at the mere mention of tying bows yourself then never fear. I have put together a short video to show you how I tie my bows. I hope it is helpful.

NB: I am just starting out on this video venture so be patient with me.  I do appreciate your feedback though (good or bad) and hope that I can share more videos with you with a little more practice. 🙂

TYING BOWS THE EASY WAY!

Did you find that helpful??  Yes / No / Maybe / Perhaps stop this video gig before you get started???  😉

Thanks for stopping by today,

Jenny