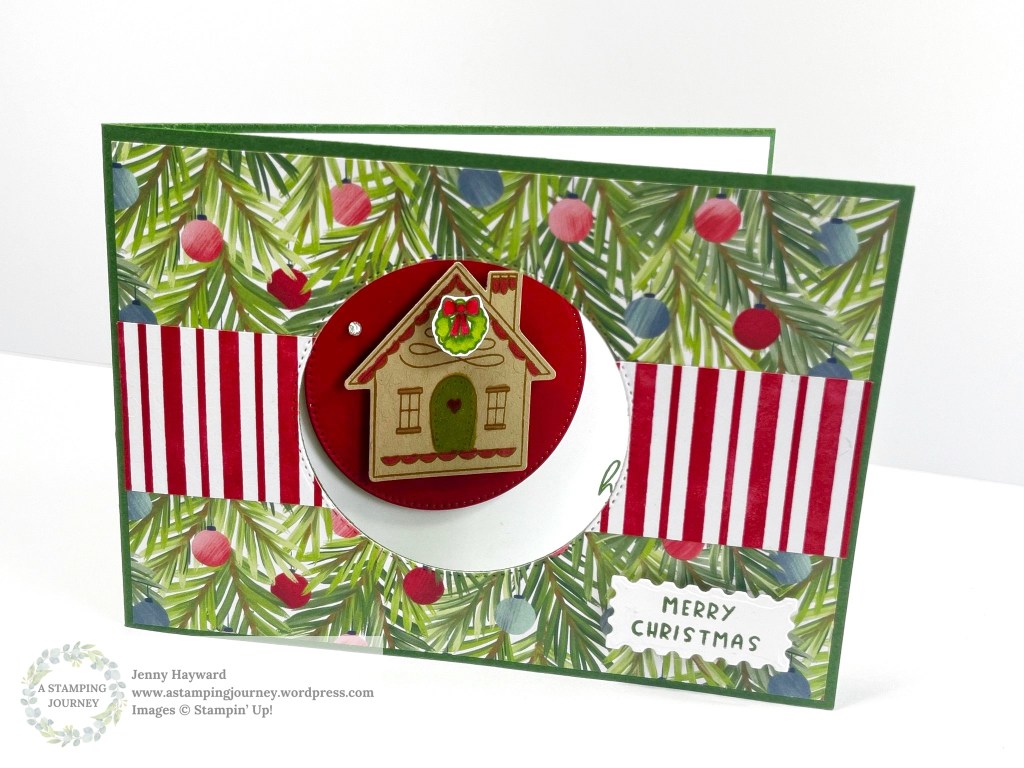
Today’s project is a Window card and it’s using the cute Humble Home Stamps and Punch. I have just recently bought this bundle so it was fun to play with.
This is the card I created. I have used the ‘A Little Bit Festive’ Specialty Designer Series Paper.
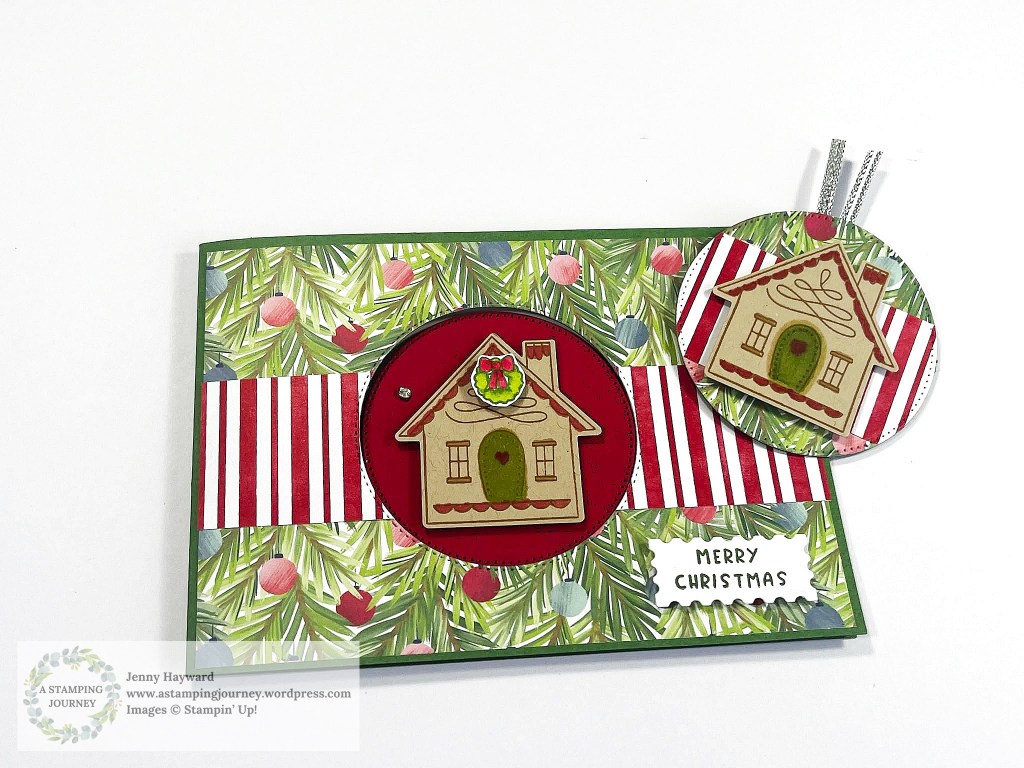
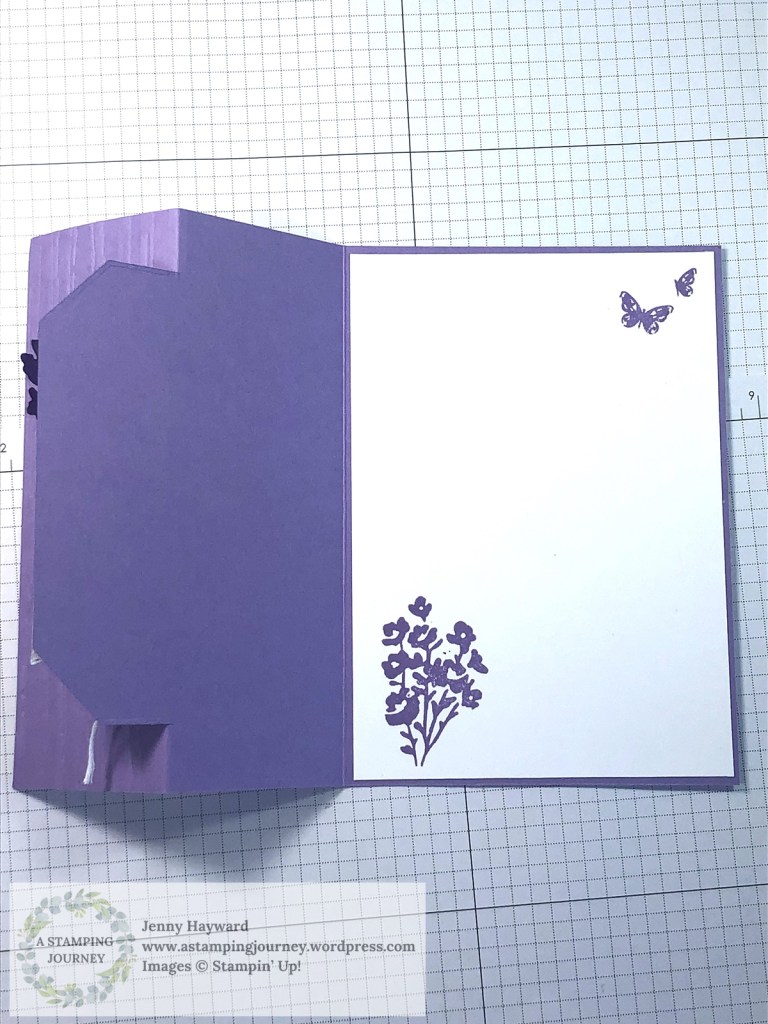
This is the inside of the card.
Don’t forget the Mini Tag you can create with the Circle cut out.
Follow along with the video below (or you can find it on my Youtube). The Full Tutorial with the measurements and directions will be sent out in next week’s Newsletter. Have you subscribed Yet? Find the link in the right hand column on my blog.
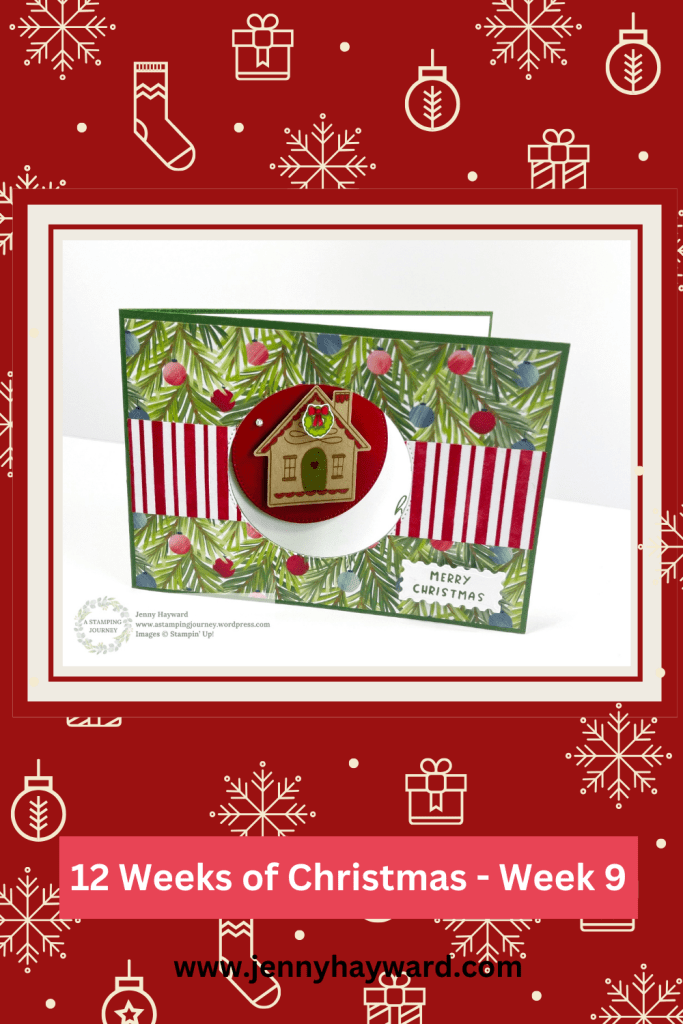
If you have missed any of the past 12 Weeks of Christmas Projects be sure to check back on my blog. Click on the Tags for the name and it will come up with the posts. OR head to my Youtube and find them there.
Happy Christmas Creating,
Jenny
PIN It Now to come back to later.
Need any products for your crafting and you are in Australia? You can head to my store -> HERE. OR contact me directly.
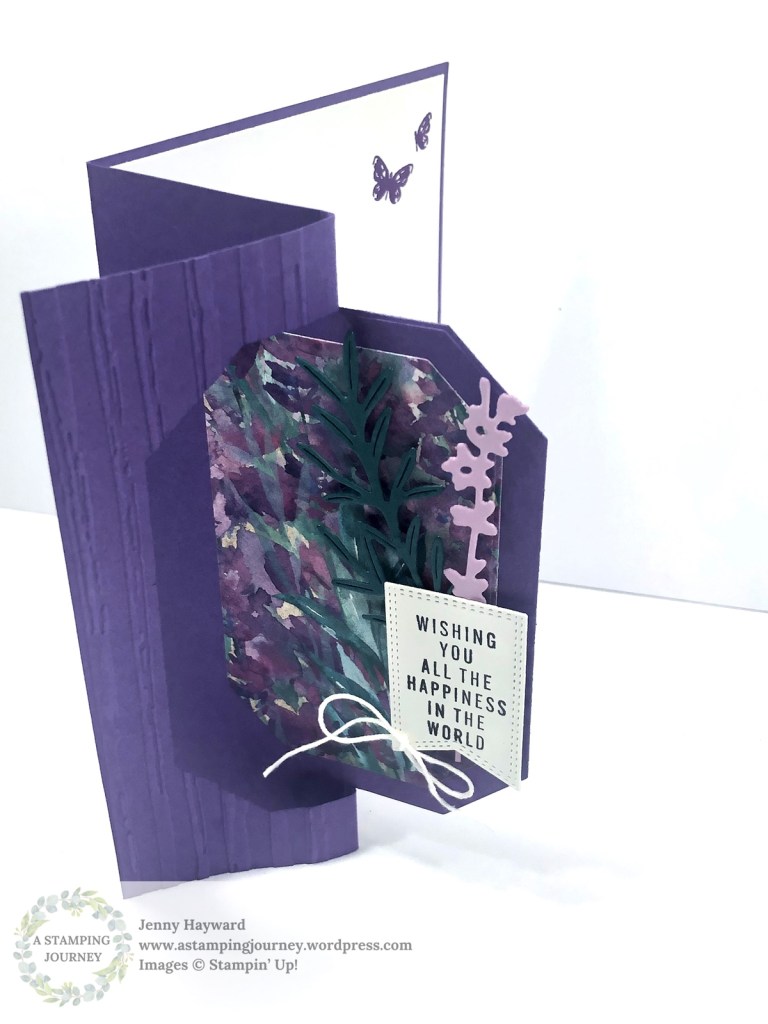
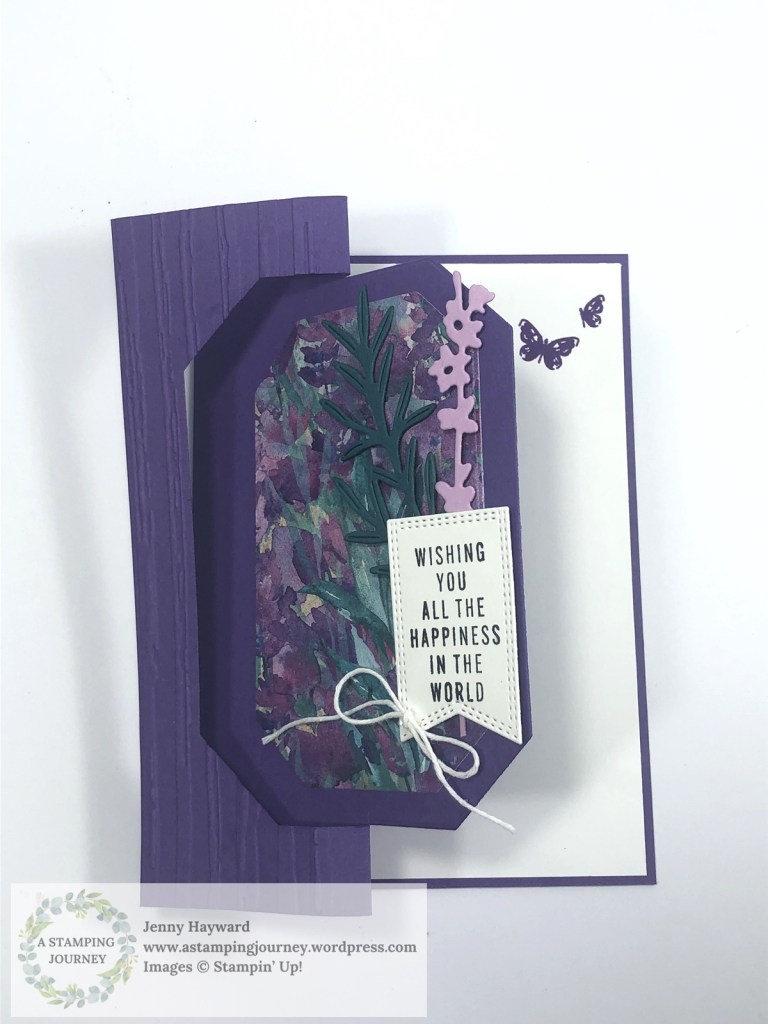
For our recent Onstage event in Melbourne I created a Flip Z-Fold Card for my swap. Swapping is great fun to give and receive the cards. It’s always good to see the different ideas others use – and to meet with other Demonstrators too.
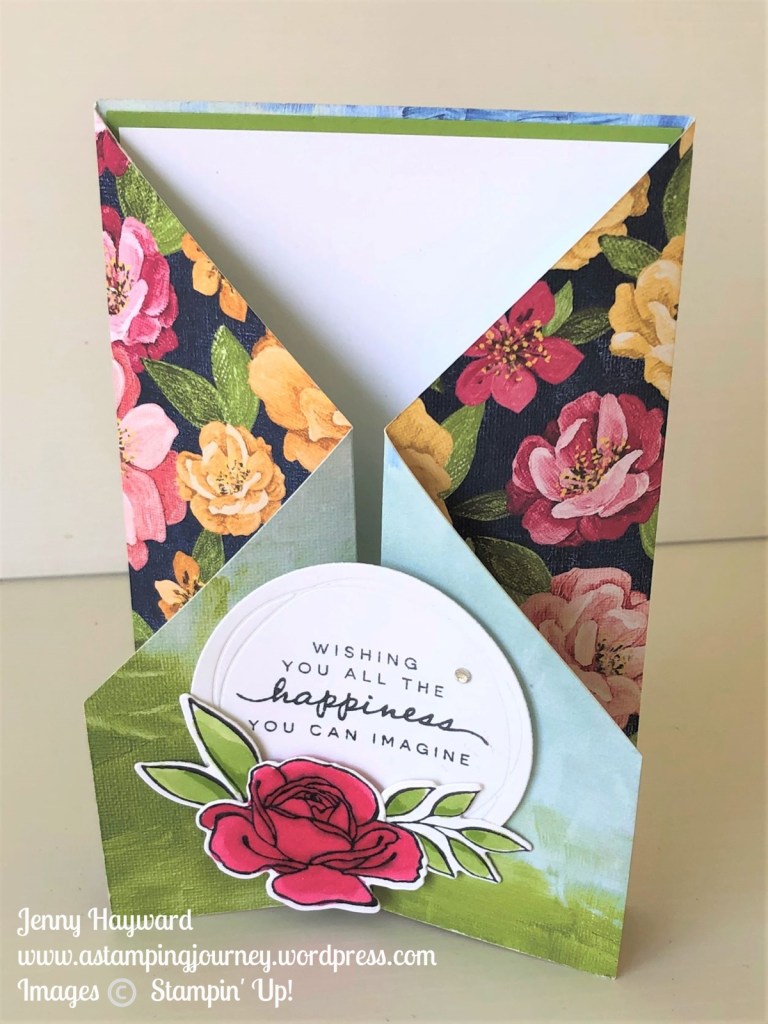
I created 3 coloured versions.
The Gorgeous Grape.
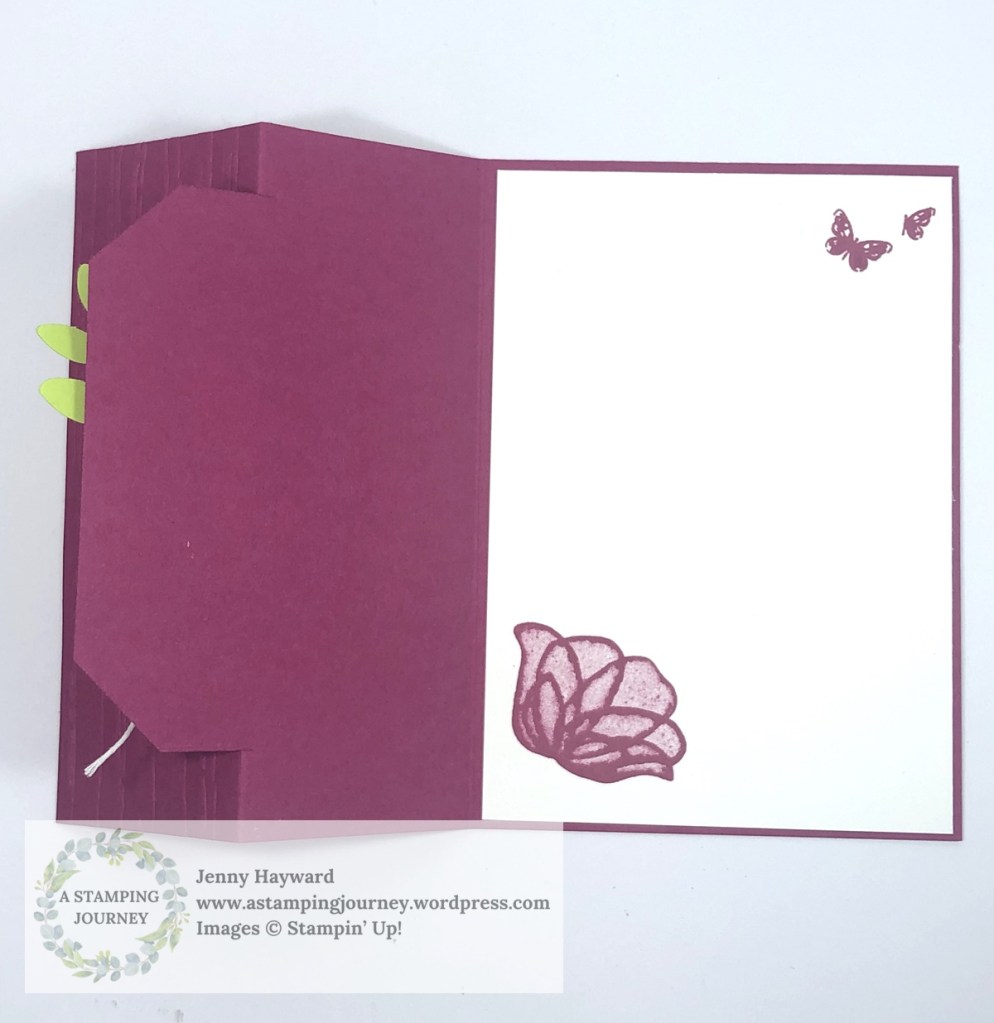
The Berry Burst version.
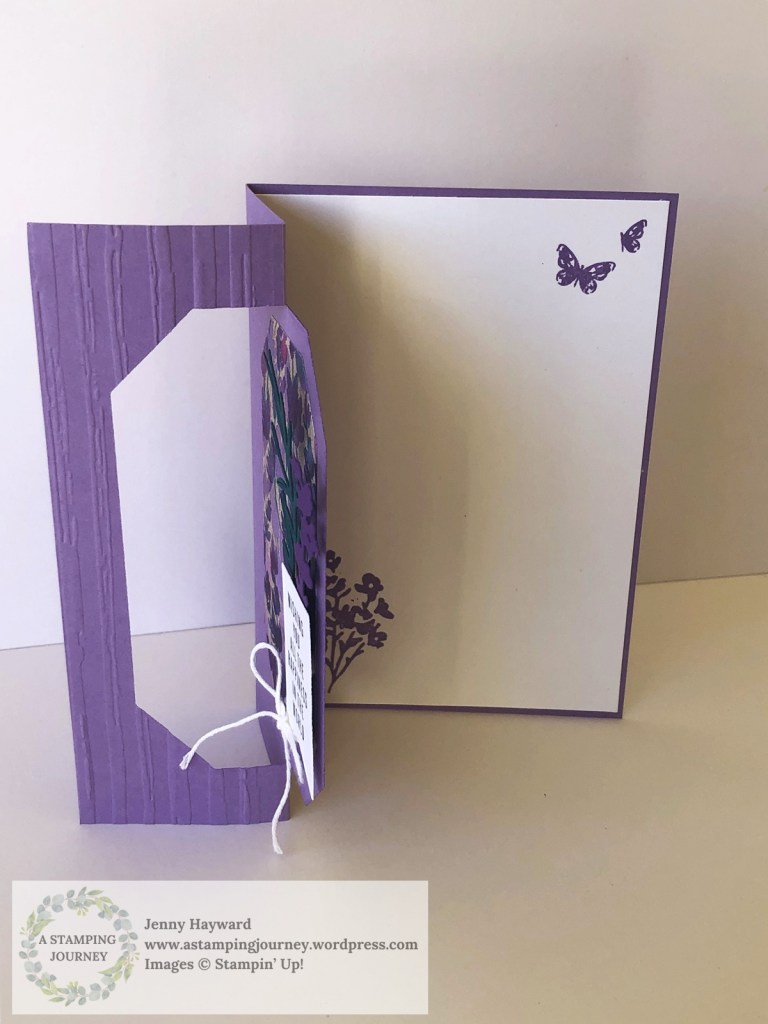
The Highland Heather version.
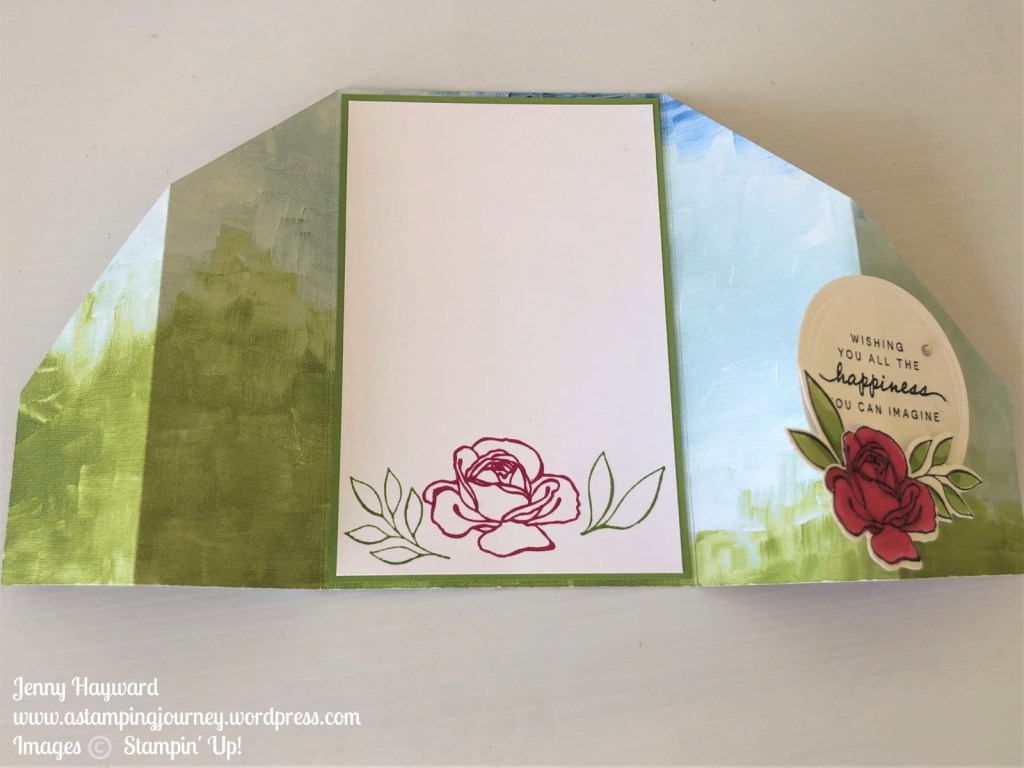
The Gorgeous Grape and the Highland Heather version uses the Perennial Lavender Designer Series Paper with the Painted Lavender Dies. The Berry Burst version uses the Delightful Floral Designer Series Paper with the Bough Punch. The sentiment for all 3 is from the Translucent Floral Stamp Set.
So what colour do you like?
I thought I would put together a video to show you how to make one yourself.
Hope you get to make one yourself.
If you need any of these lovely products or others and you are in Australi head to my store -> HERE.
Playing more with the Cheerful Daisies Bundle I created a Split Easel Card.
I used the Fresh as a Daisy Paper with it too.
It folds up flat so you can post it.
You will want to decorate the inside for this one.
Do you want to make one too?
I have the video below. If it doesn’t show you can go straight to Youtube ->HERE.
I have the basic measurements further below for you in both Metric and Imperial.
MAKE A SPLIT EASEL CARD
Card Base: Lemon Lolly – 1 cm x 14.8 cm. Score at 10.5cm. 5 1/2” x 8 ½” . Score at 4 ¼” Centre piece – 8.8cm x 10.5cm 3 ¼” x 4 ¼” Early Espresso Cardstock Side strips – 2 @ 10.1cm x 2.6cm 2 @ 4 ⅛” x 1” Front Panel mat – 8.4cm x 10.1cm 3 ⅛” x 4 ⅛” Designer series paper Side Strips – 2 @ 9.7cm x 2.2cm 2 @ 4” x ⅞” Front Panel – 8cm x 9.7cm 3” x 4” Inside – 10.1cm x 5cm 4 ¼” x 2 ⅛” Whisper White card stock Inside – 10.1cm x 10.1cm 4 ¼” x 4 ¼”
This is the lovely Cheerful Daisies Bundle.
But what about the Fresh as a Daisy Designer Series Paper.
Do you need any of the lovely Stampin’ Up! Supplies for your creating and you are in Australia?
You can head to my store and order -> HERE. Please use the Host Code: 4RY72TBP
Or contact me directly and I can help you with your order.
Have you made a Zig Zag Fold Card before? They are so easy and fun. The great thing I love about this fold too is that you get to see both sides of the gorgeous paper. Who really wants to hide one side away!
Here is the card.
Don’t forget the inside when you make one.
I have used the Hues of Happiness Paper. So pretty! And with the Happiness Abounds Bundle.
You can catch the video now below to make your own.
Follow along with the video for the measurements or they will be sent out in next week’s Newsletter. Have you subscribed yet? I send out a different Tutorial each week. Some projects I haven’t shared before on Facebook or on my blog. Click on the link in the Right Hand Column on my Blog.
Hope you get to make one very soon,
Happy Crafting,
Jenny
If you need supplies to create this project or any others and you are in Australia then jump on over to my store -> HERE and pick them out. Please use the Host Code: B47Q7JP2
Or Contact me Directly. I would love to help you out. Thank You.
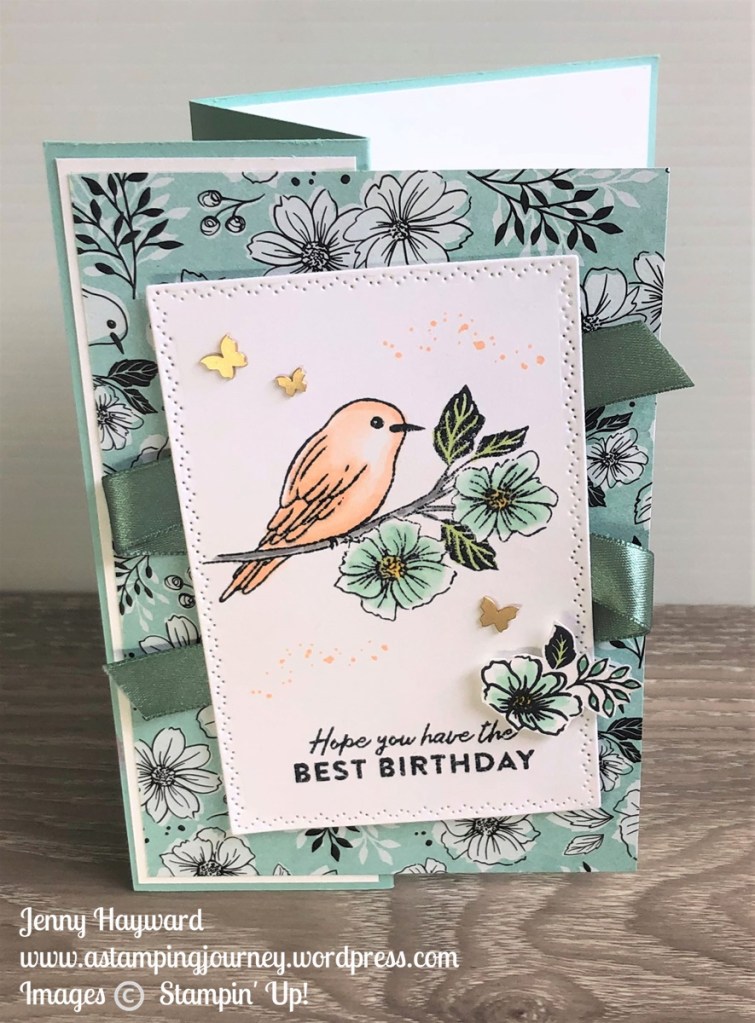
Today is a great Fold card with a little interesting window. It makes such a fun addition. And I have a video to share some tips when you create it.
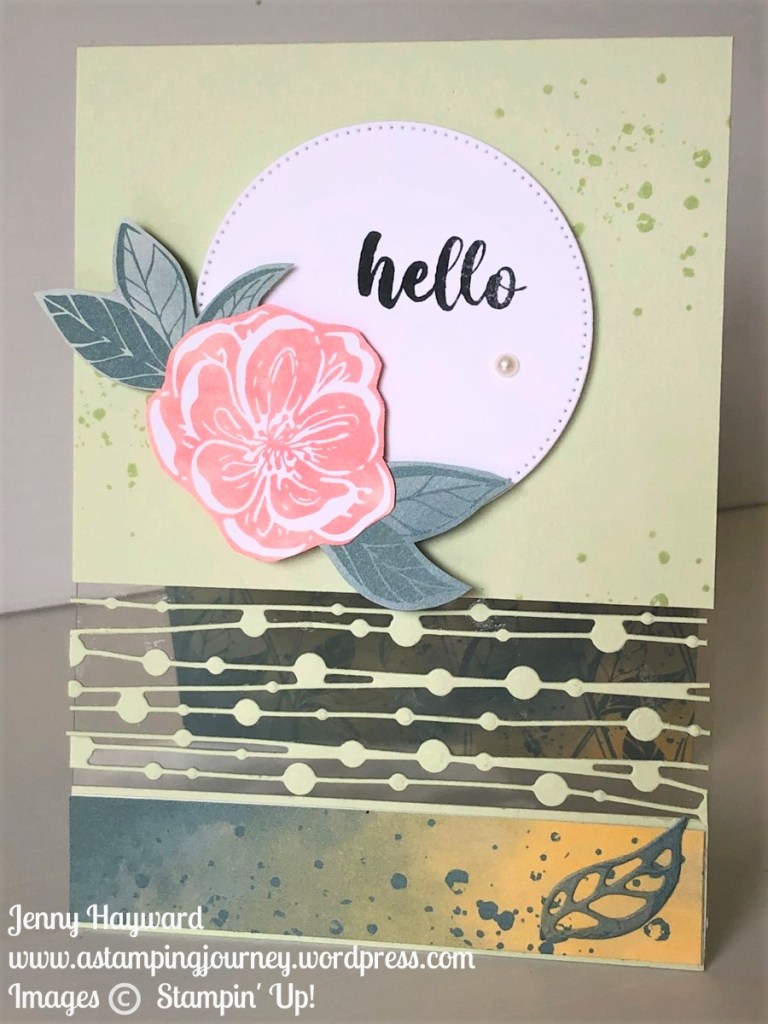
I have used the Irresistible Blooms Bundle and Hello Irresistible Designer Series Paper.
This is the card.
Don’t you just love that “dotty” strip. It’s so cool!
And for the inside of the card.
Just a tip with this paper. The Paper colours include Pretty Peacock and Lost Lagoon. These were current as In Colors a few years back.
Why have they included these now???
Well they are coming back. Yes! They will be part of the Regular Colour Collections starting in the new catalogue in May.
Watch out! It looks like a little Colour Refresh is happening. More on that in the coming weeks. It will be all revealed on the 29th March.
I share a tip in this video. If you don’t have the those colours as yet. I found using the Evening Evergreen and stamping off one time. It matched so close. But Evening Evergreen will be going at the end of this current catalogue. It’s a good short term fix for now.
So watch the video below. (If you are catching this in an email post and the video doesn’t show, head to my blog directly Or head to my Youtube Channel (HERE) and view the video there.
If you haven’t subscribed already to my Youtube Channel I would love for you to. You will keep up with all those crafty videos that you can go back to anytime. Thanks for that.
Happy Crafting,
Jenny
Need some supplies and you are in Australia? I would love to serve you.
Head to my store -> HERE. Please use the Host code: B47Q7JP2
It’s been another busy year of crafting here. Thanks for following me along.
I thought I would take a few minutes and share my favourite projects from the past year. So come on a little journey with me. And click on the heading of the project to take you back to the original post and read more about them. Even catch the video of many of them.
I loved this gorgeous Friendly Hello Paper available for Sale-A-Bration in January. And this is great fold to show both sides of the gorgeous paper. (Must try that again).
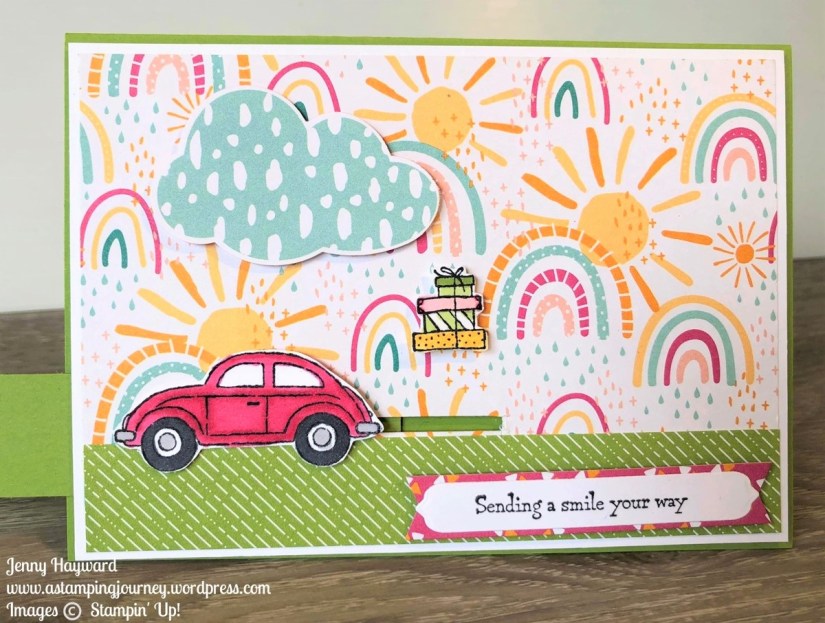
This was a great stamp set to create a Slider card. But you can try this with any of your stamps. What about that Sunshine and Rainbows paper. So bright and Happy. 🙂
Let’s face it – Male cards are hard to make aren’t they?? We had a great Masculine Cards Class earlier in the year. The Let’s Set Sail stamps and punch were fun to use.
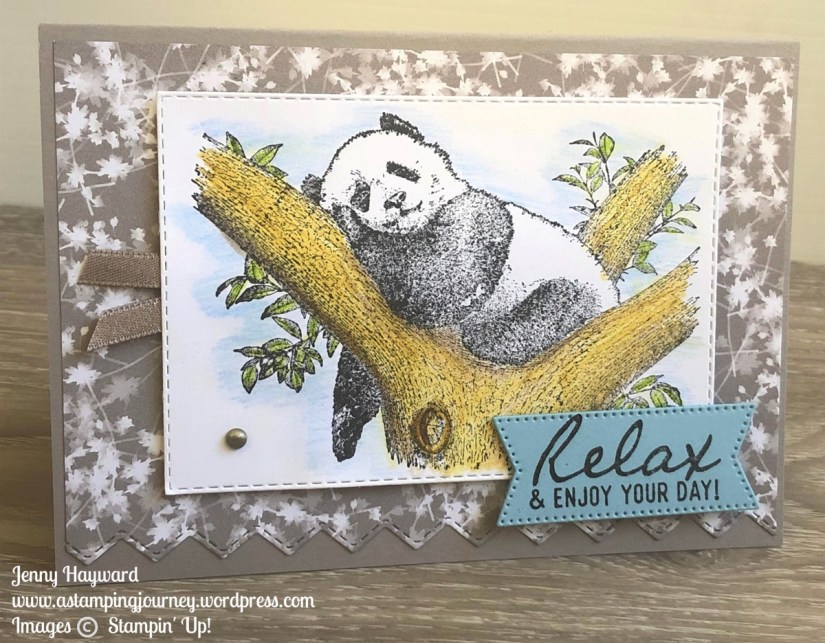
The Wild and Sweet Stamp set was one of my top picks from the new catalogue in May. I don’t do a lot of colouring but I loved colouring this cute Koala. I shared some tips colouring this image in the video for this card.
The Hues of Happiness was another of my top picks from the catalogue. I think many people also loved this suite. The Tunnel cards I created with this has been very popular.
The most popular event this year with the Winter Crafternoon. It was such a fun time crafting together followed by a Devonshire Tea. Watch out for more events in the new year.
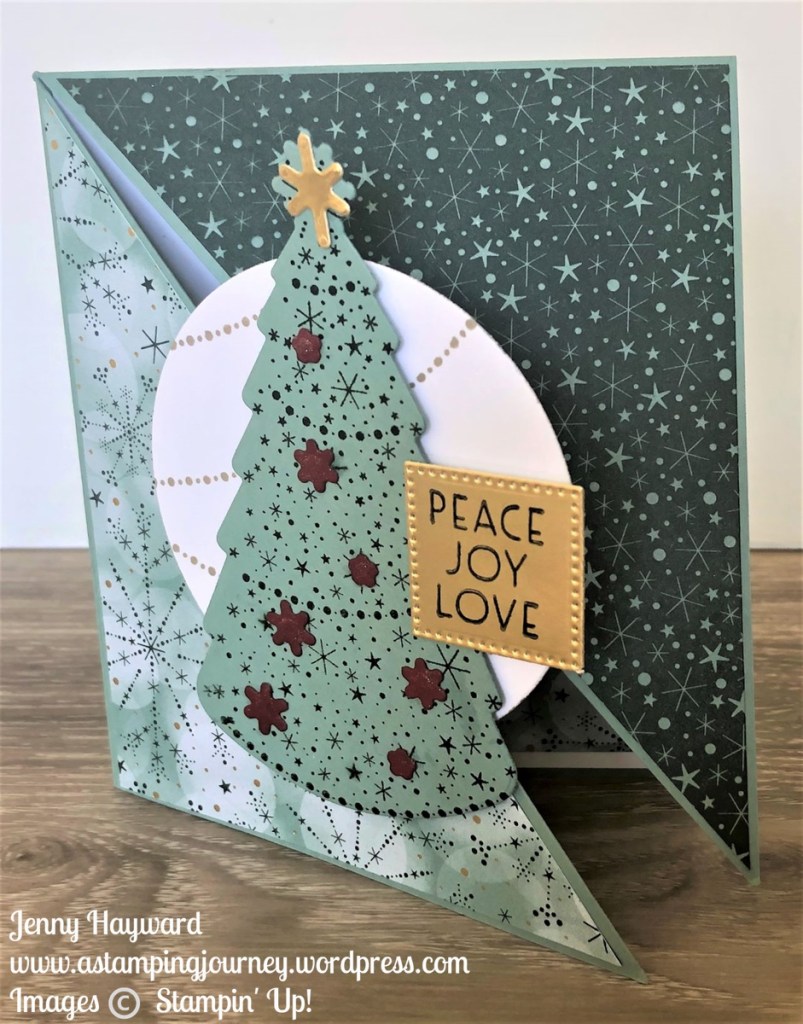
Another very popular Fun Fold from this year was the Diagonal Fold Card with the Christmas Lights Bundle. Lots of people have shared their versions with me which has been so great.
Is there a theme here with Fun Folds that are my favourite projects for the year. I do love a Fun Fold card. This one was the Half Fold Easel Card with the Hippest Hippos Stamp set for Sale-A-Bration.
It was great to be part of a collaboration to share you some fantastic Christmas projects. I kicked the 12 days series off with my project, A candle with the Merriest Moments stamps and dies. You just have to go back to that post and start the 12 Days of Christmas to check out all the projects.
I hope you have enjoyed looking back at these projects. I can’t wait to share more with you in the coming year.
To lots of creating in 2022. Come and join in with me and follow along.
You can create a very easy Z Fold card with the Tea Boutique Cards and Envelopes. Simply score the front of the card in half. Turn the card inwards then fold the card back on itself on the fold.
Add a strip of the Tea Boutique Designer Series Paper inside the card. Then on the front add a tea cup and flowers on a diecut rectangle from the Scalloped Contours Dies.
What do you think? It’s very quick and easy to create.
The Tea Boutique is a great collection of products.
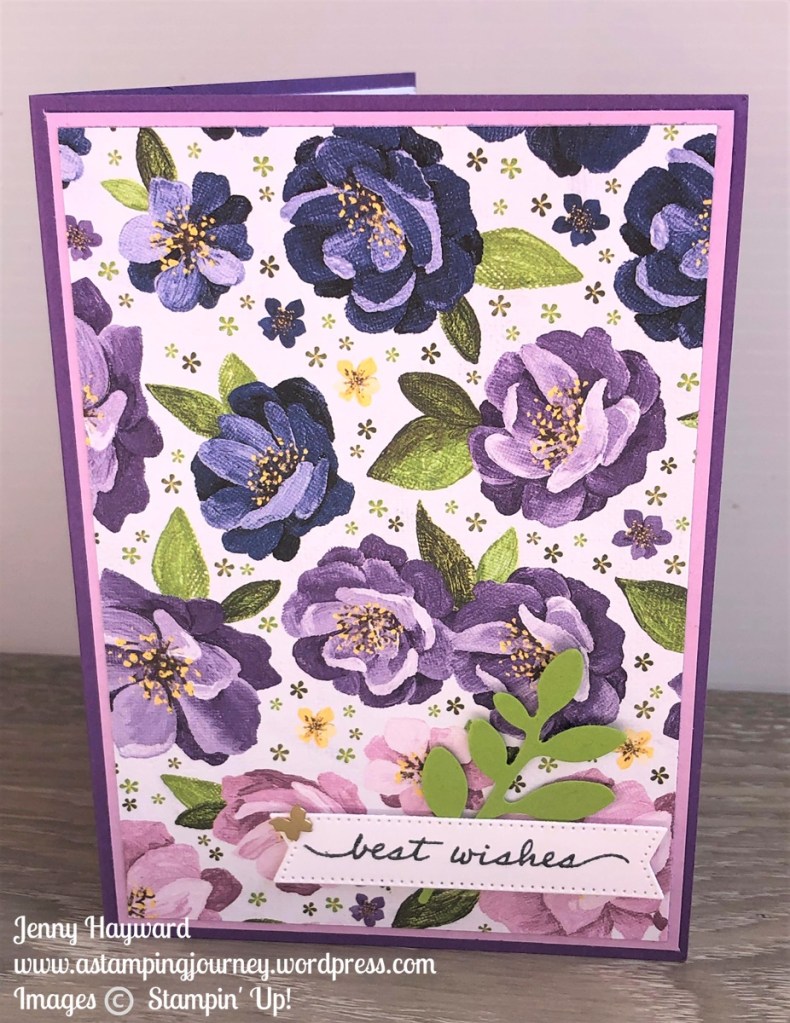
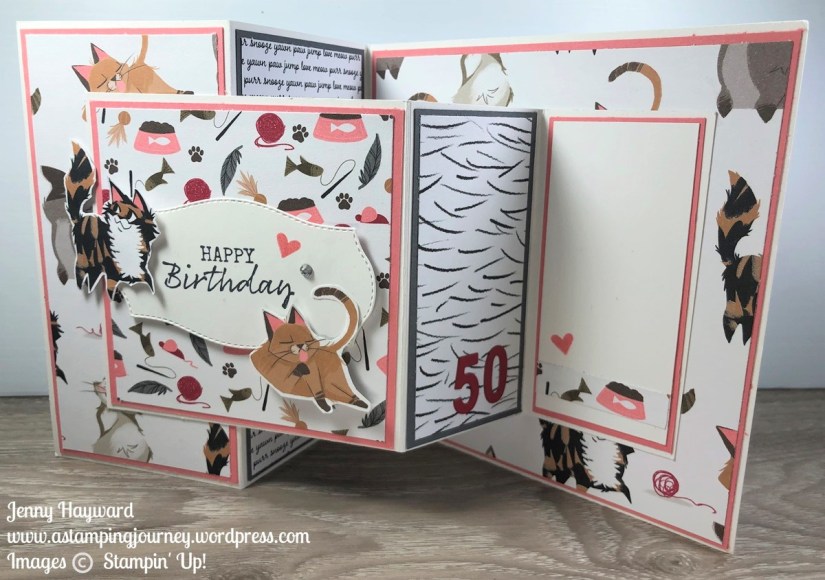
I created this card for my sister’s 50th Birthday this weekend. It would be an understatement to say she loves cats!! I knew this paper would be fitting for her.
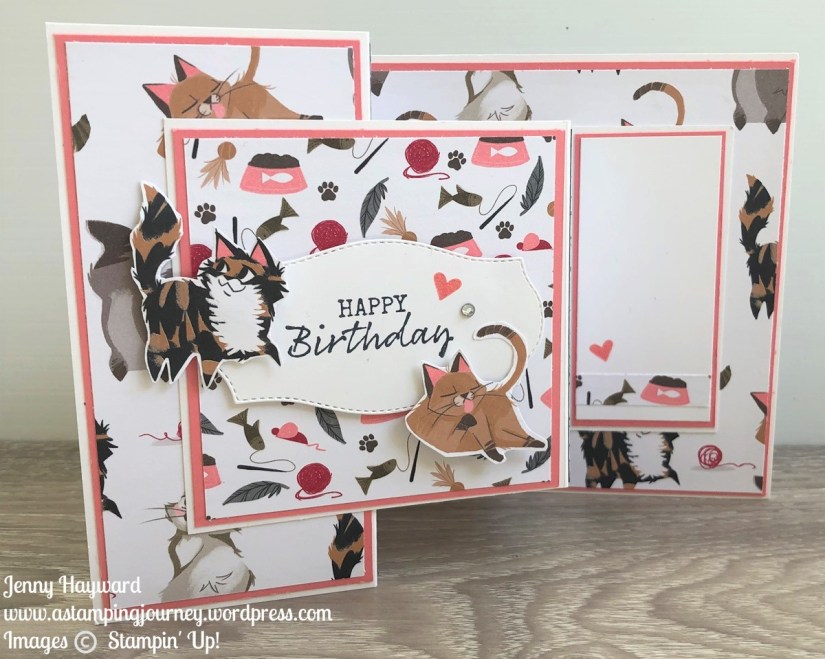
This is a Z Fold card. I will tell you about how you can make the card further below. Let’s look at it though.
I have used the Playful Pets Designer Series Paper. I didn’t have the Pampered Sets stamp set but that’s ok. The sentiment is from the Seaside Notions stamp set. The heart is from the Whale Done stamp set. I cut the cats for the front of the card from a piece of the Designer Series Paper and raised them up off the card with Dimensionals.
This view below shows the card almost folded.
I have made these Z Fold cards before. They are fun to make.
You can find the original post for these type of cards which has the instructions -> HERE.
On that link you will find the metric measurements. There is a link there to go to the Imperial measurements.
I made a smaller version of the Z Fold cards too way back then. You can see that post -> HERE if you want a narrower version.
You can find all the cute Playful Pets Suite products including the paper in my store now -> HERE. Check it out.
In Australia? I would love you to shop there with me.