I know we’re in the midst of the all the excitement with the new catalogue but I just have to share this project. I know it is using retired products now but I thought you might still like to see it.
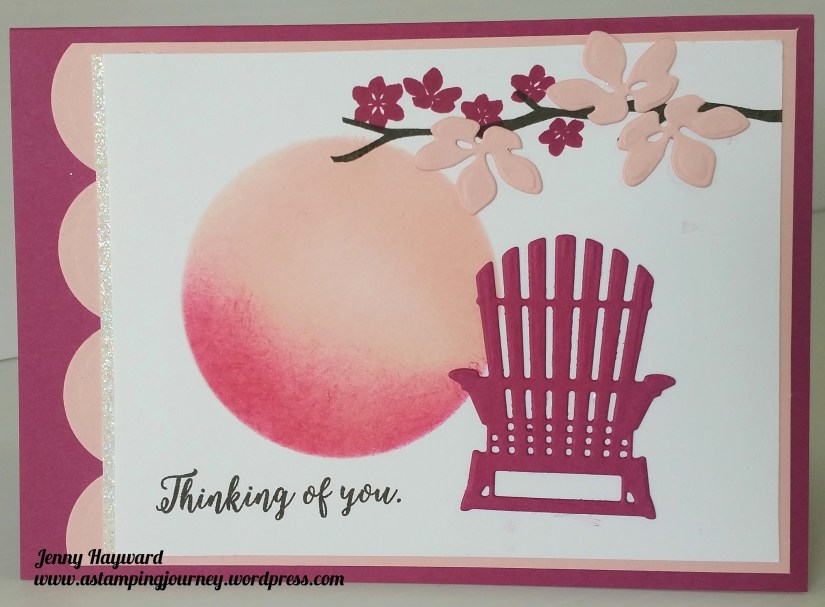
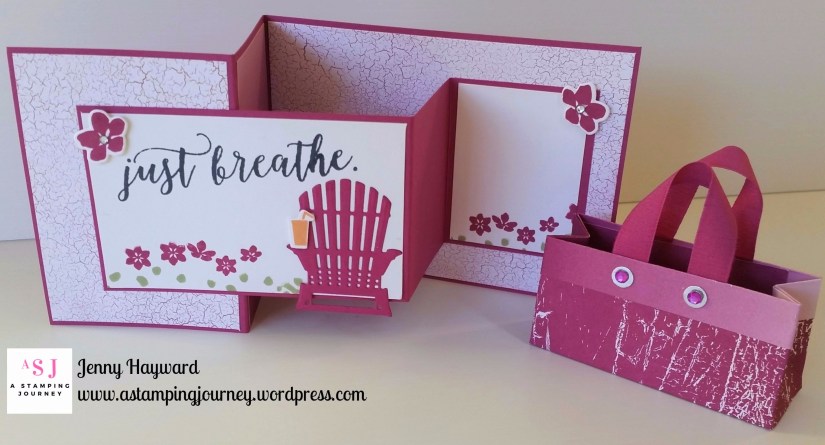
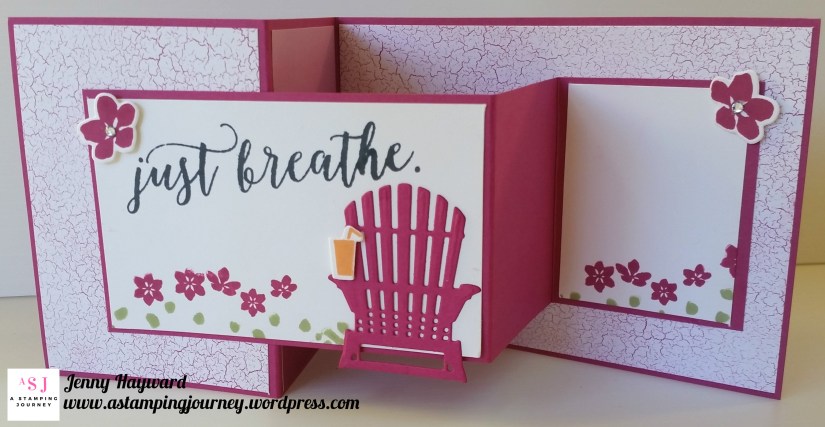
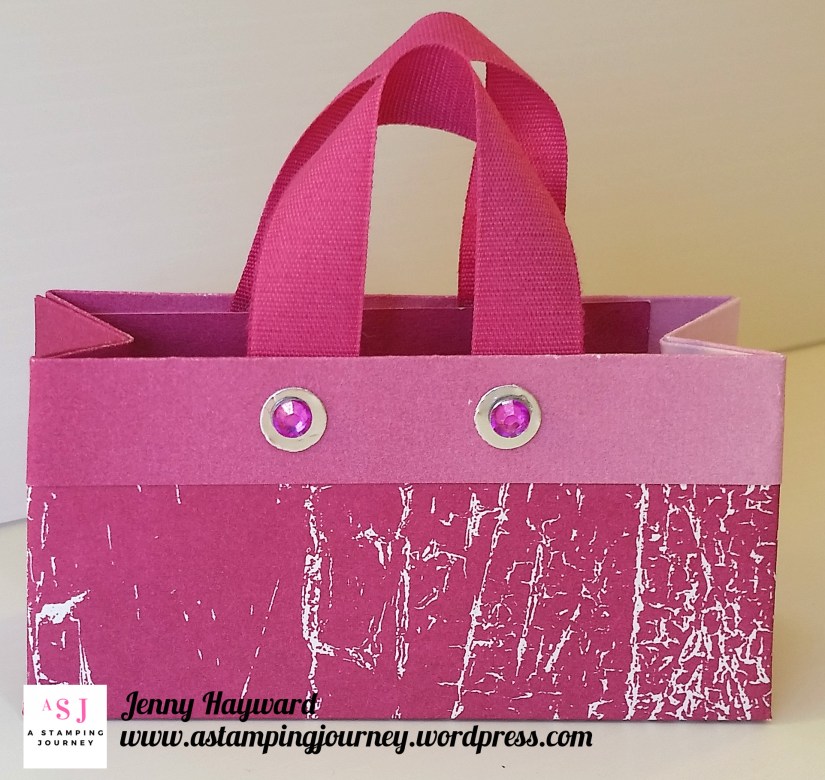
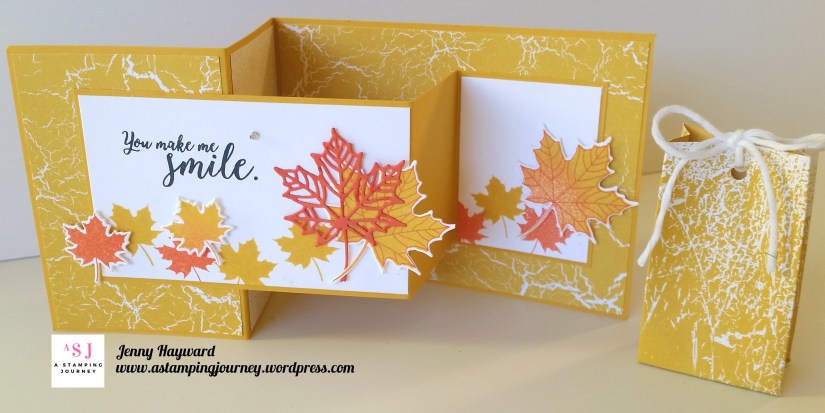
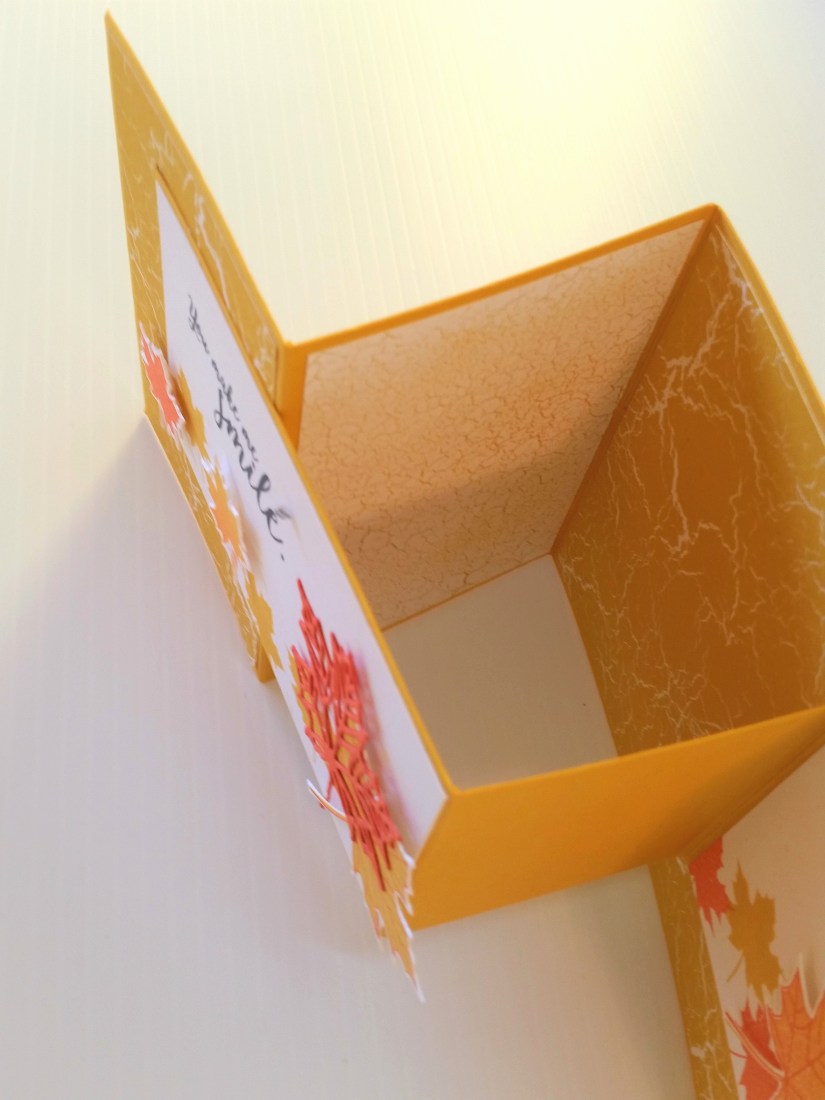
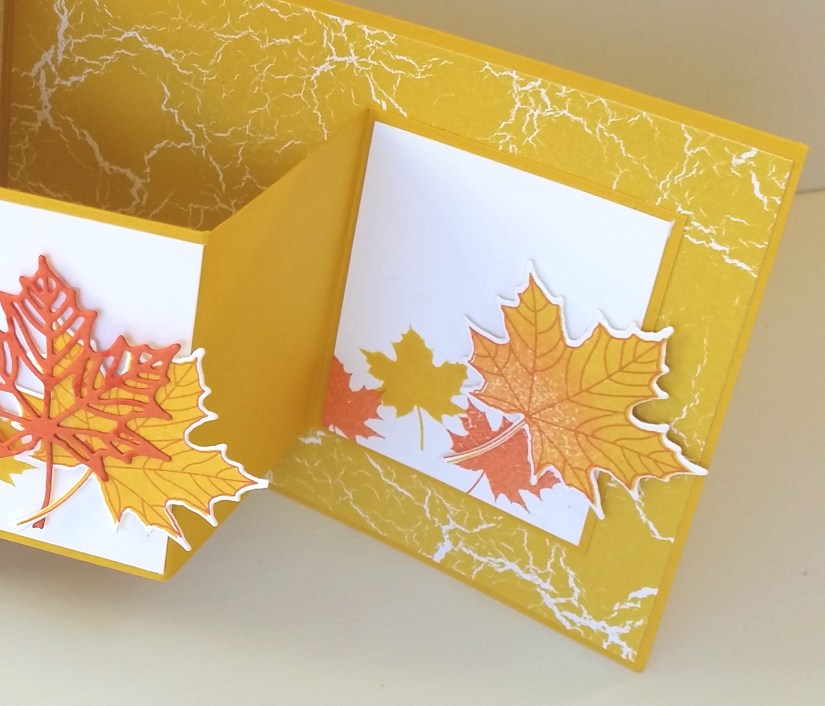
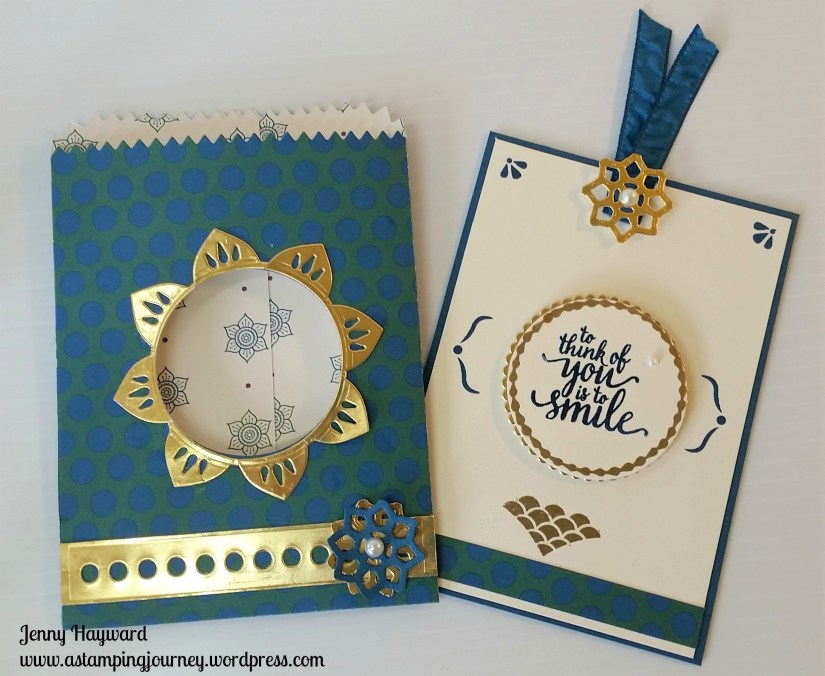
A couple of weeks ago a friend of mine asked me to make a special baby card for her new grandchild. At that time she didn’t know what the gender was and requested it to be Teal Green in colour with splashes of red. I knew the family as well so I wanted it to be pretty special. I recreated a card in a box that I made some time ago. You can see that original project HERE. That card in a box has been repinned 3.3K times on Pinterest so I thought it might just be “good enough”. 🙂
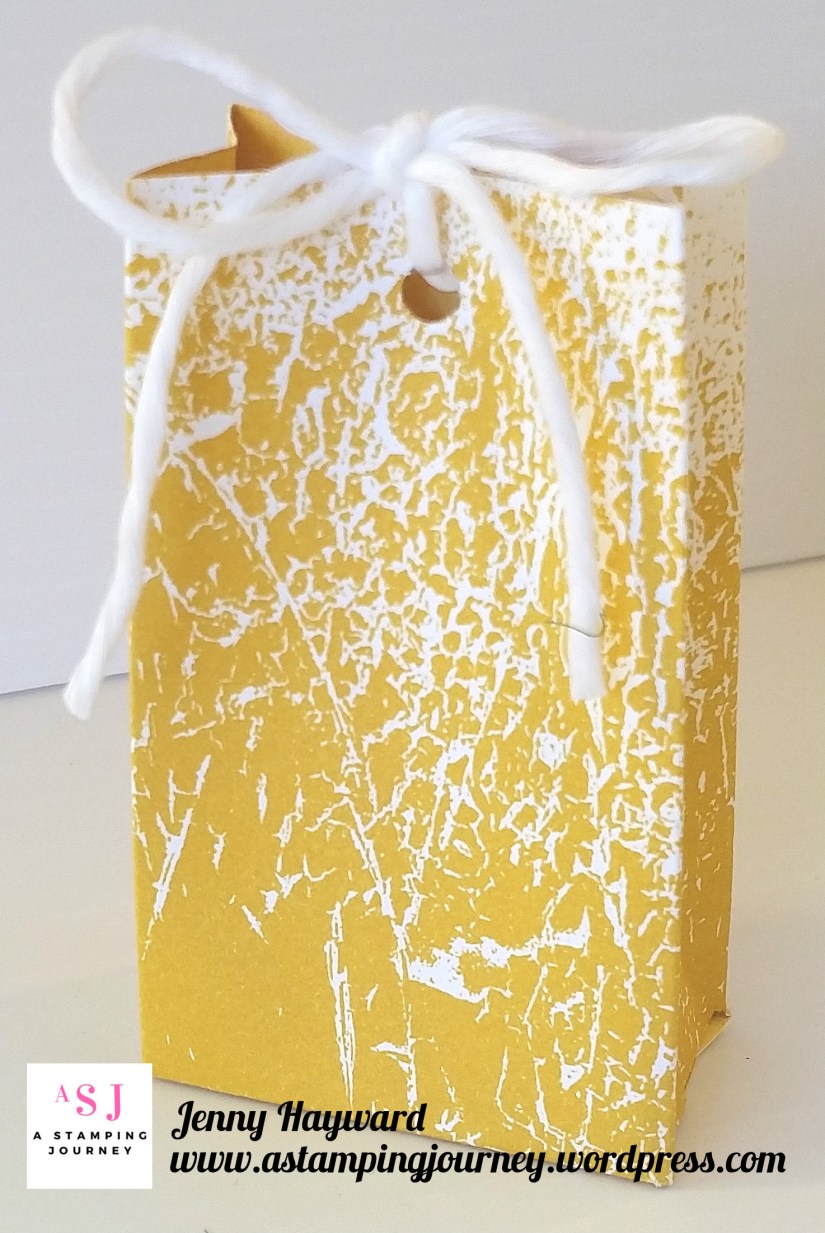
The only paper I had to match the Bermuda Bay card was this retired paper. I can’t even remember the name of it. I just found a few scraps of it in my retired paper box. Lucky!!!
I dug out my ‘Something For Baby’ set too from my retired box. That was lucky too as I don’t have any new baby stamps as yet.
So enough of the chatter. Here it is.

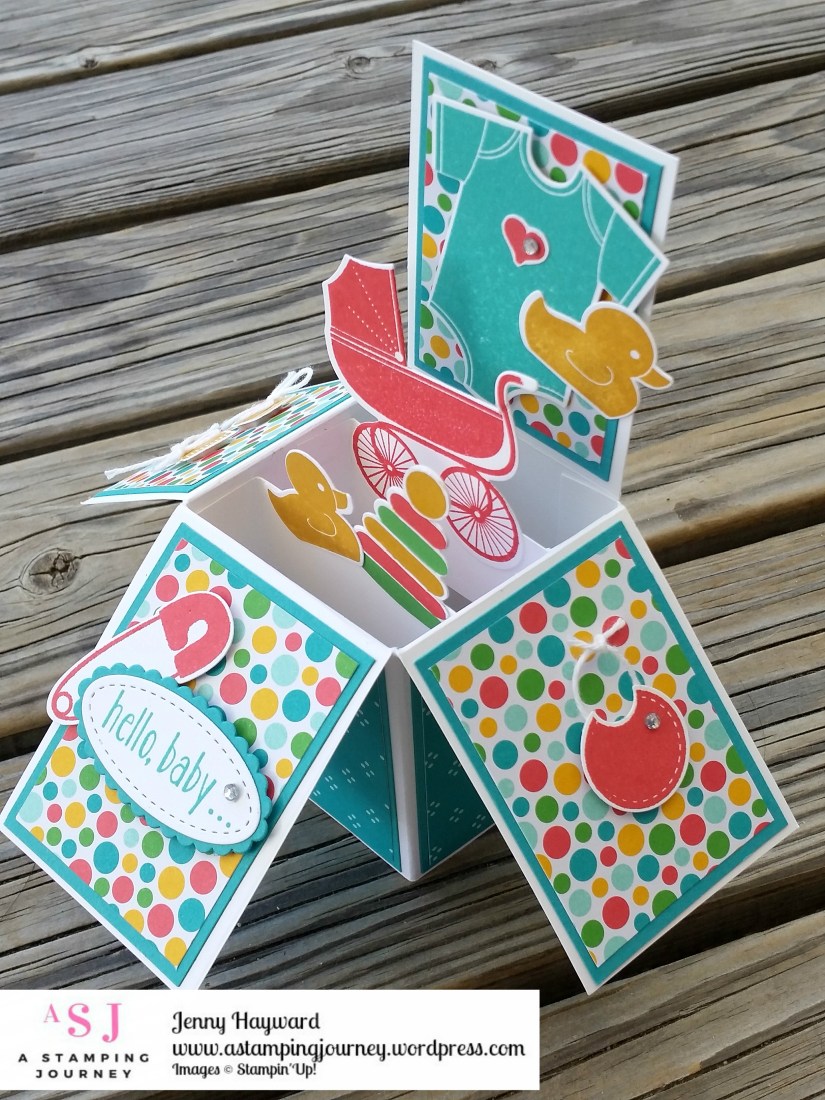
I used Watermelon Wonder which matched. (Grabbed that out of the retired box too!).
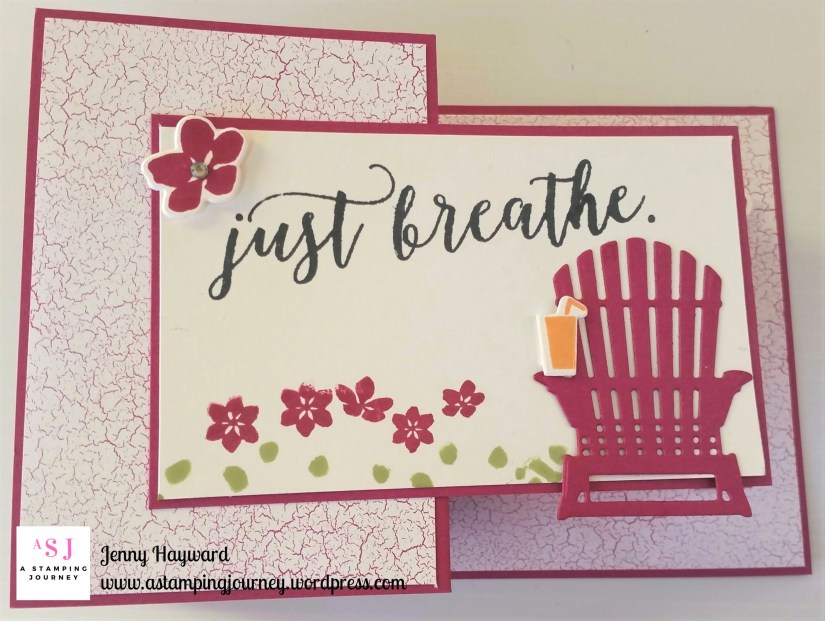
I realised I didn’t get a photo of the left side flap. That had little booties in Crushed Curry and I tied teeny, tiny bows in White Baker’s Twine. The sentiment is from ‘Baby Bear’ – yes! That is current! I probably could have used that but Baby Bear was a bit big for the box.
Well it was very well received and I can tell you that baby Phoebe arrived safely last week. She is very gorgeous and they were all delighted and fascinated in the card. It can be displayed on the shelf in the nursery for some time to come.
Thanks for indulging me. Back to current products in next post.
Jenny