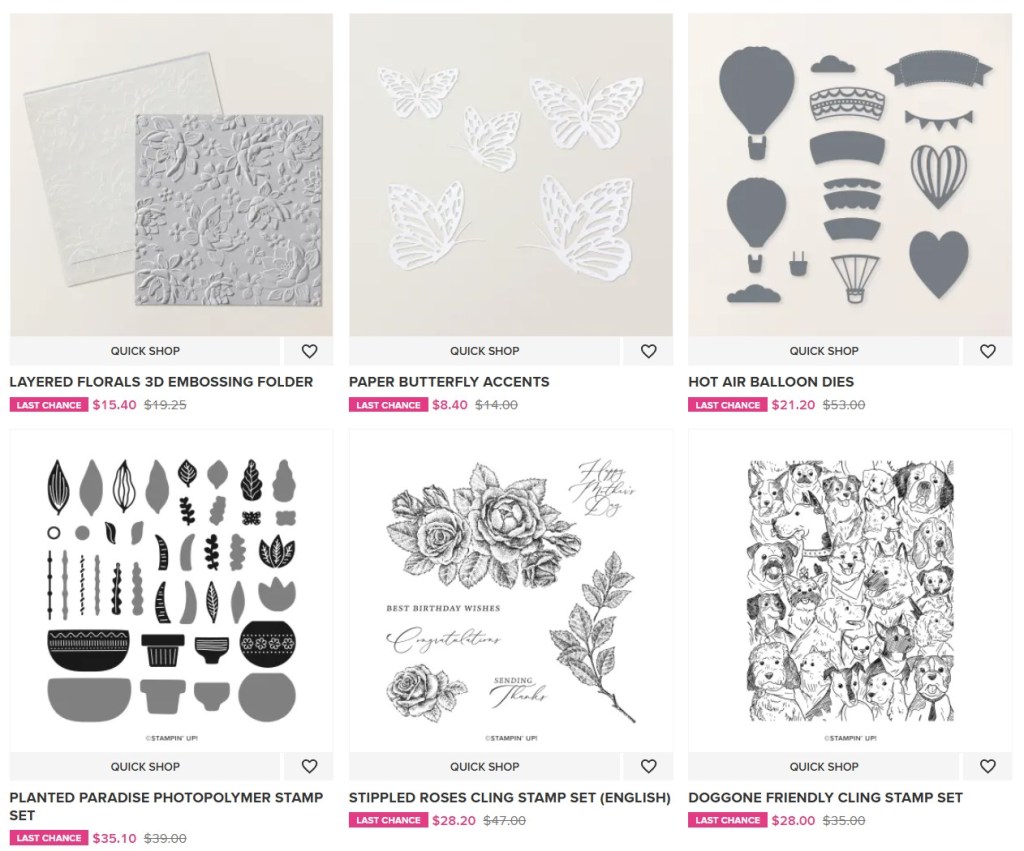
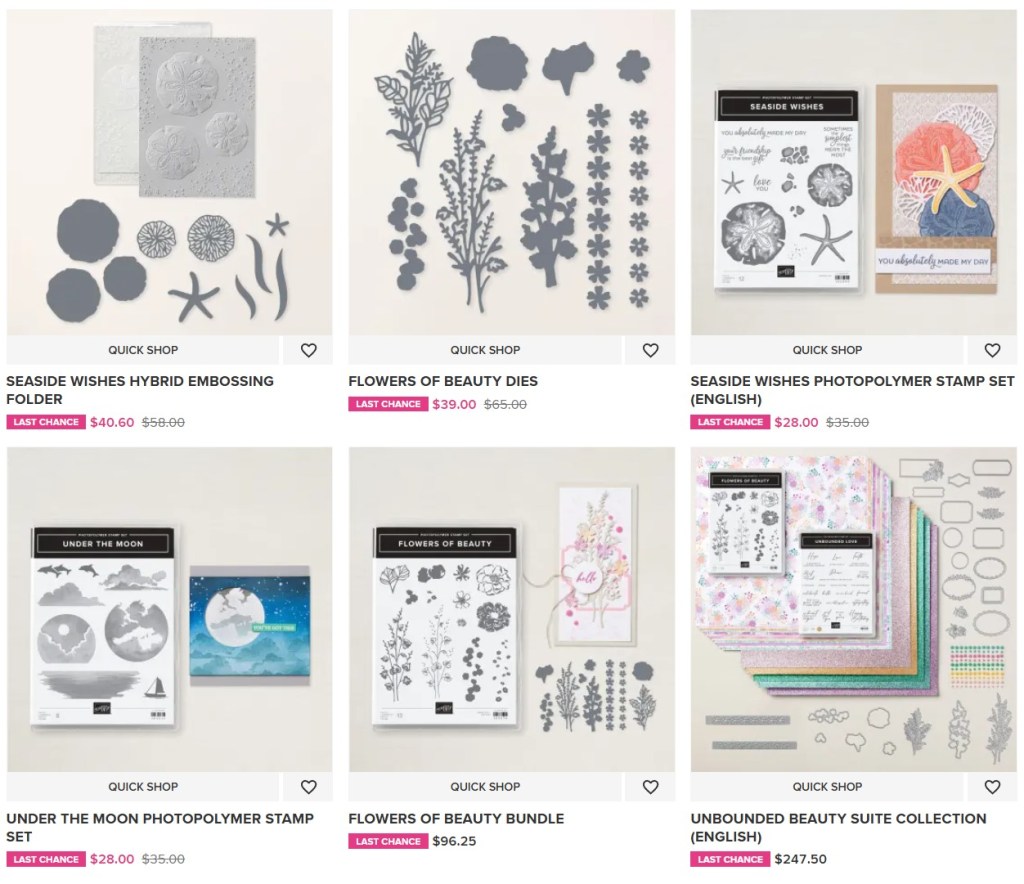
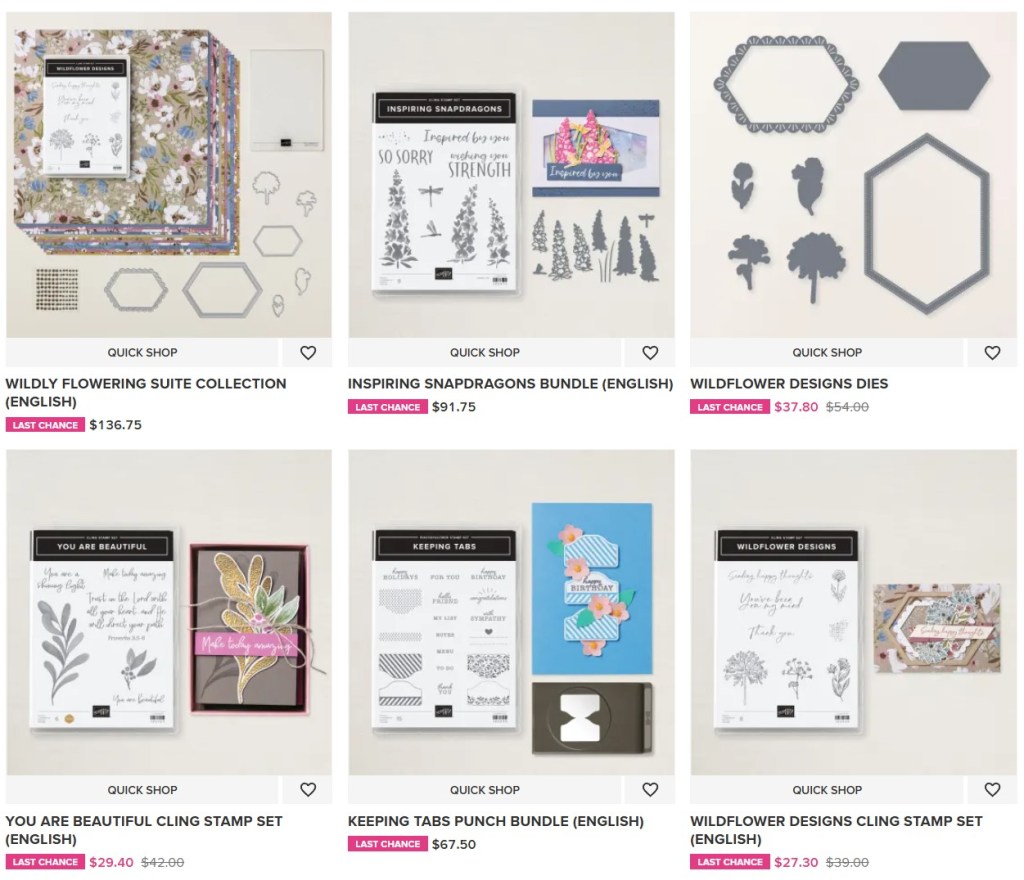
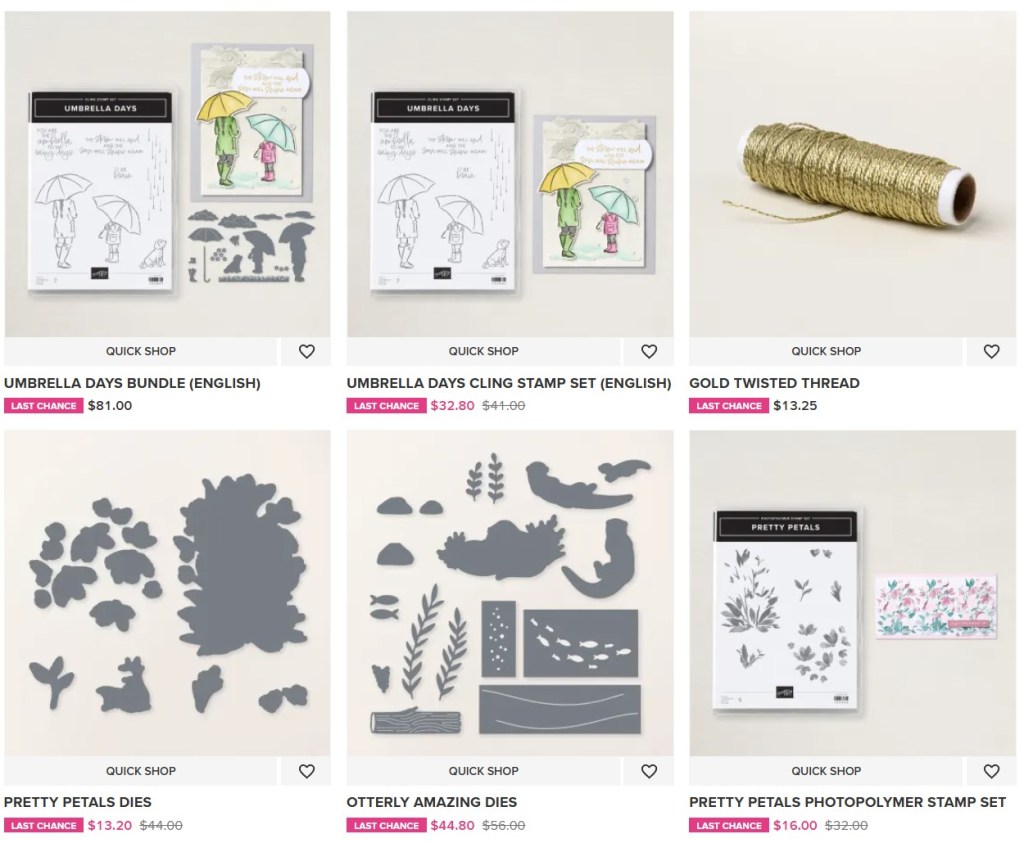
With a new Catalogue coming next month the retiring ‘Last Chance’ product List has just been updated. See what is going from the Annual Catalogue and the Mini Catalogue.
Here are just some of the items going. (Note for my International Readers the products will most likely be the same but the prices will differ so do check your own local Stampin’ Up! website for the current prices. These begin April 1st).
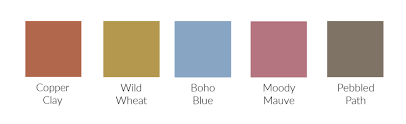
So check out what crafty bargains you might pick up. There are a lot from Paper, Stamps, Dies and Embossing Folders, PLUS the retiring 2023-2025 In Colors.
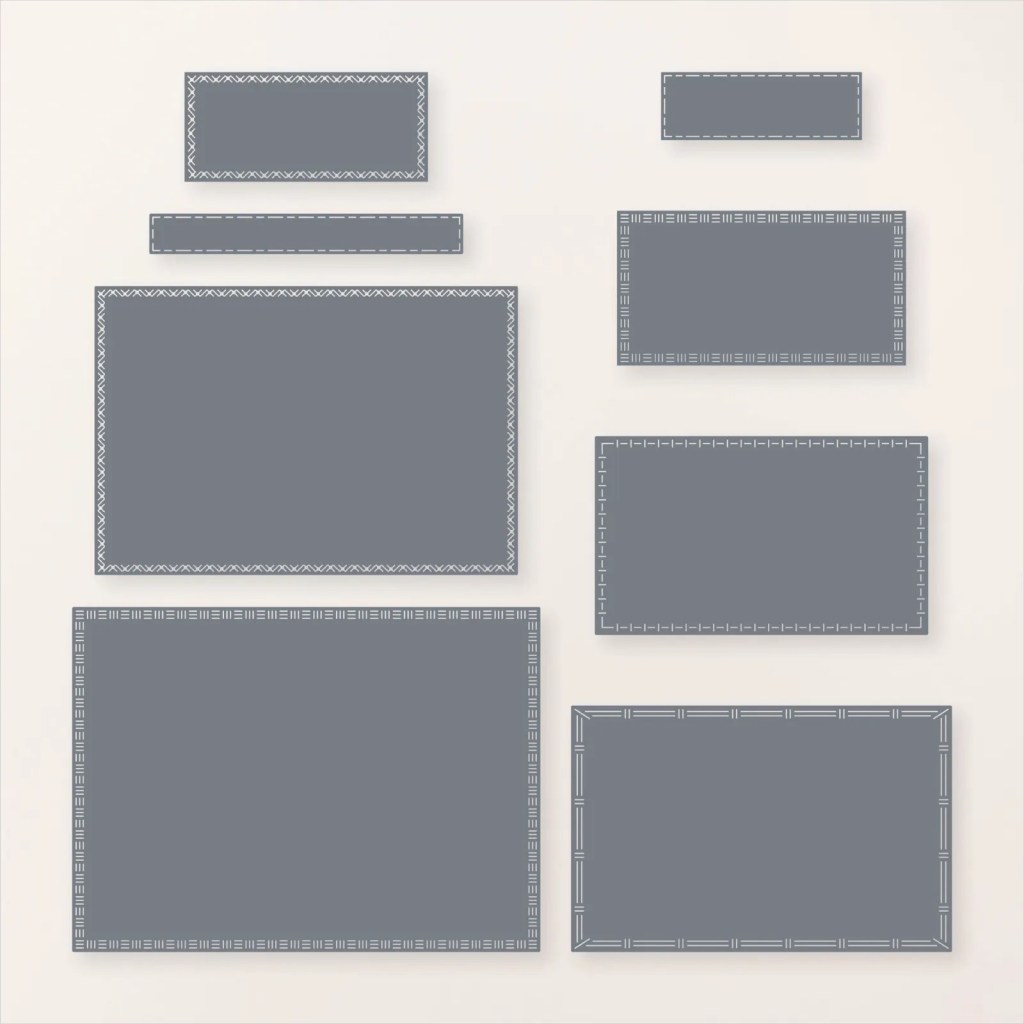
Wednesday’s WOW! #167 – What’s the sizes of the Textured Notes Dies??
People often ask the sized of the Textured Notes Dies. And that’s a good question. You want to know how they will fit on your card.
So here you go. I put together this little chart that shows the sizes. Save it for future reference.
Note Below. Error on one of the sizes. It has been brought to my attention that one of the sizes are incorrect. I do Apologise. #5 Die the metric is correct. The inches size should be 3 1/4″ x 1 3/4″
These dies are part of the Textured Notes Bundle but I particularly like the Dies. They have different markings on the edges that create embossed look on the edge of your card. Use them to create a frame or to add an image directly on them. They are very versatile on their own or layer them together.
The Dies and stamps have just been released as an Online Exclusives this month.
You can see the Dies more in store -> HERE.NOTE: These Dies have now retired.
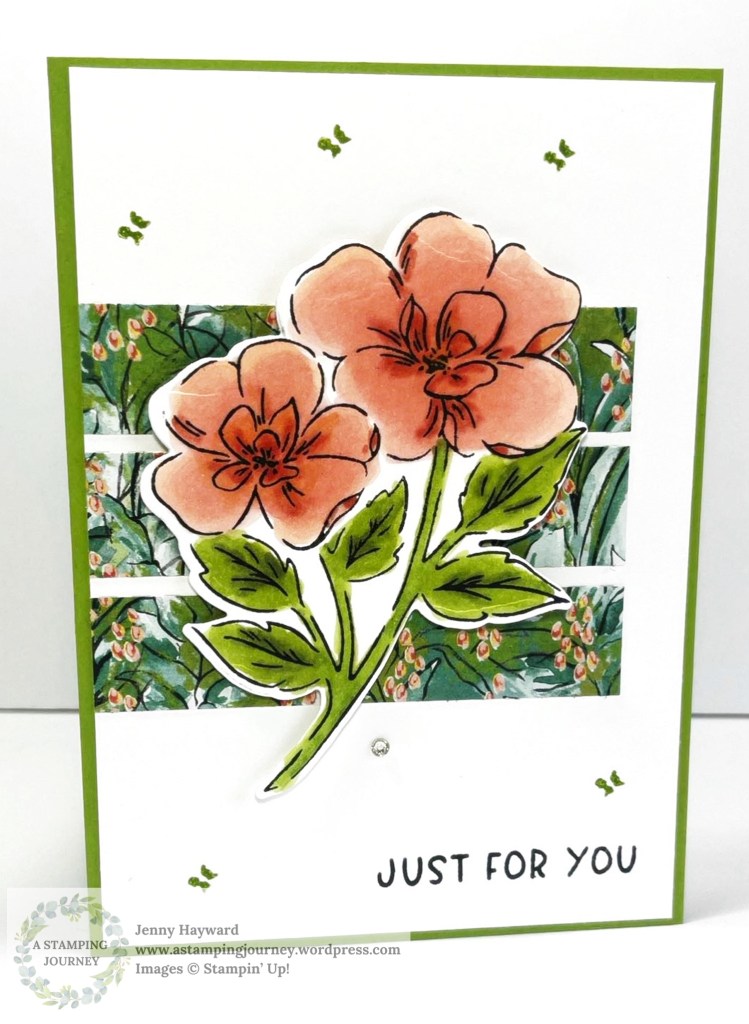
Our class last week was using the Thankful Garden Bundle. There are lots of ways to use this gorgeous bundle.
This was one of the cards we made. We coloured the flower with the Stampin’ Blends as in the class it is hard to use the masks with a group to share them around. But it shows that you can use these in many different ways.
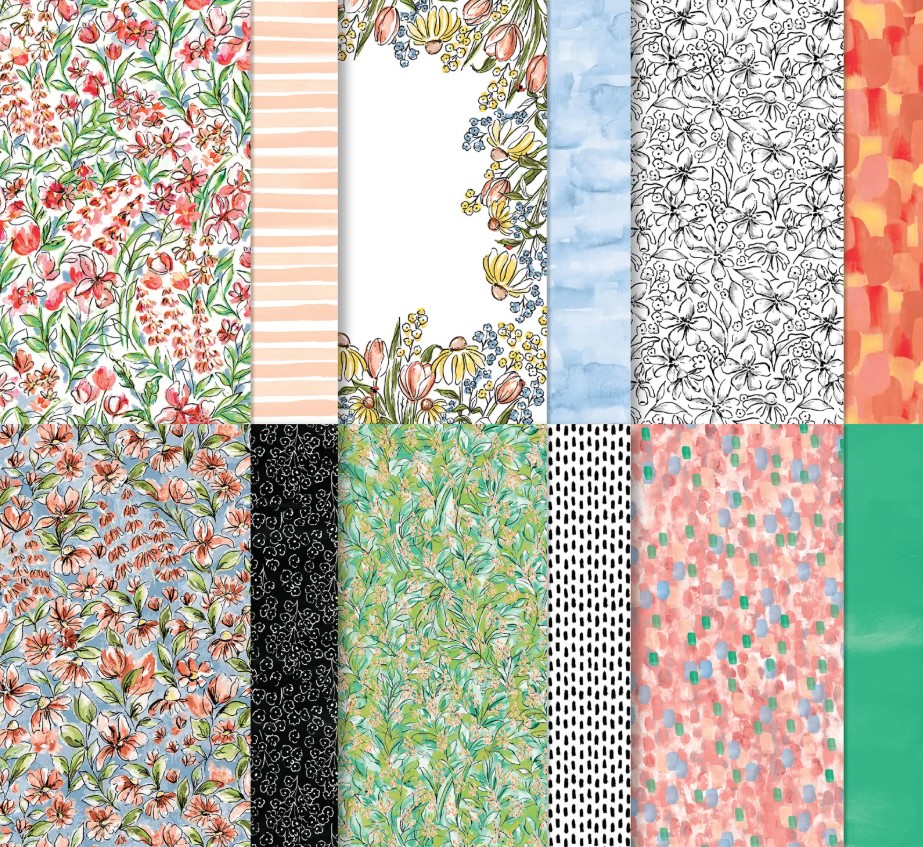
The paper strips are with the Mixed Media Floral Paper that is an Online Exclusives. They just make a different element to the card mat and highlights the colours used.
This is the Thankful Garden Bundle. You can see it more -> HERE.
This is the Mixed Media Florals Paper.
If you are in Australia and need some of the great crafty products I would love to help you.
You can hop by my store -> HERE OR Contact me directly .
I have been sharing a lot with the Beautiful Butterflies Bundle. It is a gorgeous one. You might have caught the 5 Ways with the Beautiful Butterflies Video I posted just recently. You can find this in a previous post on my blog or now on Youtube. But I will also have the link below if you missed it.
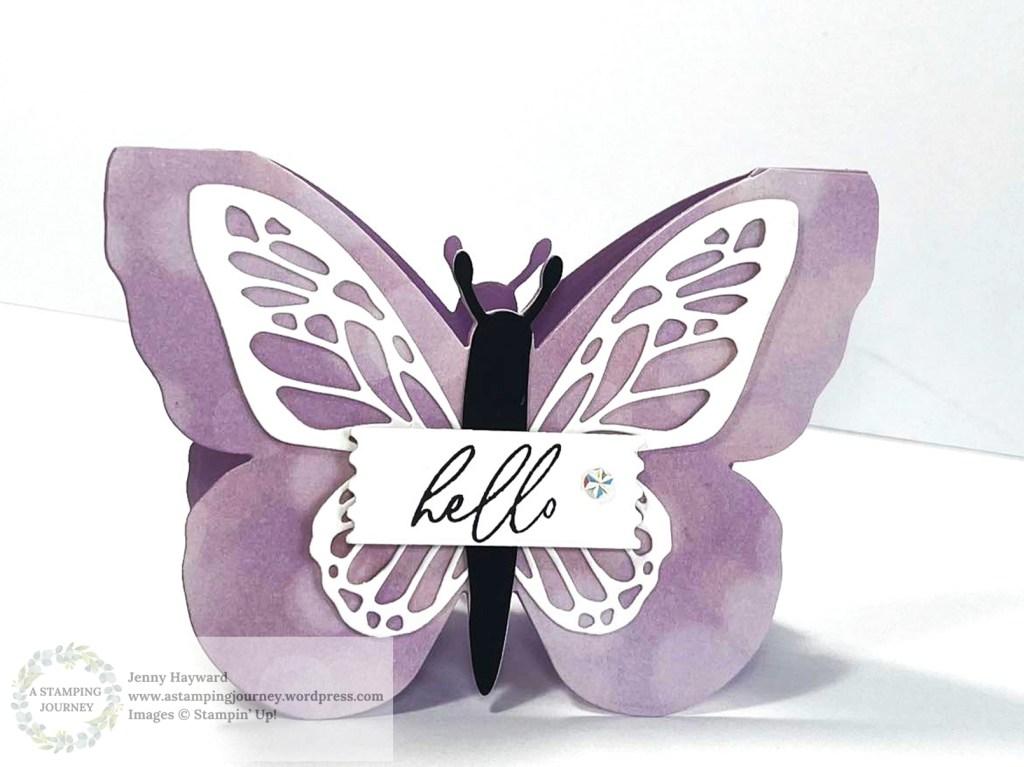
This is one of the cards I created. It is a Mini Beautiful Butterflies folded card in Fresh Freesia.
MAKE IT YOURSELF:
To create this place your die on the fold line of your card base with the little score marks on the die lining up on the fold. Diecut it out. You will have a fold card. If you want some pretty paper on the butterfly adhere your paper to the front of the card first. I used the Beautiful Bokeh paper for this one.
I added a detailed diecut body in white on the front of the card.
If you missed the tip on how to cut the black body then be sure to check on my page or on the video ->HERE.
If you have the Beautiful Butterflies I hope you get to make one similar. Have a play with it. It’s lots of fun.
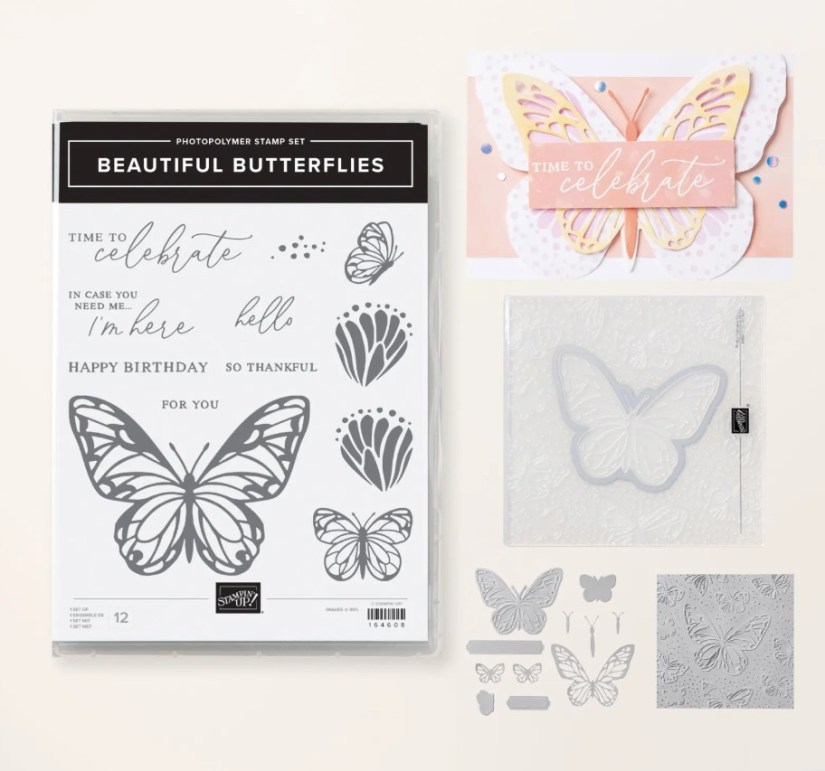
This is the Beautiful Butterflies Bundle. You can see it more in my store -> HERE.
If you are in Australia and need some crafty supplies, please stop by my store -> HERE. OR Contact me directly.
I came across the Faux Watercolour Technique recently. I was intrigued and had to try it. I thought you might like it too so I put together a video. You can follow along and give it a try.
As you watch you might see it is a bit like the Smooshing Technique. But there are some differences.
Here is the video.
Here is the card I created.
The Thankful Garden Bundle includes Stamps, Dies and Masks and is an Online Exclusives.
If you have missed it you can see it online -> HERE.
I have also used the Soft Waves 3D Embossing Folder which adds a nice, curvy texture. Also, using the Arched Dies for the sentiment adds a different element.
Hope you like it and get to try the technique yourself.
Happy Crafting,
Jenny
If you are in Australia and need some supplies I would be happy to help you. You can visit my store -> HERE OR contact me directly.
Sale-A-Bration has one week left. Where did that time go!
Have you checked out the amazing value when you become part of the Stampin’ Up! Community? It’s incredible.
There are 2 options:
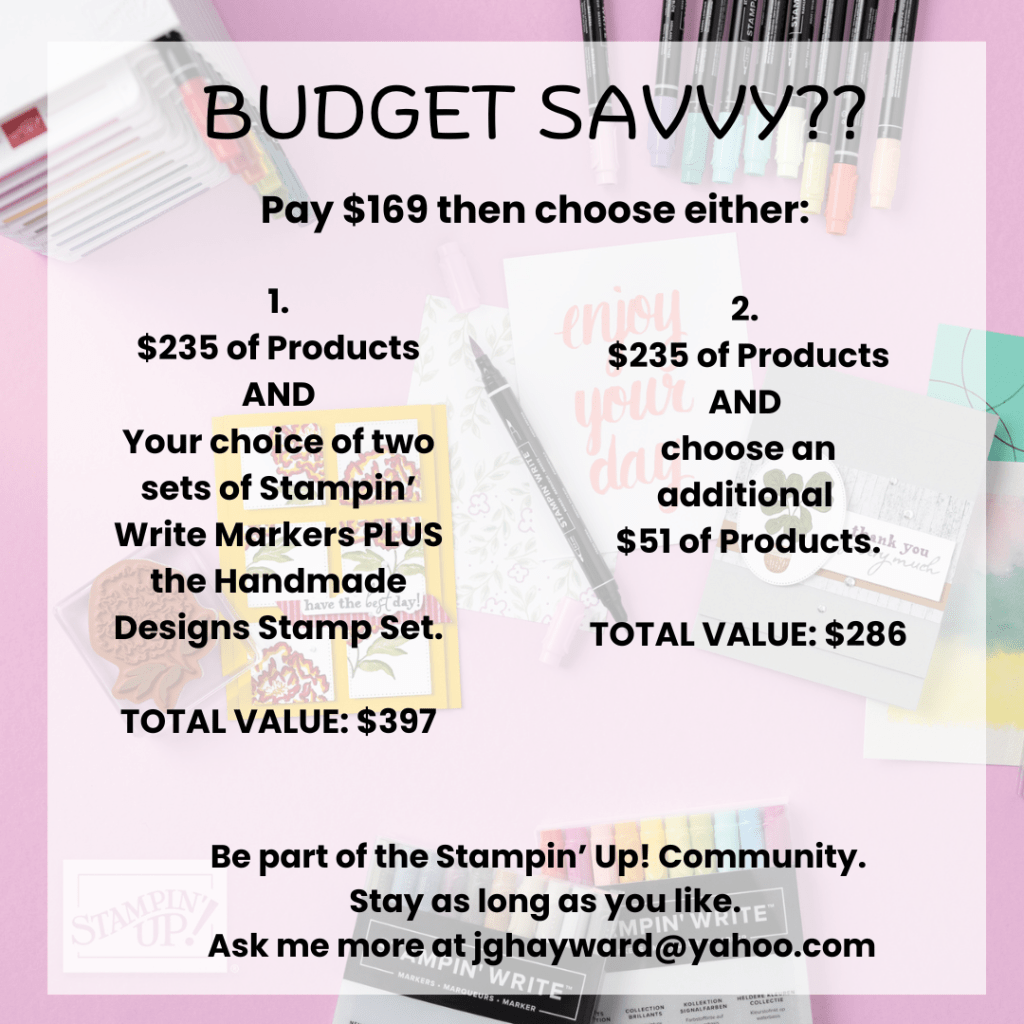
1. Pay $169 and get $235 worth of products of your choice PLUS a choice of two Stampin’ Write Marker Assortment packs of your Colour Preference. Choose from the Brights, Regals, Subtles and Neutrals.
Also receive the Handmade Designs Cling Stamp Set, an exclusive stamp set designed to work with the markers.
TOTAL VALUE = $397.
2. Pay $169 select $235 worth of product of your choice PLUS an additional $51 worth of products of your choice.
TOTAL VALUE = $286.
With either of these options you don’t pay any Shipping costs so that is even more savings!
And Stay as long as you like to enjoying the discount and all the other benefits while you stay.
Learn more ->HERE Or Contact me directly with any questions. I’m happy to chat, no pressure at all!
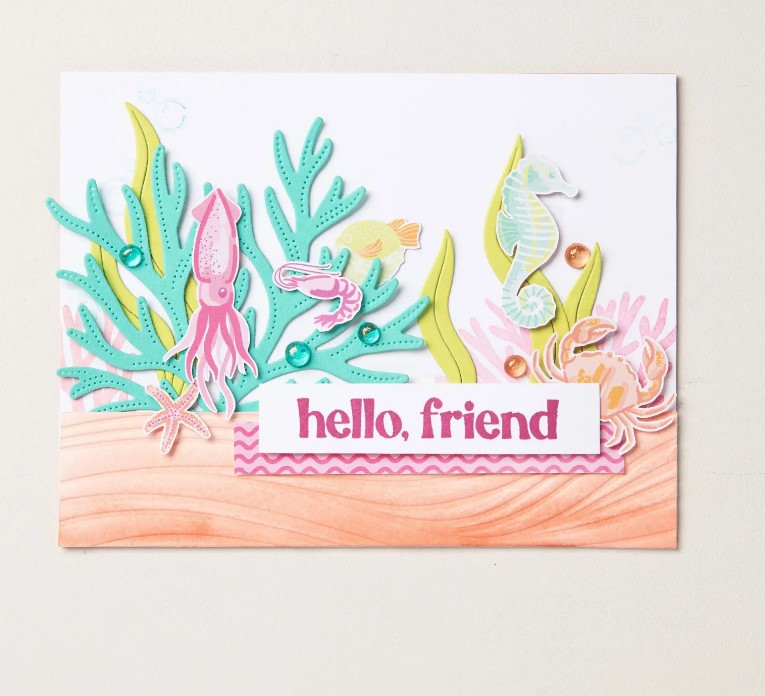
Back with Sunday Suites. We have Friends of the Ocean Suite Collection.
The ocean is my favourite place. This suite is different to your typical marine style stamps and dies I think.
The colours in the suite move away from the typical blues you might associate with the ocean. There is the bright pinks and oranges. I think it leans more to the sunrise and sunset colours perhaps?
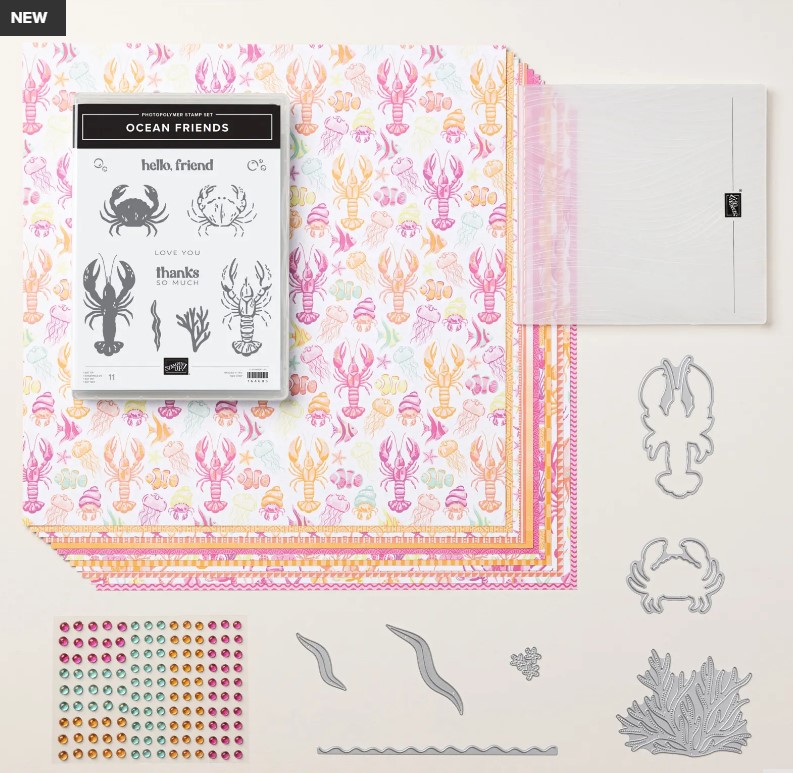
The Friends of the Ocean Suite Collection includes:
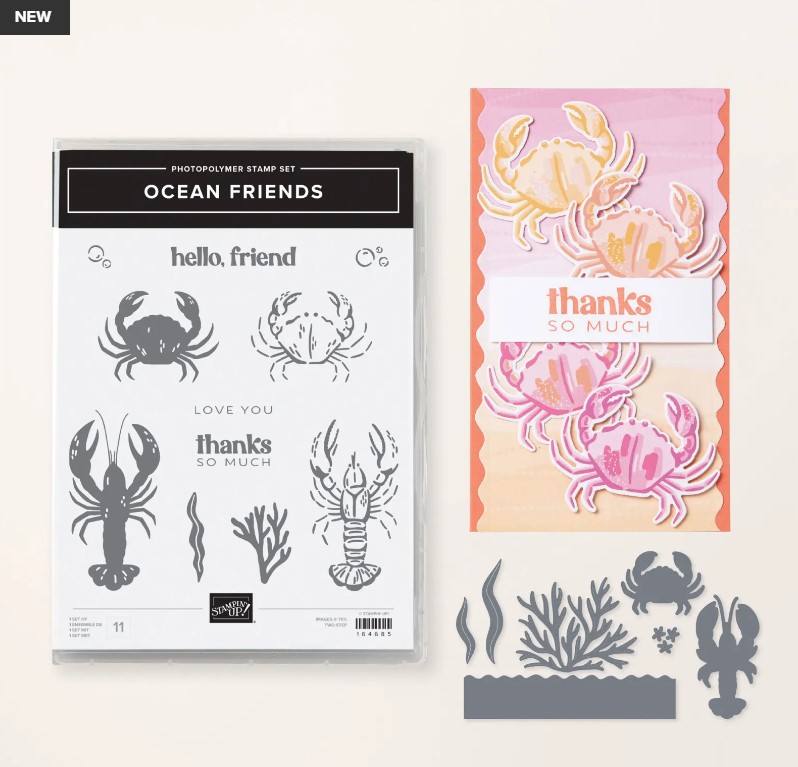
The Ocean Friends Bundle
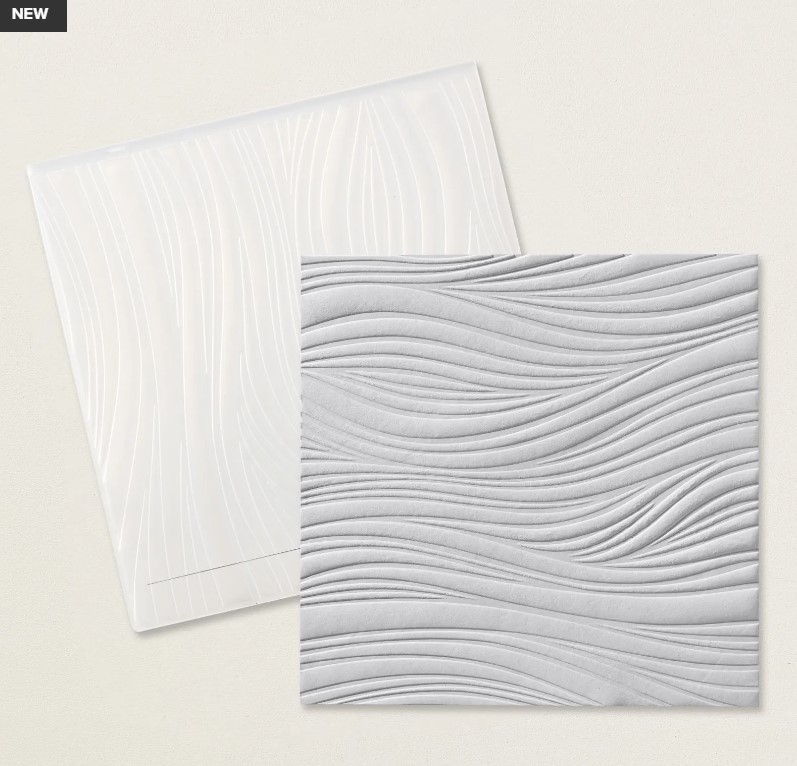
The Soft Waves Embossing Folder
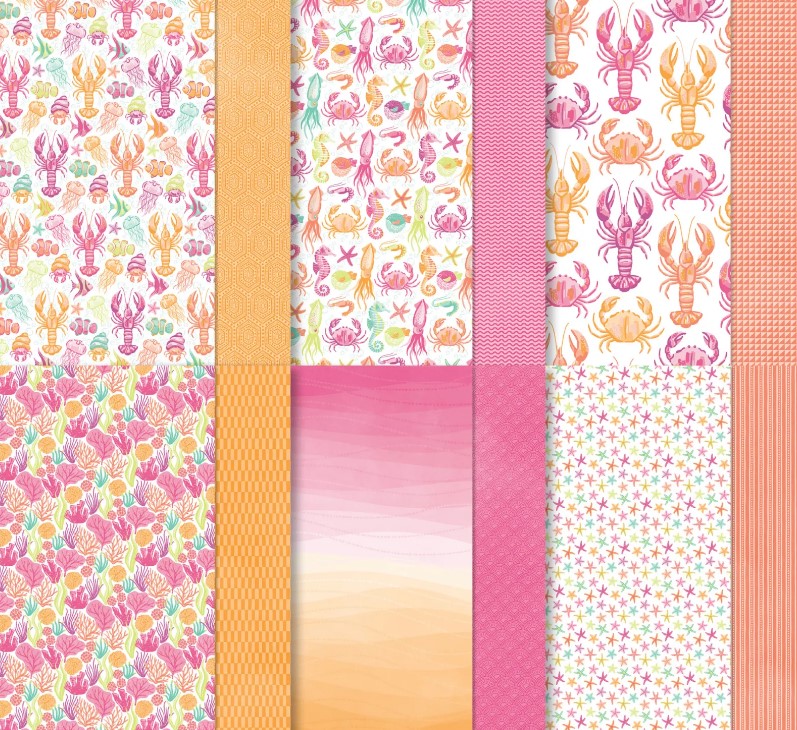
Friends of the Ocean Designer Series Paper 12″x12″
Sunny Day Iridescent Dots 135 adhesive dots 5mm and 6mm. In Melon Mambo, Pumpkin Pie and Summer Splash
Let’s look closer.
The Ocean Friends Bundle
This is a two-step stamp set making it easy to stamp the outline, stamp the inside image and diecut. You can choose to colour these too if you would like.
The Friends of the Ocean Designer Series Paper.
The colours in the paper are Berry Burst, Calypso Coral, Lemon Lime Twist, Melon Mambo, Pumpkin Pie, Summer Splash.
The paper has the ocean creature images on one side and patterns on the other. So these papers can be used to create projects of other fun types. Great for those bright, cheery Birthday cards.
The Soft Waves Embossing Folder.
The folder measures 6″ x 6-1/4″ (15.2 x 15.9 cm) so it is a large one but that works great to get the wavy impression whether your card is portrait or landscape position.
I particularly love the Soft Waves Embossing Folder. It creates deep impressions to add extra texture. The curvy lines could be used on any project beyond water images.
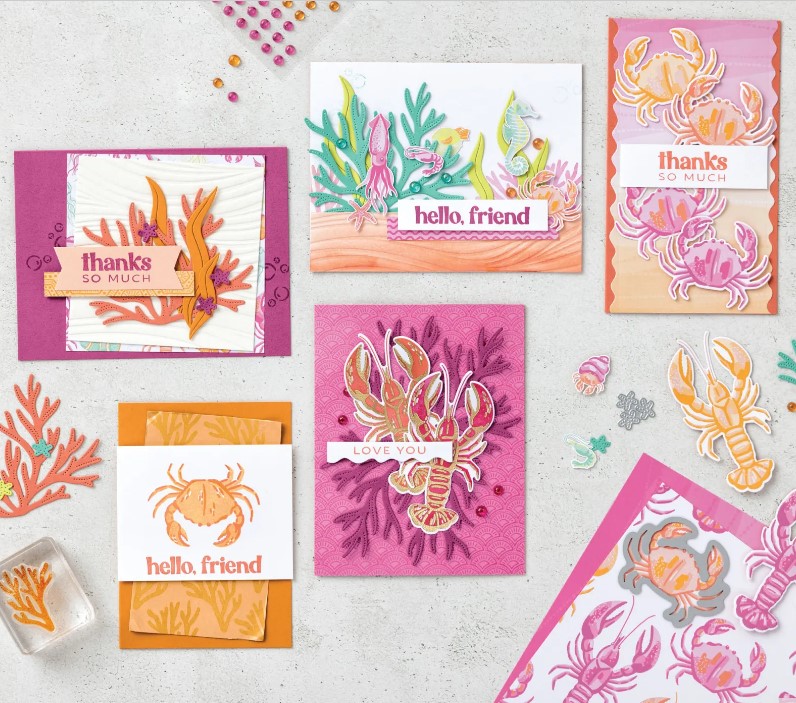
Here are some project with this suite.
See the curvy texture you get with the folder. Here’s a tip: Add some inking on sections of the card to add extra colour.
What do you think? Are you loving the funky oranges and pinks or are you traditional blues for the ocean cards??
Sale-A-Bration is happening in January and February.
While we have enjoyed the new products during January there have been new Choices added for February. And these are current Catalogue products. And I think they are really great choices!
These are the new Sale-A-Bration Choices available. You can pick one with your $100 order (AUD).
The Trusty Tools Dies are great for the masculine cards. Bees are popular at the moment. But how versatile are the Alphabet Dies! So many great picks. What would be your favourite?
Be sure to add your pick when you order is over $100.
If you are in Australia I would love to help you get one of these picks. You can Order through my store -> HERE. Please use the Host Code: 32KKQAX6
OR Contact me directly and I can add the order for you.
I have been playing with the gorgeous new Beautiful Butterflies Bundle. There are so many ways creating with this bundle and I discovered some Tips that might help you when creating with this yourself.
I put together a video to share 5 Ways creating with these Stamps, Dies and Embossing Folder and point out some things to look out for when using them.
If you don’t have the Beautiful Butterflies Bundle some of the ideas may work with other Butterfly stamps and dies you have so check them out.
I will share the cards more over the coming weeks in separate but for now follow along with the video.
The Tutorial for the mini card I shared in the video will be sent out to my newsletter Subscribers in next week’s newsletter. Are you a subscriber yet? Check the side bar on my blog to see how to receive them.
If you are in Australia and need some supplies for your crafting I would love to help you out. You can head to my store -> HERE Or Contact me directly.
Each week I feature a “Hidden Gem”. With so many Online Exclusives happening they can sometimes be missed.
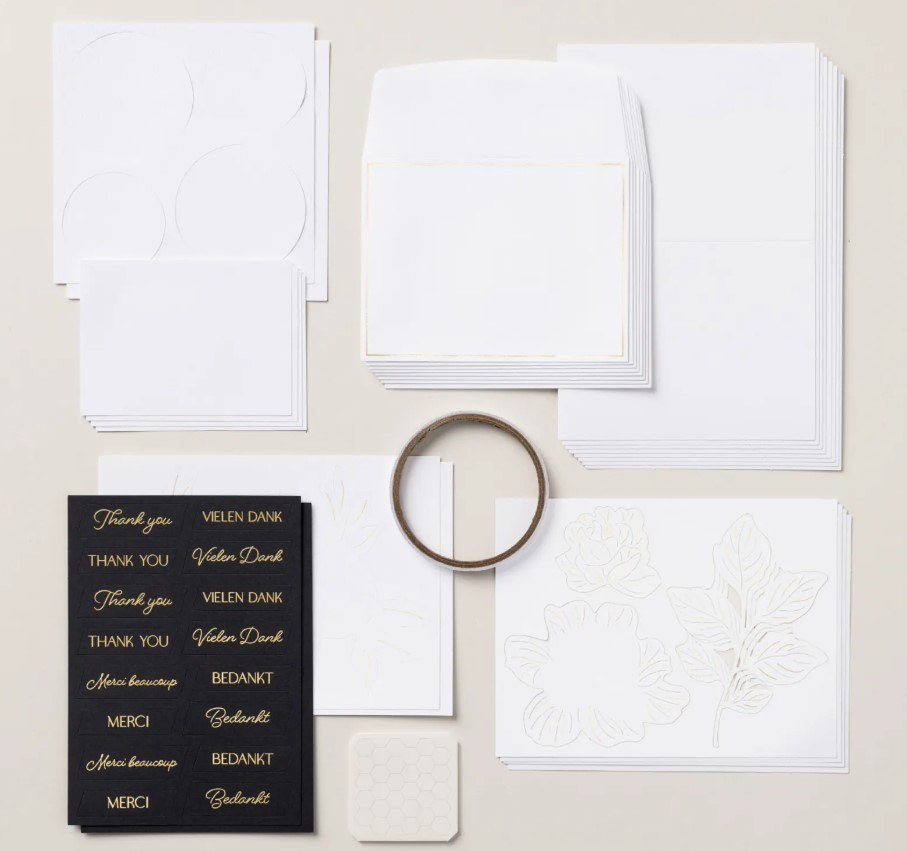
This week it is the Thank You Kindly Kit.
The Kit creates 8 cards and has envelopes included. Kit includes one of each item listed below. – Pre-designed projects – Step-by-step instructions – 8 printed envelopes – Adhesive – Pre-cut paper with gold foil – A 9-7/8″ x 6-1/2″ x 2-3/4″ (25.1 x 16.5 x 7 cm) printed box for storage or crafting on the go.
Now they may be a bit plain for you. Why not try sponging ink over the leaves? That would look pretty with these diecut leaves. You could make your own sentiments too if you didn’t want them as Thank You cards. Ooh! The possiblities…
This is newly released this month. Kits make super quick cards when you are in a hurry. You don’t have to thing about the design or cutting the “bits”.
You can see it -> HERE. If you want a kit do let me know.