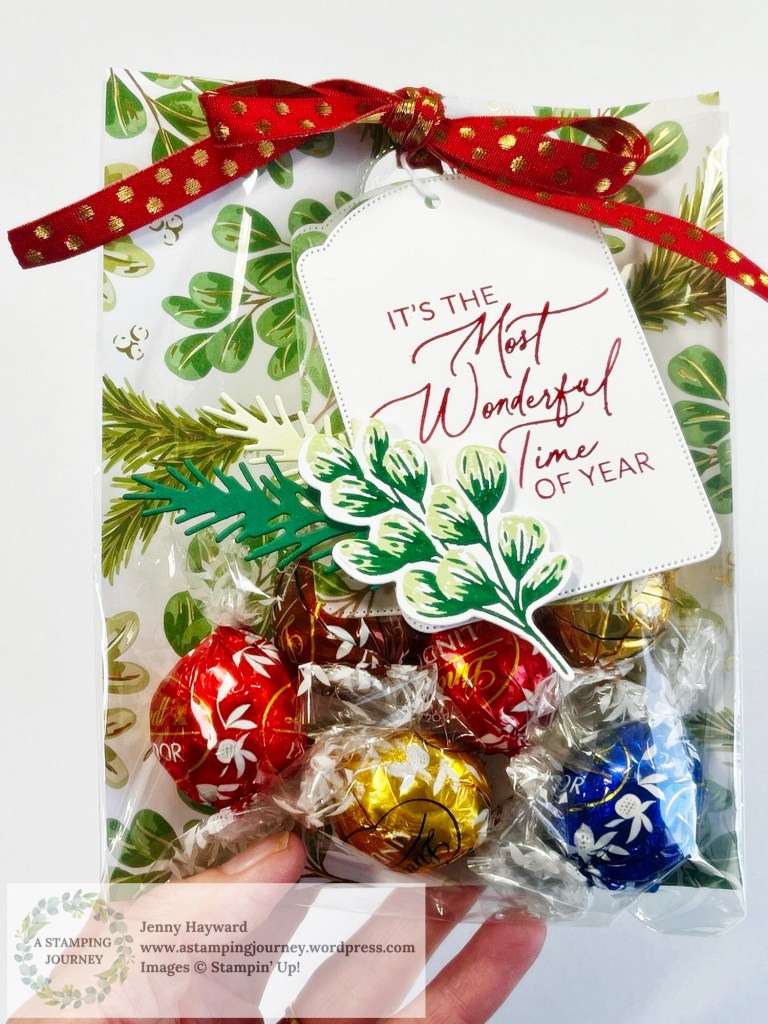
We have arrived to our last week for our 12 Weeks of Christmas Series. Our Week 12 project is a quick and easy Treat Bag.
For this one I have used the Green and Gold Specialty Designer Series Paper.
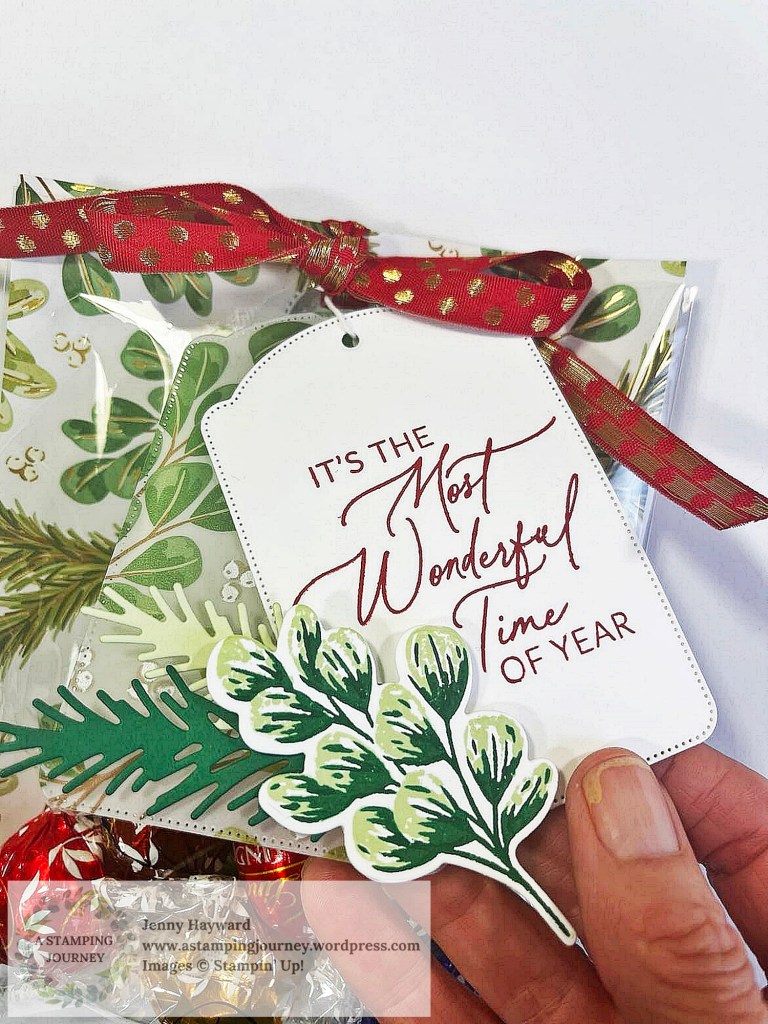
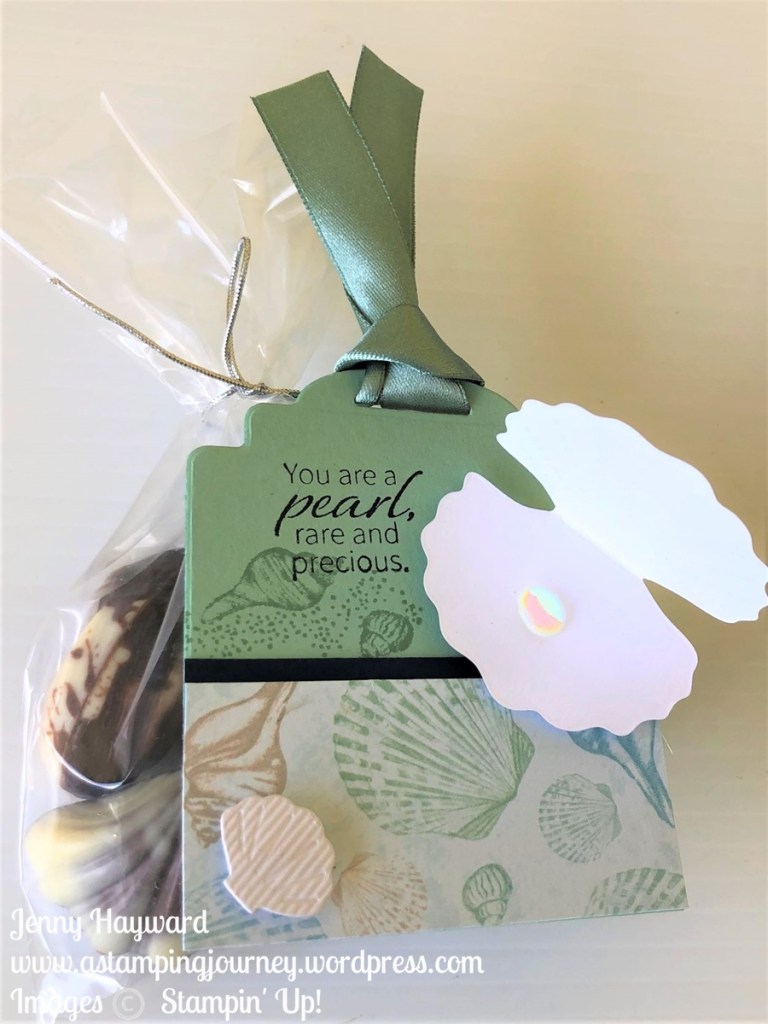
Here’s a close-up of the tag.
A tag was diecut from White card but also from the Graceful Greenery Vellum. I used the Greetings of the Season stamps and dies. Add a stamped leaf from the Golden Greenery stamps and dies and then also diecut leaves. One from Shaded Spruce and the other from Soft Sea Foam card.
It’s nice to dress up some chocolates in a cute bag. All you need is a clear plastic or Cello bag and some pretty paper. I share some tips in how to create them in the video below.
I hope you have enjoyed the projects through our 12 Weeks of Christmas Series and that they have inspired you. Some would work for any occasion so file them away for upcoming ideas.
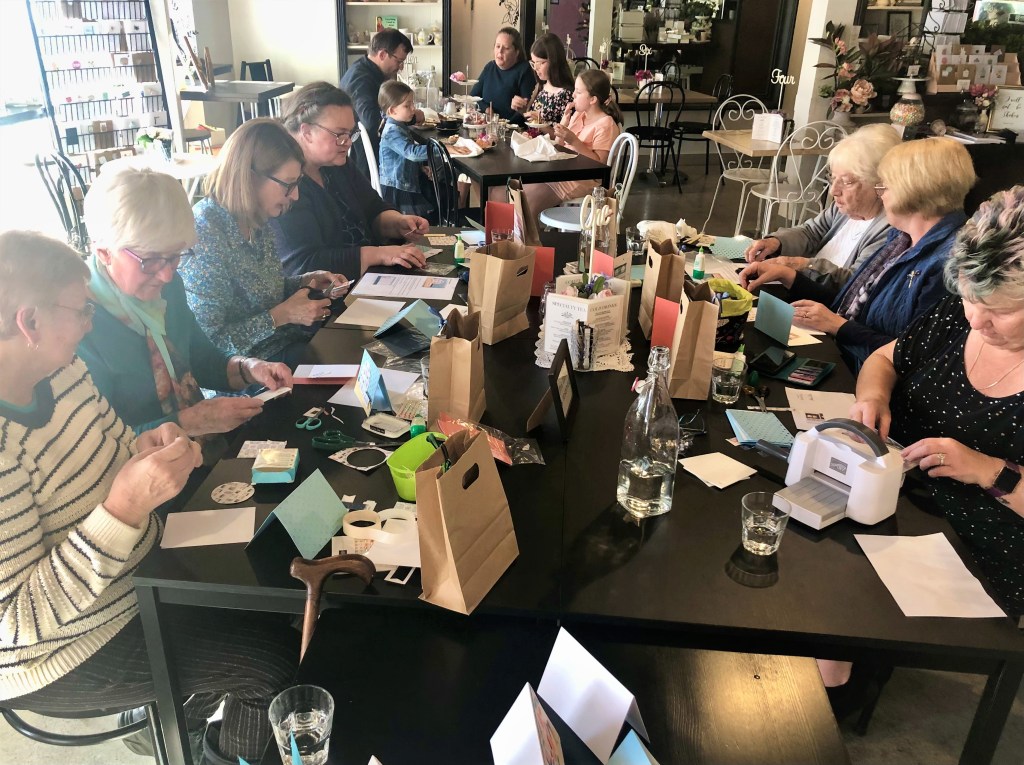
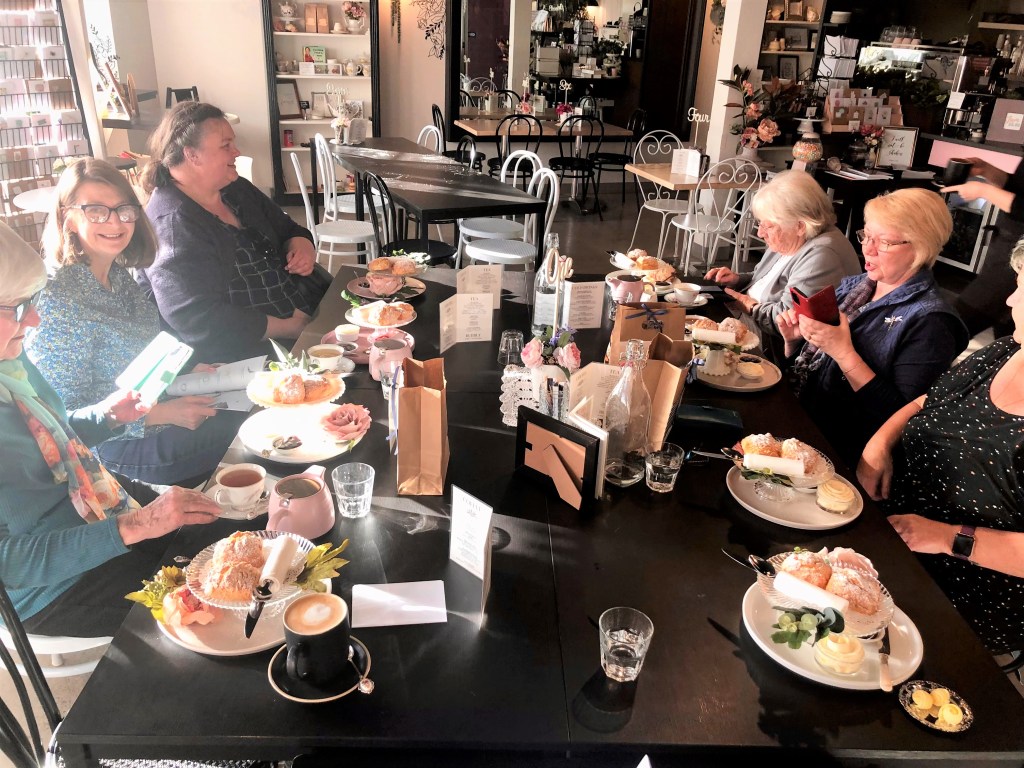
I recently held my Winter Crafternoon event at a local Tea Room. It’s always such a lovely afternoon of crafting and Devonshire Tea. I thought I would share some photos with you especially if you missed it all on Facebook and Instagram.
Gift Bags I made for everyone.
I purchased the brown gift bags from a local discount shop and dressed them up with the Les Shoppes Designer Series Paper shopfronts. The paper mat pieces under the shopfronts were using retired Designer Series Paper.
Here is a close-up of 2 of them.
Isn’t’ the sentiment just so sweet?? 🙂 This is from the Irresistible Blooms stamp set.
We have the Treat Bags. I added some retired Glimmer Paper and ribbon and of course a chocolate treat. It’s a must isn’t it. 😉 The topper of the bag was using the retired paper to match the Gift Bags.
Some of the crafting fun.
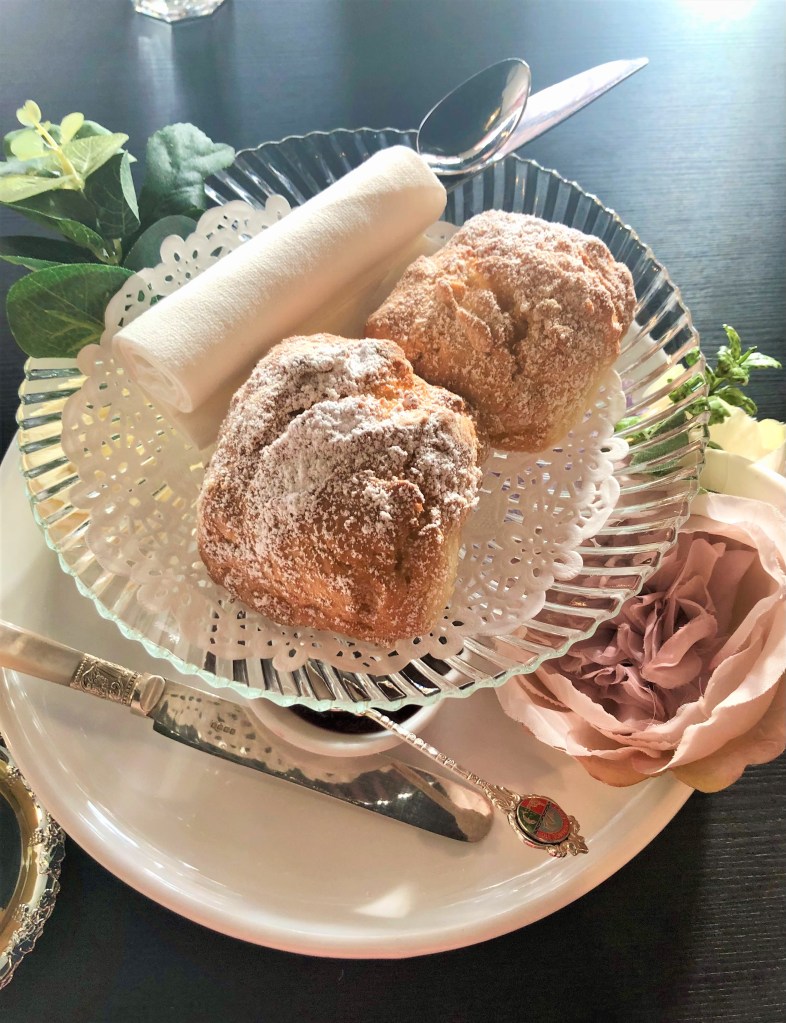
And Yummy Devonshire Tea. This was held at Sugar, Butter, Eggs Tea Room if you are in the Woonona area. You really must go.
I think this will be a regular event on the calendar each year. It is such a special time.
If you are local you need to join us. Contact me to keep up to date with the happening events.
We had our Summer Craftastic Event this past weekend. I will share some of the creating fun with you over the next few posts. Of course I did forget to take a photo of the groups on each day. Too busy creating and chatting. But I will share the projects.
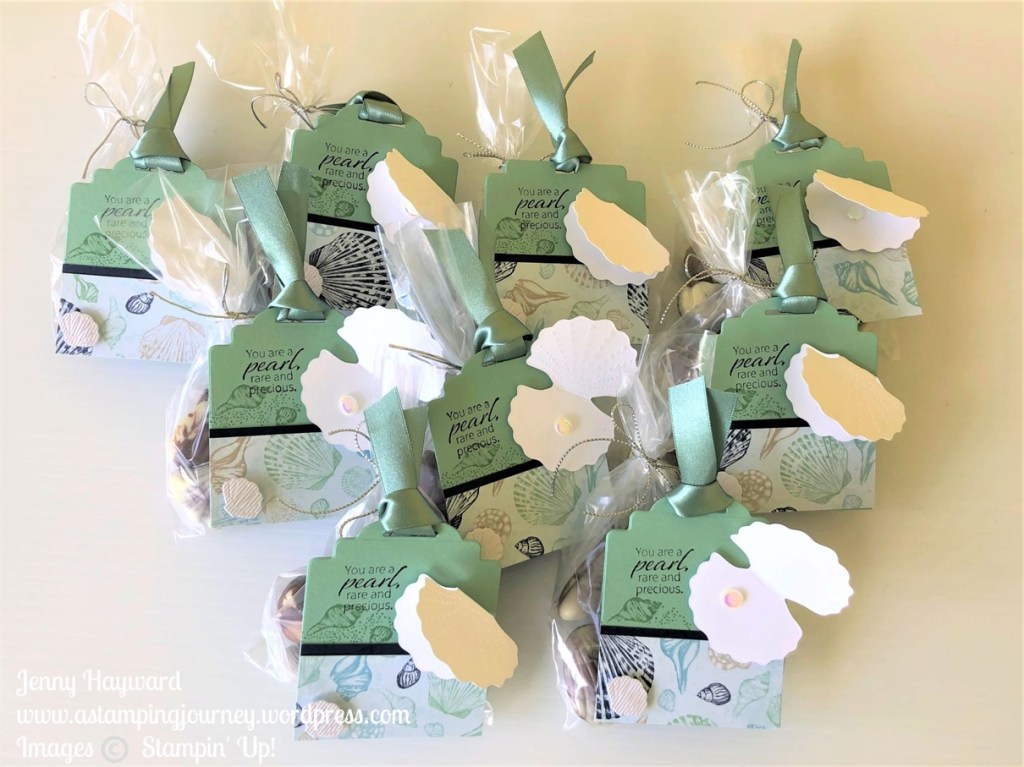
Firstly, I want to share the little Chocolate Treat Bags I created for each guest.
The tag was cut with the Designer Tags Dies. I trimmed off the bottom edge and added a strip of the By The Bay Specialty Designer Series Paper. It’s lovely paper with the shiny images on one side and prints on the other side.
Being “seaside” paper the Shell Chocolates suited well for these little treat bags.
And of course the lovely sentiment for each person with a clam and a Flat Adhesive Pearl. The diecut shell added was diecut with the Shimmery Textured Paper.
Be sure to check back to see the projects shortly. Some I have used the By The Bay Suite.
Happy Crafting,
Jenny
Need to order and in Australia? I would love to serve you.
You can stop on by my store -> HERE. Please use the Host Code: 73TFR9BD
Christmas is getting closer and I’m sure you are getting frantic. Well I am anyway. Still haven’t finished the Christmas shopping – and as for cards …
Anyway, if you are in a rush but you need a speedy little treat bag for someone then I have one to share with you today. These are just the size for some chocolates or jewellery or even a Gift Card.
I shared the Snowflake Vellum bags I created for my class attendees on my Facebook last week. And everyone loved them. I thought I would put together a video to show you just how easy they are to make so you can whip up some yourself.
These are the SnowflakeVellum Treat Bags if you missed them on Facebook and Instagram.
Now here is the little bag created with the Storybook Gnomes Designer Series Paper.
The Gift Tag is one we created in class at our Tags and More class last week. I just thought it would work well with this paper. It uses the Merriest Moments Stamp set and the dies. Unfortunately the stamp set is now sold out.
These bags were inspired by ones I saw on my lovely friends Sam’s blog on Pootles. I couldn’t find the original when I went back to them. I did change these a little. But if you haven’t checked out Pootles yet you really should. Sam has some quick, easy gift bags and treat holders to create. You can find Pootles -> HERE.
You can catch the video here or now on Youtube.
Do you want to make your own?
Here are the measurements for you.
CHRISTMAS TREAT BAG
Designer Series Paper – 19cm x 13.5cm 7 ½” x 5 ¼”
Score on the long side at 6cm, 9cm, 15cm, 18cm
2 3/8”, 3 ½”, 5 7/8” and 7”
Score on the short side at 10.5cm 4 1/8”
I hope you like these little bags. Believe me when I say they are really quick to create.
If you need any supplies and you are in Australia head over to my store. I would love to help you out.
Head to my Online store -> HERE. Please use the Host Code: 4T4CRRTK
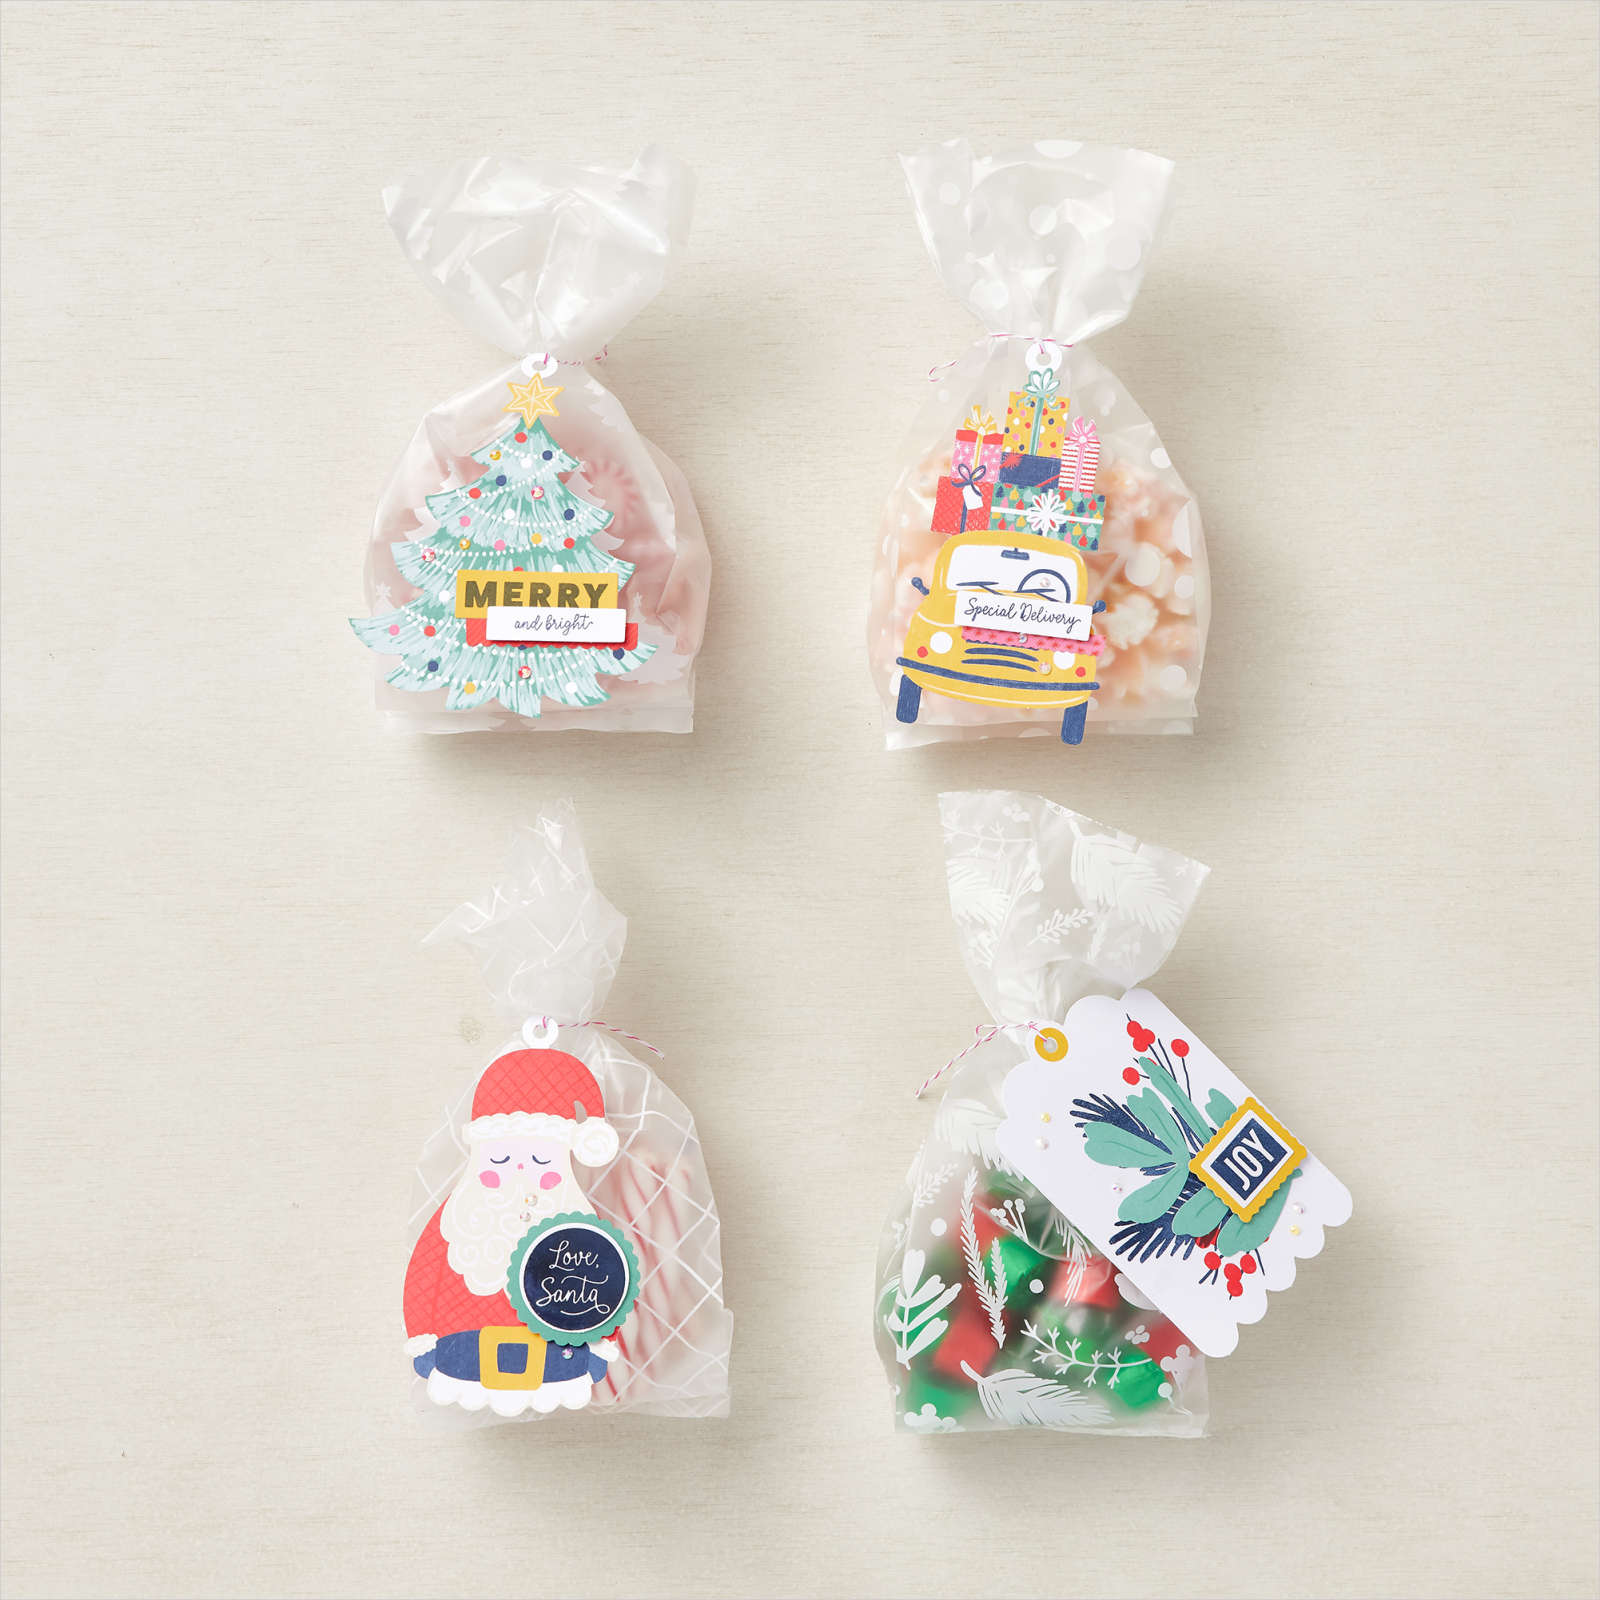
The much anticipated Love Santa Project Kit is now availableready for your Christmas creating to make quick gift tags and cute treat bags.
The Love, Santa Project Collection Kit ($45.25 AUD) contains all you need to create 12 tags: 3 each of 4 designs. And also includes the stamp set and 12 treat bags.
OK, Today is my last sharing from our recent Team stamp day with Shoebox Swap cards. I have a few various ones for you.
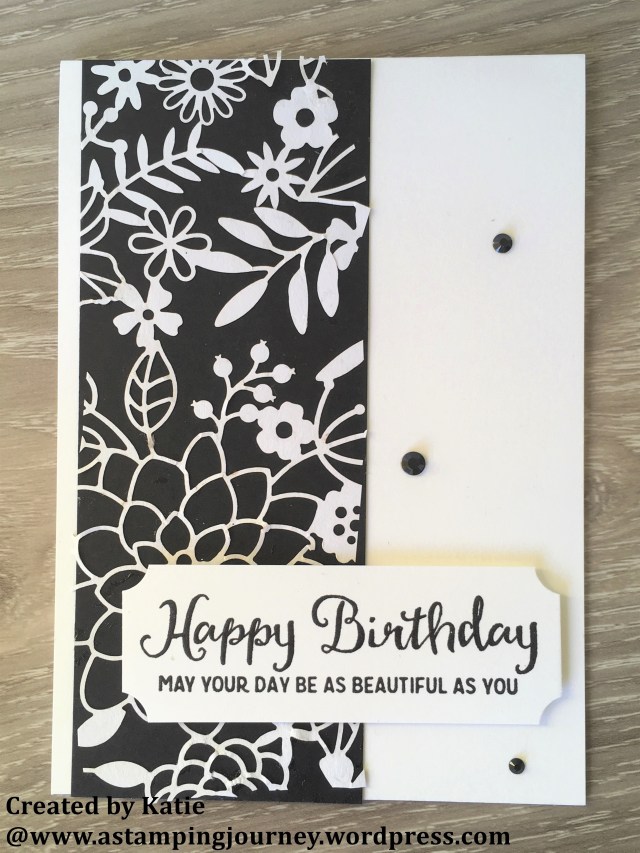
This one below is using that gorgeous Delightfully Detailed Laser Cut paper. I have shown lots of cards using this paper recently. For this card you don’t need much more than backing a section of the paper on to a strip of black card and adhering it to your white base card. It makes it look so elegant don’t you think?? I think from memory the sentiment banner is a strip of white card and using the small circle punch to notch out each corner.
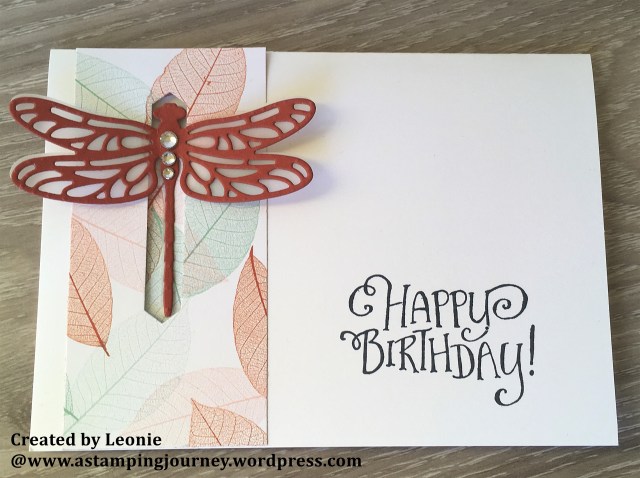
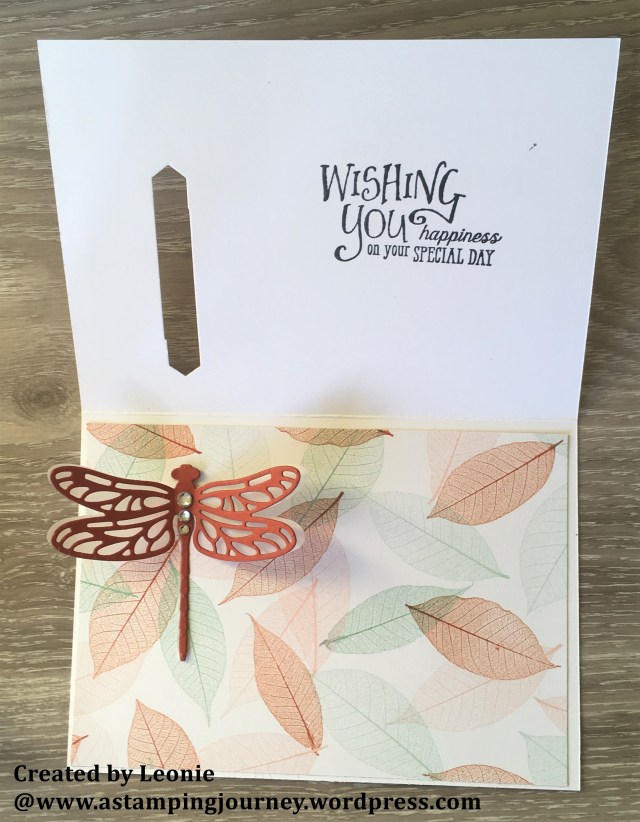
This next one is a fun fold. Adhere a strip of the lovely paper, this one is the Nature’s Poem DSP, down the left hand side of the front of your card. Punch a slit using the Classic Label Punch on the side of the card front. You need to punch it twice to be sure that the dragonfly fits through. Punch it once near the top, then slide it down a little bit and line it up with the previous punch and punch it again. A dragonfly from the Detailed Dragonfly Thinlitswas cut from Vellum and also from Cajun Craze.
This is the inside of the card. The sentiments are from Better Together set. It’s a cool card.
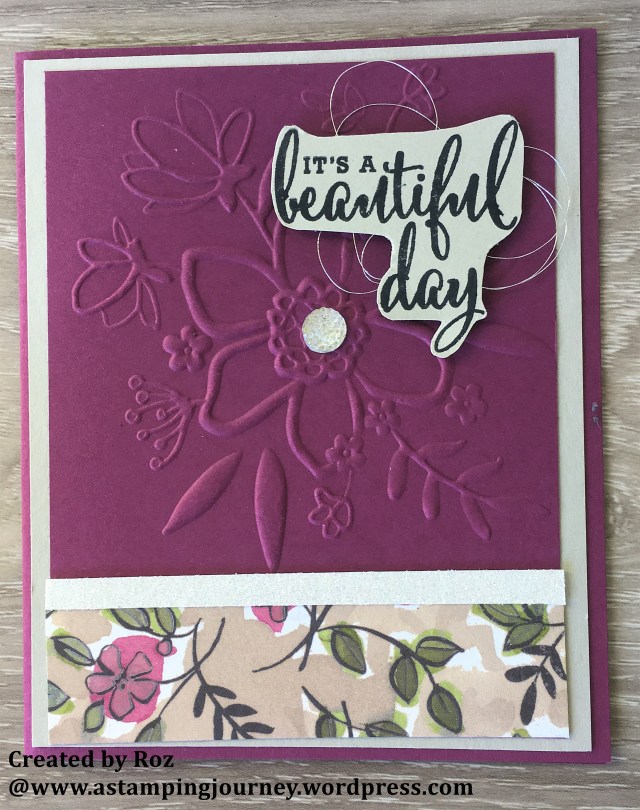
This card uses the lovely Love What You Do set, the Share What You Love paper and the Lovely Floral Embossing Folder.
This is a cute little treat bag below. It is very quick to make up. This is based on Pootles bag -> HERE.
I hope you have so enjoyed these little projects from our team day. We are getting ready for another get together in the next few weeks. Hopefully I don’t take as long to share those with you. 😉
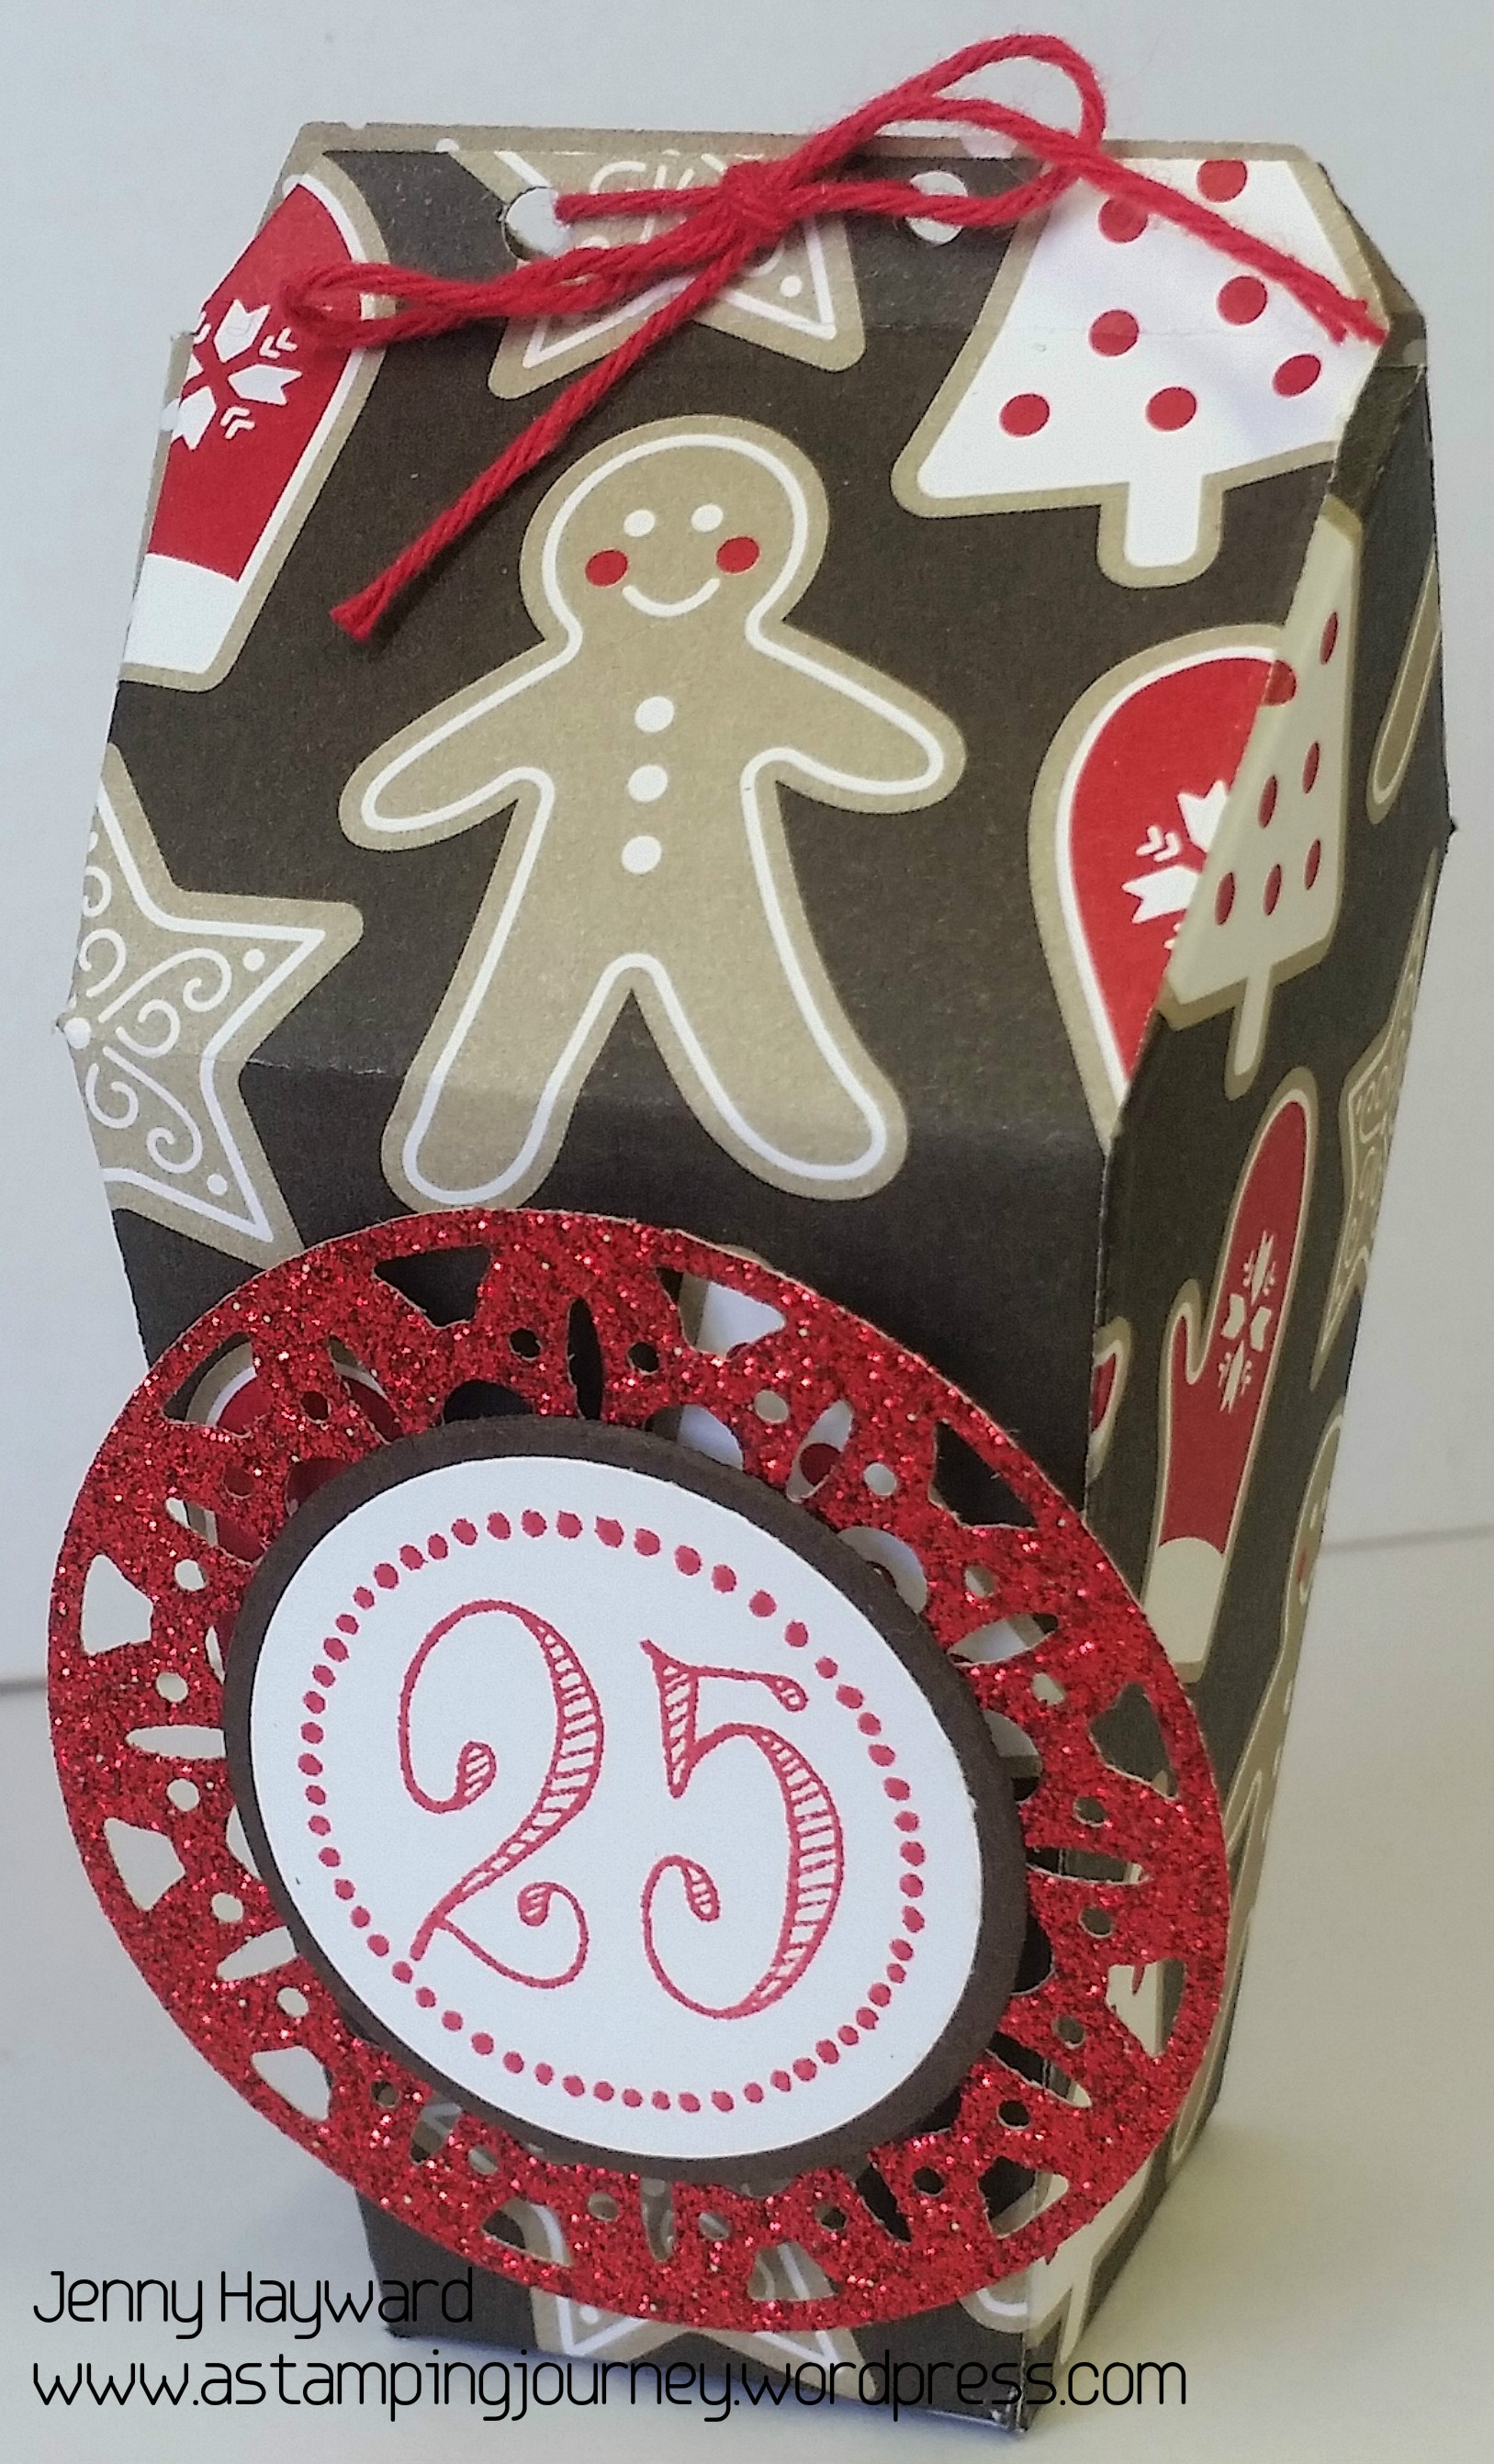
Not a lot of time left to get everything done for Christmas. If you still need some quick treat boxes and you have the Home Sweet Home Thinlits then I have a very speedy box for you.
I cut 2 pieces of the house Framelits shape from the Candy Cane Lane DSP. It was then simply adhered together by folding on the score lines and placing your adhesive on the side tab and the bottom tabs to assemble. I used Fast Fuse for this as it is strong. Punch 2 holes in the top section and then you can thread some Real Red Baker’s Twine to close it.
I had a left-over detailed tag in the Merry Tags Framelits cut from Red Glimmer Paper. I could then quickly stamp a ’25’in Real Red from the Merriest Wishes set and I cut that out along with a circle from Early Espresso. These were raised up off the box with Dimensionals.
You could easily make a few of these in no time. They might make nice place settings at your Christmas Dinner Table.
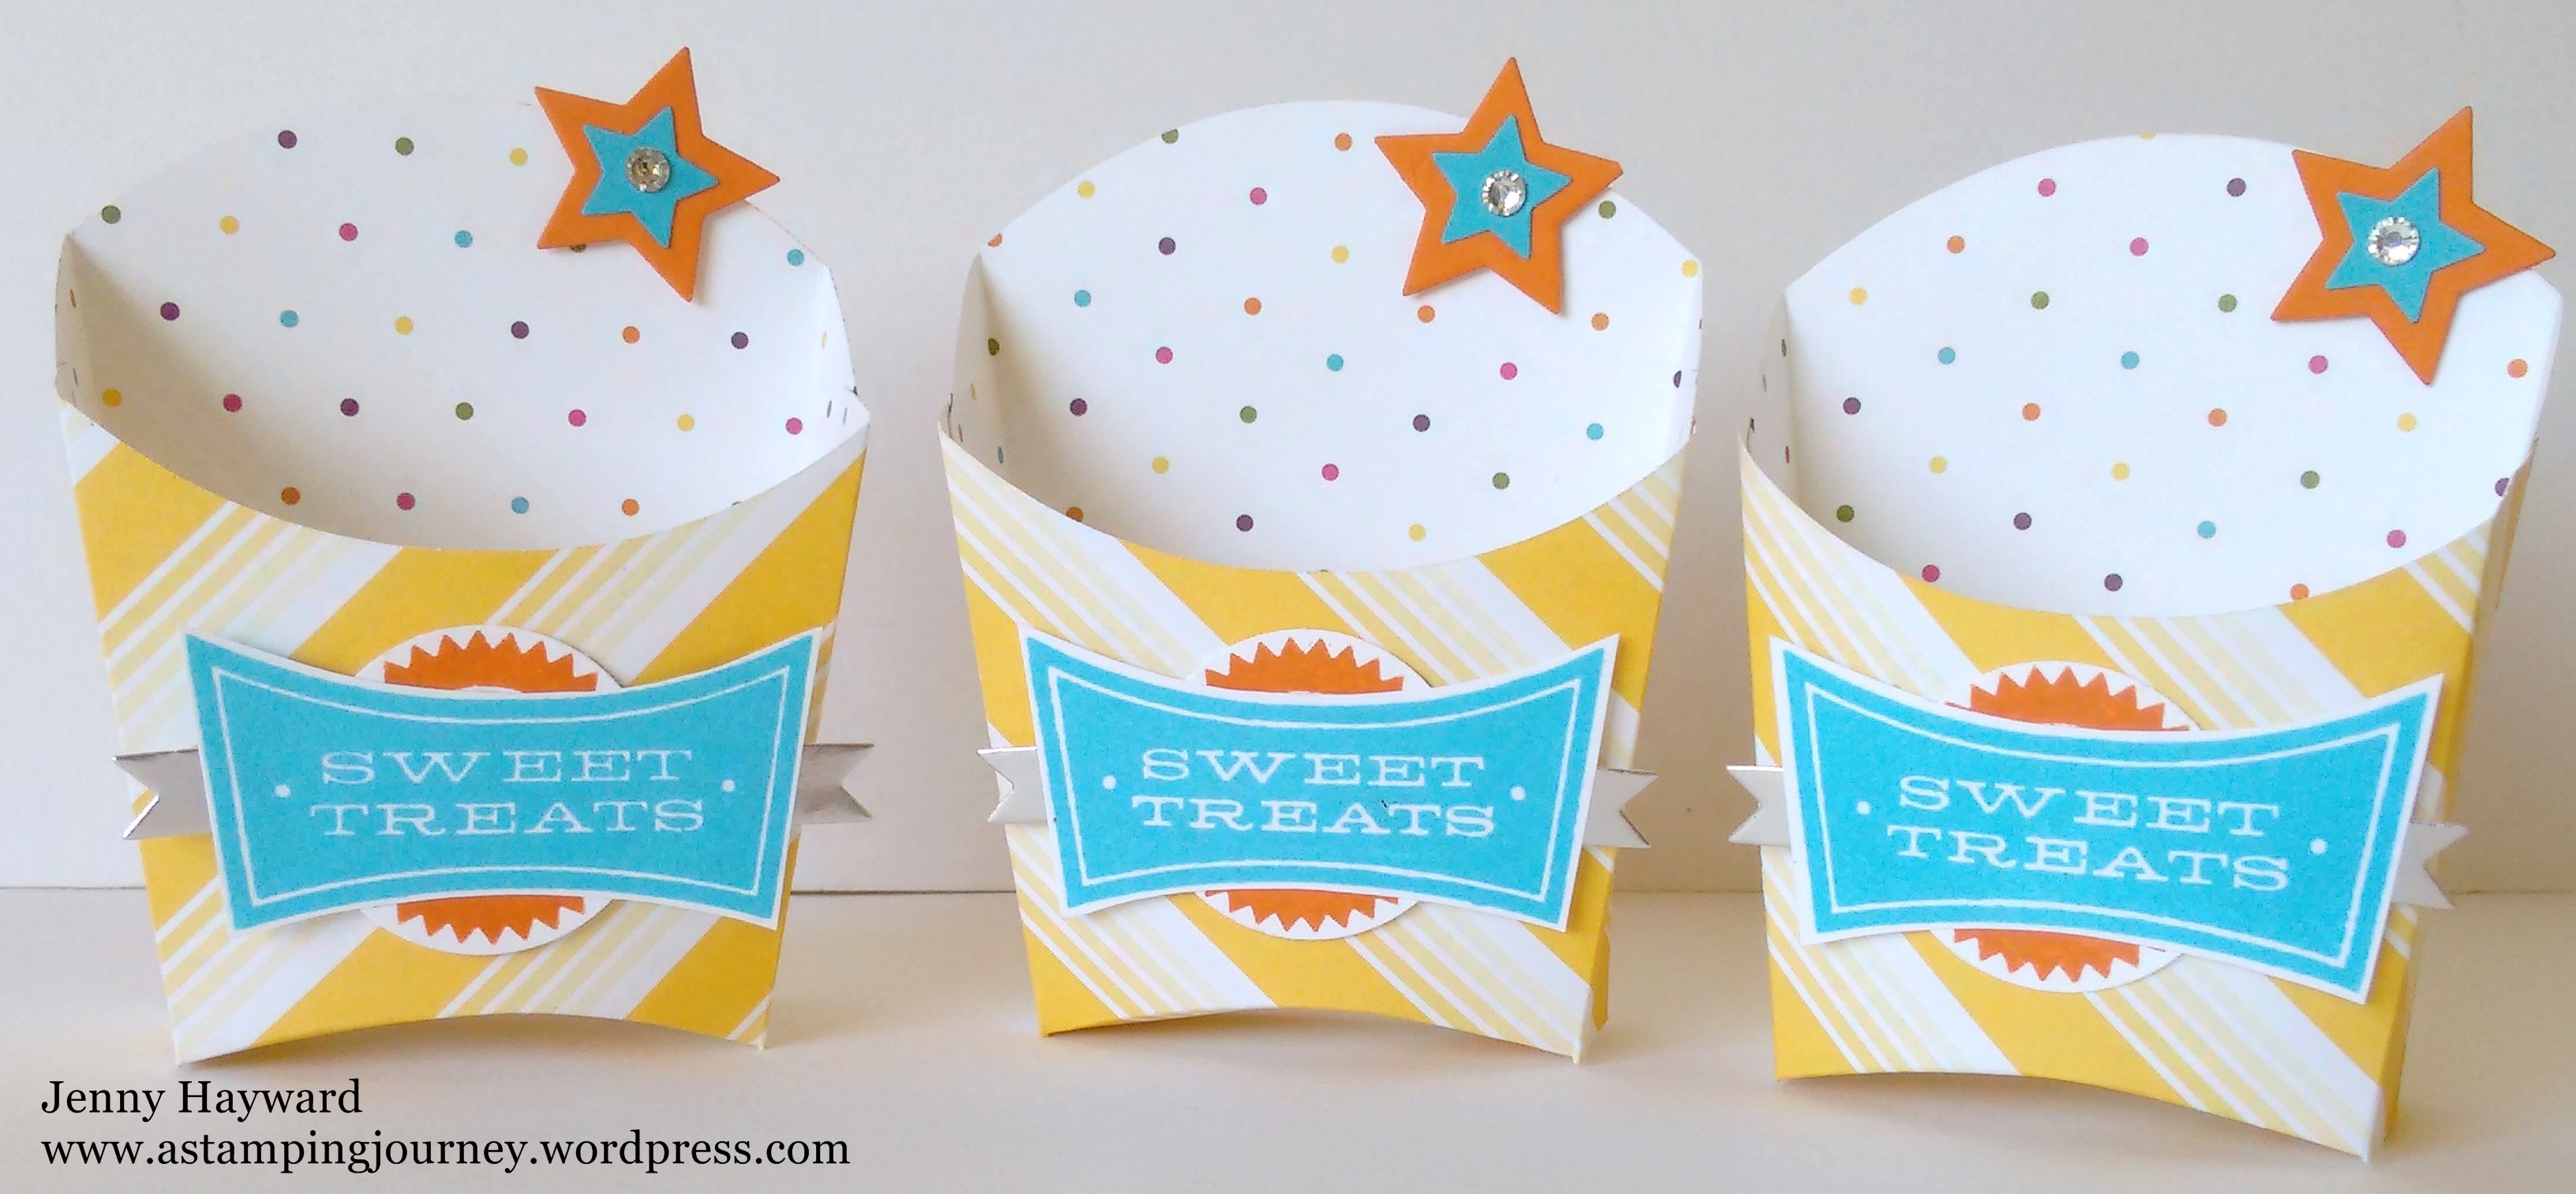
Just a quick one for you today. I am heading off tomorrow to Sydney for the Stampin’ Up! Onstage event on Saturday. Exciting!!! And the new Catalogue will be revealed. More exciting!!! 🙂 Before I go though I thought I would show you another quick treat box I made for my markets last month.
This was the first time I have used the Fry Box after having it for some months. I have used some retired paper for them. I have used the ‘All About Sugar’ stamp set to decorate them.
I thought they might be good for the boys. What do you think?? Fill them up with some cool treats or small toys.
Thanks for visiting. I will fill you in on what I can tell you from Onstage when I come back.
Jenny
If you would like your own 2016 Stampin’ Up! Catalogue mailed to you, then drop me a comment. I know you want to rustle through those pages and make your list. Stock up on your Post-it notes now. 🙂
A few weeks ago I shared the Easter Baskets I made for the upcoming Easter markets. I made a few cute treat holders for the markets too. I have been wanting to show you the project for a couple of weeks but with Easter and Sale-A-Bration there were so many other projects to show you. 🙂
These are really quick to make and you can use them for any small treats. Here I have some little sherbet straws for the kiddies but you could add a chocolate treat or coffee sachet. I have used some retired Designer Series Paper.
Aren’t they fun and colourful?? I have simply decorated them with some ribbon (retired) and cut the “enjoy” (which is in the Mini Treat Bag Thinlits set), from black card to add to the front. Really they probably took all of one hour to make. I didn’t have a lot of time but wanted something cute but inexpensive to add to my stall.
Do you want to know how to make them?
SKINNY MINI TREAT BAGS
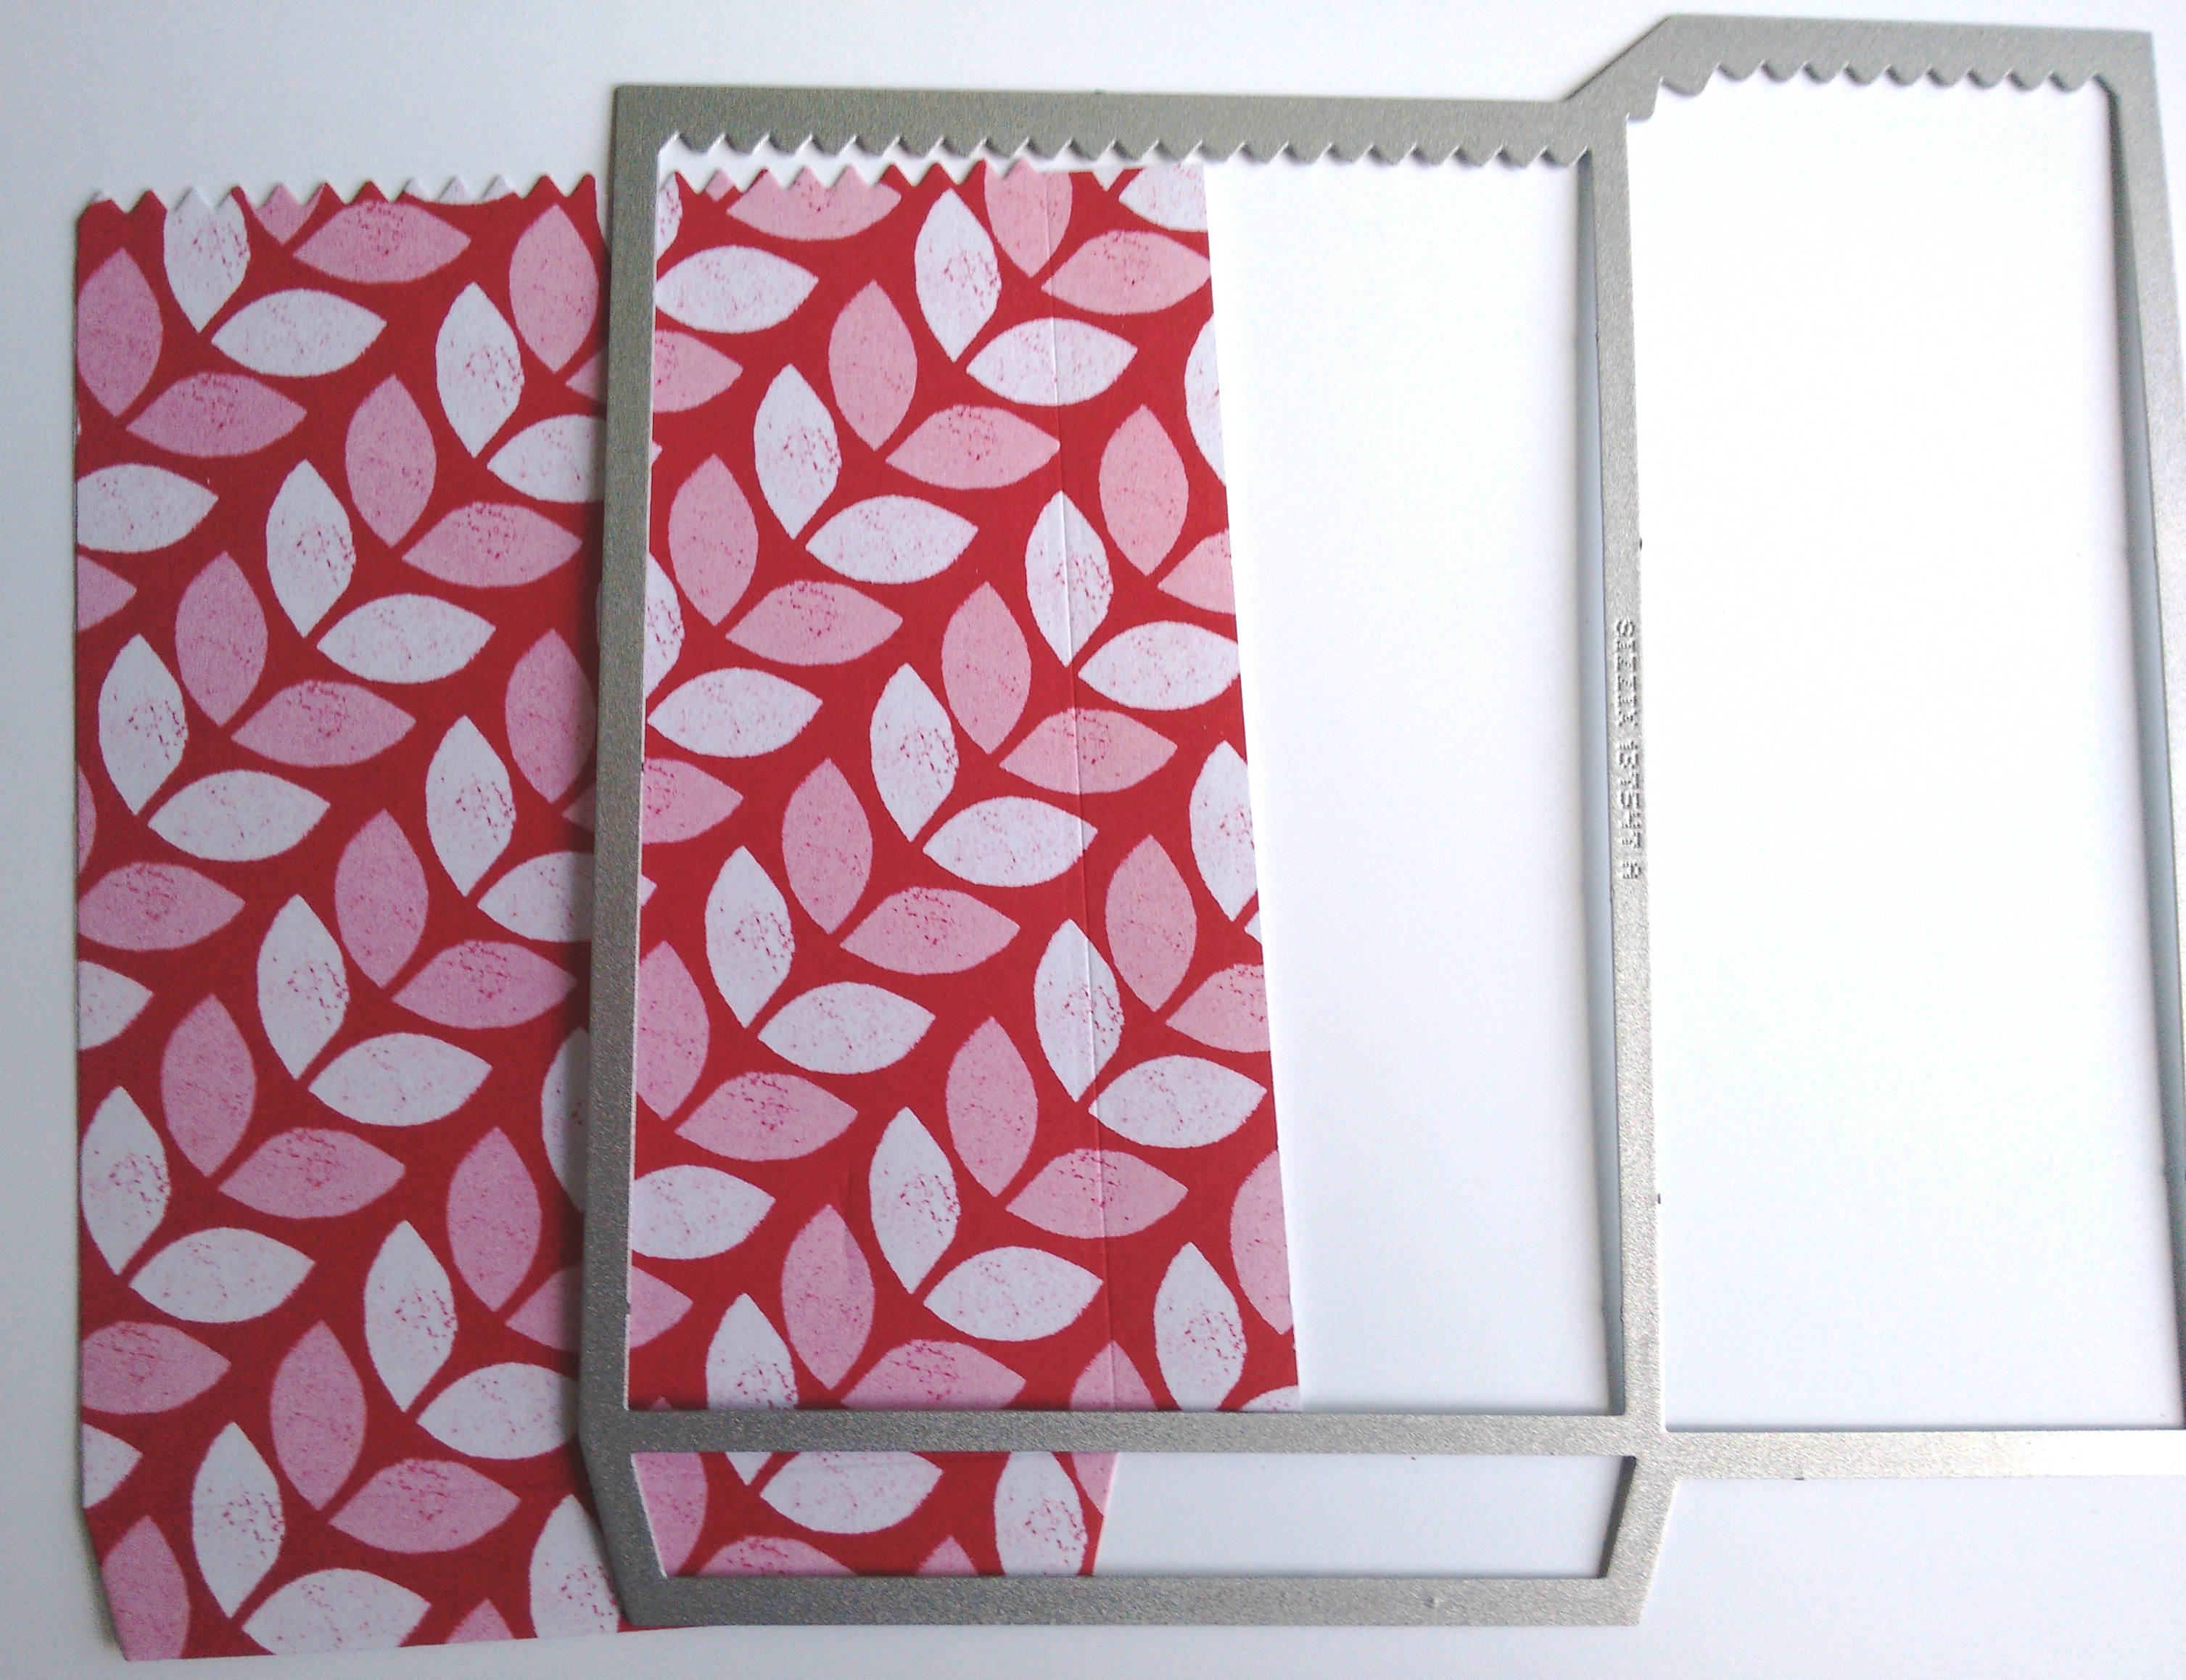
1. Cut a piece of Designer Series Paper (DSP) a little larger than the large section of your ‘Mini Treat Bag Thinlits’= 10.5cm x 15cm (4″ x 6″). Cut the piece out on your Big Shot.
2. Score the large section in half vertically so at approximately 4.6cm (1 7/8″). The photo below shows the DSP piece with the right side facing up. Cut off the left hand side on the bottom tab section.
Place your piece on your Paper Trimmer with the narrow side tab at the top. Line up your zig zag edge at 2cm (3/4″) and score a line from the top edge and just to the score line in the middle.
Cut off the small tab on the top left with your scissors. (Which I hadn’t done yet in the photo). I like to taper the end of the long side tab to give a neater finish when you fold.
3. Fold on all the score lines and open out again. At the top cut down on the middle score line to where it meets the 2cm (3/4″) score line running across.
4. Fold again on the score lines so the folded flap piece is at the front and the taller section is at the back. Place adhesive on the right side (the outside) of the long tab and fold to adhere to the back of the bag with the tab section on the inside. (It doesn’t matter too much if it is adhered to the outside. Just for a neater finish I like it on the inside).
Place adhesive at the back of the small bottom tab and fold over to the back to adhere down. (I wasn’t worried that this was on the outside at the back). Place adhesive under the front flap to adhere down.
Decorate as you like and fill it with treats you would like to give.
I hope this is easy to follow for you. Please let me know if you any questions.
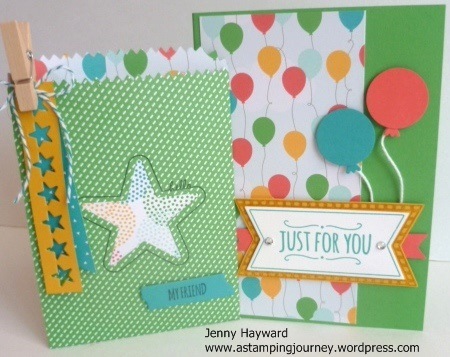
Recently I showed you a card made with the ‘You’re So sweet’ set. If you missed that just pop back 2 posts. Today I have a gift bag and card I made with the set.
I saw the Treat Bag on Pinterest initially and just changed it a little. The paper is from the paper stack ‘Cherry On Top’. I made the bag with the Mini Treat Bag Thinlets. The little star is in the set which I could cut inside the stamped star. How neat!! I just added a star strip cut with the star die in the set in Crushed Curry and a DSP banner. The greeting label is cut with of the little dies in the Thinlets set too.
Then I made a card. Using some more of the ‘Cherry On Top’ Paper Stack I added a strip down the side of the Cucumber Crush base card. I stamped the greeting banner from the ‘You’re So Sweet’ set first on Crushed Curry in Crushed Curry and then on Whisper White in Bermuda Bay. I cut the white one out with the banner framelit in the Treat Bag Thinlets and cut the Crushed Curry one out by hand. It needed something else under the banner so I cut a strip of Watermelon Wonder card and flagged the ends.
See the cute balloons?? I made them with the 1″ circle punch and the owl punch. I punched out the bottom part of the owl and trimmed it and adhered that piece under the punched circle. I added some White Baker’s Twine underneath. Cute hey!! Sorry I think so anyway 🙂
I think they make a cute gift set what do you reckon?
Here is the Mini Treat Bag Thinlets. I like all the “extra bits” that come in the set. They are so versatile.
…and the cute ‘You’re So Sweet’ set.
Thanks for visiting my world today. I hope your day is super awesome because you deserve it to be. 🙂