cards, Stampin' Up!

ROSE WONDER – IT’S A WONDER!!

So I have given you a few days for you to peruse the new Occasions Catalogue.  So what do you think?? What is your favourite on the list??  I mentioned one of mine was the Rose Wonder stamps and thinlets.  I thought I would show you another card with these.
P1180210

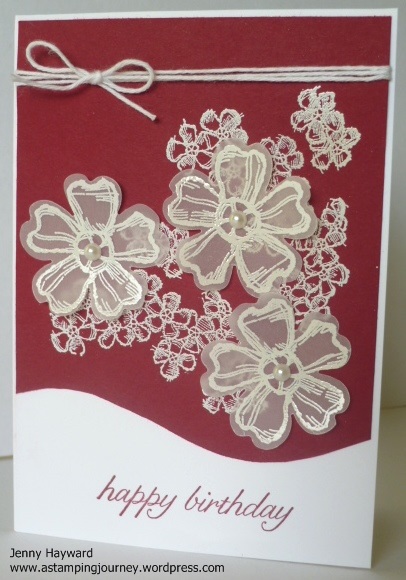
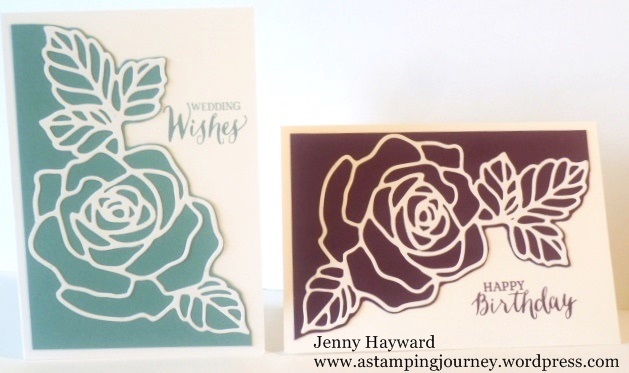
The one on the left I CASED from Pinterest.  I made mine in Lost Lagoon.  Then I thought I would change the orientation and make a birthday one.  This one is in Blackberry Bliss.

The base card is the Thick Whisper White.  I cut the Rose Thinlets from Whisper White card and adhered this to the card mat. I then cut around the rose shape leaving a thin border.  I stamped the greeting on the front.  It is a very basic card but I like the effect.  I did consider whether to add some Adhesive Pearls but still not sure on that one.

I did stamp the inside with some of the images from the set but I didn’t take a photo of that though.  It was just one of the greetings with some of the leaves stamped. Nothing too dramatic. 🙂

Thanks for stopping by,

Jenny

Book your Party now to see more fun projects with the new products in the Occasions Catalogue and Sale-A-Bration.  Lots of free products on offer whether you SHOP, HOST OR JOIN!

cards, Stampin' Up!

BEFORE THE BIG SHOT!!!

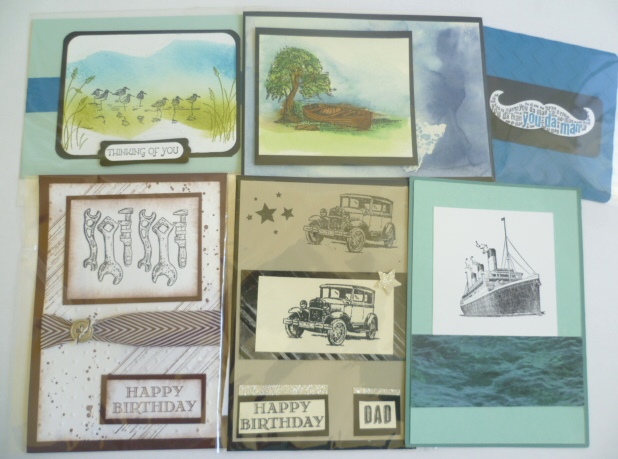
Sometimes at classes when we are talking about the Big Shot we wonder what we did before we had the Big Shot.  I love the Big Shot and everyone who sees it loves it too – and wants one!!! Isn’t that right?  I was sorting through one of my big boxes of cards today and I came across some very early cards I had made.  I don’t have many left but sometimes it is good to look back at them.  I thought you might be interested.  Now I am a little embarrassed to share these but well, we have to start from somewhere don’t we.  I made these cards back in late 2008 and in 2009 in my very early days as a Demonstrator.  I remember being so proud of these at the time.  I had never done any stamping until just before I joined.  So I share these with you.  You can laugh, you can cringe or you can just ignore them completely BUT here they are for the blog world to see ……………..

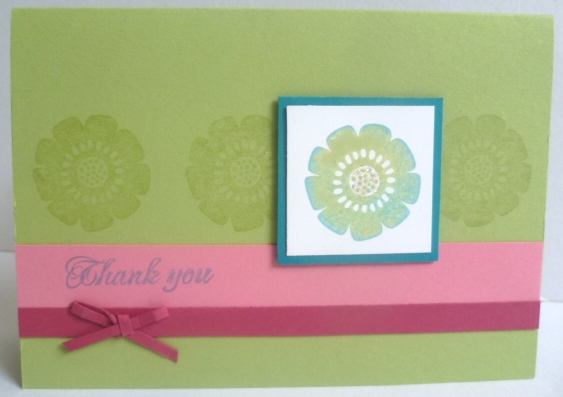
This was one of my very early cards.  This was the first stamp set I bought with Stampin’ Up! that came with my Starter Kit and I must admit the first stamp set I ever owned.  This was a favourite set though ‘Baroque Motifs’.

P1180198

I hardly every use Chocolate Chip now.  This is teamed with Certainly Celery.  I even added a little dazzle with Dazzling Diamonds.  No Rhinestones back then. 🙂

P1180200

I don’t mind this card really but well I didn’t even own any ribbon.  I just used a thin strip of cardstock tied in to a bow.  This card was for a workshop a long time back showing the Rock and Roll Technique.  Once again using Certainly Celery. I used a lot of that colour back then.  It’s not available now and no that is not Bermuda Bay it is with.  This is Taken with Teal (retired). My first inkpad I bought.  The light flowers were stamped in Versamark onto the base card.  I had used Regal Rose (not available now) and Rose Red.

P1180202

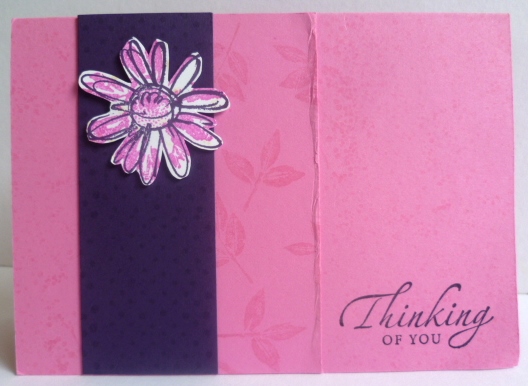
I still love the layout of this card.  I think I will have to try this one again with some new stamps. 🙂  I think I CASED this from the Stampin’ Up! Catalogue at the time??? There was no Pinterest back then either.   I used Pink Passion (no not available now either) and Elegant Eggplant.  I don’t think I have used that colour combination since.  The greeting was from ‘Sincere Salutations’ (retired).

As I think on these cards and other earlier ones I realised that I used more stamping techniques where now I rely on the Big Shot to cut and add texture.  I think I need to get back to some more stamping techniques.

But enjoy your chuckle as you look at these.  We shall move on now to new products and new catalogues.

Only 2 more sleeps until the new catalogues begin.  I am excited about this. 

See you again very soon.

Jenny

cards, Christmas, Classes, Stampin' Up!

FAVOURITE 5 FOR 2015!

HAPPY NEW YEAR TO YOU ALL!!!

I hope 2016 is a wonderful year for you full of great health, happiness – and I hope lots of opportunities to create. 🙂

I am looking forward to another year of stamping. It always excites me at the start of the year when I think of the new discoveries in stamping and being able to share them with my lovely customers and  you my lovely readers. 🙂  I am also excited when I think of the new people I will meet to share all this creativity with.

Before I look too far forward though I thought I would look back at this past year at some of my favourite projects from the year.  I hope you will indulge me a little and enjoy recapping these – or seeing them for the first time.

I will add the link below each project to the original post so you can read about them.

P1150801

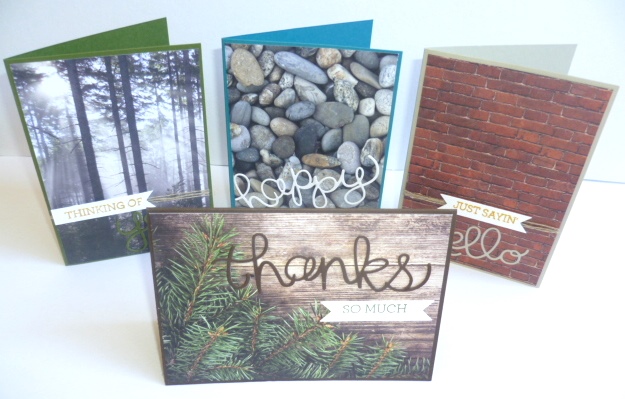
I had fun making these Masculine cards with the ‘Adventure Bound’ Paper Stack.  See about them HERE.

P1160425

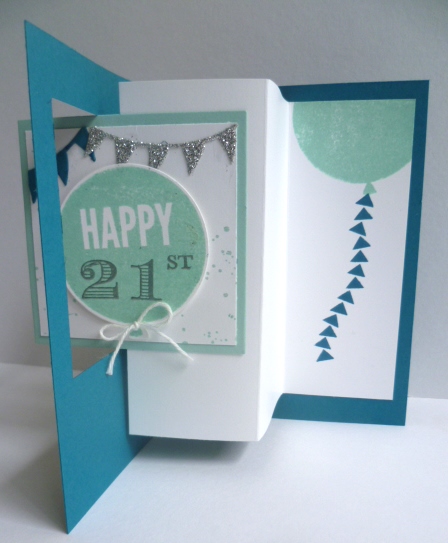
A special 21st card.  Read about it HERE.

P1150979

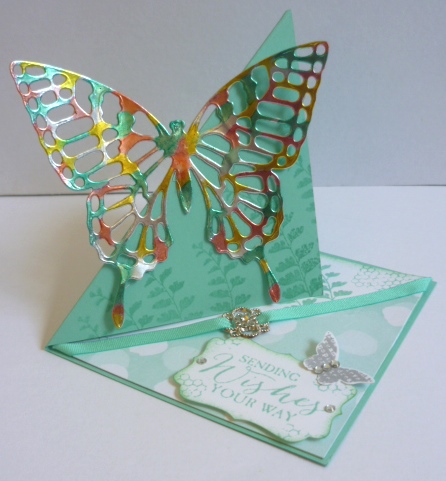
A fun Triangle Easel Card.  See the post HERE.

P1160636

One of the first cards I made with this gorgeous set.  See about it HERE.

P1170158

This is still one of my favourite cards. You can check it out HERE.

I had trouble limiting it to 5.  I have to throw in a Christmas card too. 🙂

P1170418

One of my favourite Christmas cards. See it HERE.

Well those are my favourites BUT what did you think?

Here are some interesting facts from WordPress that you liked this year.

The most popular post in one day was my Convention Swaps on May 9th with 486 hits.  We are always interested in swap cards I think for their inspiration.

P1160597

This is just one lot of them. You can read the full post HERE.

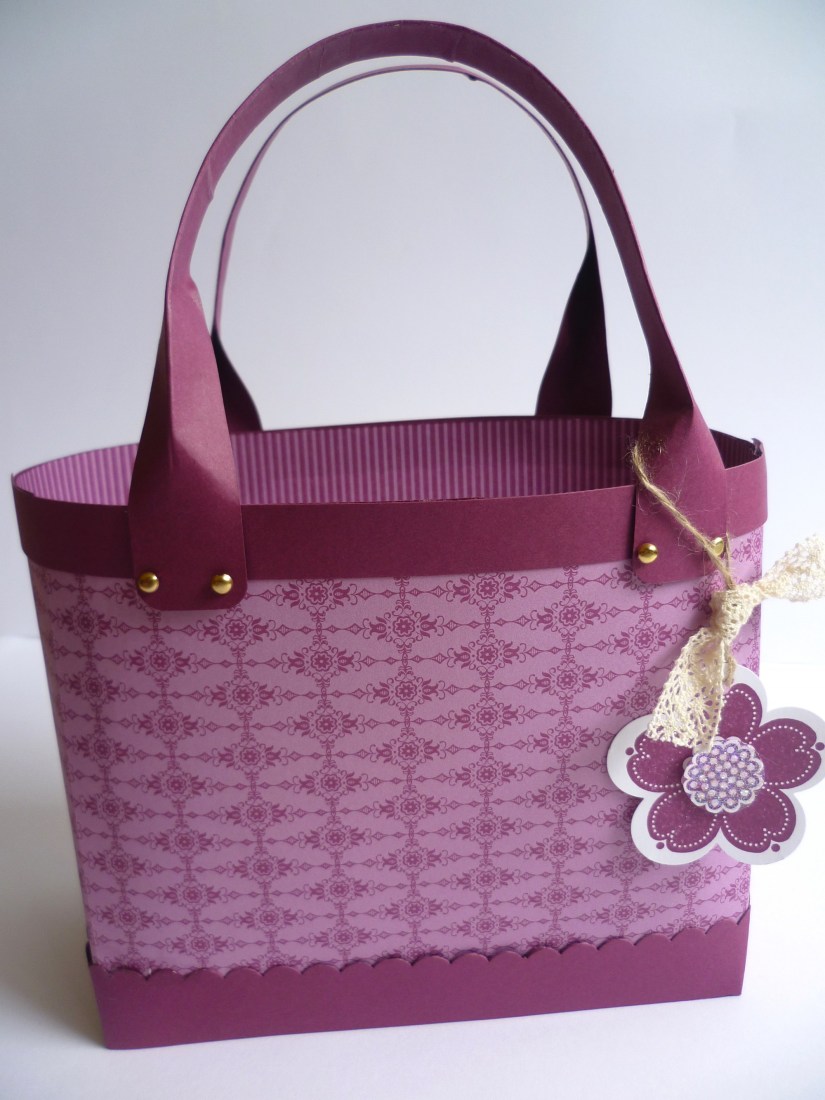
The most popular post continues to be my Tote bags.  These were made in 2012 but are still so popular.

P1030185

The tutorial and the link can be found HERE.

and the more recent one HERE.

Thank You for being part of my journey this year.  I love sharing what I create and I am glad you like to visit.  Feel free to drop a comment now and then.  At least I know then I am not talking to myself. 🙂

Have a great 2016,

Jenny

cards, Personal Ramblings, Stampin' Up!

GOLDEN BUTTERFLY!

I wanted to share this special card with you.  I made this yesterday for my beautiful daughter Carlie who was confirmed last night.  It is a special day for her as she publicly declares her faith.  I am proud of the beautiful young lady she is becoming.  Just like an emerging butterfly ……. (is that a bit corny??)

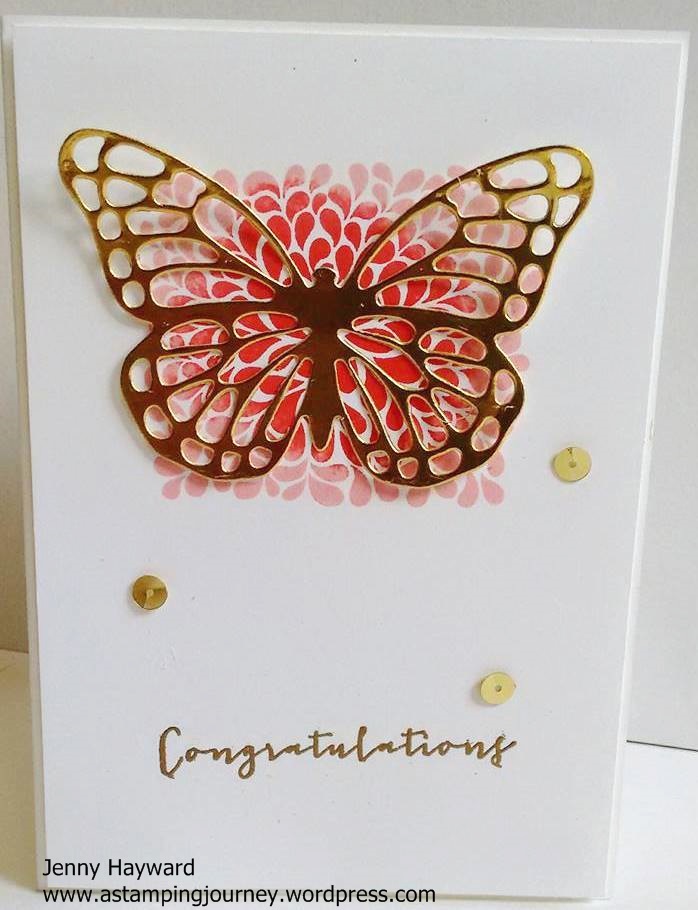
Here is the card.  Initially I was CASING a card from Pinterest but it took a different direction.  Sometimes that happens. 😉

butterfly

The centre flowery image is from ‘I Think You’re Great’.  I haven’t used that stamp set in a while.  I was looking for a flourish type stamp in my collection and saw this set and thought I would dust it off.  I inked it first in Blushing Bride and then sponged the centre with Watermelon Wonder.  Then I stamped it on the Whisper White card.  I had already gold embossed the Congratulations (from ‘Timeless Love’) on the card as I was going to do something else, so I was really nervous doing this BUT hey, it’s just card right.  We can just try again. 🙂  I cut the butterfly from the Butterflies Thinlets in Gold Foil Sheets.

I adhered it to a Thick Whisper White card base to keep it crisp and fresh.  It just needed some gold sequins on it to finish I think.

Thanks for stopping by today.  Have a wonderful day in your part of the world.

Jenny

3D projects, Christmas, Classes, Stampin' Up!

LAST CLASS OF THE YEAR WITH A SPECIAL LUMINARY!

It’s the last class of the year THIS FRIDAY.  We have a special project to make.  This Luminary was inspired by a few I have seen on Pinterest so I thought it would be nice to finish off the year with.  How about it?? Are you local in Wollongong?  Come and join us.  Here are the details.

Friday 4th December – 10am or 7.30pm.  End of year Christmas. 
Come along for a fun time of celebrating and stamping. We have a special project for our last class – and maybe some surprises.  Cost: $15 BYO:Scissors and adhesives.  PLEASE RSVP by Wed. 3rd December. (Thurs. am the latest).  🙂
RSVP ASAP TO RESERVE YOUR SEAT!!!
3D projects, Tutorials

TEA BAG HOLDERS FOR A CAUSE!!

I can finally share this project I have been working on the last 2 weeks.  They are all now sent off and reached their destination.  On a Facebook group I am on the call went out for help for a Fundraiser.  I offered to make some little gifts for the goodie bags they would have.  Then the realisation hit – What was I going to do?? I needed 65!!!  After a little pondering I decided to make some little Tea Bag Holders.  I had an abundance of teabags – and lots of retired paper. 🙂

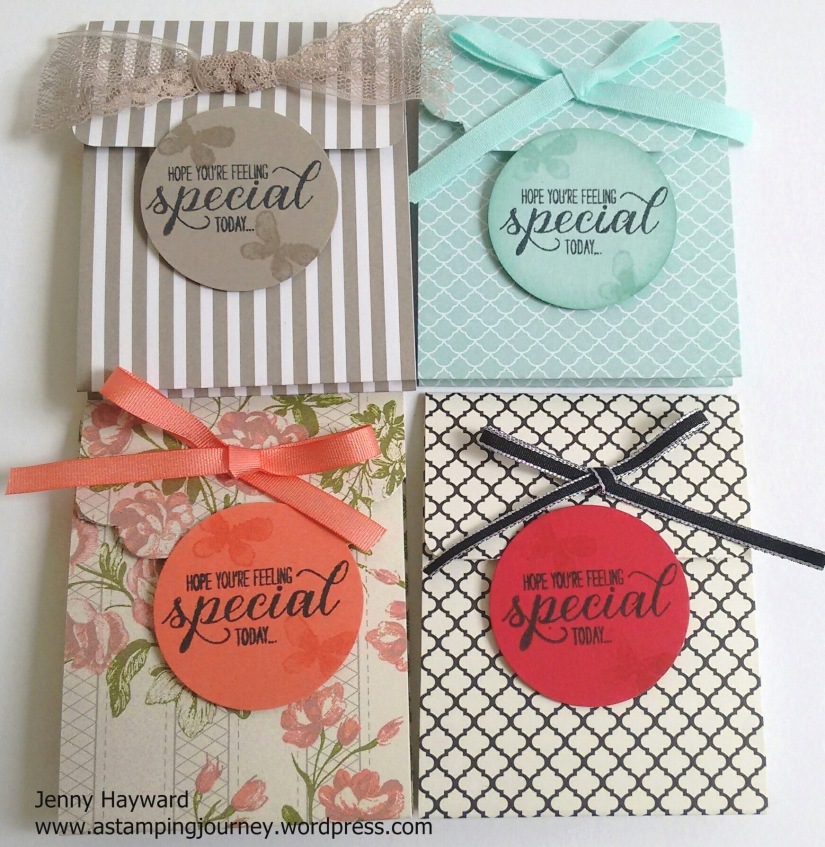
Here is just a sample of some of them.

four

I used the set ‘Garden in Bloom’ for the little labels on the front.  I thought it was very appropriate for such an event.

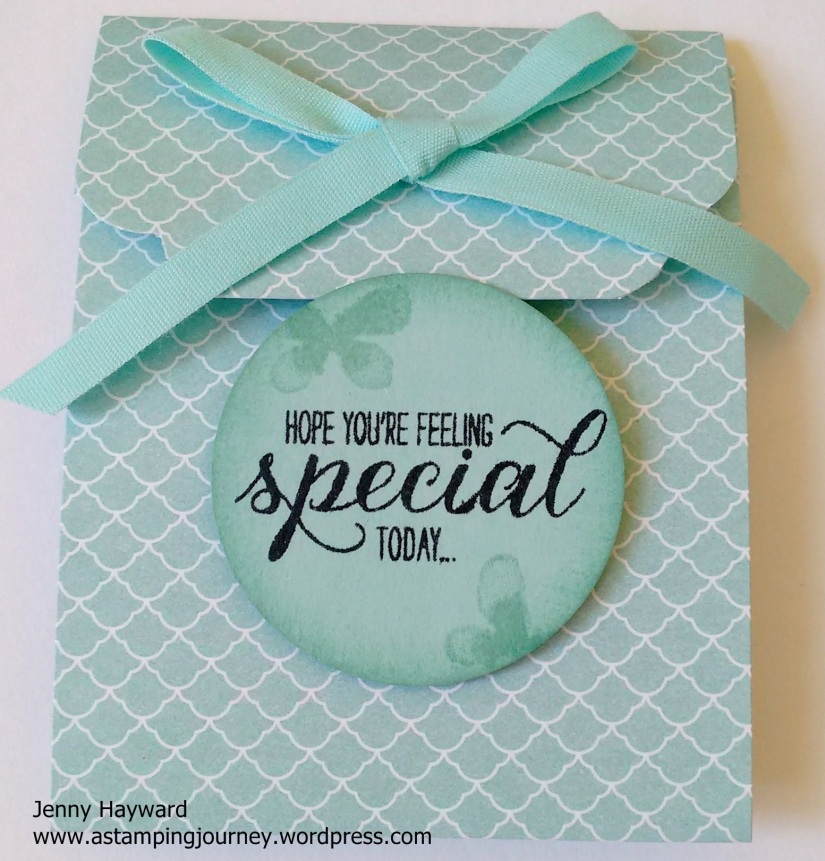
Here is just one of them. I will share the ‘how to’ further below.

closed

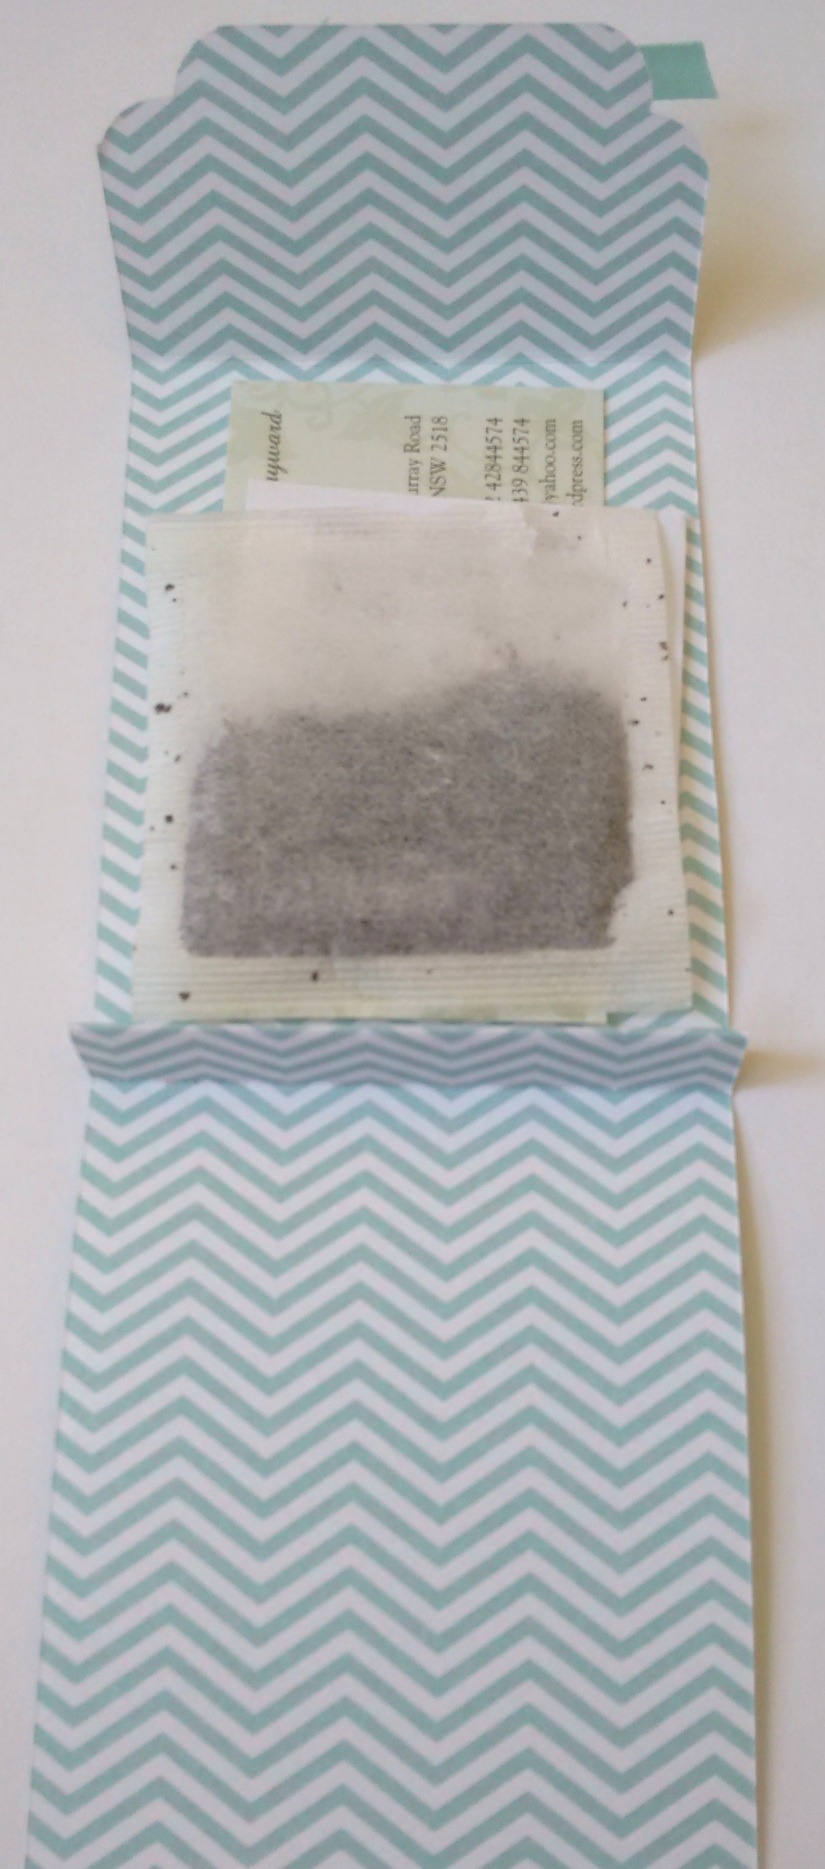
Opened out I could fit a tea bag, a cute tea verse (see below) and my business card.

IMG_20150928_100753384

Here is the verse I put inside.  I found this on Pinterest.

“When  your  day  seems  topsy  turvy,

And as stormy  as  can  be.

There  is  nothing  quite as  tranquil,

As a nice hot  cup  of tea.”

**

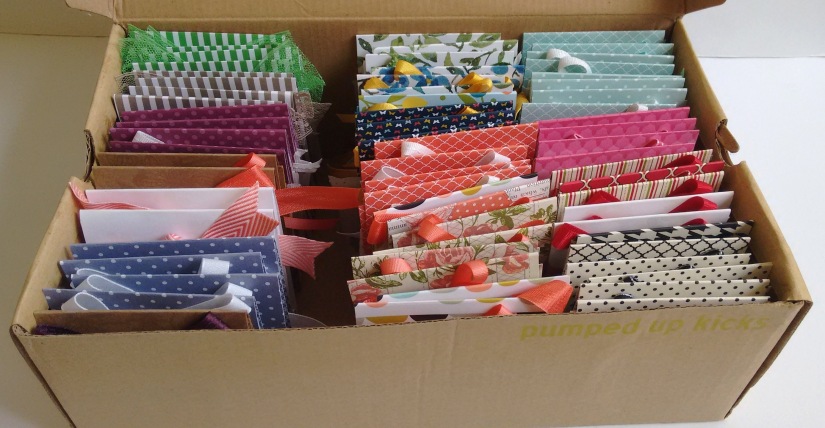
So here they are all 65 of them packed and ready to go.

box

So here are the details if you would like to make your own.  There are a few different versions around the internet but these were inspired by a Convention swap I received some years ago.  I adjusted the size so I could fit my business card in and just made them a little differently.  I could get 4 to a 12″x 12″ sheet of Designer Series Paper.

TEA BAG HOLDER

Cut your paper to 7.5 cm x 25 cm     (3″ x 9 7/8″)

Score your paper at 9 cm, 10.2 cm, 11.5 cm and 21 cm.    (3 1/2″, 4″, 4 1/2″ and 8 1/4″).

Fold on your score lines creating a “W” shape. (I hope that makes sense??).  The end with the narrowest scored piece is the front flap. Corner punch the corners on this flap.  I used the new Curvy Corner Trio Punch for most of them or else I used the regular Corner punch.  Add a bow to the front flap.

Stamp your greeting and punch out with the 1 3/4″ Circle Punch.  Add Dimensionals on the back just on the lower section.  Add to the front of your holder.  You can tuck the flap under the top of the punched circle to hold it together.

I hope you like these.  They are very quick to make once you get going.

Thanks for stopping by,

Jenny

cards, Catalogues, Christmas, Classes

DELICATE ORNAMENTS ON BERRIES AND BOUGHS!

I was playing around with some left-over Stamp A Stack kits the other week.  I just made a quick card up with one of the kits left.  I thought you might like to see it.

P1170418

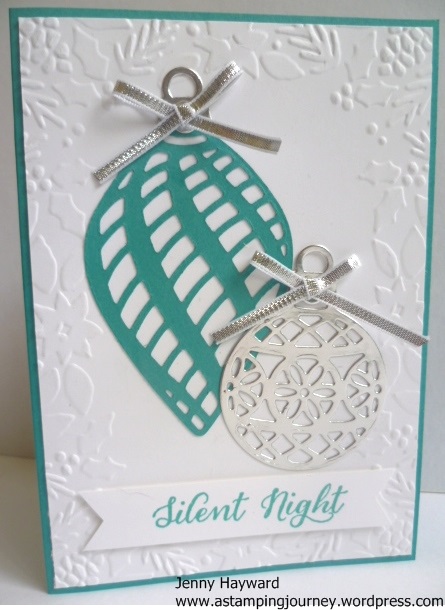
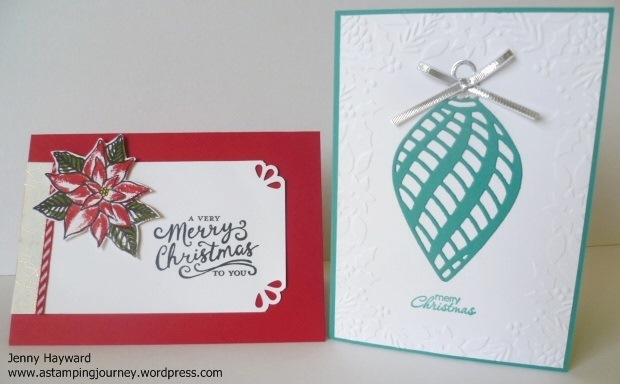
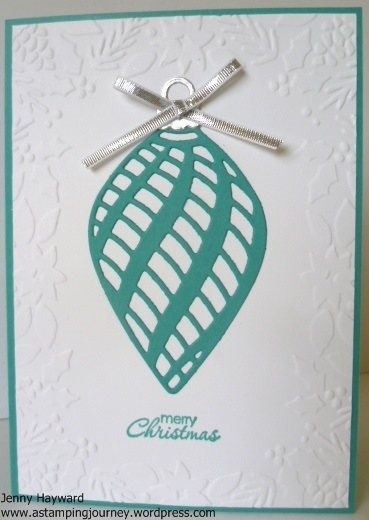
The card base and the large ornament is in Bermuda Bay. I embossed the white card with the ‘Boughs and Berries’ Embossing Folder. On this card I added another ornament from the ‘Delicate Ornaments’ Thinlets cut from the Silver Foil Sheets to give a little sparkle.  The greeting is from the ‘Wonderland’ stamp set. A little Silver Ribbon finishes it off.

Thanks for visiting today.  I hope you have a wonderful day,

Jenny

cards, Catalogues, Punch Art, Stampin' Up!, Tutorials

A DIFFERENT FLOWER WITH THE FESTIVE FLOWER PUNCH!

I made this card a few weeks ago but only had a chance to show you now.  When I received my Festive Flower Punch I had to have a play and create a different flower than the traditional one. That’s what you do right??? 🙂  I made a card up with the flower.  Since making this flower I have seen some great variations on Pinterest. I have to say I do like those ones a lot so I will have to make those too.  Here is my card and I will give you the details of the flower.  You might remember the small flower that you could make with the wing of the 2-step bird punch?? Well this is it’s big brother 🙂

P1170407

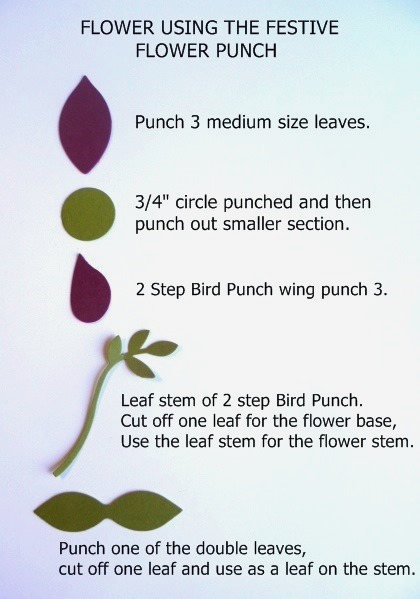
I have a chart below to show you how I created the flower so I won’t say too much about that.  For each of the pieces I sponged them with ink.  I have used Rich Razzleberry for the flowers and Old Olive for the stems.   See the pearl accent?? I was trying to work out what to add.  I added a Metal Rimmed Pearl but the silver didn’t go right so I created my own.  I punched a circle from the Gold Foil Sheets using the smaller circle from the Owl Punch.  I adhered a pearl to the centre and added the both with a glue dot onto a small bow from Whisper White Baker’s Twine.  I really liked this addition.  The greeting is from ‘Birthday Blossoms’ and I punched one corner with the new Curvy Corner Trio Punch.

Here is a chart to create your own flowers.

P1170321

So this punch is very versatile.  Not just for your Poinsettia flowers.  I can’t wait to make some other versions.

Here is the punch if you haven’t noticed it.  The punch can be found on P 31 of the catalogue and is $31.00 AUS.

festive flower punch

Thanks for stopping by.  I hope you have a super awesome weekend and you have time to create. I have my Holiday Catalogue Launch tomorrow so I am looking forward to sharing some fun projects using these great products from the Catalogue.

Jenny

Uncategorized

CHRISTMAS STAMP A STACK!!

Christmas Stamp A Stack is on THIS FRIDAY!!! Are you coming?? If you are local to Wollongong I hope you can come on by.  Stamp A Stacks are a great way to make a large number of cards in a short space of time.  Not to mention the fun we have along the way!!  If you can’t make it, then you can order the cards kits to make them at home.  See the details below.

Here are the details for the Stamp A Stack.

This Friday 11th September 10am or 7.30pm – Christmas Stamp A Stack. 
COST: $15     BYO: Scissors and Adhesives.     RSVP: Wednesday 9th.

Do you want to see  the cards we are making this week? We are using some of the great new products in the Holiday Catalogue.

P1170374

Here they are close-up.

This one uses the ‘Boughs and Berries’ Embossing Folder and the ‘Delicate Ornament Thinlets.

P1170365

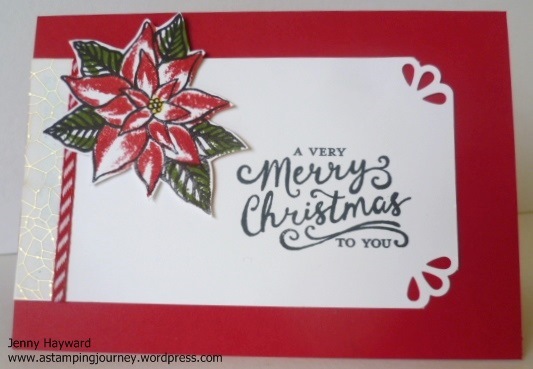
This card uses the set ‘Reason for the Season’ and the Curvy Corner Trio Punch.  It is such a cool punch!

P1170366

Now if you can’t make it then get the ‘Class at Home’ Kits.  This includes all the card and embellishments included to make the cards BUT it doesn’t include the stamped images. You can order the stamps separately OR substitute other stamps.  Cost for the Kits (to make the 6 cards) is $15.

Let me know ASAP if you would like to join us OR if you would like the ‘Class at Home Kit’ option.

Jenny

cards, Classes, Techniques

FUN FOLD CLASS – IS FUN!!!

These are the fun cards we are making at my Saturday Stampers class this Saturday 15th August. (2pm). Cost $15 If you are local to Wollongong do come on by.  You just need to let me know by Thursday so I can have all the card cut.  They might look a bit tricky but they are really not hard to do.  I think you will like them.

P1170174