This is a simple card with the Nests of Winter Designer Series Paper.
The paper has such pretty bird images. This one you don’t need too much with. I added the Love and Joy from the Greetings of the Season Stamps and diecut it with the Nested Essentials Die. I added a smaller one diecut with Red Glimmer Paper. It just adds a little sparkle to the simpleness.
This is one of the cards we made at our recent Nests of Winter Class. I usually start off with a simple card and then move on to more detailed ones. Such fun! If you are local in Wollongong come along. Or you can have the Card Kits mailed out to you if you are in Australia.
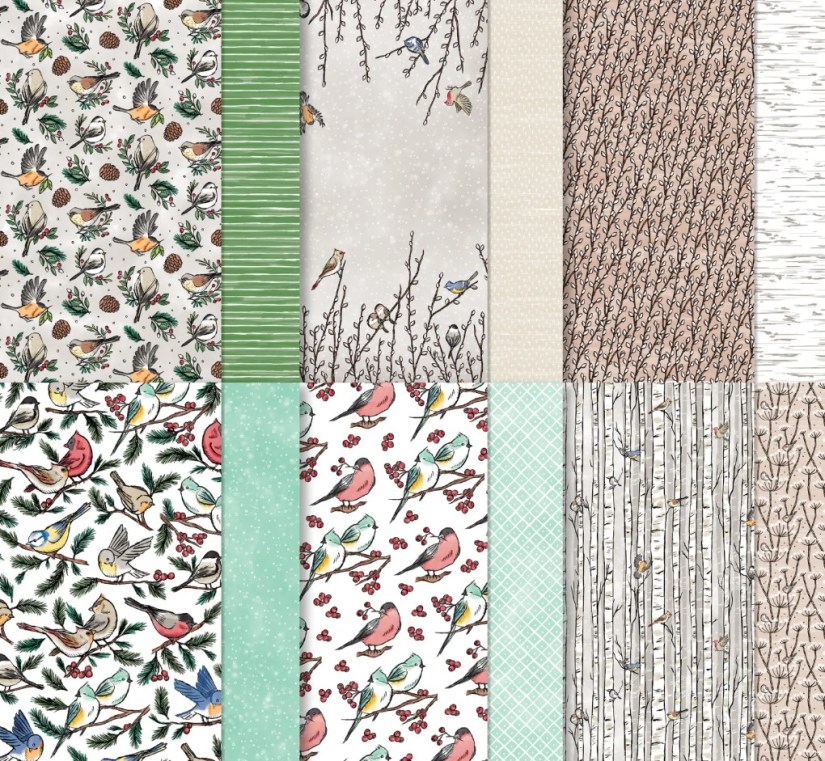
This is the Nests of Winter Designer Series Paper.
Back with Week 4 for our 12 Weeks of Christmas series.
This week we are looking at the Cut and Flip Method for our Christmas cards. This method can be a great one for making multiple cards at one time too. It’s very quick and easy.
You can just use this idea to make as a single card too.
You just need some gorgeous paper with co-ordinating patterns on each side of the paper. Watch the video below to find out how.
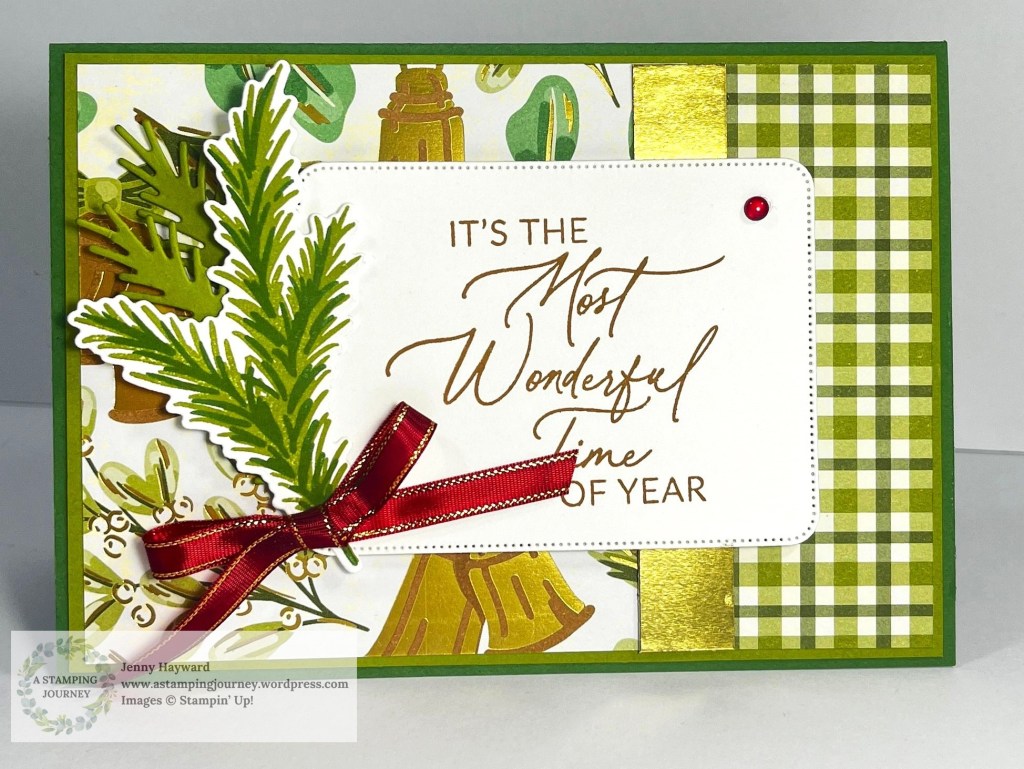
I have used the Season of Green and Gold Specialty Designer Series Paper on this one. And also used the Golden Greenery Stamps and Dies and the Greetings of the Season Stamps and Dies.
At the end of the video I share another version with different papers.
I will send out the measurements in next week’s Newsletter. If you would like the written version you can sign up for my free newsletters. You will see the link in the right hand column on my blog.
This is the card that was made.
Happy Christmas creating,
Jenny
You can PIN this now.
If you need some supplies and you are in Australia I would love to serve you.
You can stop by my Online store -> HERE to order. Please use the Host Code: JDH3D9KQ
Or Contact me Directly and I can assist you.
Have a large Wish List? It would be better value to join the Stampin’ Up! Community. Get a large number of products ticked off your list quickly and then get a discount each time you order after that for as long as you stay around. Find out more ->HERE.
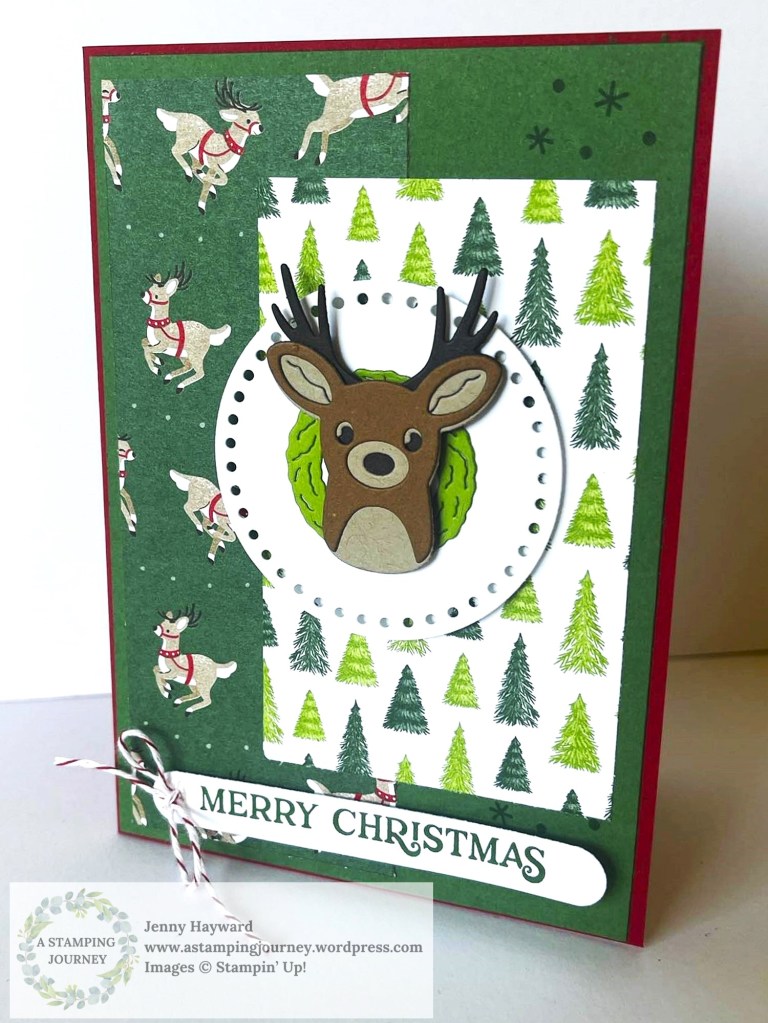
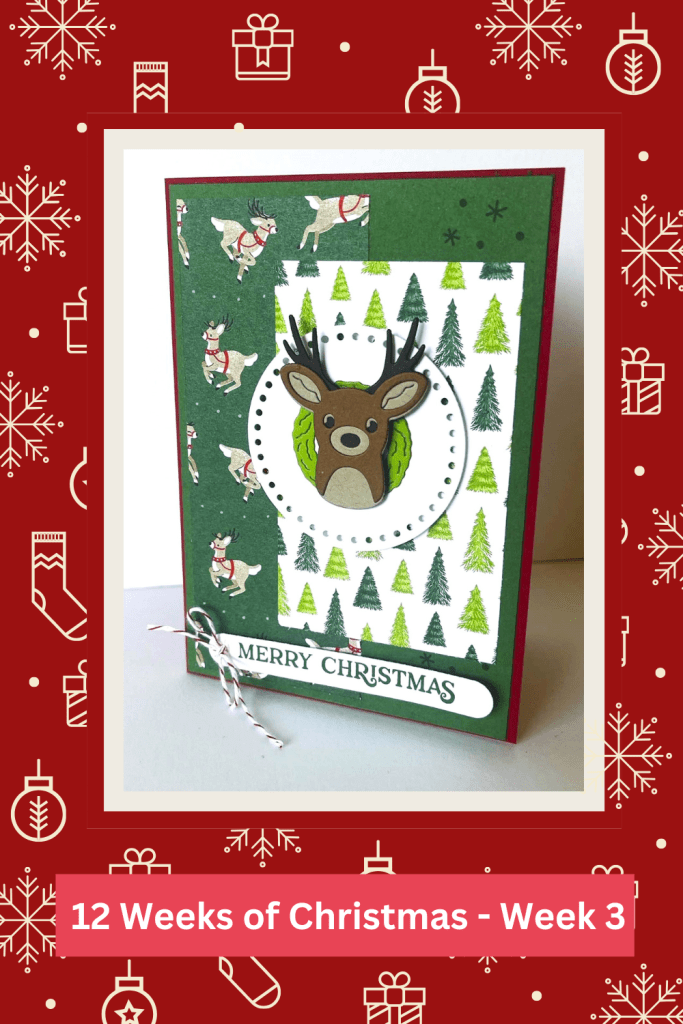
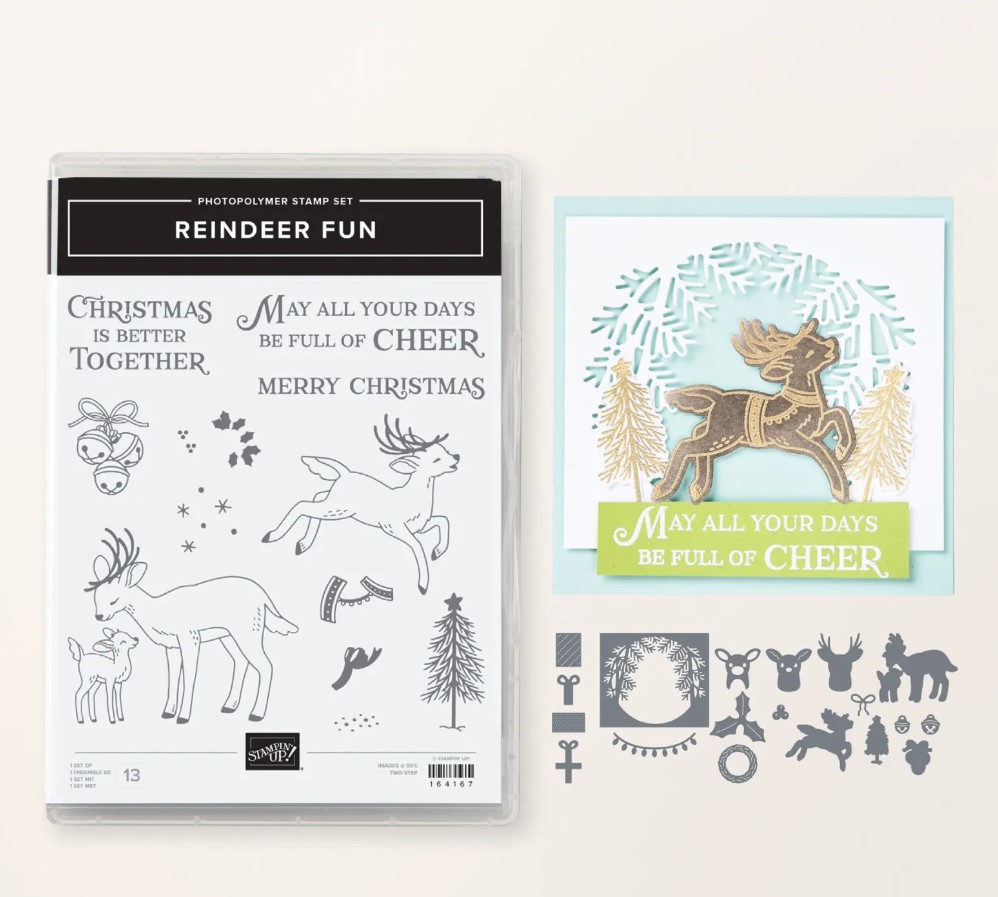
This card is using the Reindeer Fun Stamps and Dies which are just the cutest. The card shows a great way of using different papers together too. I used the Reindeer Days Designer Series Paper.
This is the card.
You can follow along with the video.
You can PIN this image now to come back to later for your creating.
The tutorial to create the card will be sent out in next week’s newsletter. If you haven’t subscribed yet to my newsletter you can find the link in the right hand column on my blog.
In the video I showed a template for variations in colour with the deer head. I have that below so you can refer back to it later.
They can look so different using different colours. Don’t forget the Red Glimmer for a Rudolph nose.
Enjoy Week 3. Be sure to check back again soon. If you have missed the last 2 then head back some posts on my blog to catch them.
Happy Crafting,
Jenny
Need supplies for any of your projects? I would love to help you.
You can head to my store -> HERE. Please use the Host Code: JDH3D9KQ OR contact me directly.
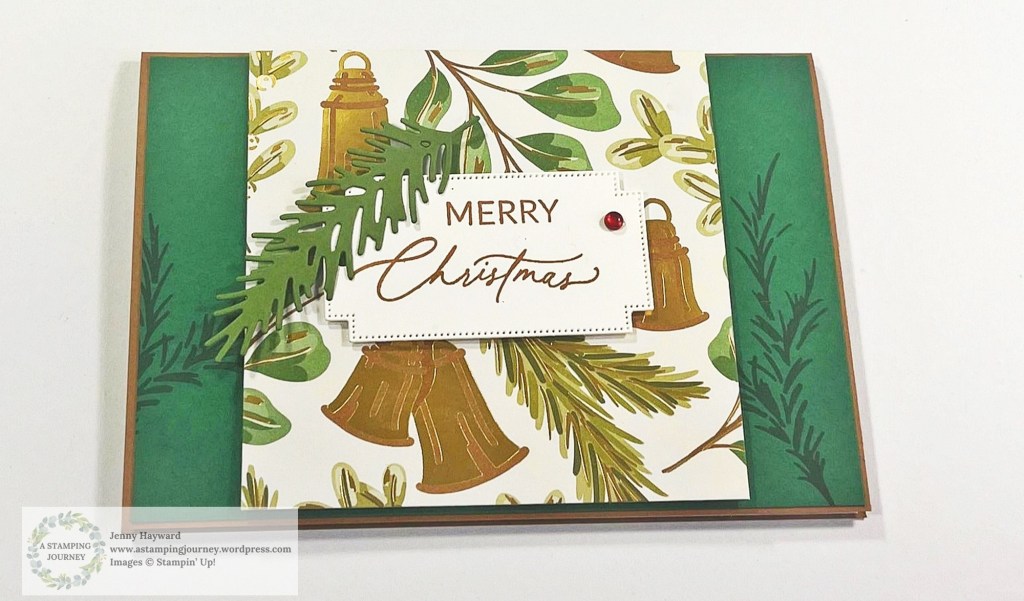
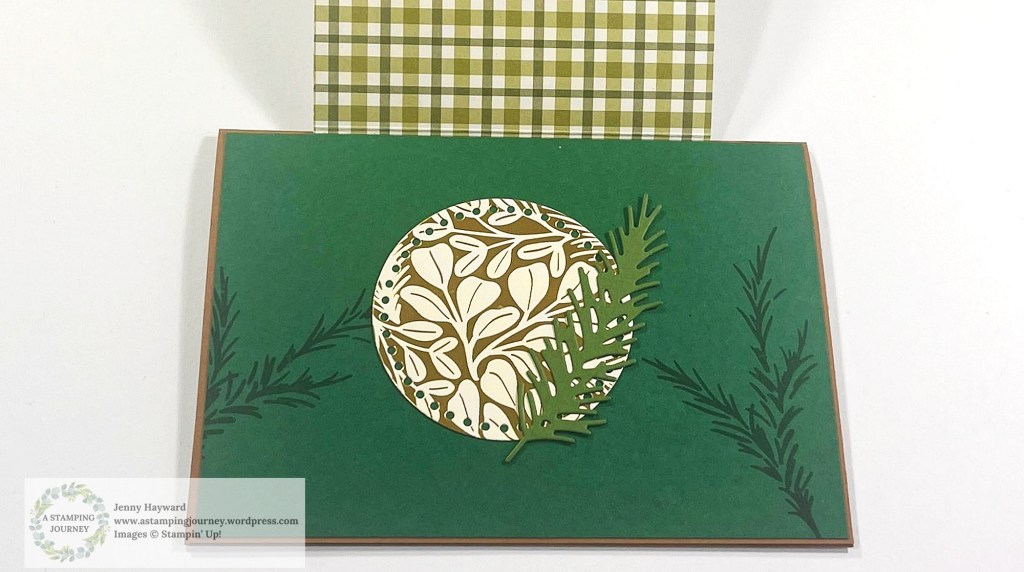
Today’s card is a cool Fun Fold. It is a Front Flap Card. It has an added flap that you could add a surprise inside.
This card was shared to me by a Demonstrator friend Linny. I loved the card and wanted to share it with you.
Here is the card.
Lift up the Flap.
Open the card.
Under the flap would be a great to add a Numbered birthday perhaps or even add a pocked for a Gift Card.
I have a video for you to follow along.
I used the Season of Green and Gold Specialty Paper. Also the Golden Greenery Stamp Set and the Greetings of the Season Stamp Set. It makes a special Christmas card to send. This could be used for so many different occasions though.
I share another one version at the end of the video so be sure to check out that one.
Follow along and I hope you get to make one.
Happy Crafting,
Jenny
If you are in Australia and need some crafting supplies I would love to help you. You can shop in my store Online -> HERE or contact me directly.
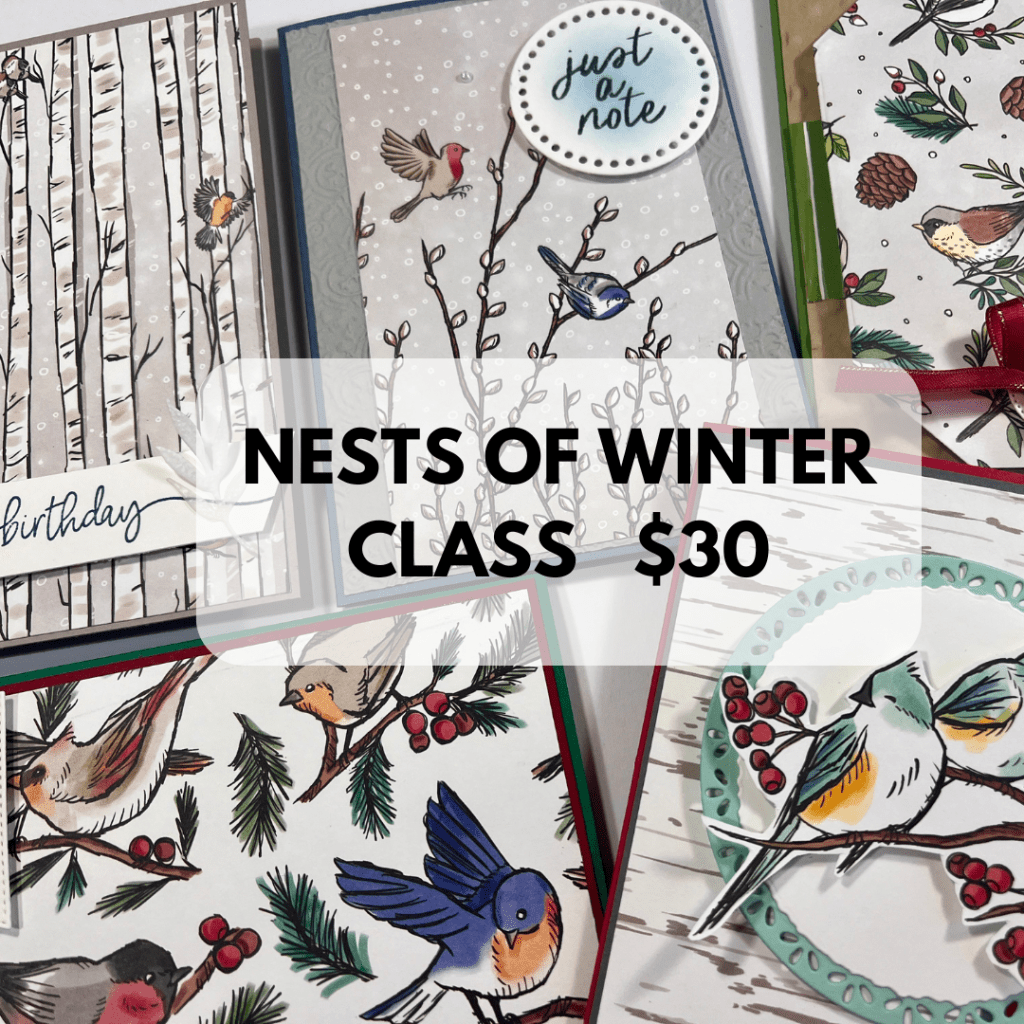
Join us to create with this gorgeous Nests of Winter Paper.
The class is available In Person in my studio OR if By Mail.
You will create 5 cards with this Paper including one Fun Fold.
WHEN: Friday 27th September 10am OR Saturday 28th September 2pm
RSVP: Thursday 26th September
COST: $30
For Class By Mail – Please Reply by the 26th September also. All materials will be included in the Card Kits. You will need your own sentiments (Christmas and Birthday or what you would like to use). Also Black Ink. Green and Red inks are used on some sentiments but that is a personal choice. Also included is some simple instructions to follow along.
Let me know ASAP to reserve your place. Email me at jghayward@yahoo.com or PH: 0439 844574
I have just returned from travelling in parts of the US for 3 weeks. While it’s good to travel it’s always good to return home don’t you think?
We saw so many road signs while we were driving watching out for deer. I have to say we only saw a small group early on.
I made this card just before I left. All those signs reminded me of this card.
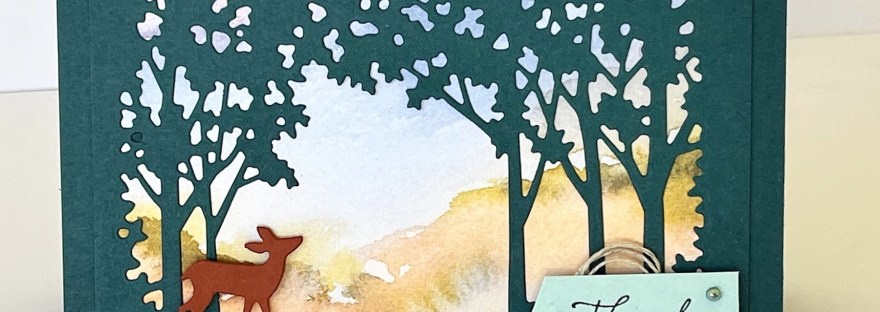
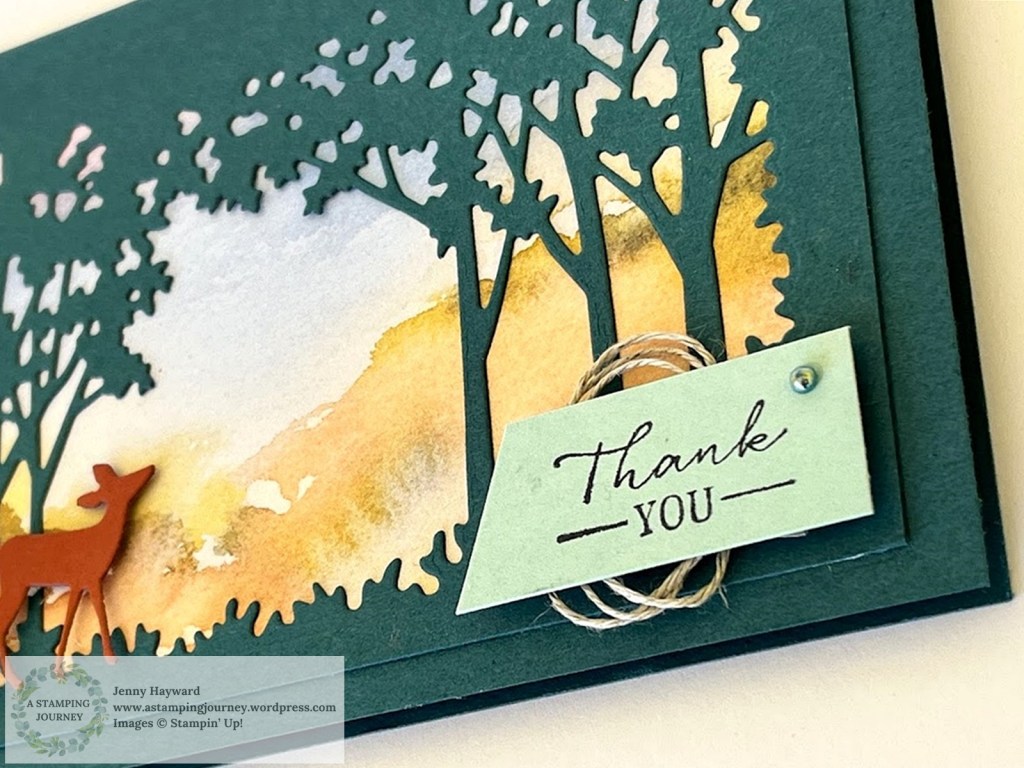
It’s a cute little deer peering out from the forest using the Grassy Grove dies. You don’t need a lot for the background. I added a piece of the Thoughtful Journey Paper behind the diecut.
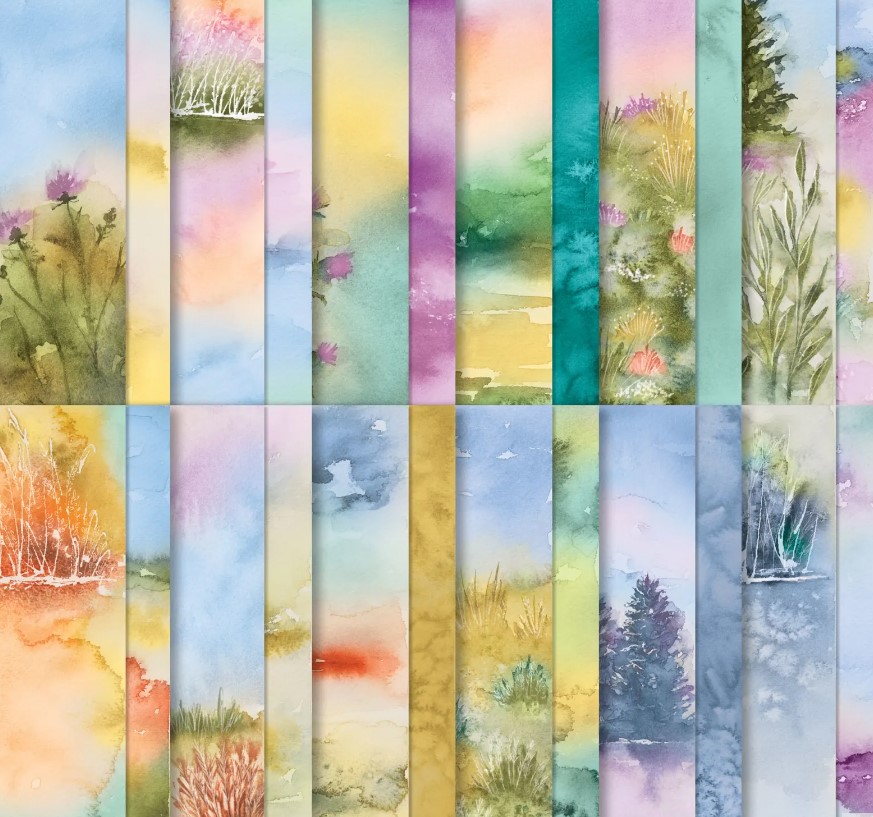
Have you got the Thoughtful Journey Paper? It’s so pretty.
If you would love some Stampin’ Up! crafting supplies and you are in Australia I would love to serve you. You can head to the link just above and shop. Please use the Host Code: JT69XW3P
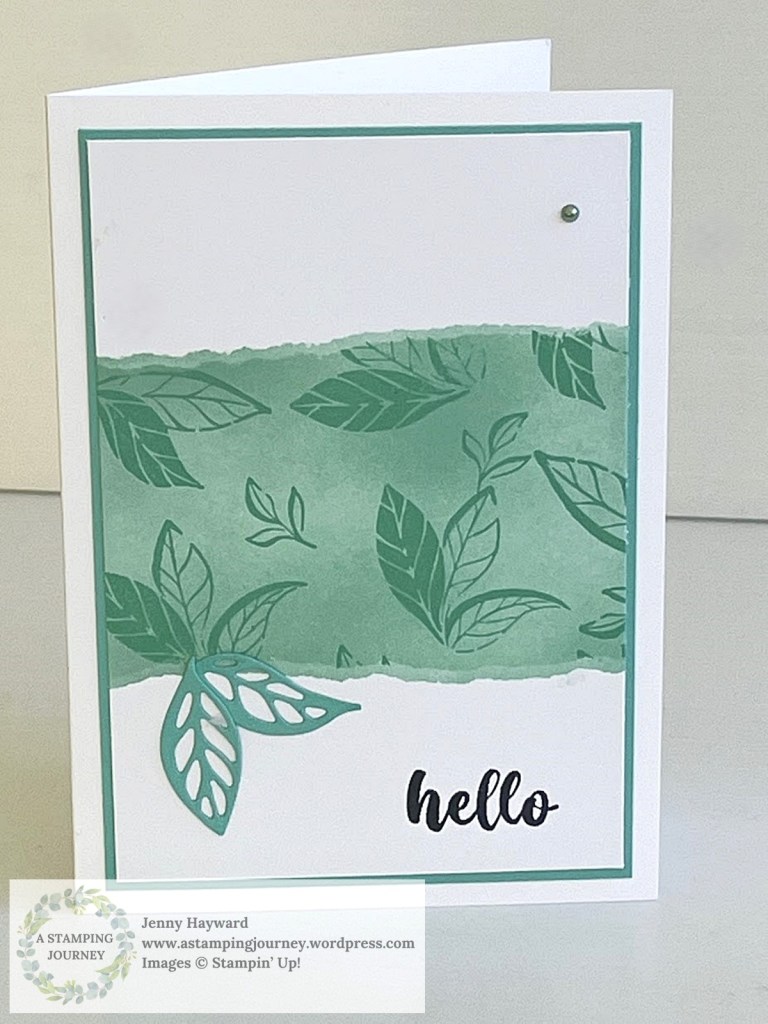
Our last class was creating with the Faux Tearing Technique. It was a lot of fun looking back at this older technique. Have you tried it?
This was one of the cards we made. This one using the Irresistible Blooms Stamps and Dies.
It is very easy technique to do. All you need is Blending Brushes and ink and use any stamps you have. You can use scrap paper for the masks or use the Masking Paper or large Sticky Note Paper.
Tear your paper so it is at least as wide as your white card. Position that over your card at the top and bottom leaving a gap on the card in the centre section.
Blend over some ink on the white card building up your colour. Hold your paper firmly so it doesn’t move. I then moved the paper away from the inked edge just slightly and added some more ink for a light edge. Then return your masks to the original position and stamp over the images having some go off the edge of the masked area.
Finish your card as you like.
Are you game to try it?
Happy crafting,
Jenny
Need supplies for your next project and you are in Australia?
Head over to my store -> HERE.Or contact me directly. (at present I am away until the 12th of September so please email not phone as I won’t have the phone available).