It’s a new month and this one is more exciting than usual with all the new releases and news for Stampin’ Up!. What’s all this??
- The May-August 2026 Catalogue is out. (Lots of fun new products)
- New In Colors begin.
- A Special JOIN offer where you can get the new In Color Ink Pads.
- New Product of the Month. (And it’s gorgeous)
- 2 New Kits. (Check the website for those ones).
- New Online Exclusives. (I will tell you more later of these but check the website for now).
Are you exhausted already – or maybe overwhelmed?? There is a lot to take in.
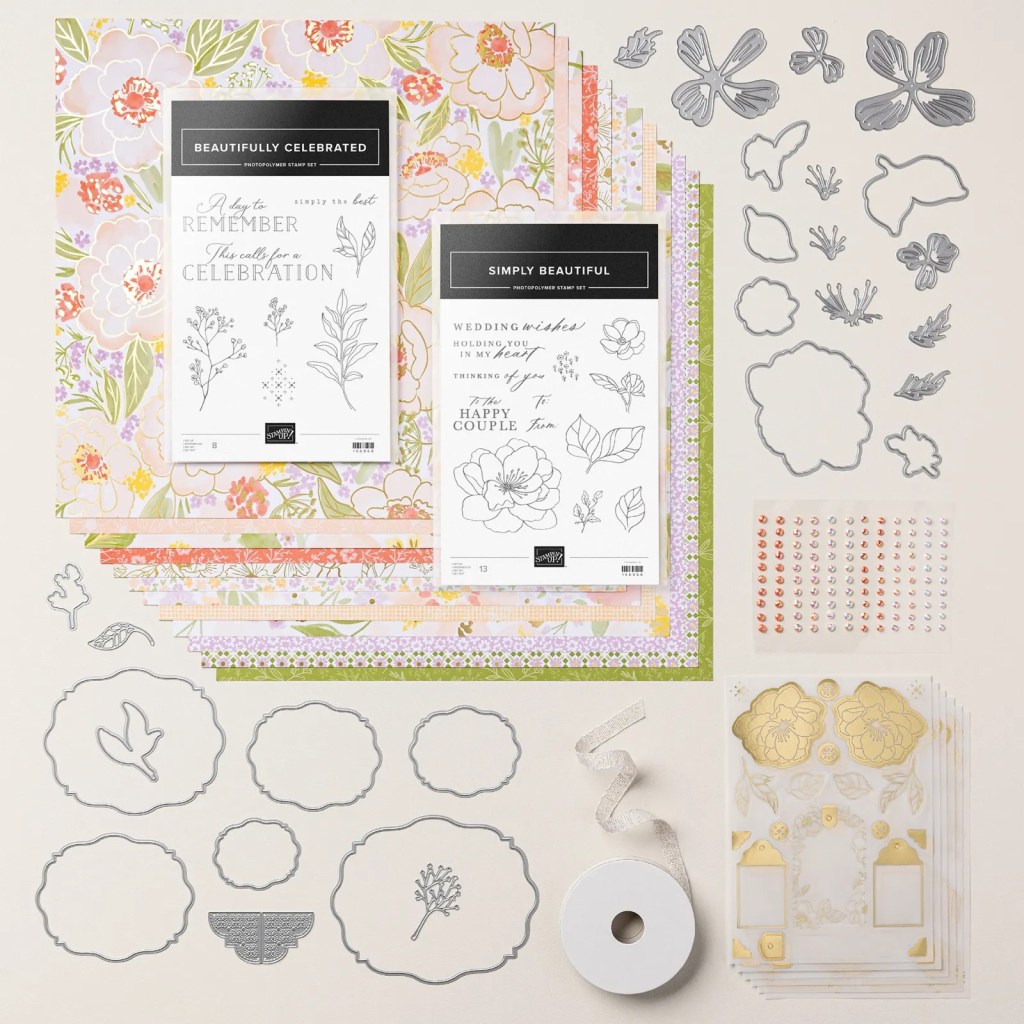
Let’s focus on the new Catalogue for this post and some of what it contains.
NEW CATALOGUE
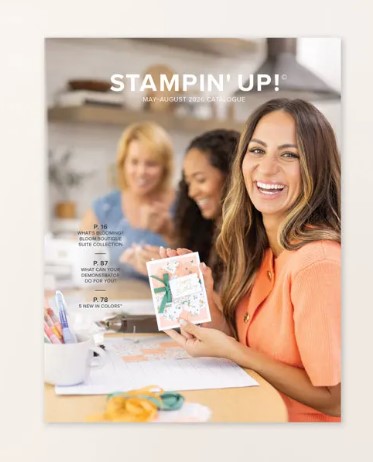
You can view the new Catalogue Online -> HERE
Or see the products in the store -> HERE.
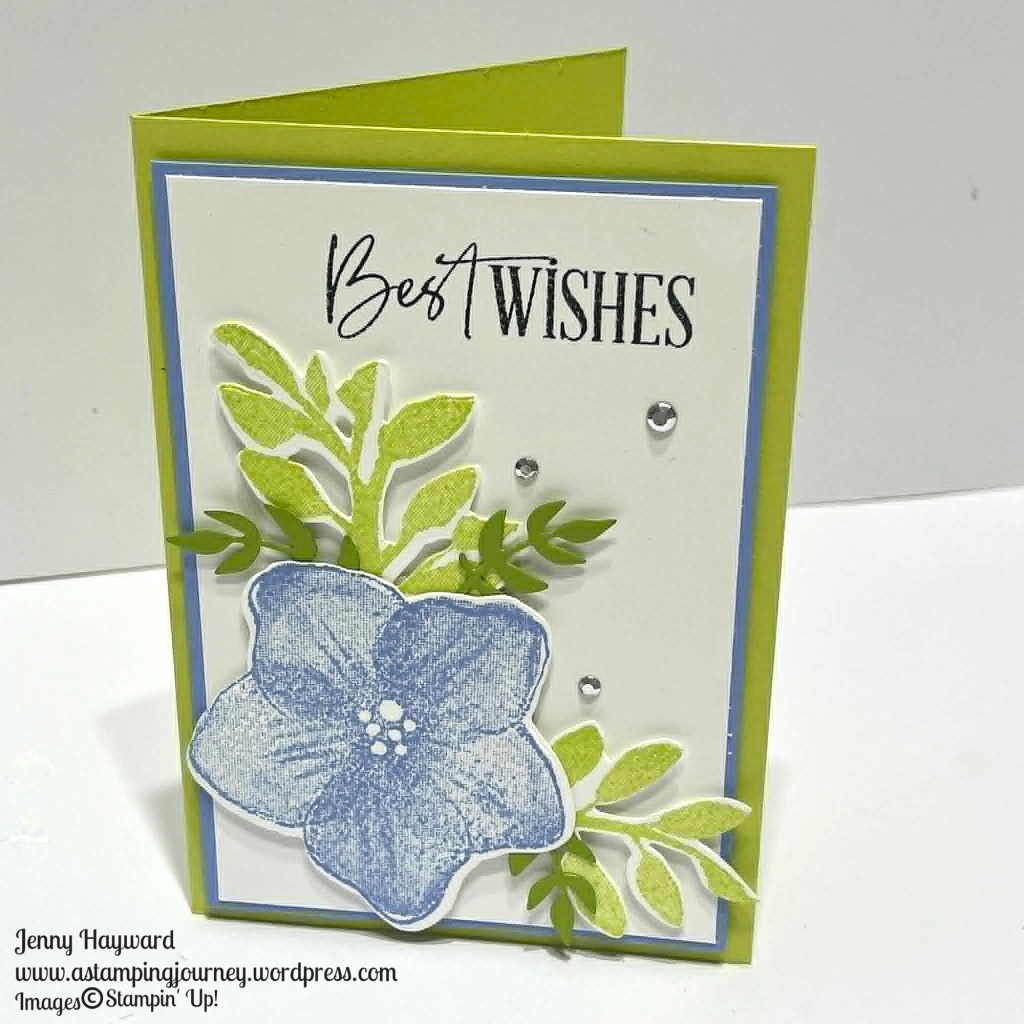
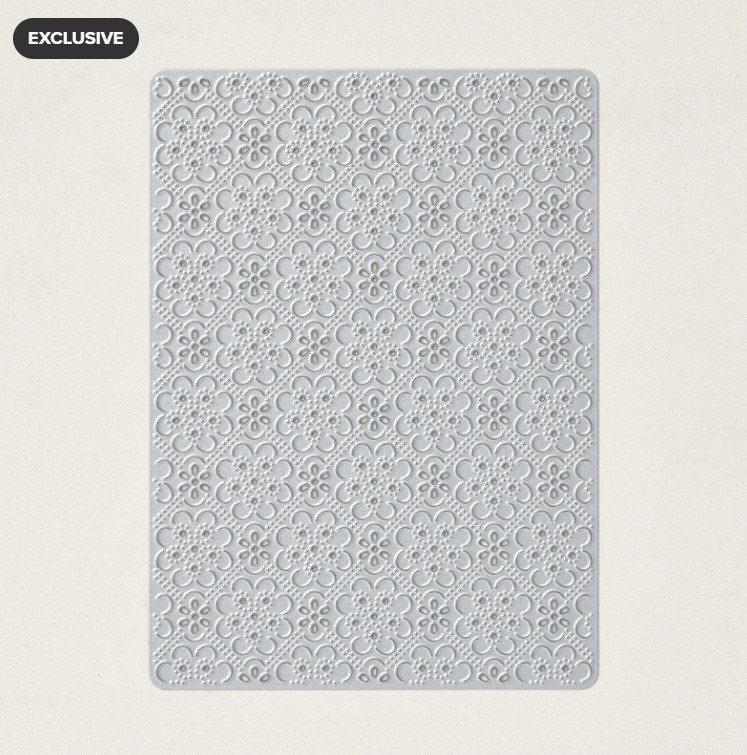
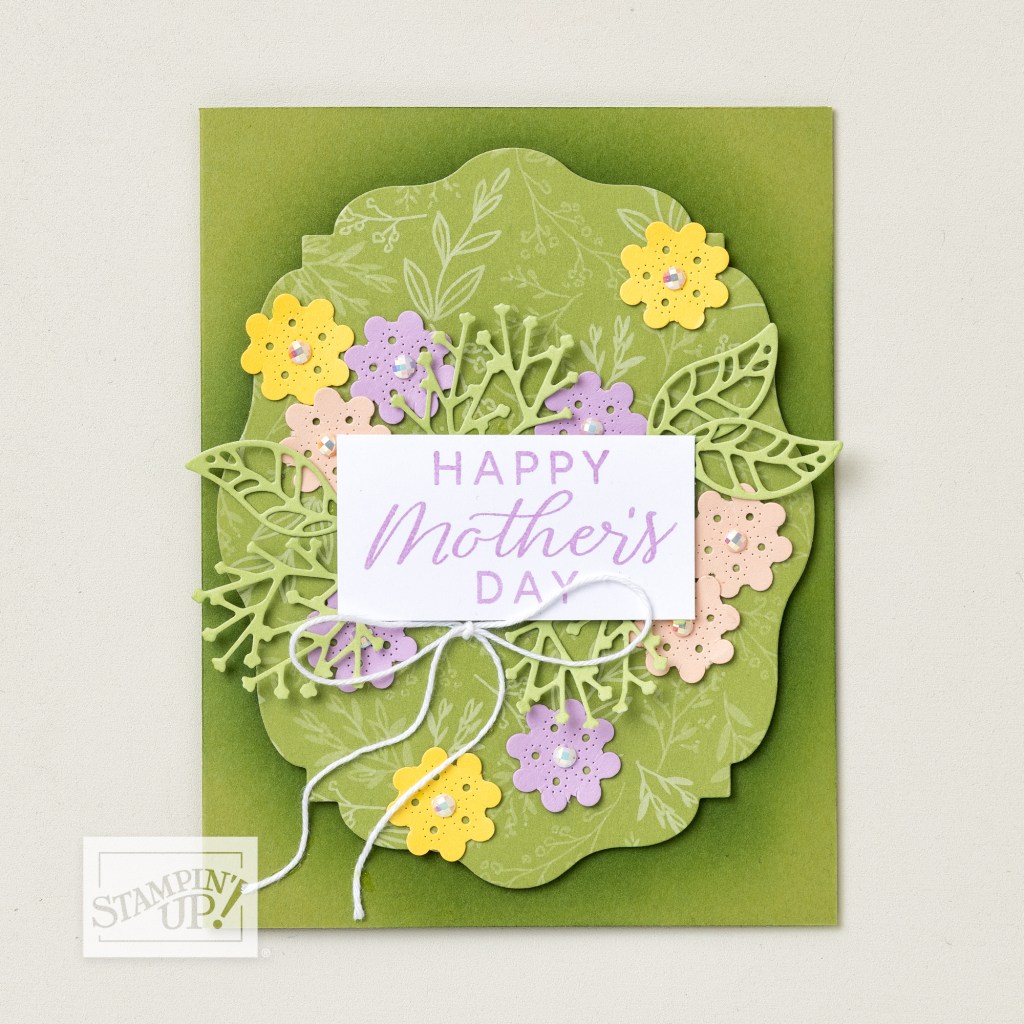
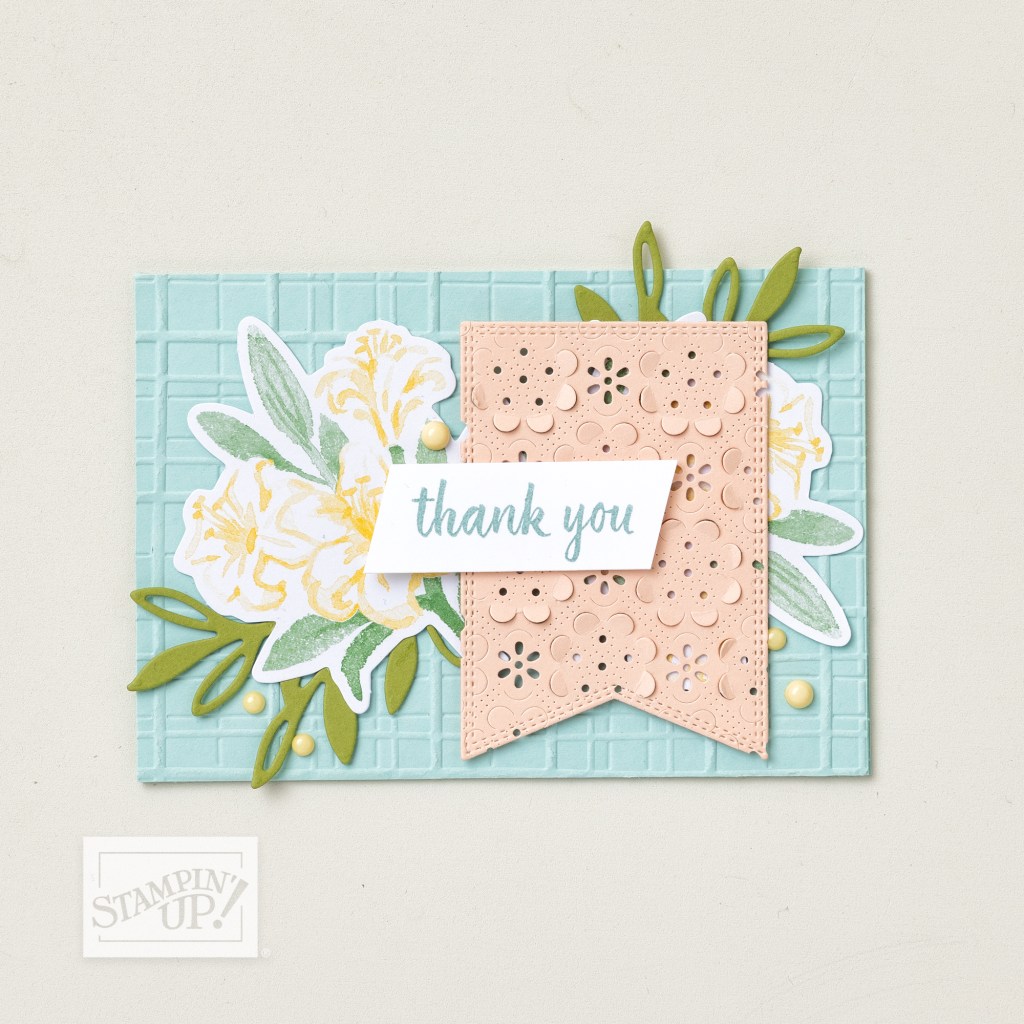
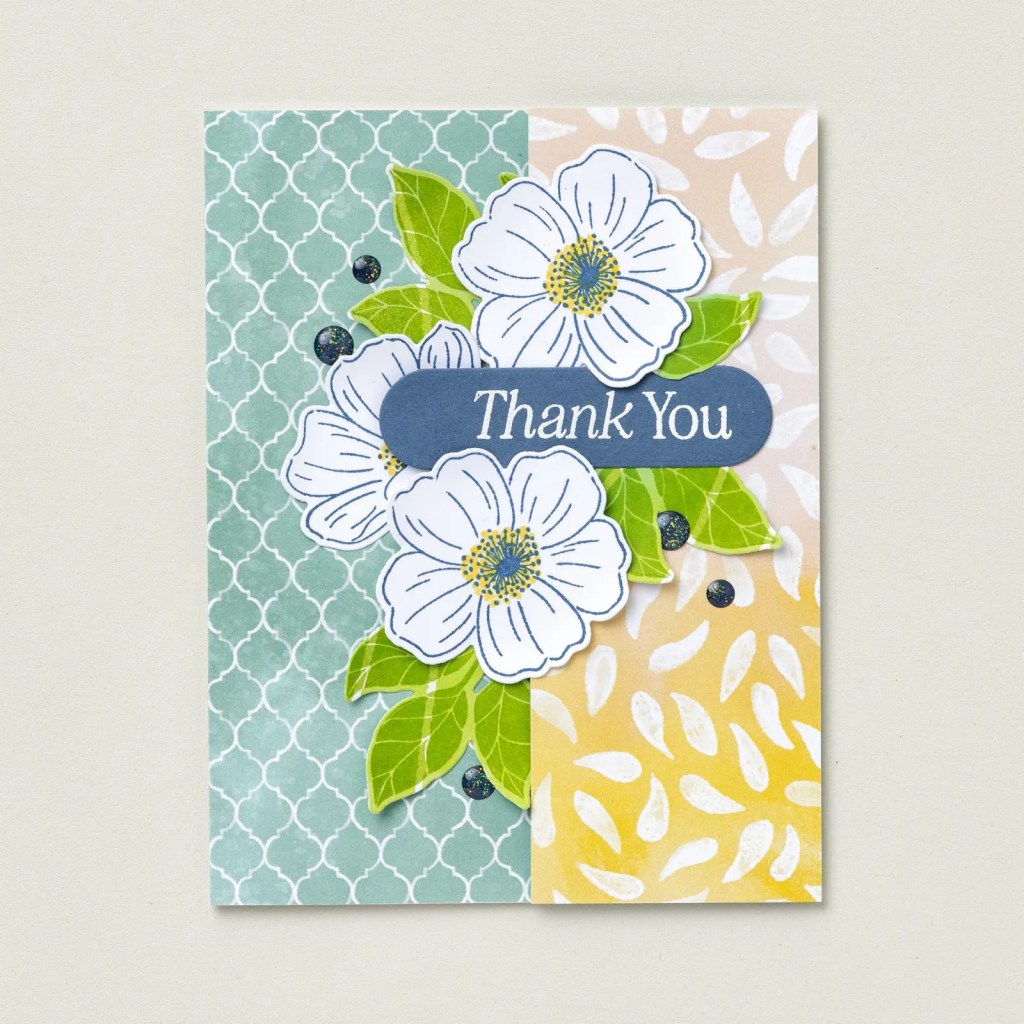
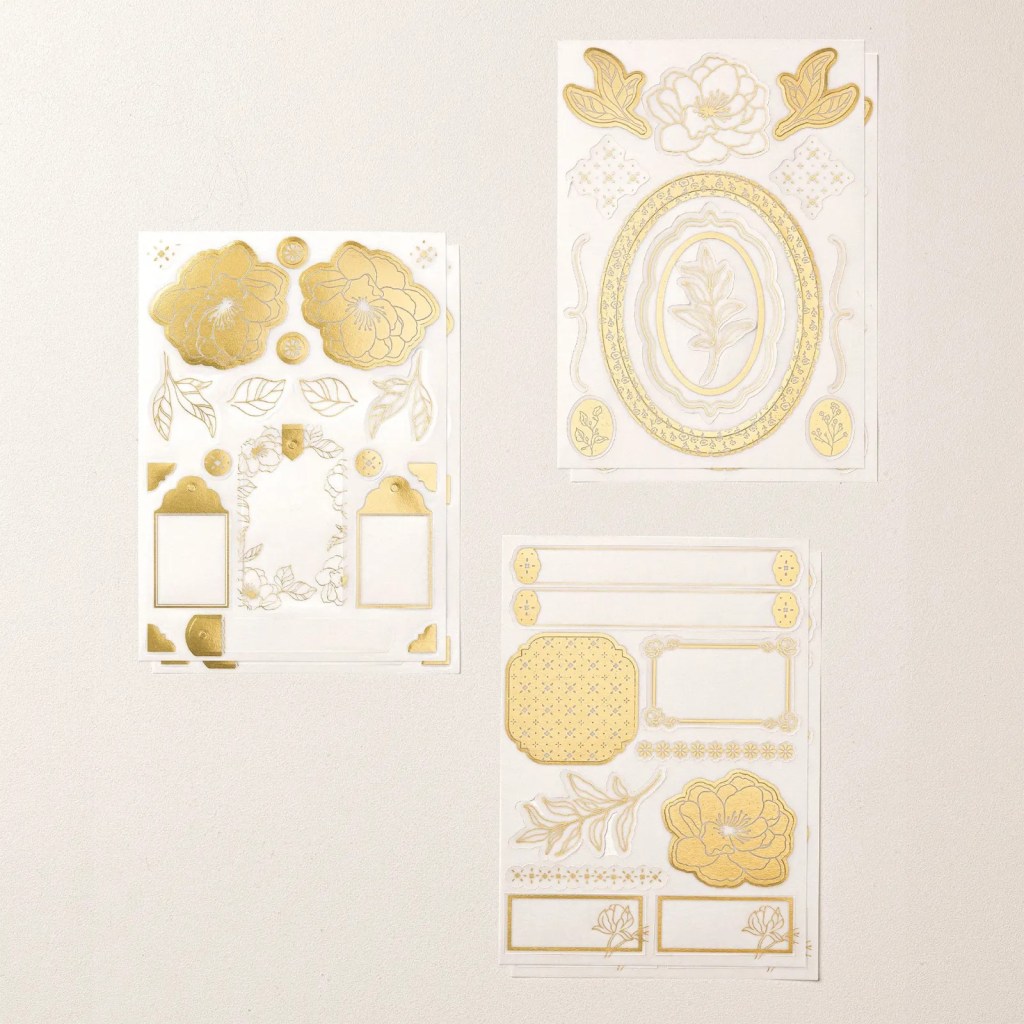
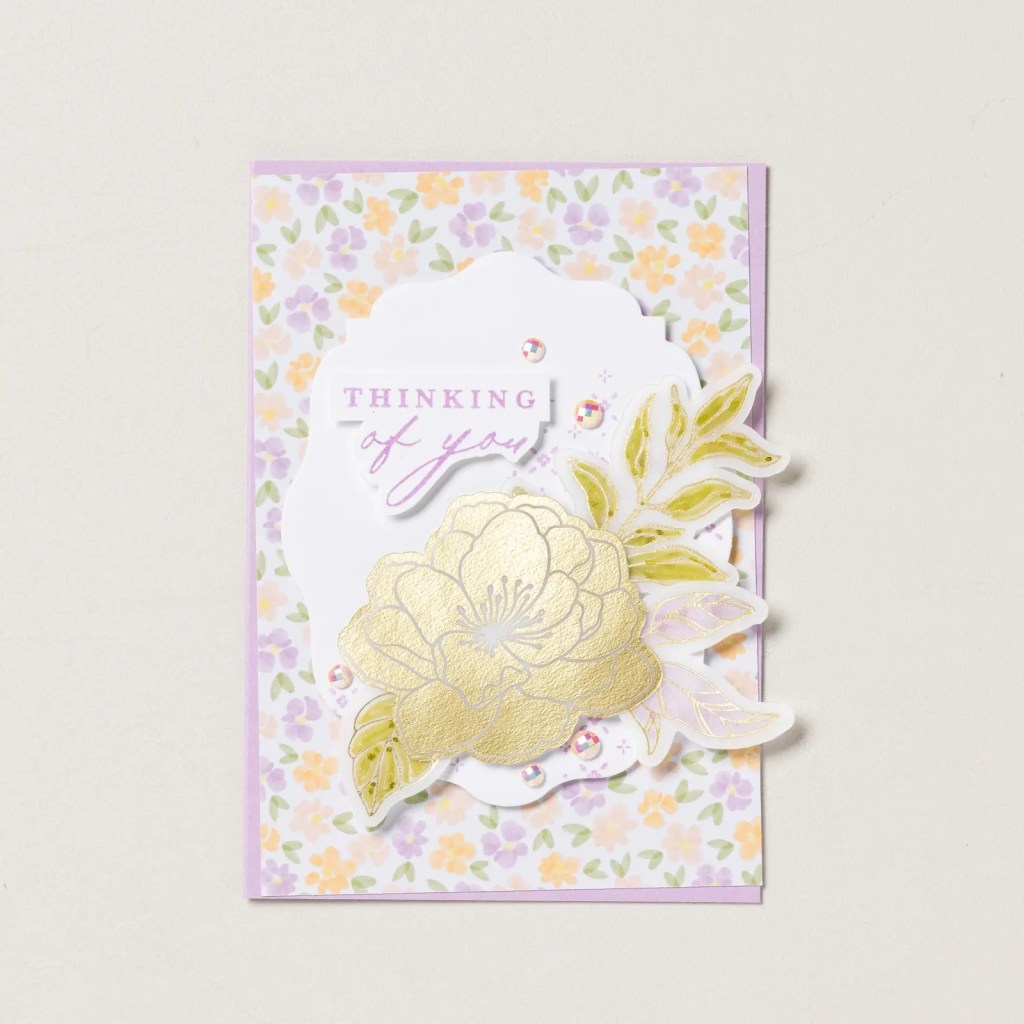
One of my favourites. I have already showed you a card in the last post. But it is the Opulent Oasis. I love that you can create the extra dimension to some of the elements, the flowers in this one, using the Impressions Plate.
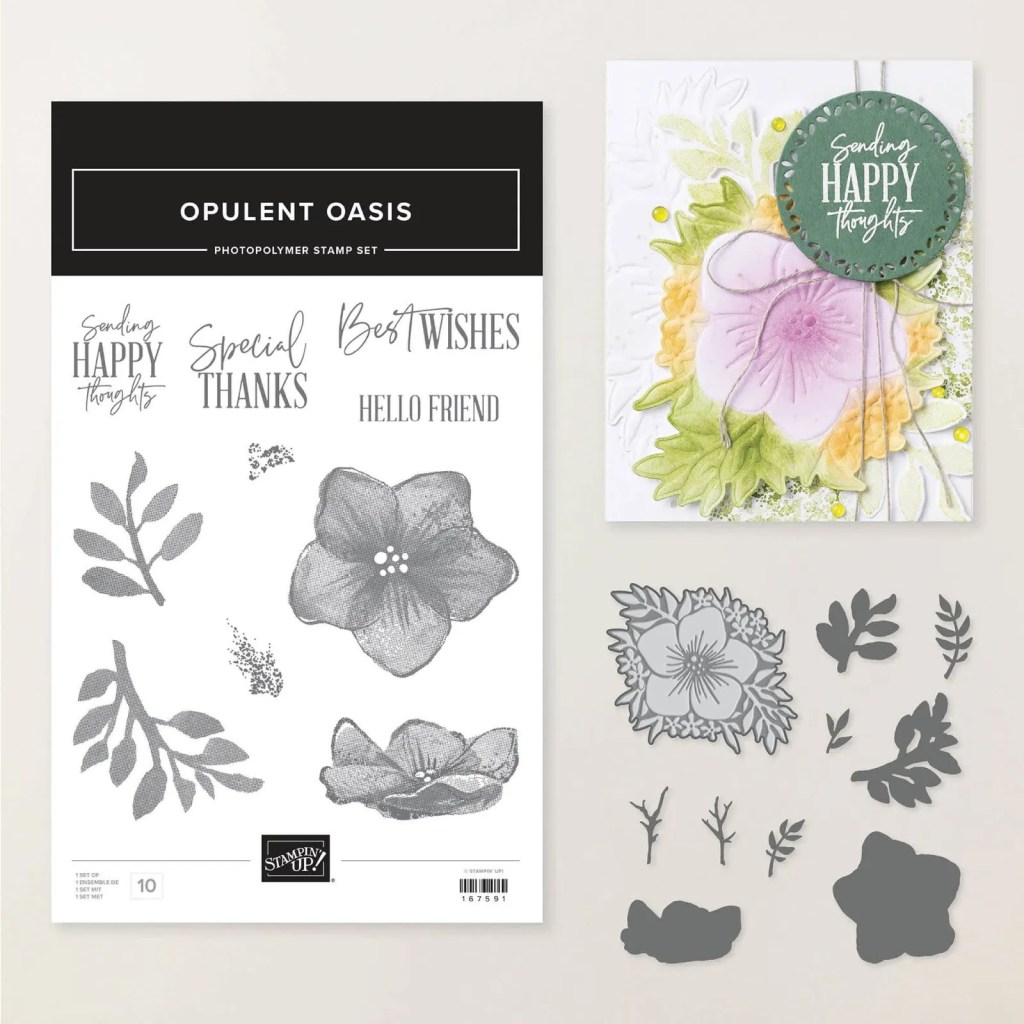
You can see this Online -> HERE. I will share more with this one later.
NEW IN COLORS

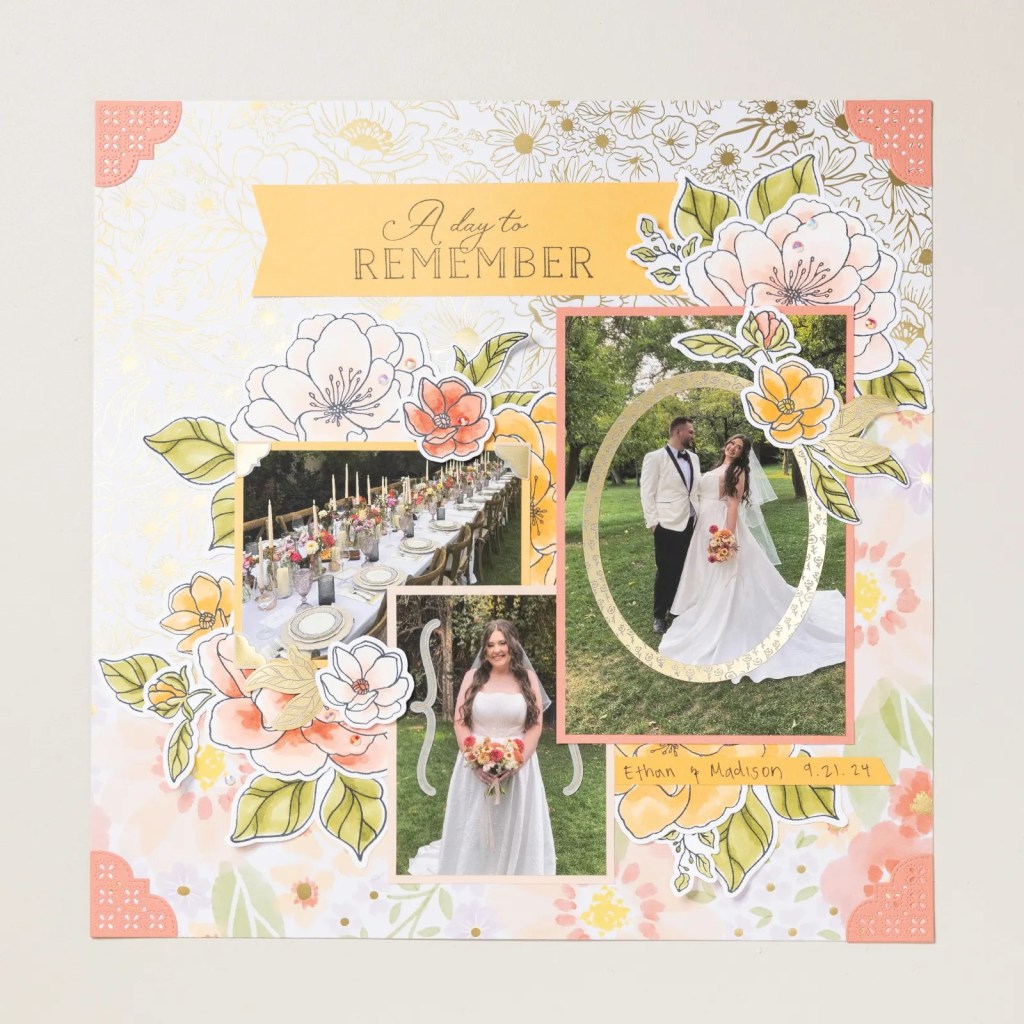
You have probably met the new 2026-2028 In Colors by now. We have Barely Blush, Crisp Canteloupe, Golden Glow, Peaceful Pine, Hydrangea Hue.
What’s your favourite? I think you know mine… Hydrangea Hue.
And there is the new design of ink pad. These are just released in the new In Colors for now and other colours will be released next year. They are much easier to open and to lift the lid off. TIP: If you lift the lid sideways it is easier. They are also magnetized so you can keep the lid under the inkpad when you are using it if you like. They stack well together too.
JOIN OFFER
Speaking of Ink Pads, I have to mention this now. You can receive the set of 5 In Color Ink Pads as a bonus for this month when you join Stampin’ Up!
In Australia it is $169 and receive $235 of Products PLUS the Set of Ink Pads. (They retail at $112.50). This is a great added bonus.
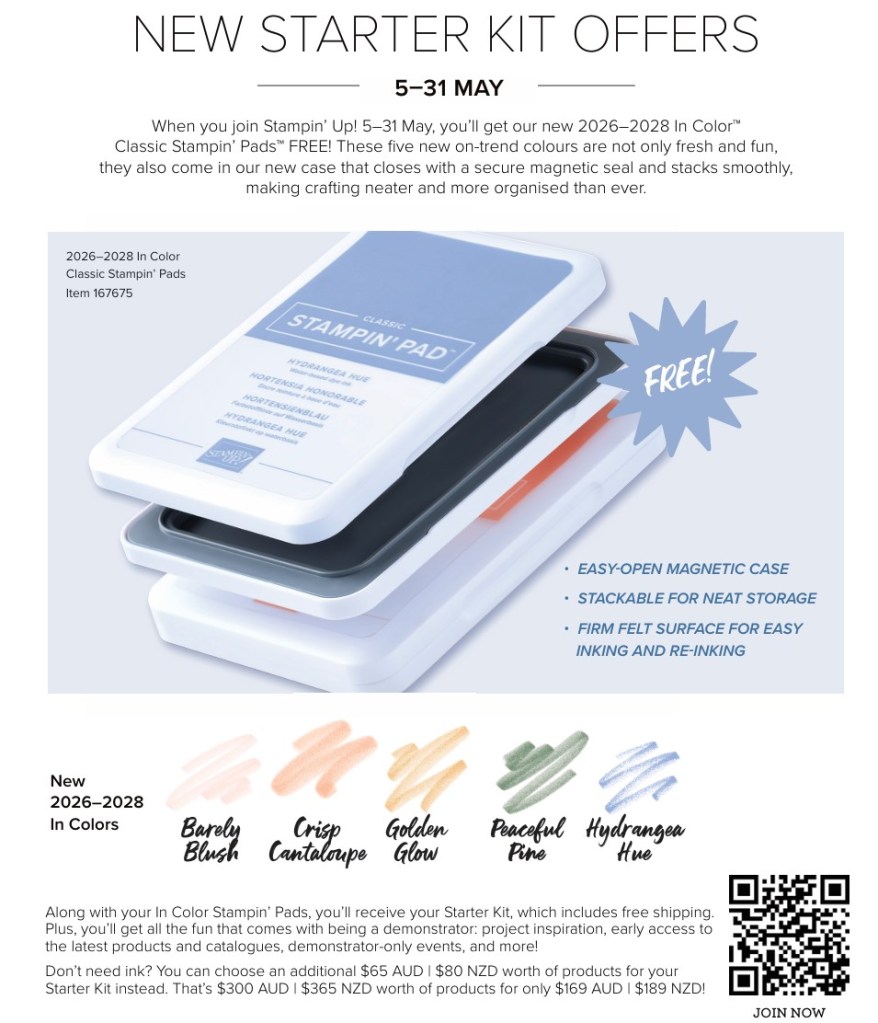
If you don’t want the Ink Pads you can choose an additional $65 of products instead on top of the $235 of products you already received. And all at your own choice.
Want to know more?
You can read more about it -> HERE.
That’s a lot to take in for now. I will head back with more soon to tell you more. But do check the catalogue if you haven’t already.
Happy Reading,
Jenny
If you are in Australia and “need” some new supplies I would love to help you. You can head to my store -> HERE. OR Contact me directly.