cards, Catalogues, Stampin' Up!

LAYERING WITH THE TO A WILD ROSE SET + VIDEO!

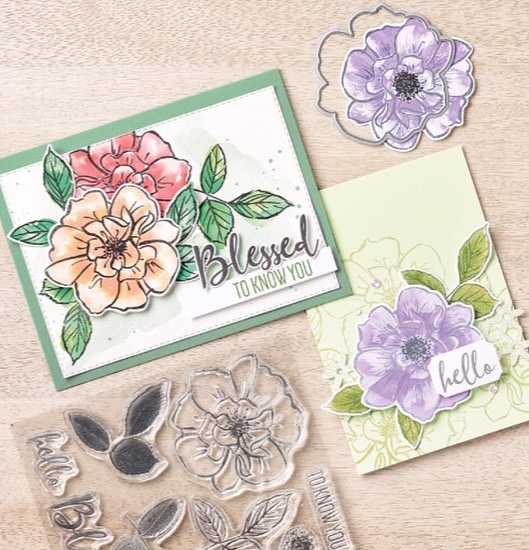
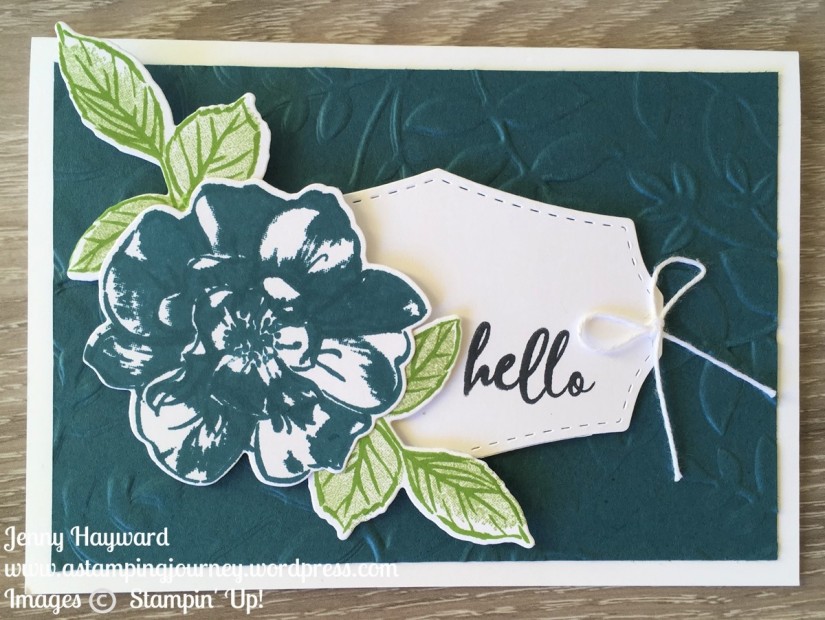
It’s Friday which means it’s video time with Friday Flicks. I couldn’t help but use the gorgeous To A Wild Rose bundle. I am so sad this is retiring. I love the layering you can achieve with the stamps and having the dies to match to get your different flowery effects.

This is today’s card.

You can catch me creating the card on video. (If you receive this blog post by email the video may not show so be sure to head to my blog by clicking on the title at the top or head to Youtube now).

Have you got the To A Wild Rose Bundle yet?

Be sure to grab it ASAP. It is going …

EDITED: I have just seen that the To A Wild Rose stamp set is now not available. 😦 The dies are still.

You can find the Wild Rose dies in my store now -> HERE.

In Australia? Shop at my store (link just above) Please use the Host Code – 3VUEXM63

OR Contact me directly.

Don’t forget – I’m giving away some Hand-made cards with your orders this month. Along with all the other little special things I send out.

Happy stamping,

Jenny

cards, Catalogues, Sale-A-Bration, Stampin' Up!

MORE FOR SALE-A-BRATION FOR THE LAST WEEK!

With the final week of Sale-A-Bration there is a 3rd release now out AND it is current catalogue products. 

You can choose one of these for free with your qualifying orders in addition to the other Sale-A-Bration choices still available.

** Please note: The item codes on these items must be used to redeem your Sale-A-Bration choice not the regular item code from the catalogue/online store. 

Below is just some of the cuteness that you can create with the gorgeous papers.  And to think you can get these for Free with your qualifying orders!

These projects created by Stampin’ Up! artists.

Here’s how you can use the Wild Rose Dies.  These are projects I have shared in the past.

You can grab the To A Wild Rose stamp set ($45 AUD) with your order and choose the dies free.

In Australia?  You can shop now -> HERE.

Please use the Host Code: MJMPAFFR.

Or you can contact me directly to place your order.

With your orders over $90 or $180 you can choose one of these as your free item or any of the other Sale-A-Bration choices still available.  Hurry only One More Week Left.

Happy Shopping,

Jenny

cards, Catalogues, Stampin' Up!

A FEW OF MY EXTRAVAGANZA FAVOURITES!

The Extravaganza Sale is coming to and end. ONLY HOURS LEFT. Have you checked it all out yet? There are some gorgeous bundle reduced.

I thought I would tell you some of my favourites.

The To a Wild Rose Bundle I have already got and I have created a lot with it.  The sentiments are beautiful.

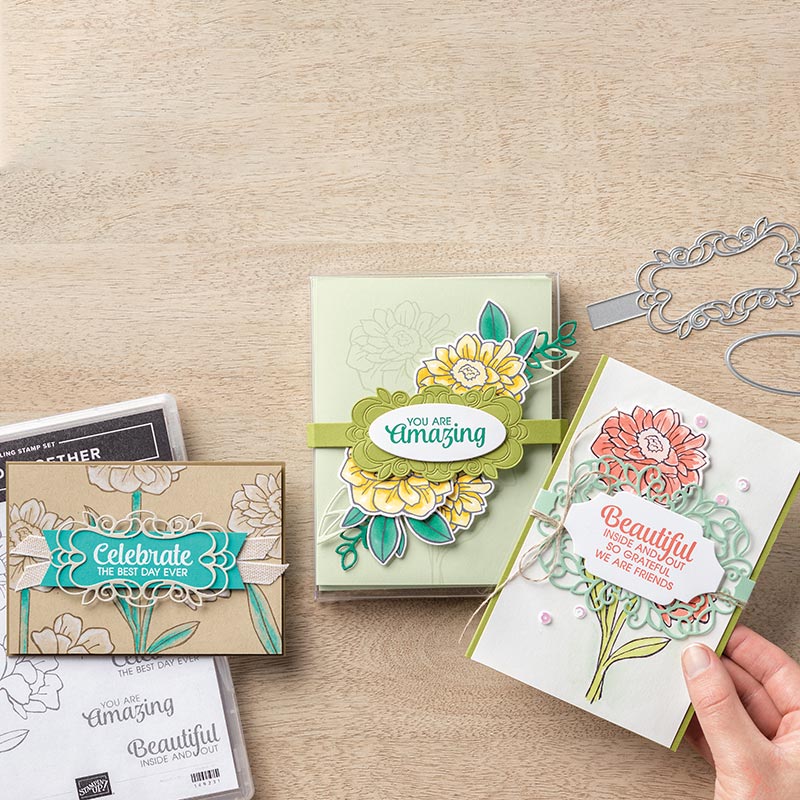
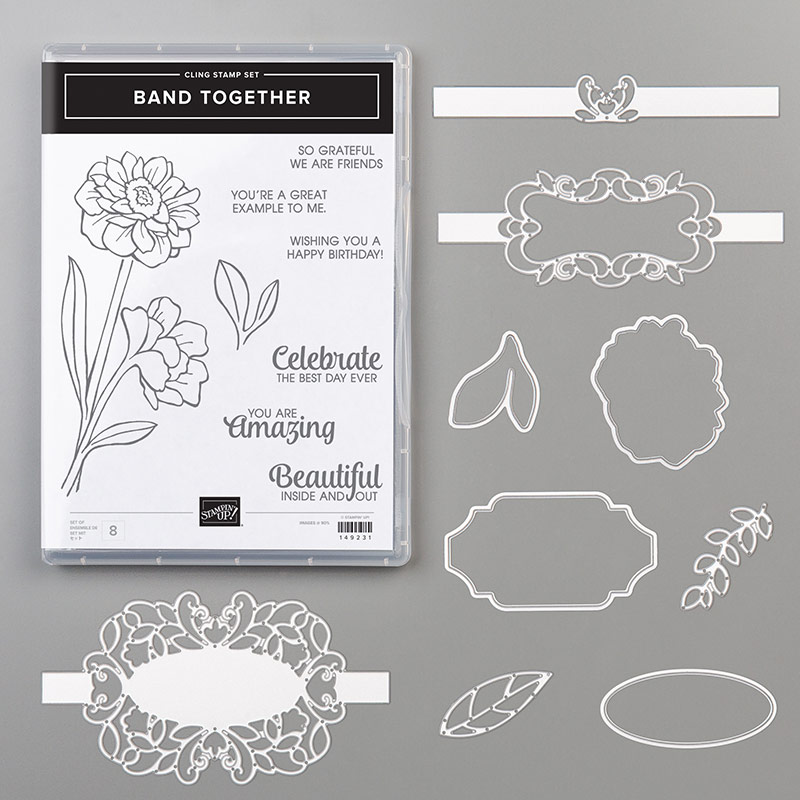
I really love the Band Together Bundle.  How delicate are some of those dies?? Great for layering together on your cards.

There are 8 Bundles discounted by an additional 5% as they are already discounted by 10%.

Cardstock and Inkpads are discounted by 15%.  The Regals and the Neutrals and the 2018-2020 and the 2019-2021 Incolors.

In addition, I am offering another 5% discount on these items.

***THIS ENDS TONIGHT 22ND***

Order through my store by 11pm -> HERE.  Please use the Host Code: 3F2MRZYP

OR Contact me by 8pm to put your order through for you.

Happy Shopping,

Jenny

PS: Don’t forget – Orders during November will go in the draw to win a new Paper Trimmer.


cards, Catalogues

GORGEOUS GRAPE WITH STAMPIN’ UP! TO A WILD ROSE!

I have another card for you with the To A Wild Rose set.  Yesterday was Calypso Coral and Petal Pink.  Today it is Gorgeous Grape and Highland Heather.

Stampin' Up! To A Wild Rose

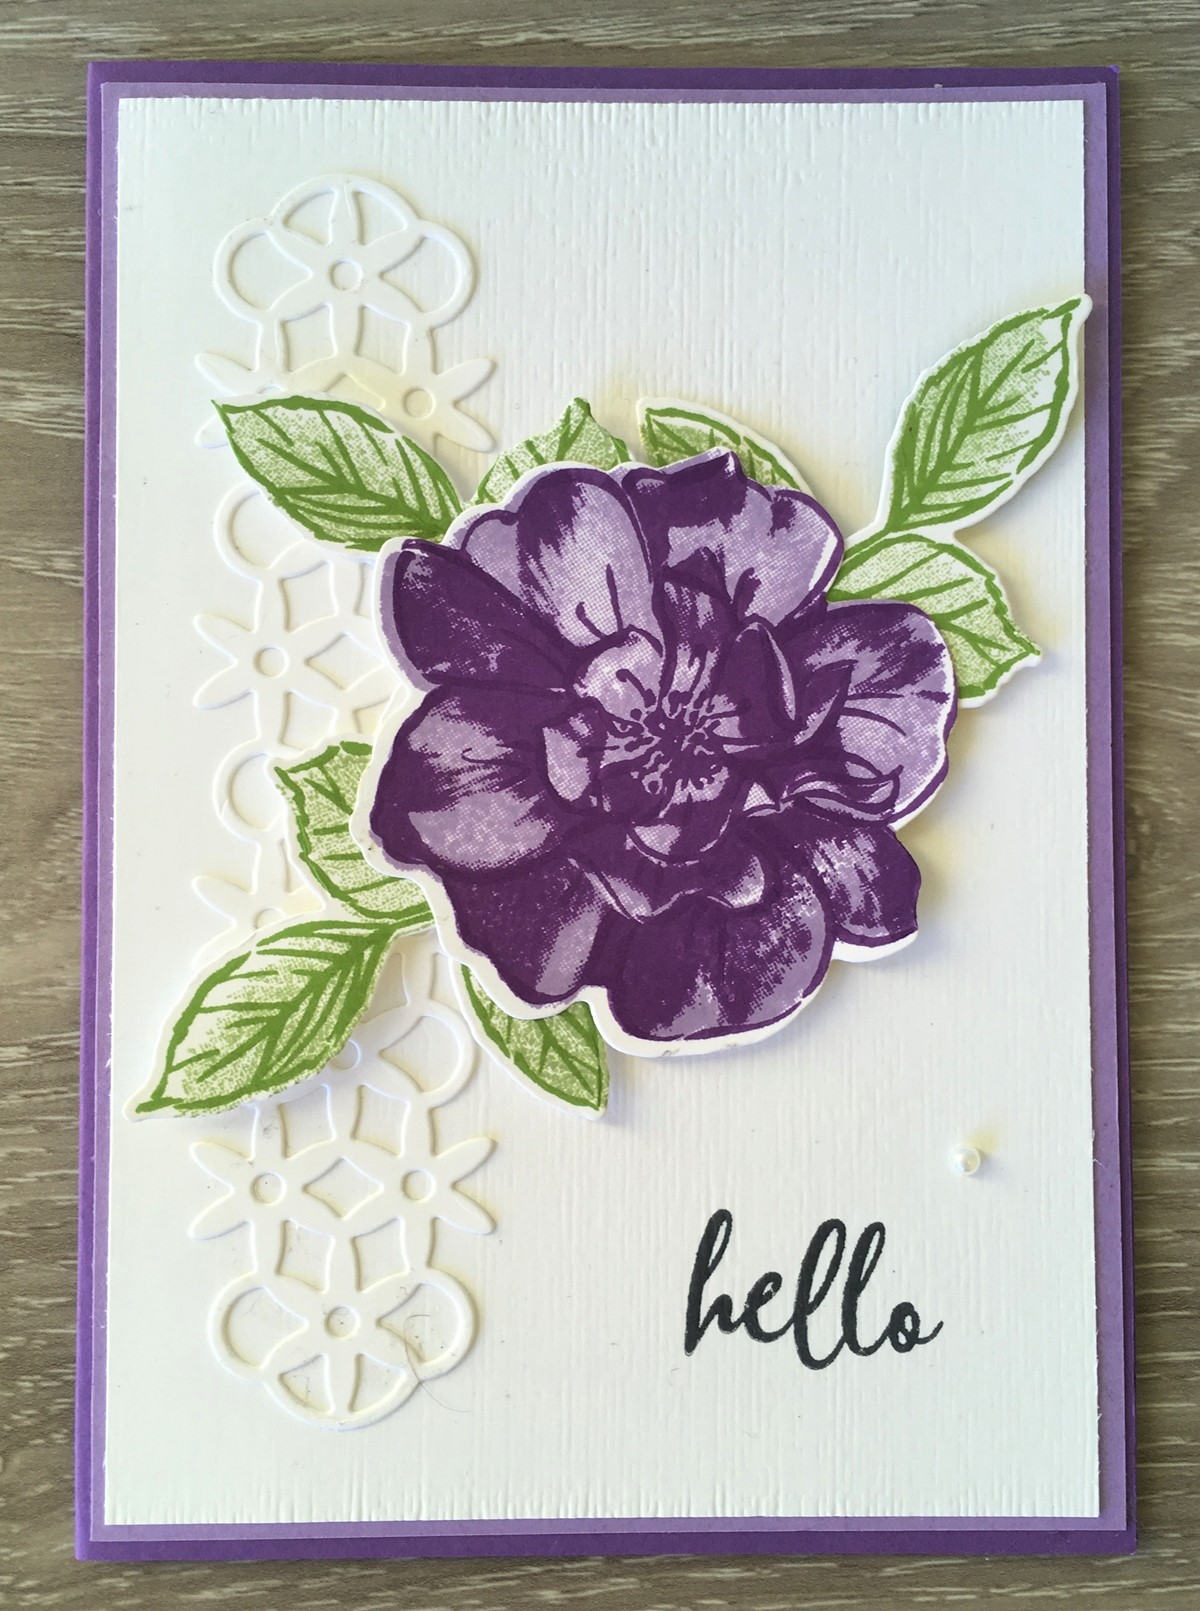
This time I stamped the outline of the rose in Gorgeous Grape,  The less detailed centre in Gorgeous Grape and the filler in the rose in Highland Heather.  I like this version.

The leaves were stamped in Granny Apple Green for the outline and Pear Pizzazz for the centre.  I like you that don’t have to watercolour these.

If you see the white background I first stamped the sentiment on the white card and then ran it through your diecut machine with the Subtle Embossing Folder.  You can then add the little decorative strip on the side which was cut with the fancy border die in the Wild Rose Dies.

I do love this set.  Have you got this one in your collection yet??

In Australia? Order it -> HERE.  Receive a pack of the Noble Peacock Rhinestones as your gift this week for ordering.  Please use the Host Code: HCCFFCSU

Qualifying orders (over $78) will also receive the 12 project Tutorial Bundle.  This is emailed out after your order is received.

Thanks for your order.

Thanks for visiting me today.  Enjoy your day whatever corner of the world you are from.

Jenny

cards, Catalogues, Stampin' Up!

CALYPSO CORAL ROSE WITH TO A WILD ROSE!

I have shared a few projects with the To A Wild Rose Bundle recently.  I have another one for you.  This one was actually the first card I made with this set.

Stampin' Up! To A Wild Rose

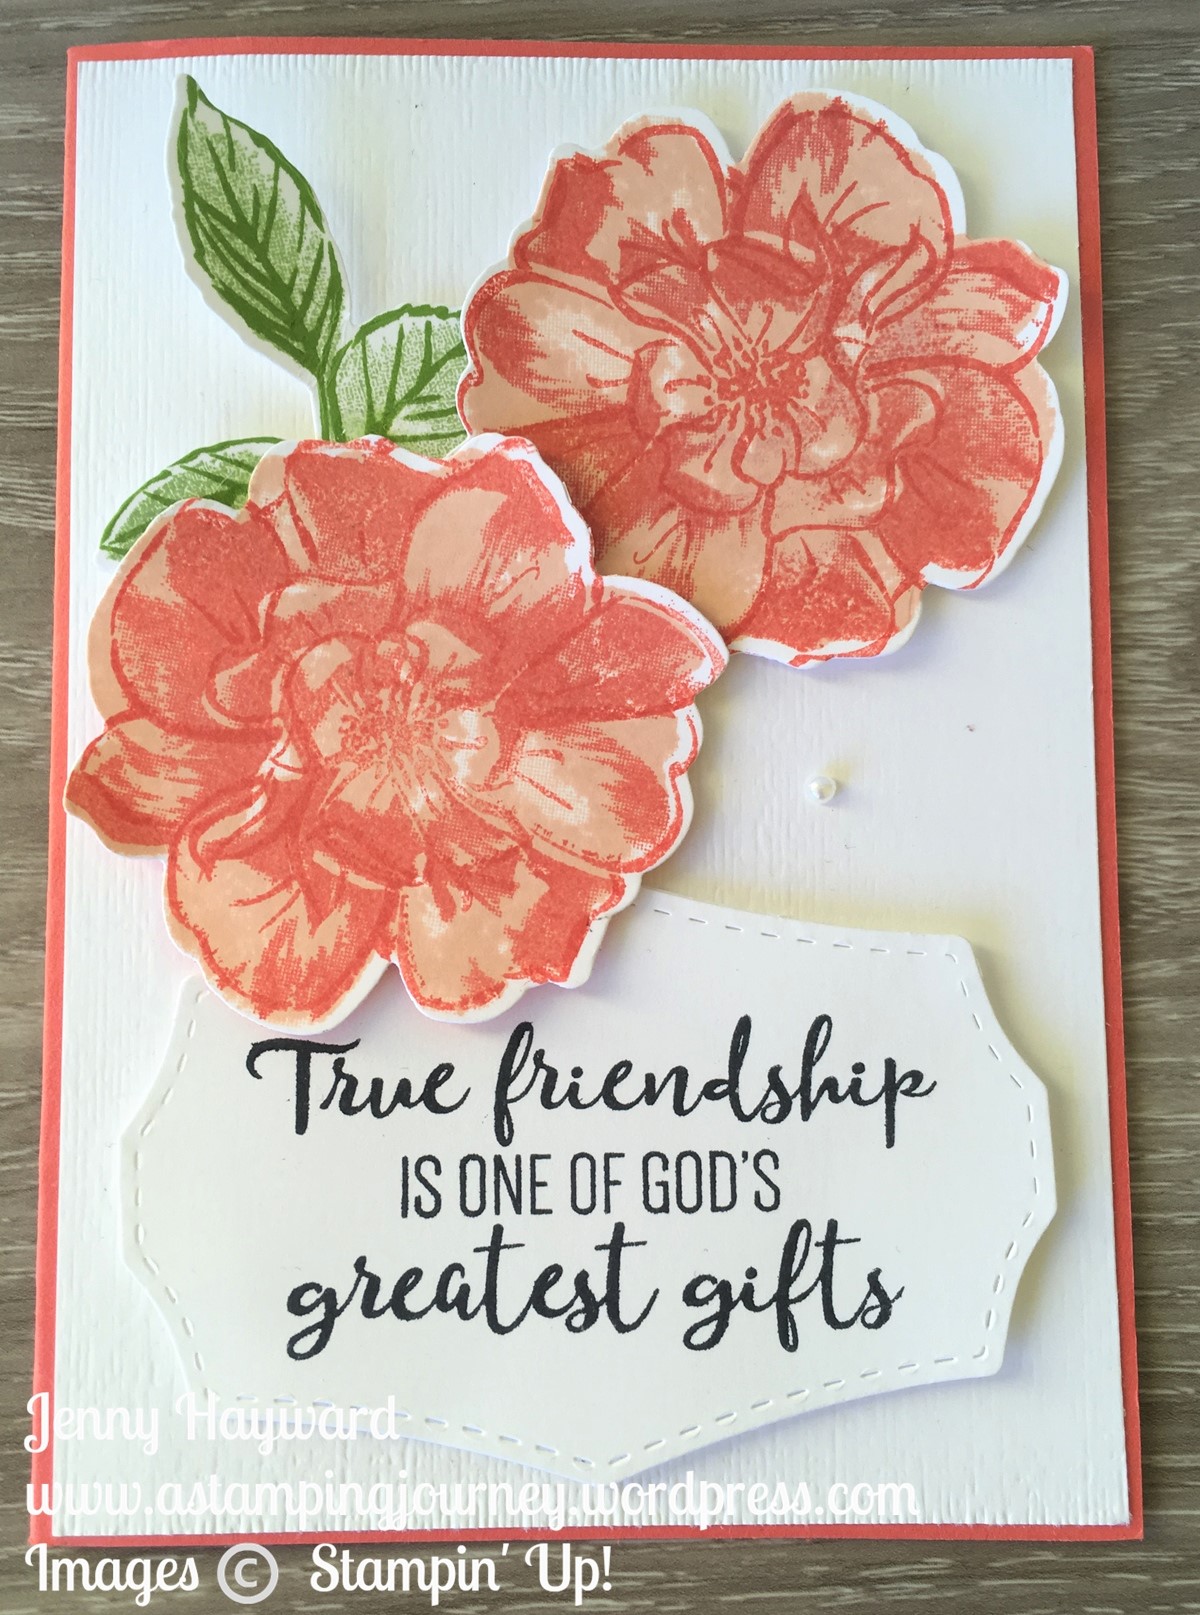
I played around with a few colour combinations with it and also working out how the 3 flower stamps work together.  I settled on this combination in the end. I used Calypso Coral for the outline image, Calypso Coral for the less detailed flower and Petal Pink for the full inside flower. Then simply cut the flower out with the Wild Rose Dies.

The leaves are stamped with Granny Apple Green for the outline and Pear Pizzazz for the inside of the leaf.

Notice on the whisper white card mat, I embossed the card with the Subtle Embossing Folder just to give it a little texture. Then this was adhered to the Calypso Coral base.  The sentiment was stamped in Memento and cut with the gorgeous frame from the Wild Rose Dies. I just think  this sentiment is so beautiful. It is so special to have a true friend.  One who is there for you any time and cares for you with the good, the bad and the ugly.  I am blessed with a number of special, true friends.

Back to finishing the card, all the pieces were raised up off the card and of course a Pearl to finish.

Thanks for visiting me today. I have another version I will show you next post so be sure to stop by.

Jenny


In Australia? Shop in store now -> HERE for your Stampin’ Up! supplies.  Receive a 12 project Tutorial Bundle as a Thank You. (not all the projects are with the To A Wild Rose) – and also a pack of Noble Peacock Rhinestones.  Got to love that bling!

Please use the Host Code: HCCFFCSU

This week since I will be away I have a special gift for you too.  Receive a pack of Noble Peacock Rhinestones Free as a Thanks.

Bonus Days are still on and ends soon at the end of the month.  Receive a $9 voucher to use in August when you order over $90 in July.

Do you have a LONG wish list? Over $170?  Why not join the Stampin’ Up! family.  Receive $280 of your choice of products for only $169 – and no shipping costs.  You can leave Stampin’ Up! anytime. 


cards, Catalogues

INCOLOR ROSES WITH TO A WILD ROSE!

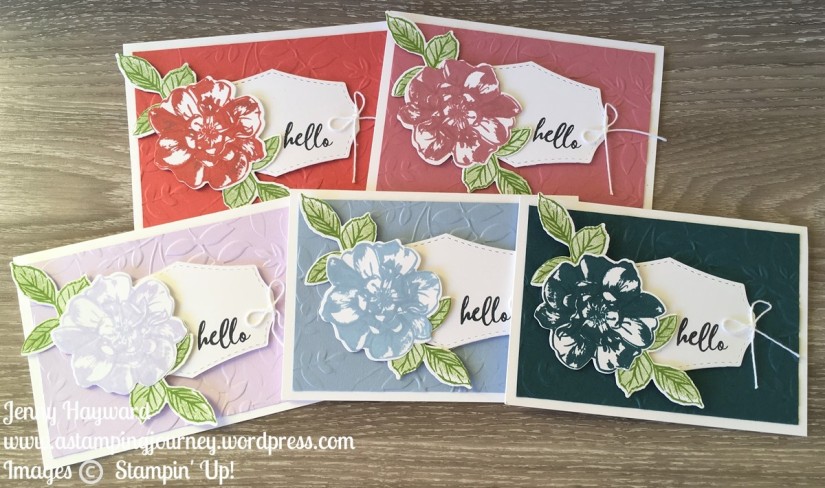
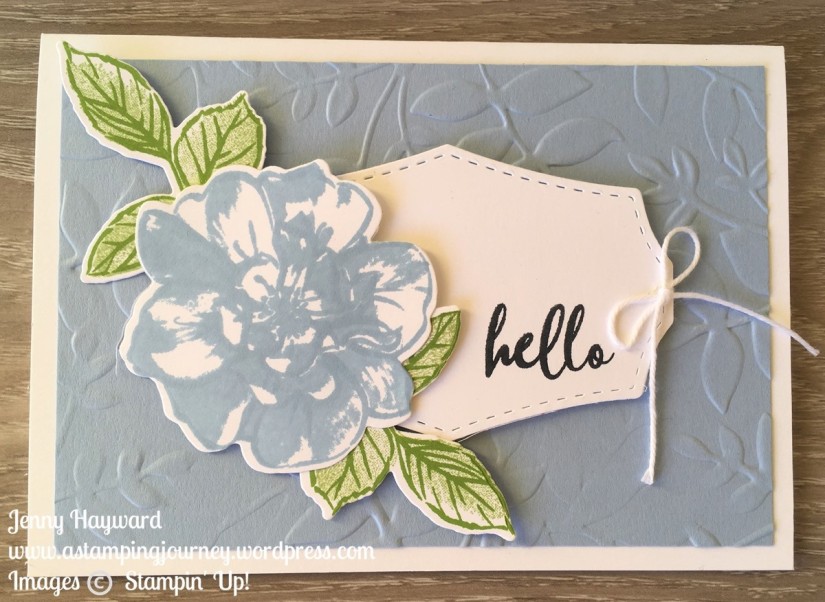
I shared a few cards with you last week using the To A Wild Rose bundle. (Head back a few posts if you missed them). I can now share these cards with you. These are using the new 2019-2021 Incolors. 

2019 Stampin' Up! Incolors

On each incolor card mat I embossed that with the Layered Leaves Embossing Folder.  For the roses I stamped the outline in the Incolor and the partly detailed flower stamp inside to fill the rose.  If you are having trouble lining up the stamps be sure the check the helpful tip further below.

The leaves are stamped with Granny Apple Green for the outline and Pear Pizzazz for the inside of the leaf.  I used the leaf that has the stem on it.  There are 3 leaf stamps so you have a number of options.

Here is a closer look at each one.  You are probably familiar with the new Incolors by now.

Pretty Peacock

To A Wild Rose

Seaside Spray

Purple Posy

Rococo Rose

Terracotta Tile

What’s your favourite?

The Wild Rose Bundle includes the To A Wild Rose stamp set and the Wild Rose dies.  I love the stitched shape for sentiments.

TIP: Check the image below to show how to line up the stamps.  I did share this in a post last week but if you missed it I thought I would share it again.  Just mark the back of the stamp in the same position.  When you stamp each one place this mark in the same position each time. This will make it much easier to line up.

In Australia?  You can grab this bundle in my store now -> HERE. Please use the Host Code: HXRVAQUA

The Wild Rose Bundle is $93.50 AUS (receive the Tutorial Bundle of 12 projects sent out to you after as a little Thank You.

Thanks for visiting.  Come and see me again soon.  (Be sure to subscribe so you don’t miss a post – see right side bar.  Also subscribe to my newsletter while you are at it to keep updated more).

Jenny

Blog Hops, cards, Catalogues

TO A WILD ROSE FOR JULY STAMPING AROUND THE WORLD BLOG HOP!

Hello and welcome to another Stamping Around The World Tutorial Blog Hop.  I am excited to share again with this amazing, talented group.  You might have come from Jo Anne’s blog -> HERE or just starting out.  Either way, enjoy the hop.

Each month this group compiles a Bundle of Projects to send out free following orders from our customers, or people are able to purchase the tutorials regardless of where they live in the world.

We also come together to Blog Hop this time each month.  For our projects for the Blog Hop we create a project using the same stamp set we used in our Tutorials.  This month I used To A Wild Rose.

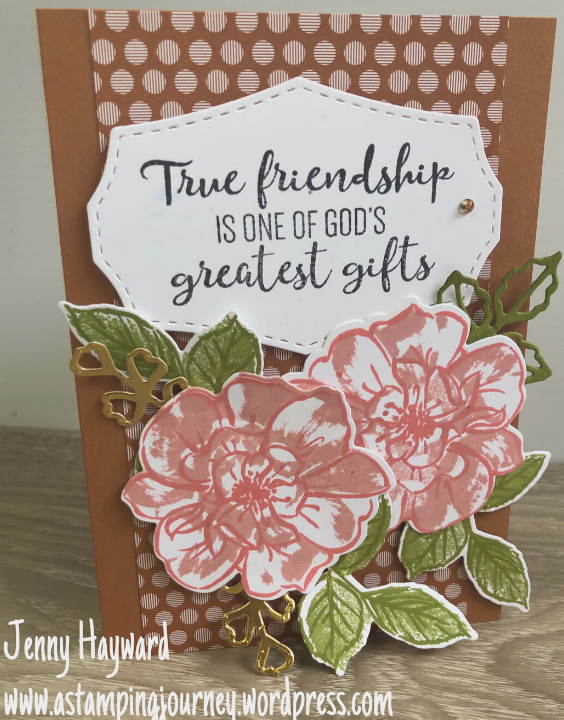
This is the card I have to share with you today.  It is not an original design and I have seen it on a few blogs but I am not sure what it is called.  I am calling it a Topper Card. 🙂 I have the measurements below.

THE TOPPER CARD

I have used the Perennial Essence Designer Series Paper for the front of the card. Isn’t it pretty?
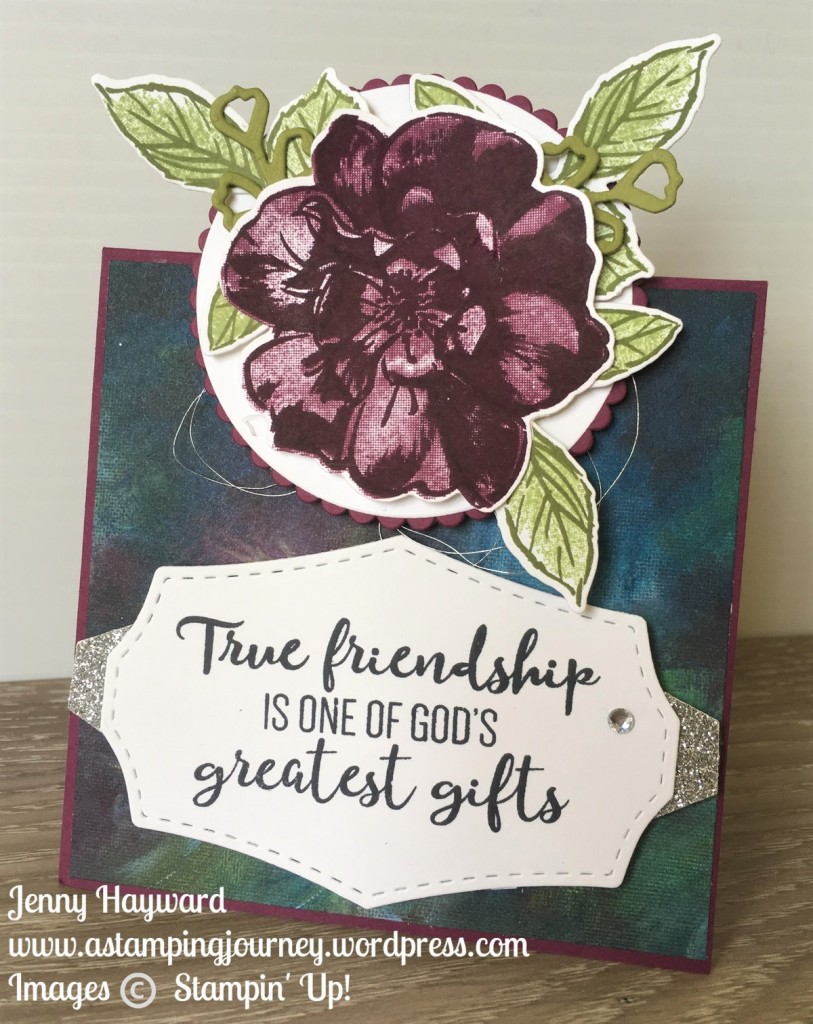
I stamped the large sentiment image on the first card.  It is a beautiful sentiment.  What a blessing it is to have a true friend.  I am very thankful for the blessing of a number of true friends.  I really loved the sentiment and wanted to use it.  The sentiment was diecut with the stitched label shape in the Wild Rose dies.  I backed it with some Silver Glimmer Paper which I had punched out with the Tailored Tag punch and cut in half.

When I finished the card the sentiment seemed to be too large and out of proportion or so I thought.    What do you think?  I re-stamped a smaller sentiment to go on the front.  The smaller sentiment was diecut with the Stitched Labels dies.

The rose in this set is created with 3 stamps.  You can use one, two or all three stamps together. I used all 3 in this one. The rose was stamped on scrap white paper.  Firstly stamp the outline rose image in Blackberry Bliss, the sparser filler image was stamped in Blackberry Bliss and the more detailed centre stamp was stamped in Rich Razzleberry.  I love how you get the depth to the flower with the multiple images.

I will say it can be a little tricky lining up the 3 images for the rose.  I will share a tip with you.

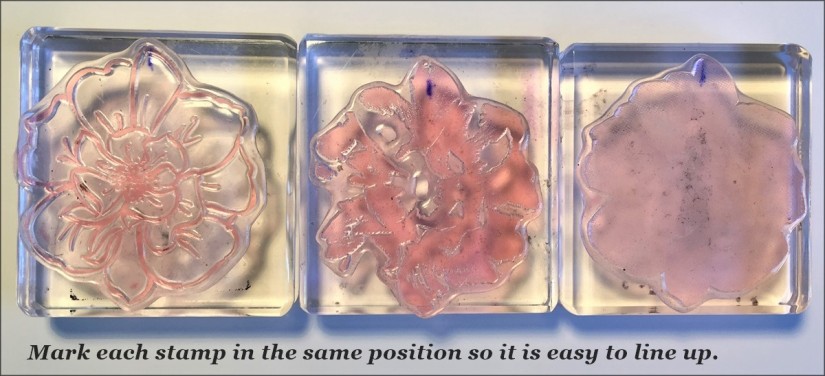
TIP FOR STAMPING THE ROSE: On each of the stamps I made a mark in pen on the back of each stamp in the same position.  When you stamp you can position the stamp in the same orientation each time.  It saves so much time and frustration – let me tell you.  Here is a photo showing the marks on the stamp. I hope this tip helps.
THE INSIDE OF THE TOPPER CARD

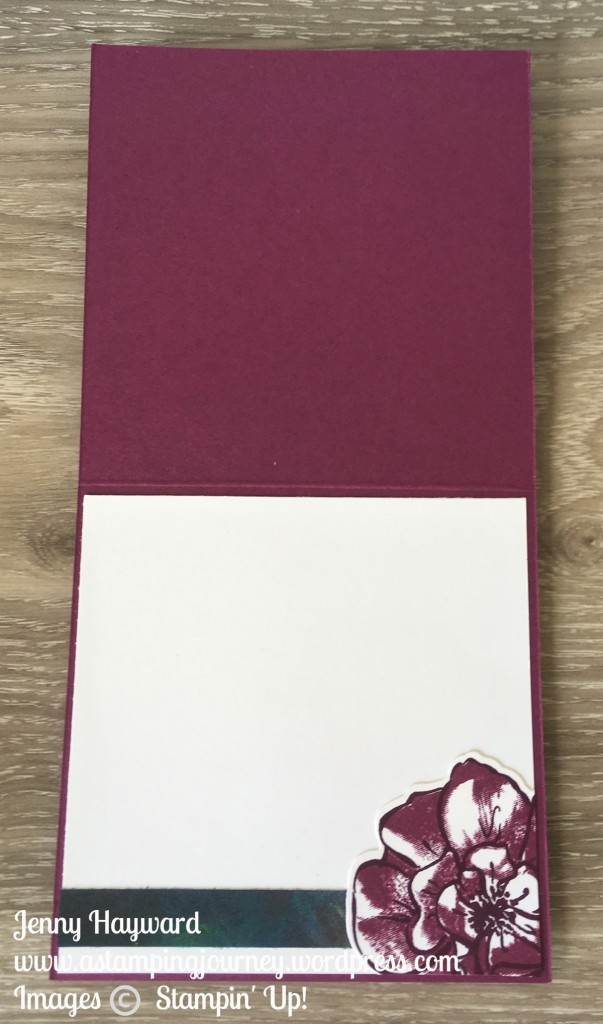
Of course, don’t miss the inside.  I had a strip of designer series paper over so I adhered that on to a piece of white card.  I had stamped an extra rose as I wasn’t sure which one to use for the front.  So I adhered that to the bottom right corner and trimmed off the overhang.  (This rose was stamped in blackberry Bliss for the outline image and Rich Razzleberry for the centre).
MAKE YOUR OWN TOPPER CARD

For the base card, cut card to 10.5cm x 21cm, score at 10.5cm.   (4 1/4″ x 8 1/2″, score at 4 1/4″).

Cut Designer Series Paper to 10.1cm x 10.1cm (4 1/8″ x 4 1/8″)

Cut White card for inside to 10.1cm x 10.1cm (4 1/8″ x 4 1/8).

To create the Topper part.  Make this any shape you desire.  I have used the Layering Circles Framelits. 

The topper is placed on the base card on the fold line with half of the topper overhanging. Remember when you add the topper to the top of the card only place your dimensionals to the lower half of the Topper shape so you don’t see them at the back. 

SEE IN STORE

You can see the To A Wild Rose Bundle in my store now -> HERE.  $93.50 AUS.

Now if you grab this bundle this month you will get a Bonus Day Voucher to get $9 off to go towards next month’s order,  AND you will receive the Tutorial Bundle of 12 exclusive Projects including my different project with the To A Wild Rose bundle.

GRAB A TUTORIAL FREE

Don’t want to miss anything?  Sign up for my Newsletter and receive one Tutorial as a Thank You.  This will be a project from a previous Tutorial Bundle.  Check the Right Hand Column.


CONTINUE THE HOP

Thanks for hopping with me today.

Now you are ready to move on to the next blog in the hop.  Now head off to Sue’s Blog -> HERE.  There is a list below if you get lost.


Eva Pottsova (Crafting with Angels)

Stefanie Pletscher (The Crafty Medic)

Margriet Siekman (Creatief met Marsie)

Jo Anne Hewins (Luv 2 Create)

Jenny Hayward (A Stamping Journey)

Sue Allen (Sue Allen Simply Craft)

Linda Handford (Stampin by the Beach)

Lori Mueller (Stampin’ Dreams)