3D projects, Catalogues, Onstage, Stampin' Up!

ONSTAGE @ HOME TEAM DAY!

Last weekend was the Stampin’ Up! Onstage event @ Home. It was sad not to meet together but a few from my team got together which was a lot of fun.

It was lovely of Sarah to open her home up to us and we could watch the big TV screen together with all the sessions and chat about them. There is always lots of ‘oohs’ and ‘aahs’. 🙂

We had a card display and I made up some gifts for my team.

Here are the little gifts. I included a Stampin’ Up! file folder with some Stampin’ Up! hand-outs, a clipboard (great for all those sessions notes), and I made up a little pack with a highlighter, sticky notes and a Stampin’ Up! magnet. These were all gifted in past Stampin’ Up! convention bags.

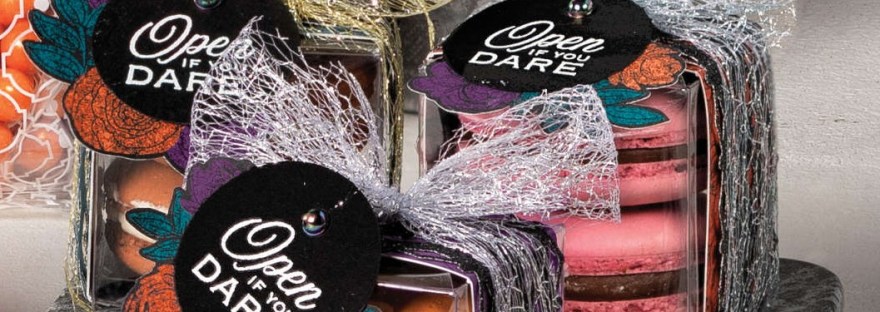
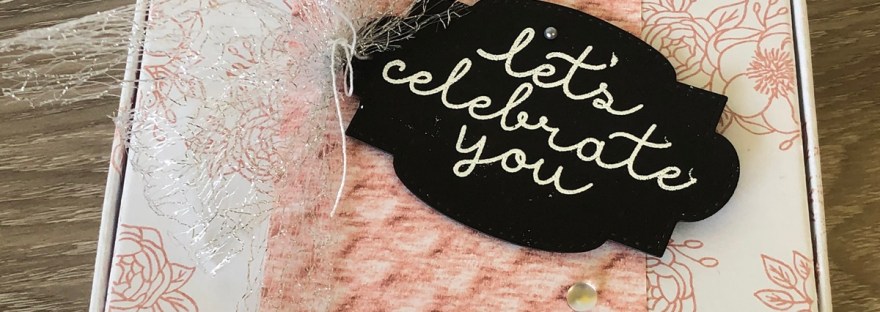
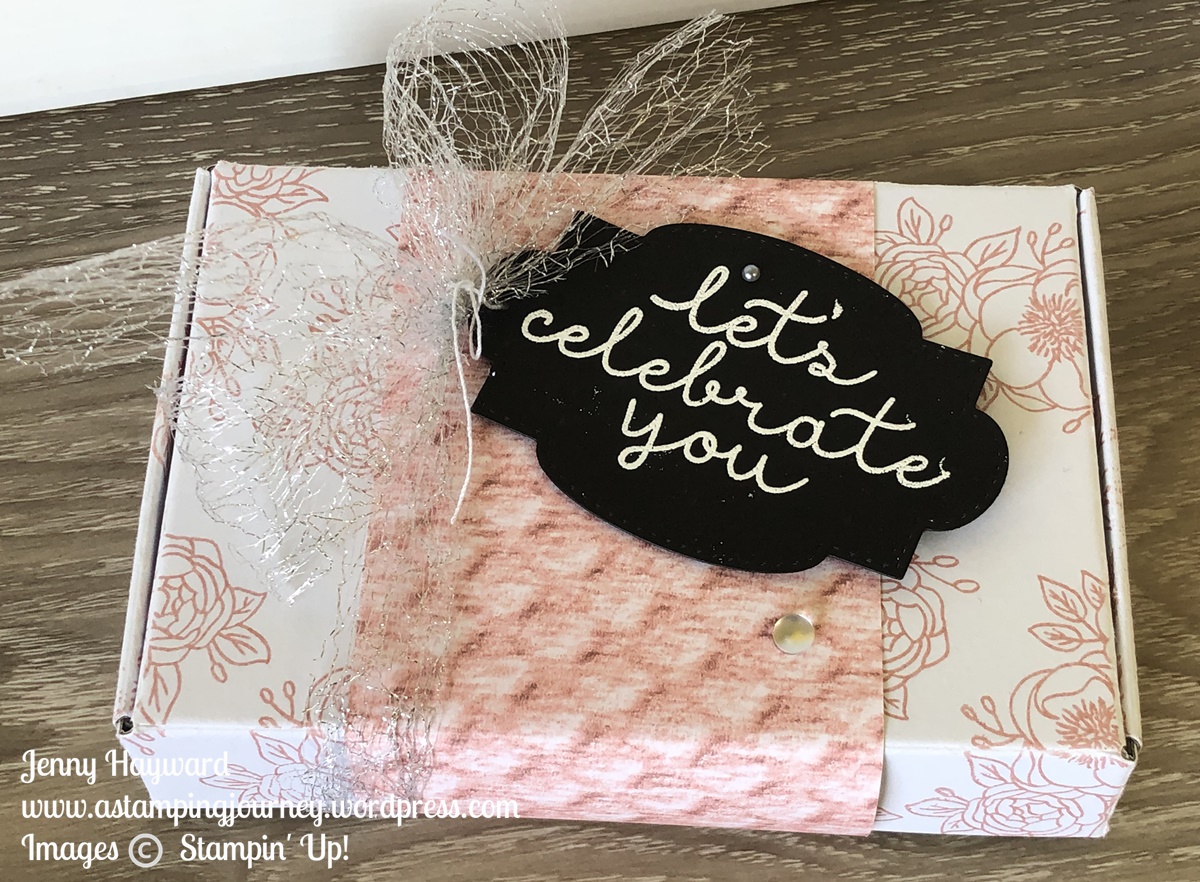
These were little table gifts for the tables. I made them up using some retired pillow boxes and decorated them with the new Dandy Garden suite. These are some gorgeous new products coming in the 2021 Occasions Catalogue starting in January. I thought this sentiment was good as we start out on a new Stampin’ Up! year.

Of course one needs to be hydrated at these events so I made up some bottle tags using the cute Zany Zebras.

Just some of the name tags. Sarah created these which were great!

And then you must have Prize Patrol right. We had drawings over the 2 days for some fun prizes. And that was in addition to the Stampin’ Up! giveaways over the weekend.

Some card displays with the Curvy Celebrations and the Curvy Christmas stamp set, the Dove of Hope and a few other stamp sets.

The Dandy Garden Suite. I will share closer views of the cards over the next couple of weeks and months. I think you will love this suite.

The Poinsettia Petals card samples created by Sarah.

Getting some creating going on with the Dandy Garden project. I will share those with you very soon.

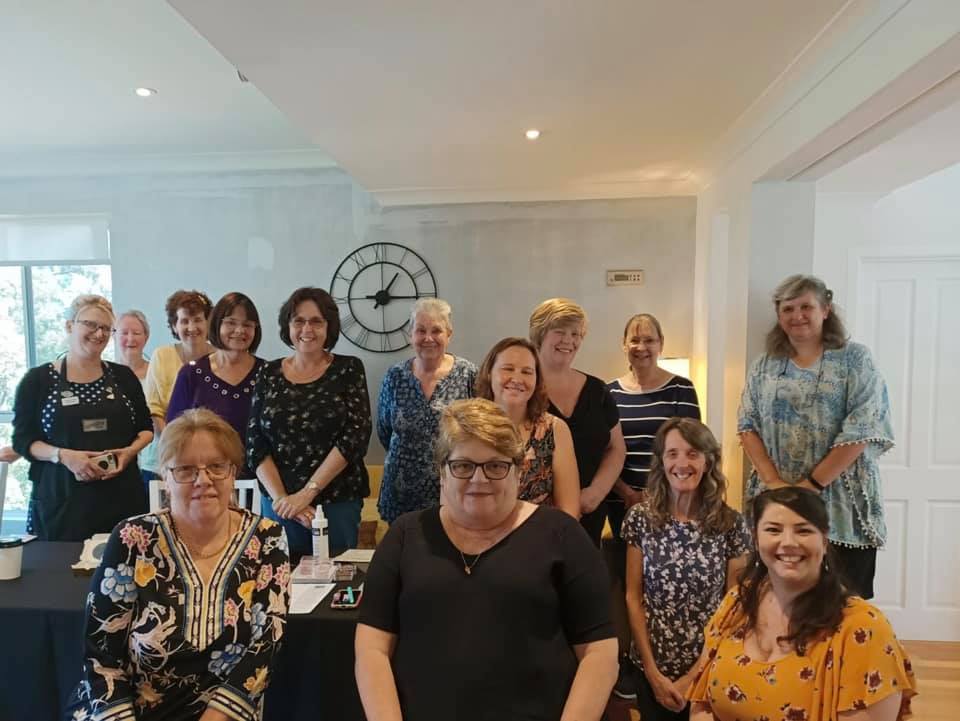
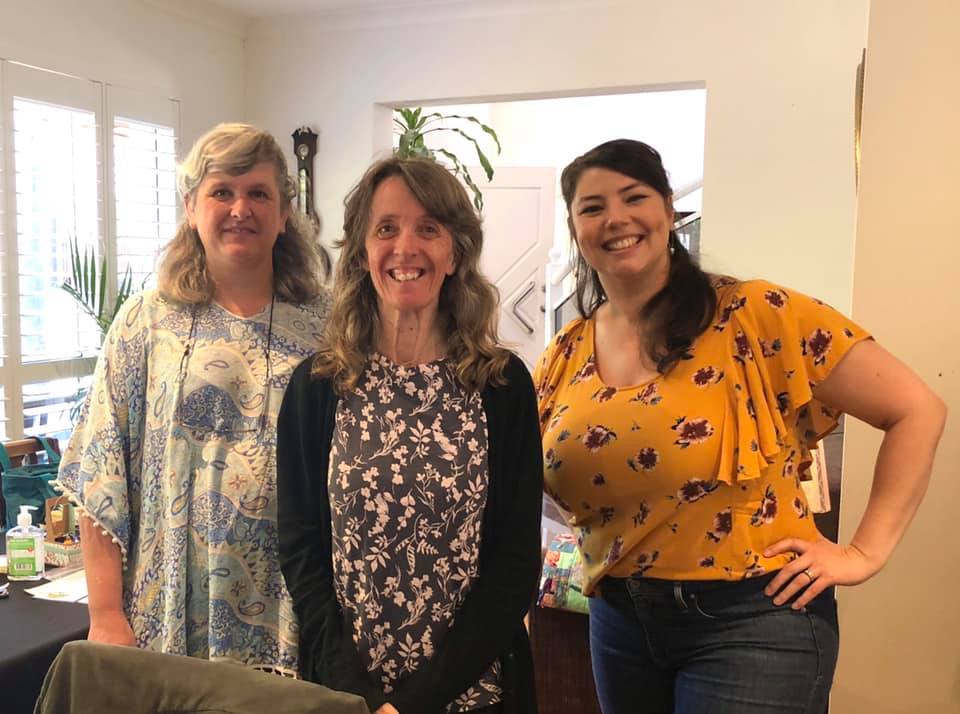
Some of my JEN’s INK Team. (A socially distanced photo. 🙂 )

Recognition was announced. I was so pleased to achieve Sales and Team Building Recognition for this past year. Thank you to you all for your support and encouragement and Thank You to my wonderful team.

Thank you to you all for your support and encouragement whether you order from me or cheer for me from near and far. I appreciate you. Thanks for visiting my blog. And of course Thank You to my wonderful team.

If you would love to be a part of these fun get togethers then I would love to welcome you to my JEN’s INK team. I go on about the discount a lot but really being with Stampin’ Up! means a lot more. It’s connecting with so many “crazy” people like you who get excited about stamps and ink. You can find out more on my page HERE of 9 Reasons why you need to join the Stampin’ Up! Family.

Keep creating,

Jenny

cards, Catalogues, Stampin' Up!, Sunday Suites

SWEET SUNDAY STAMPING – ARRANGE A WREATH!

Sunday is usually Sunday Suites. I am mixing it up today for Sweet Sunday Stamping. Same thing. Just a bit different. I’m going to do that occasionally.

For Sweet Sunday Stamping we are going to look at a Stamp/Die or Stamp/Punch Bundle or even a single stamp set for your sweet projects.

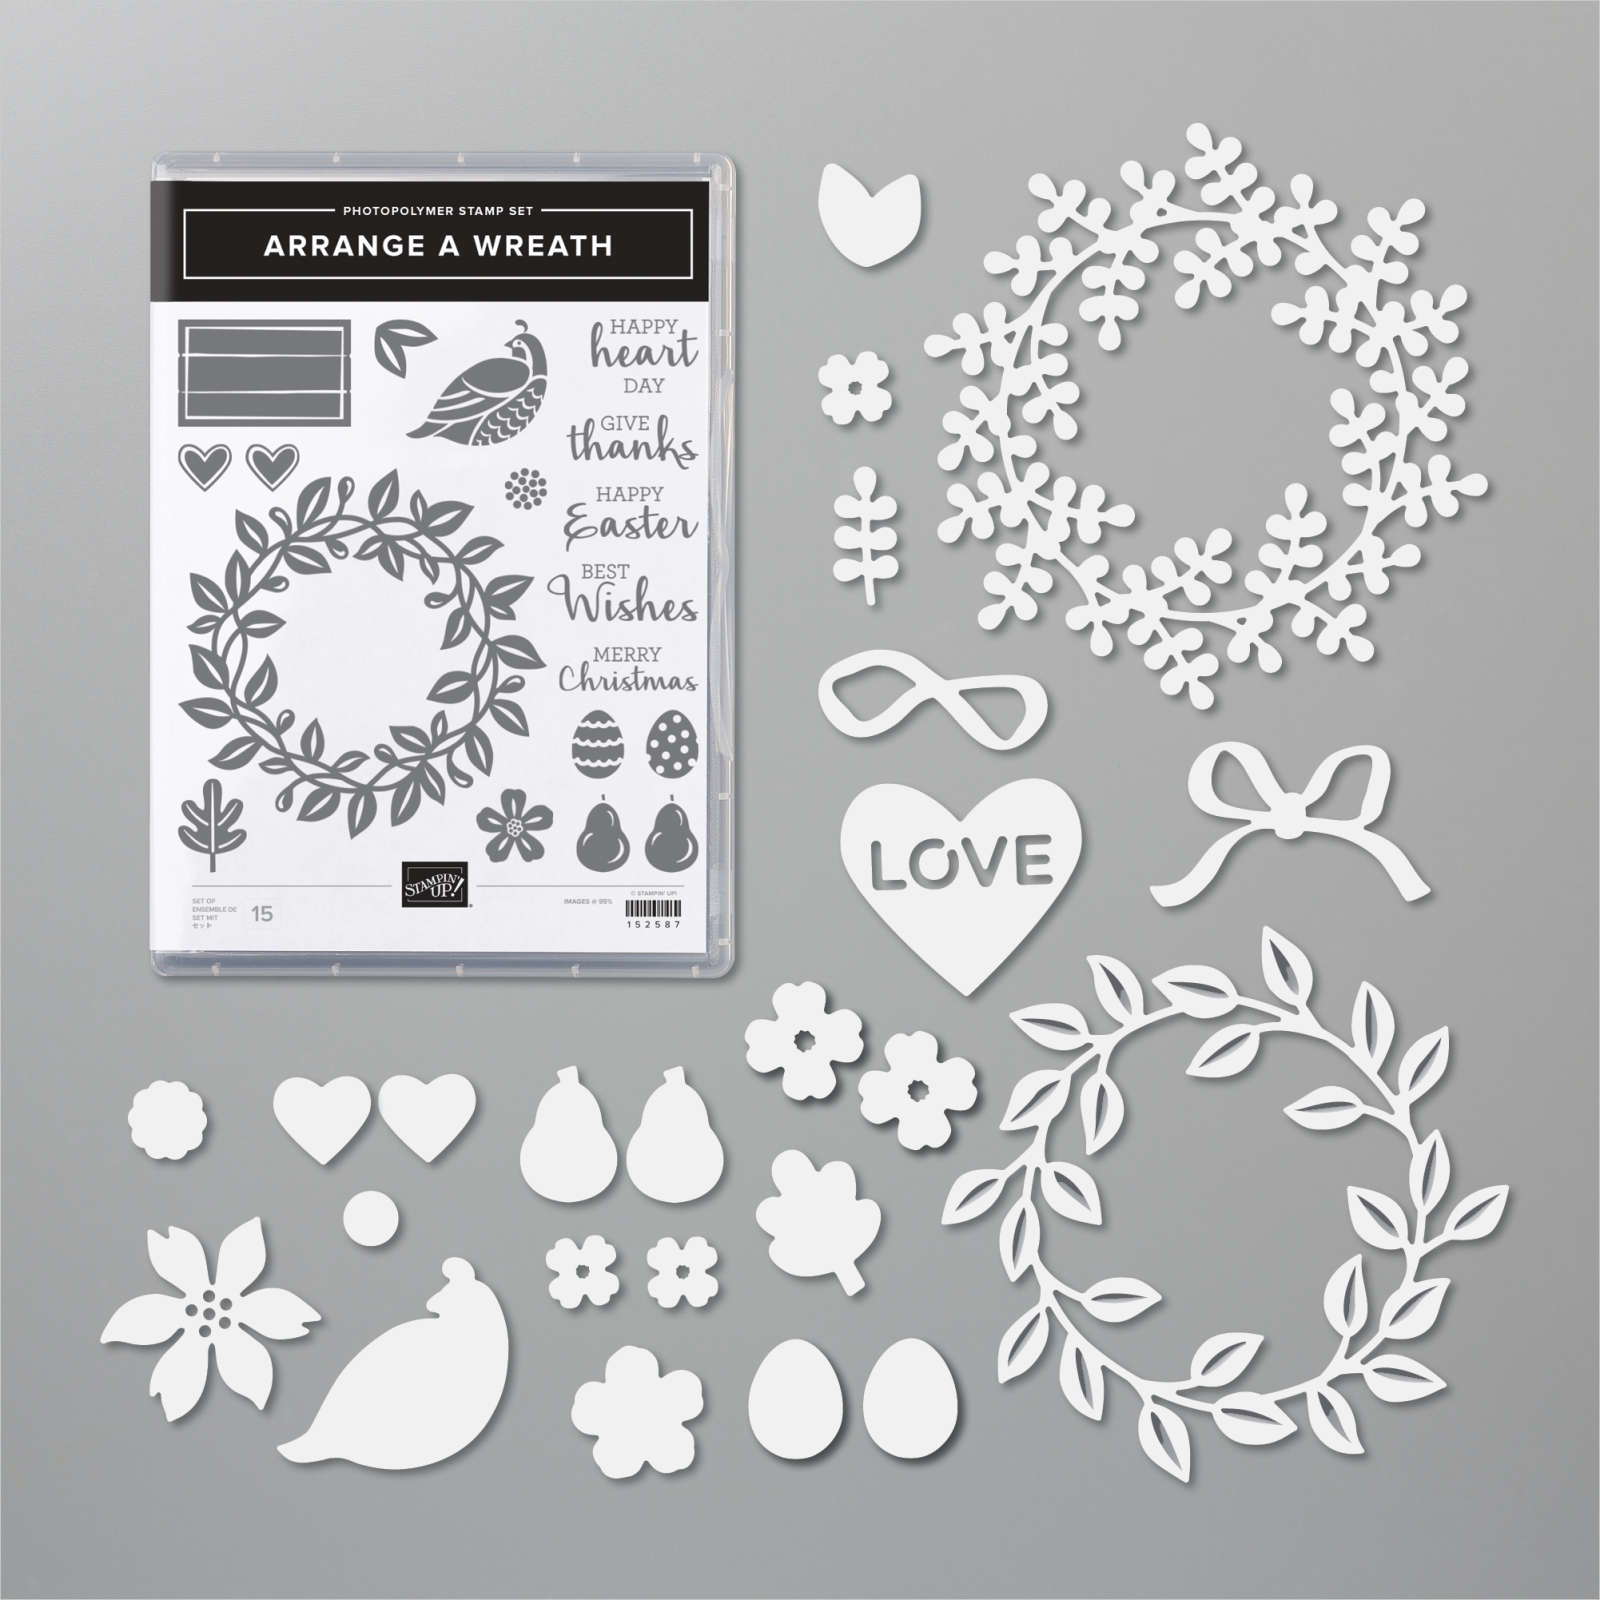
Today let’s take a look at the Arrange A Wreath Bundle. This stamp and die set is versatile for many occasions.

The Arrange A Wreath Bundle includes the Arrange a Wreath stamp set and the Wreath Builder Dies.

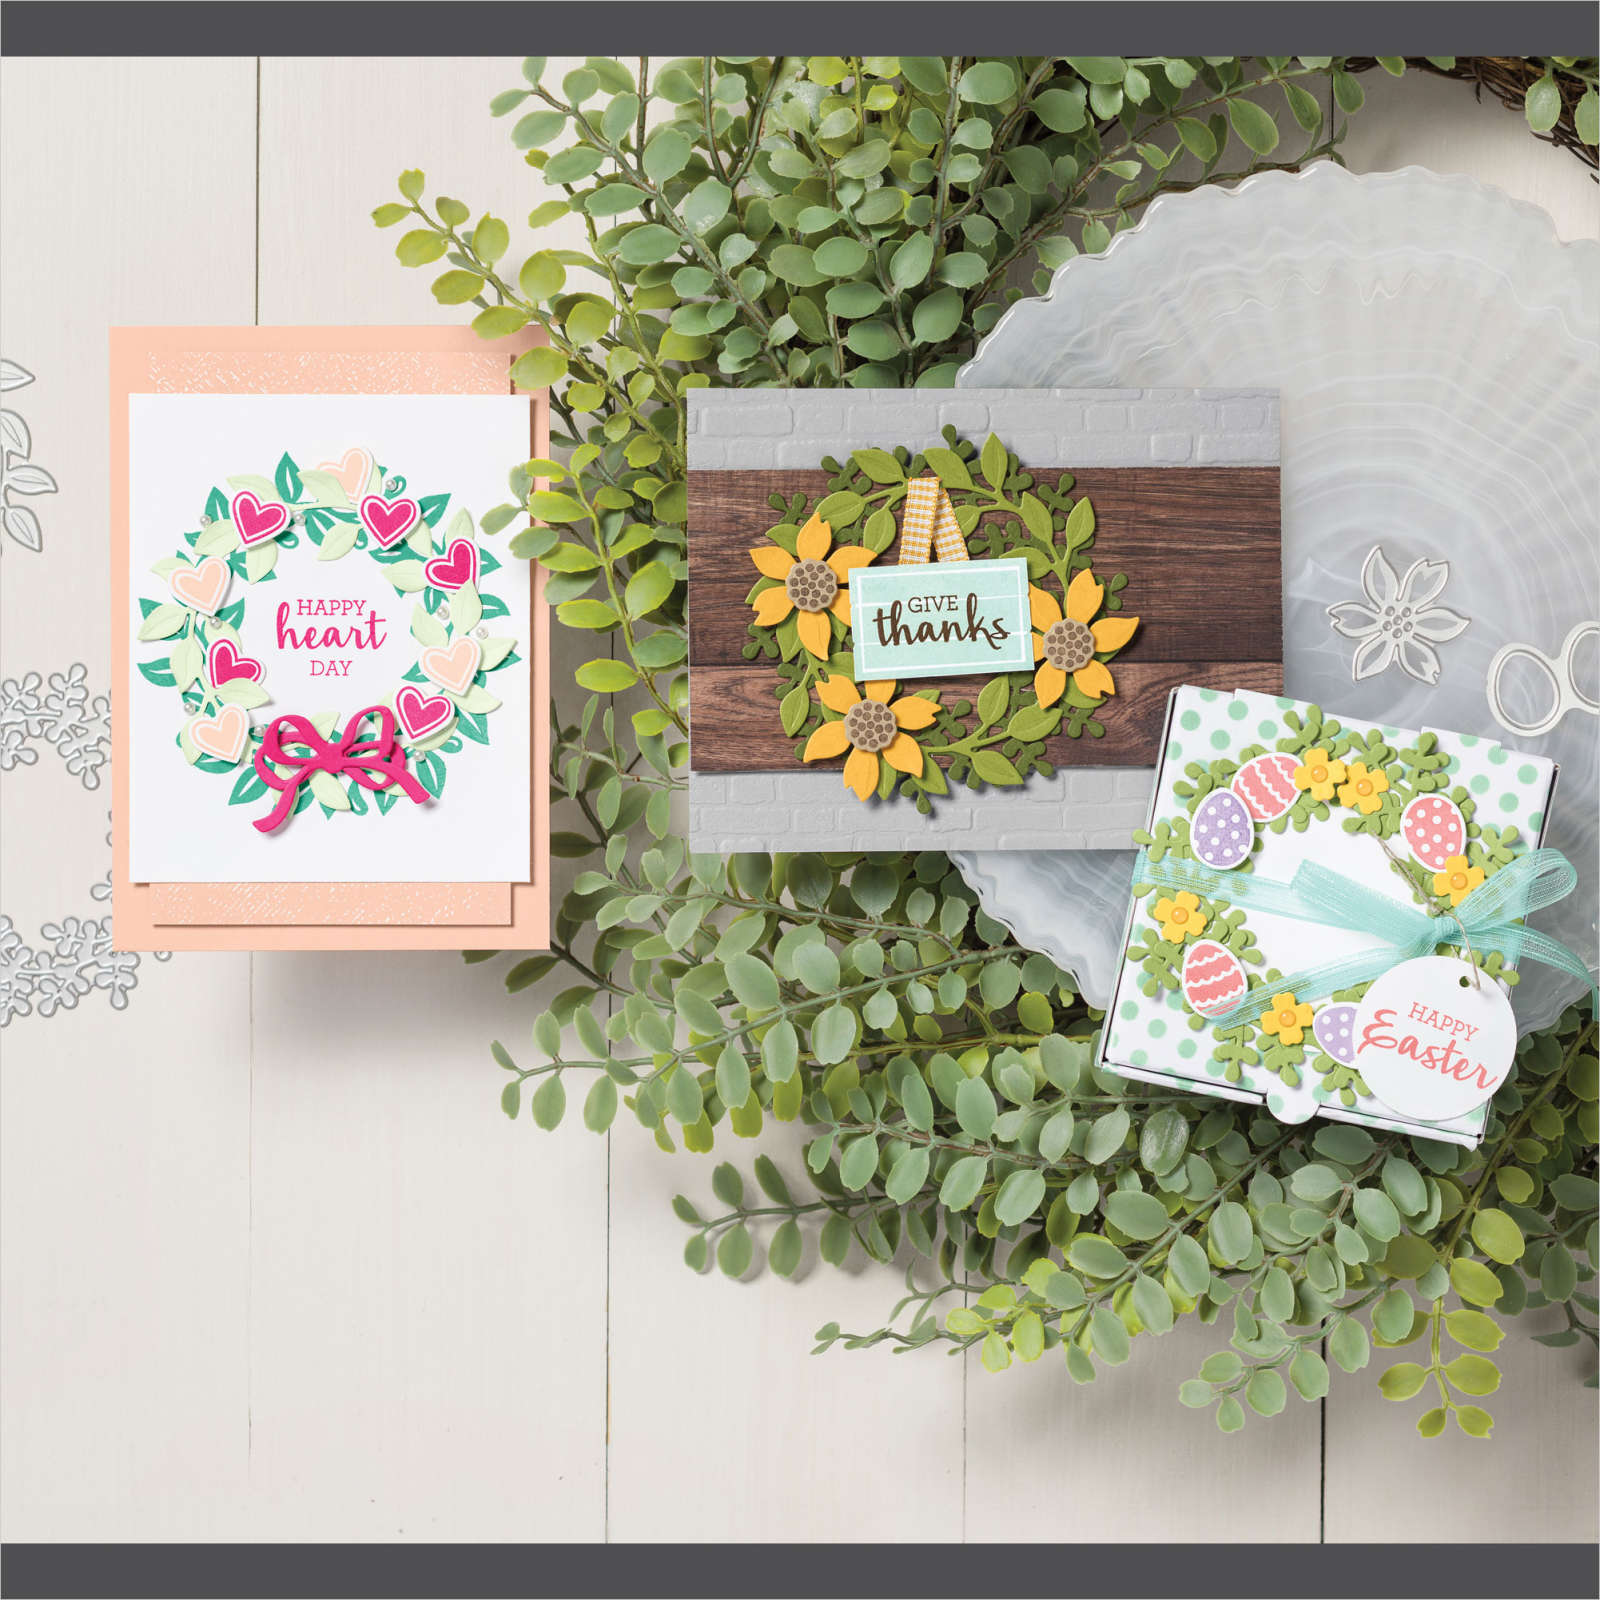
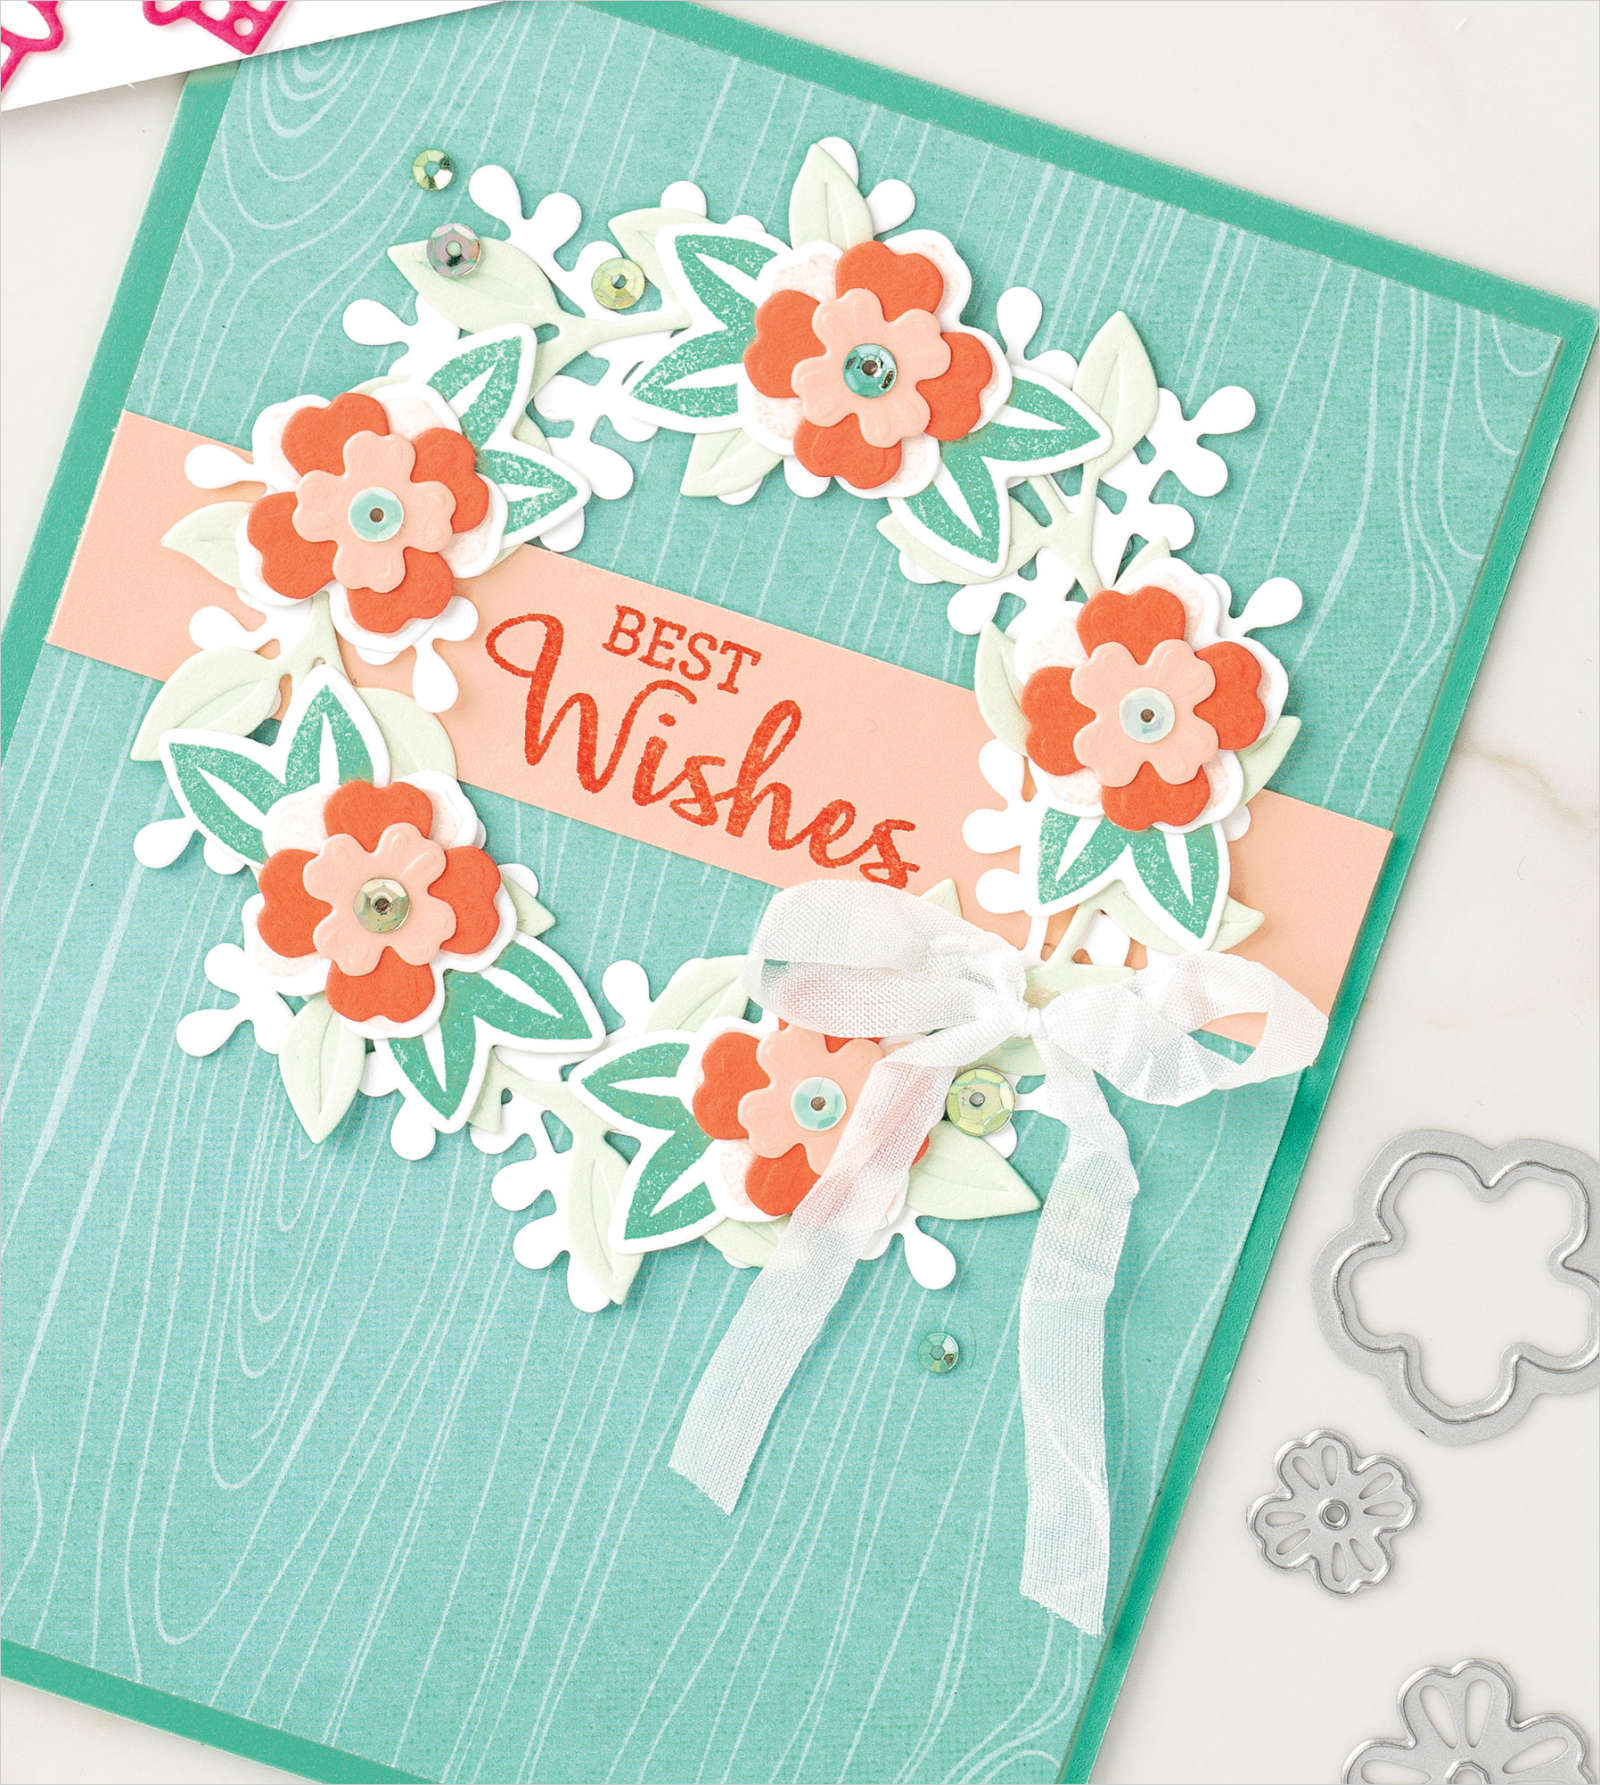
Great for many occasions – Thanksgiving (if you celebrate that) but a sweet one for Thanks cards even. What about an elegant wedding card?? Valentine’s? A Christmas wreath perhaps? Make an Easter wreath. Oh so many occasions!

The Arrange a Wreath stamp set includes not just the wreath but little stamp images like the flowers, eggs and fruit.

The Wreath Builder Dies contains dies to cut the stamped images as well as 2 styles of wreath that you can create 2 different styles of wreaths. The wreath is 3 1/2″ or 8.9cm.

Check it out with some sweet samples. (Created by Stampin’ Up! Artists).

In Australia? You can find this sweet Arrange A Wreath stamp and die set in my store now -> HERE.

If you shop online please use the Host Code – RCDPWPWK

OR you can contact me directly by email or phone 0439 844574

Thanks for your order.

Happy Sweet Sunday Stamping,

Jenny 🙂

cards, Catalogues, Videos

MERRY AND BRIGHT CURVY CHRISTMAS + A VIDEO!

I am loving the gorgeous new Quite Curvy Bundle of products we have available this week. I have been creating lots. Today I wanted to share not one but 2 projects with them.

The layouts are the same but one is a Christmas card and then I created another as a Birthday card just changing it a little. Today’s video will show you how to create them with a few tips on how to use these new products.

Check the video below.

On these cards I have used the new Classic Christmas paper in the Crumb Cake prints. There are some great prints in this pack in Crumb Cake, Shaded Spruce and Cherry Cobbler. I have neglected the Scalloped Lace Trim but it is so soft and adds that elegant touch to your cards.

The Crumb Cake card was embossed with the Subtles Embossing Folder to add a little extra texture. The bow and the bird were coloured with Stampin’ Blends.

Are you loving the Curvy Celebrations Bundle of Products? They are available to order now in my store -> HERE.

If ordering online please use the Host Code – RCDPWPWK Or contact me directly to order at jghayward@yahoo.com

Be sure to check out my class details too. View that -> HERE. (Australian residents only at this stage).

Be sure to check the video out and subscribe over on my Youtube channel so you can keep updated when I post a video.

Happy Curvy Creating.

Jenny

cards, Catalogues, Stampin' Up!

GORGEOUS POSIES IN DAFFODIL DELIGHT!

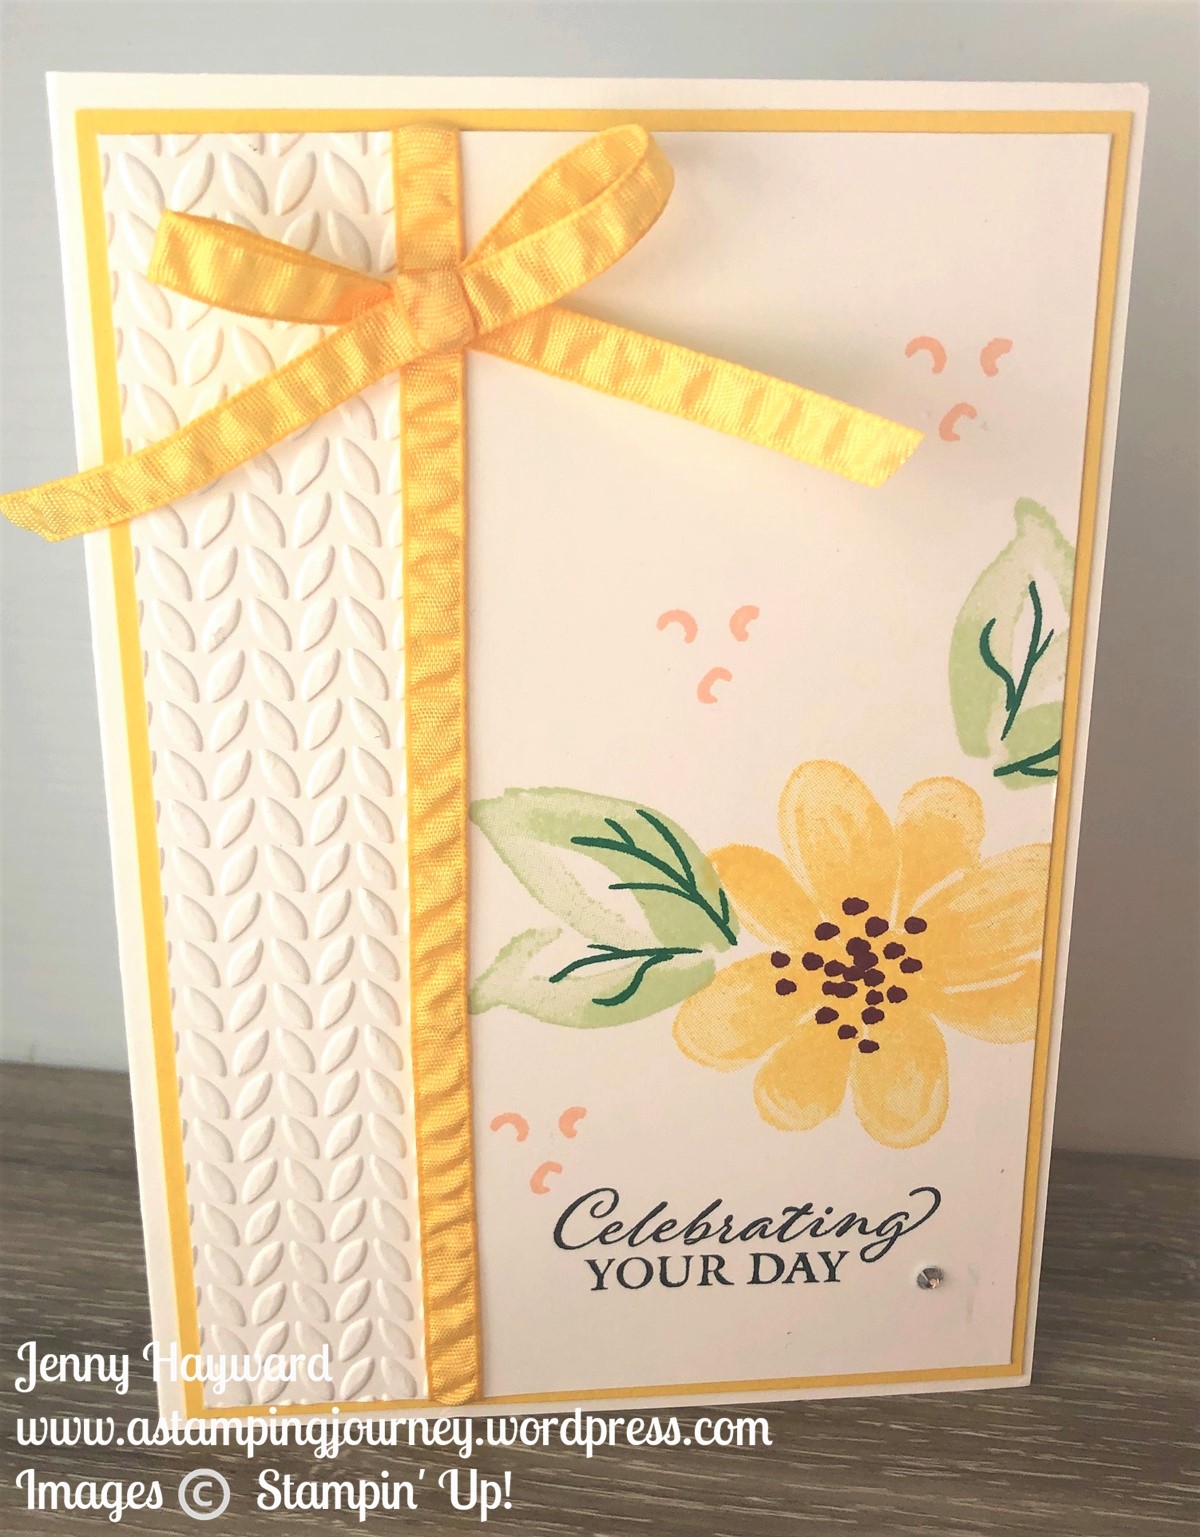
I don’t create a lot of cards in yellow. Really hardly at all. I don’t know why I created this one in yellow. I wanted something different. Perhaps I was feeling a little blah! I don’t know BUT I thought I would share it with you anyway. It’s yellow, it’s bright and it’s fresh.

I have used the Gorgeous Posies stamp set. I have seen lots of lovely pinks and purples. Why not yellow right???

The white card mat was embossed with the slim leafy print of the Greenery Embossing Folder pack just on the left hand side of the card.

Then some of the Daffodil Delight Ruched Ribbon was wrapped around it before adhering it to the Daffodil Delight card mat and then the Thick White card base. Tie the bow separately and add that to the front of the card with Glue Dots. I find doing it this way a little easier to get the ribbon sitting better than tying the bow directly on the card.

I think the leaves were stamped in Granny Apple Green with Shaded Spruce “veins”. The centres of the Daffodil Delight flowers was stamped with Blackberry Bliss.

So there is your fresh yellow card. I hope it brightens your day anyway,

The Gorgeous Posies stamp set is a really pretty one. You can check it out in my store now -> HERE.

Have a great weekend,

Jenny

cards, Catalogues, Stampin' Up!

HOW YOU CAN USE SOME OF THESE CUTE PAPERS THAT ARE ON SALE!

There is only days left now to grab some of these gorgeous papers available at 15% off in the Designer Series Paper Sale.

I have to say if you can only pick one pack it would be a hard one. I have some ideas to share with you how you can use some of this gorgeous paper. I have shared some of these cards recently so if you scroll back through some posts you will get more information on the cards.

‘Tis the Season


Trimming the Town

Whale of a Time


Playful Pets

Check them out below But why not head to my store as you get a closer look at the prints on the papers. You can order there too. Head to my store -> HERE.

So don’t miss out on any of these papers. Head to my store link above and stock up on these papers at 15% off. Please use the Host Code: 9J63PU4C

In Australia? I would love you to shop with me. If you would rather not shop online then please contact me directly and I will help you out.

Happy Shopping,

Jenny

3D projects, Awards, cards, Catalogues, Stampin' Up!, swaps

TEAM DAY SWAPS!

Last week we had a Team Recognition Day for the Inky Fingers Team I am in. It was a lovely day of creating together especially as we hadn’t been able to meet together for so long. We chatted and created and were recognised for our achievements this year.

This was all the lovelies in our team who attended the day.

Clare our DDM (Demonstrator Manager for Australia) was there. It is always so lovely to see her bubbly self. 🙂 This is also with Sarah one of my team members who came along too. It was so great to share that with her.

Vanessa our team leader gave some of us a little gift. There were particular requirements to attend the day and those who achieved the requirements TWICE received this gift box with some special ribbon and embellishments. I was so honoured to receive one.

The boxes are the Mini Paper Pumpkin boxes. Isn’t it gorgeous!

Below are the swaps I received. I didn’t make any swaps. We only found out the day before and I really didn’t have time to get anything together but people were so lovely to share some of their swaps with me.

This is a little bar of soap in the little cellophane bags. It is a lovely idea instead of chocolate.

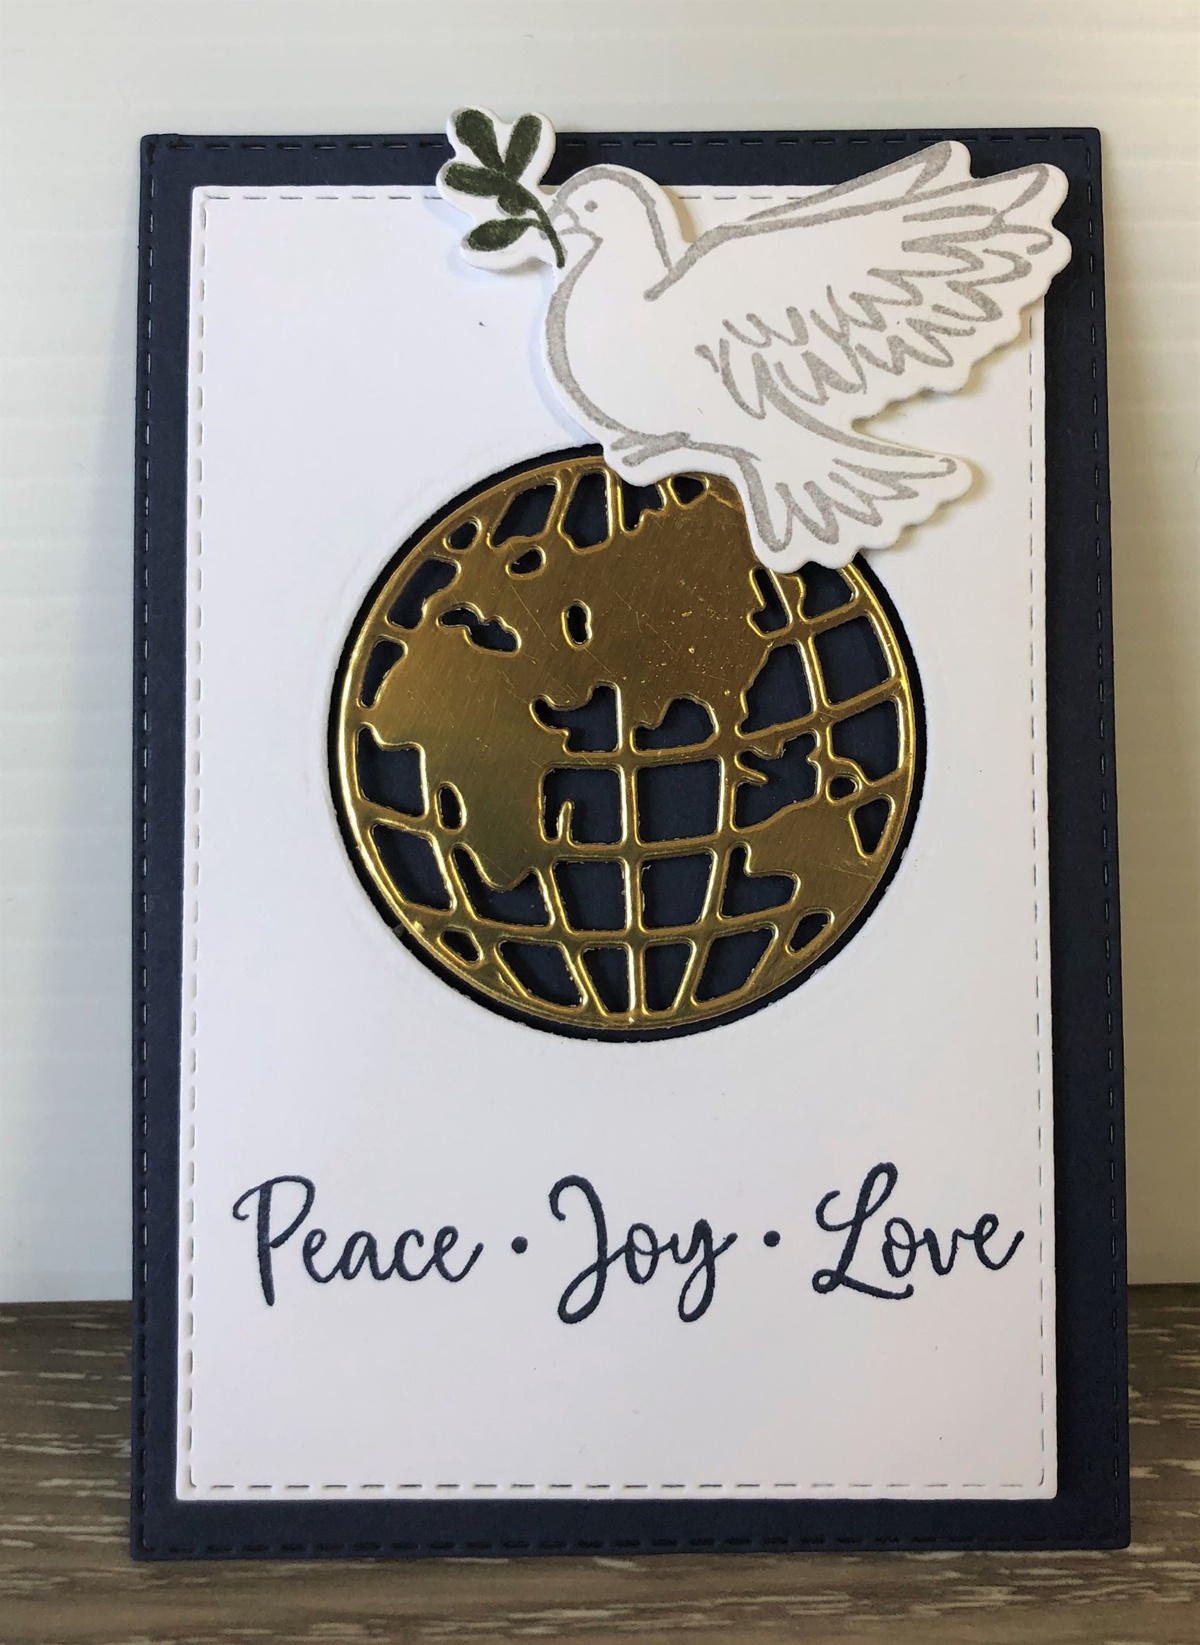
This one is created with the Dove of Hope stamp set with the World Map Dies. I love how these co-ordinate together.

This is a little treat bag. Another lovely gift. It’s a great size for a mini chocolate.

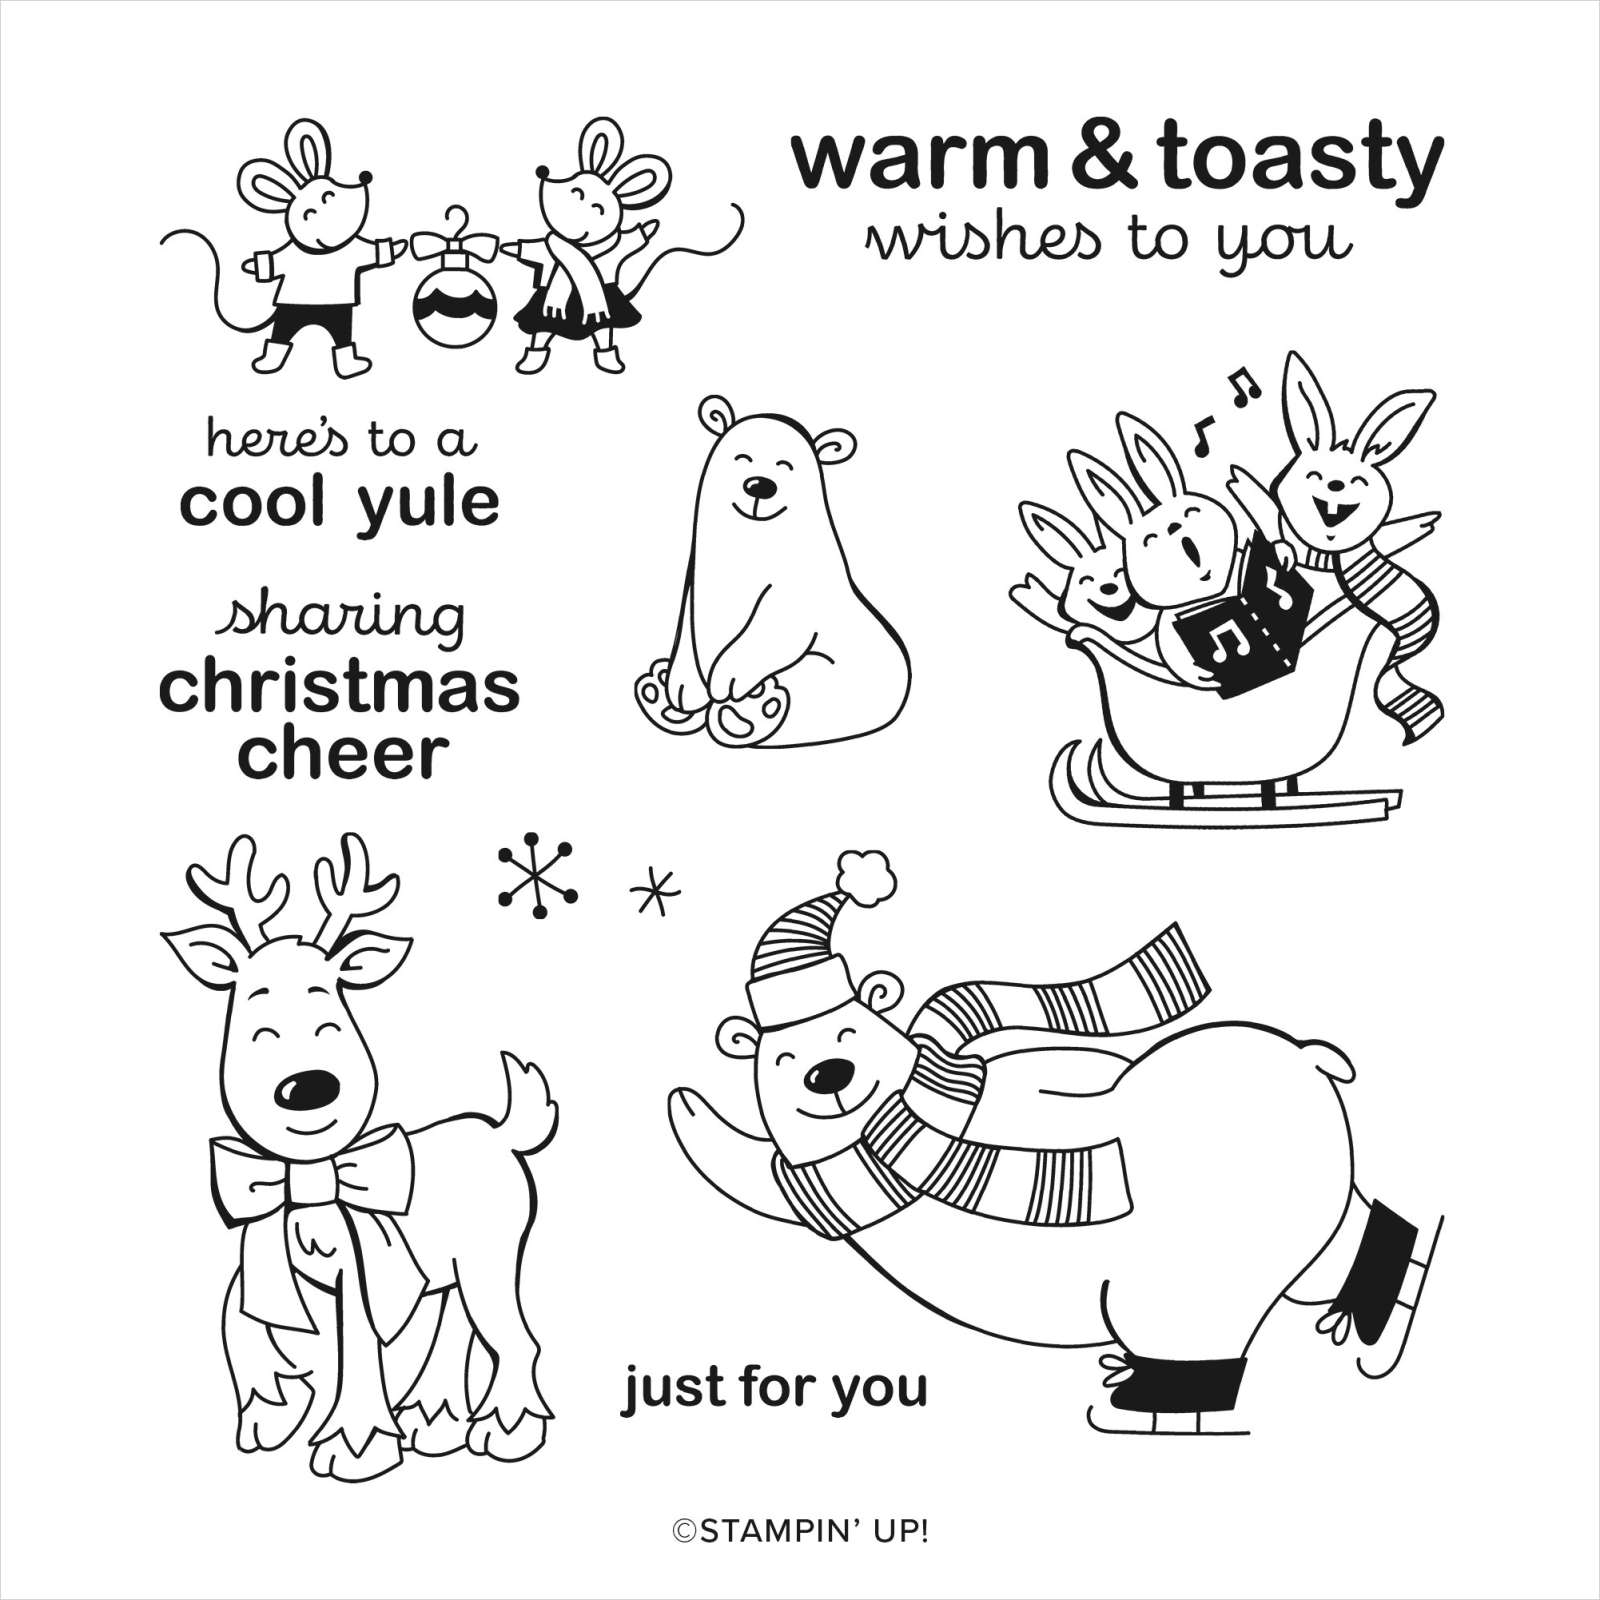
This card below was created by my friend Leonie. It’s the cutest mini Pop-Up card using the Warm and Toasty stamp set. The sentiment is from Itty Bitty Christmas.

The little tree inside is from the Most Wonderful Time stamp set.

Stop by tomorrow and I will share the cutest little gift box and mini cards we made as our projects.

Have a great day,

Jenny

cards, Catalogues, Christmas

WARM AND TOASTY POLAR BEAR

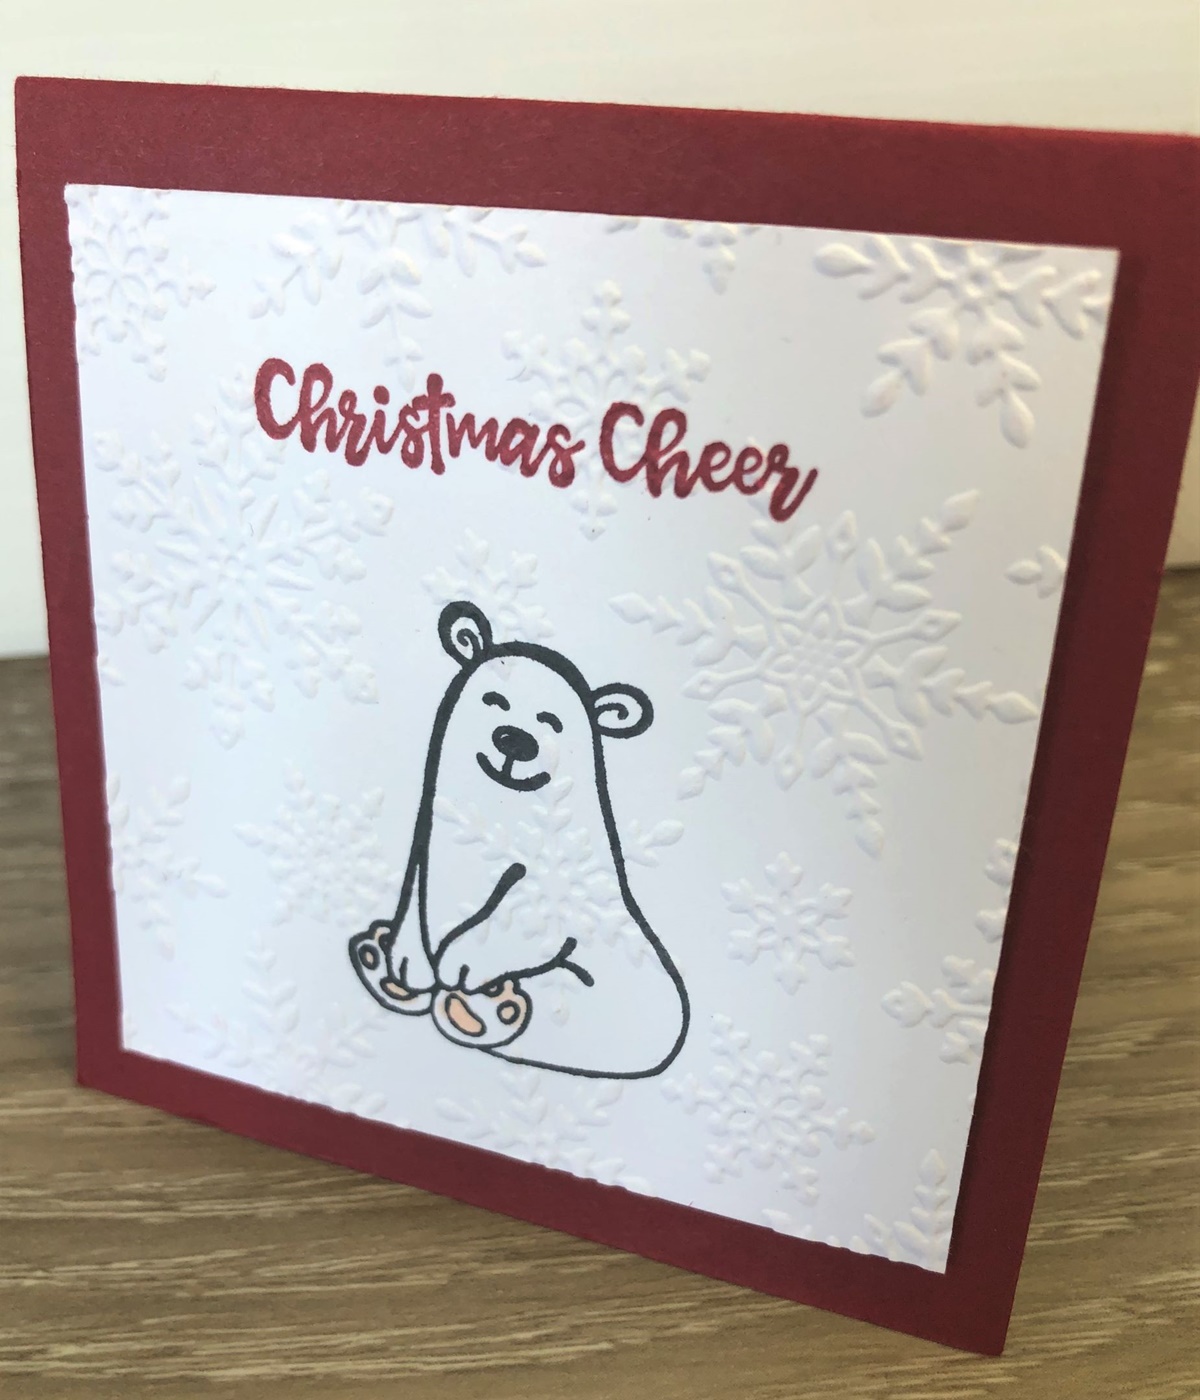
A quick post for you today with this cute little Polar Bear. He is from the Warm and Toasty stamp set from the 2020 Holiday Catalogue. Don’t you just love his happy face. 🙂

I used the ‘Tis The Season Designer Series Paper. (This is one of the paper packs for 15% off this month so you might want to grab some of this. It has some great patterns in the pack).

The polar bear is stamped with Memento black ink on white card that has been diecut with the scallop rectangle die from the Stitched So Sweetly Dies. It was then coloured with the Stampin’ Blends. The sentiment stamped on Balmy Blue is also cut with one of the Stitched So Sweetly Dies. I love the variety of shapes in this die set.

In Australia? Any of these products can be ordered through my store or contact me directly and I will help you with your order. Visit my store -> HERE.

If ordering online please use the Host Code – 9J63PU4C

Hope you like this Polar Bear card. The Warm and Toasty stamp set is just so cute.

Happy Stamping,

Jenny
Blog Hops, cards, Catalogues, Personal Ramblings, Stampin' Up!, Tutorials

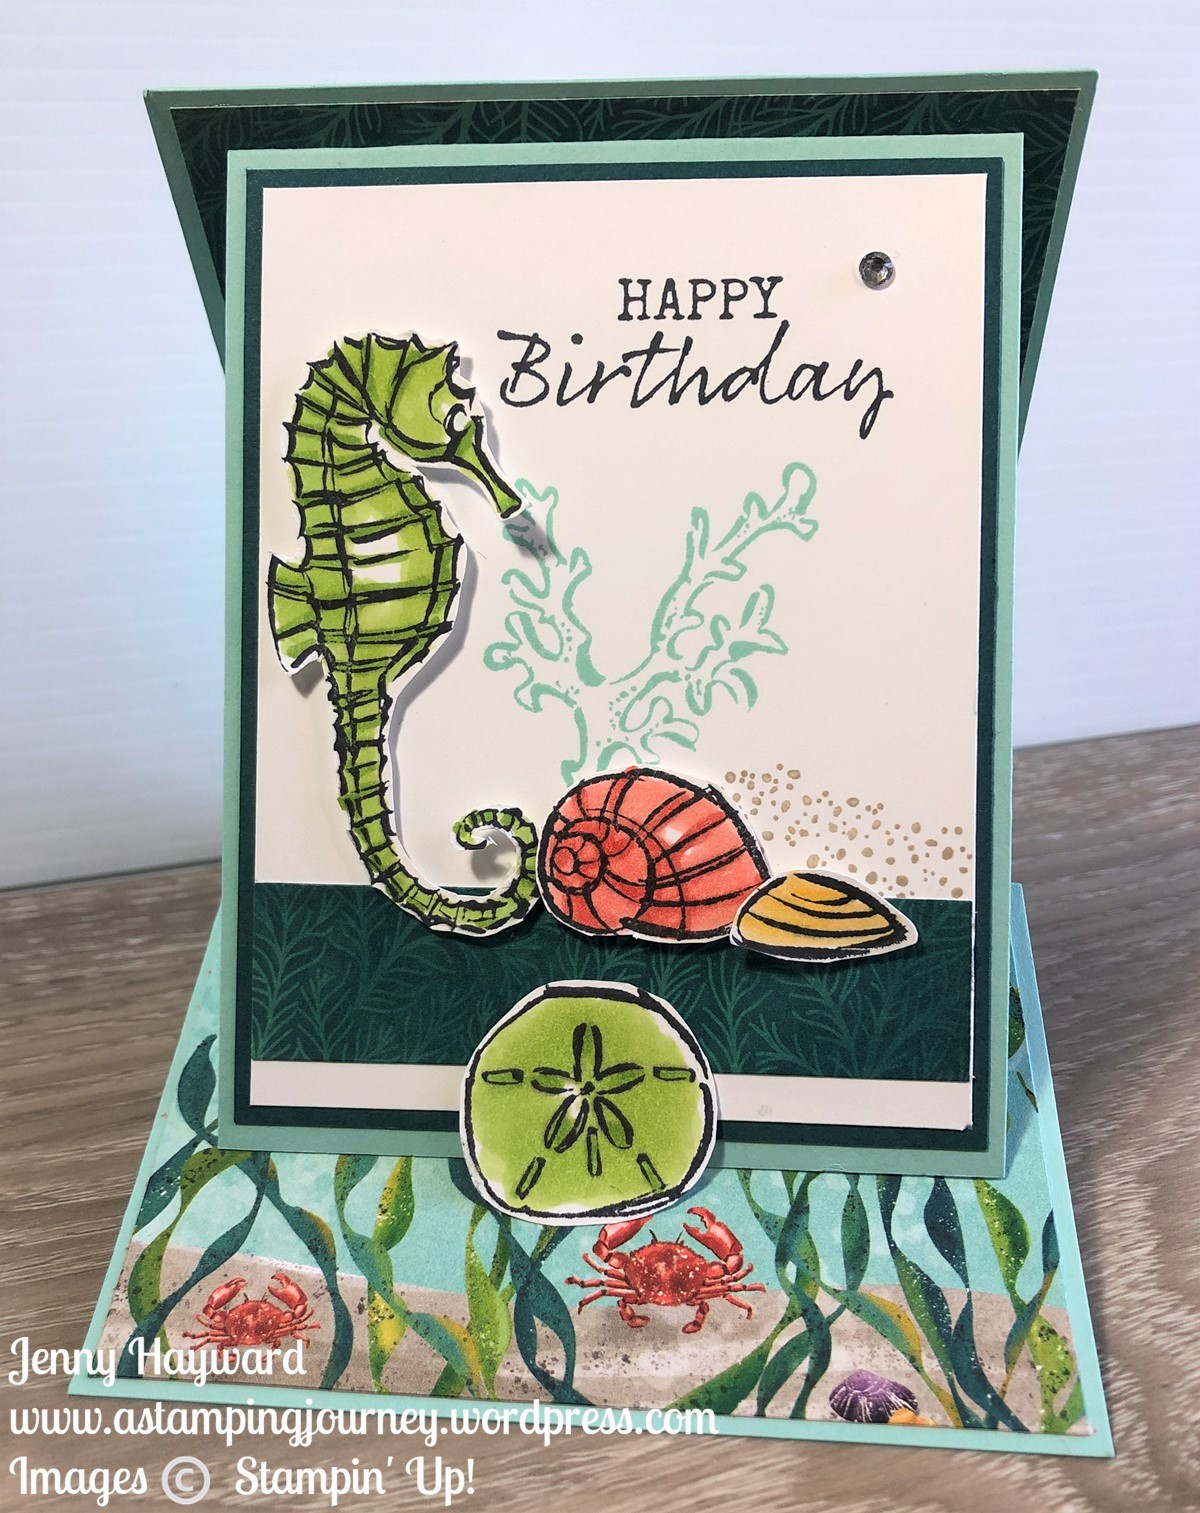
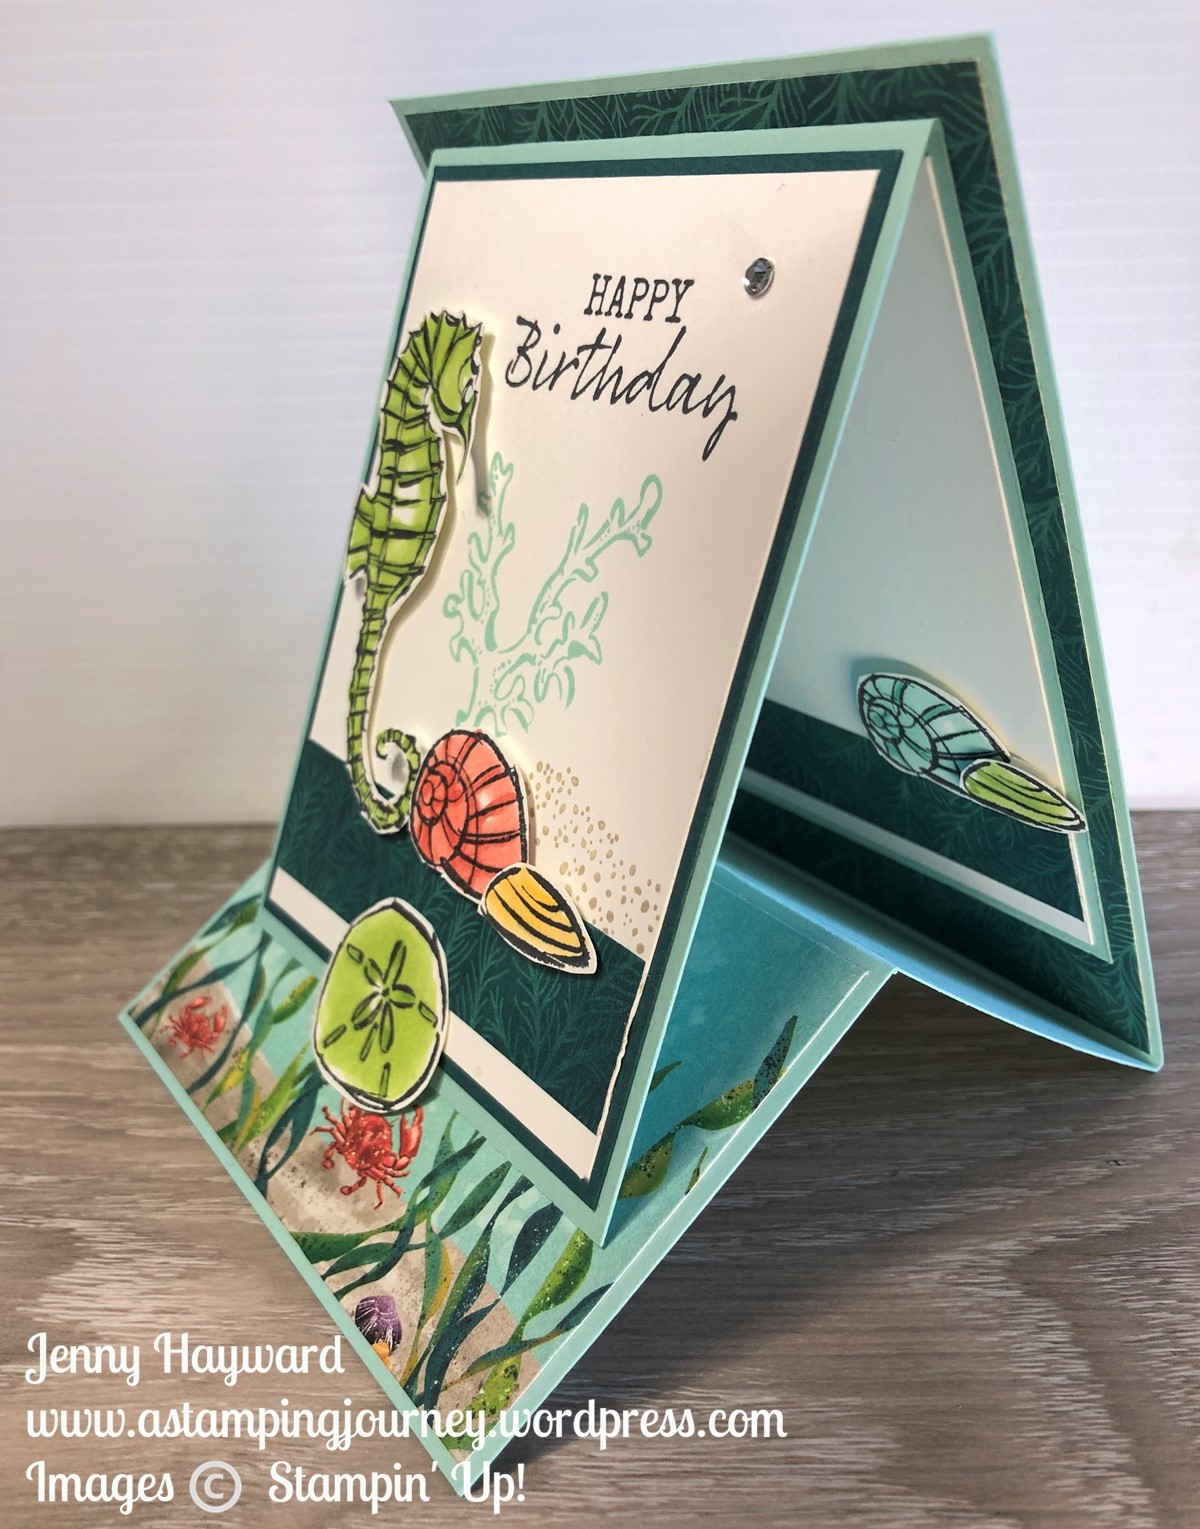
STAND UP SEASIDE NOTIONS EASEL CARD

Last post I shared a fun Easel Card for the World Cardmaking Day Blog Hop. I said that I would tell you how it was made so you can make your own. So … Here it is.

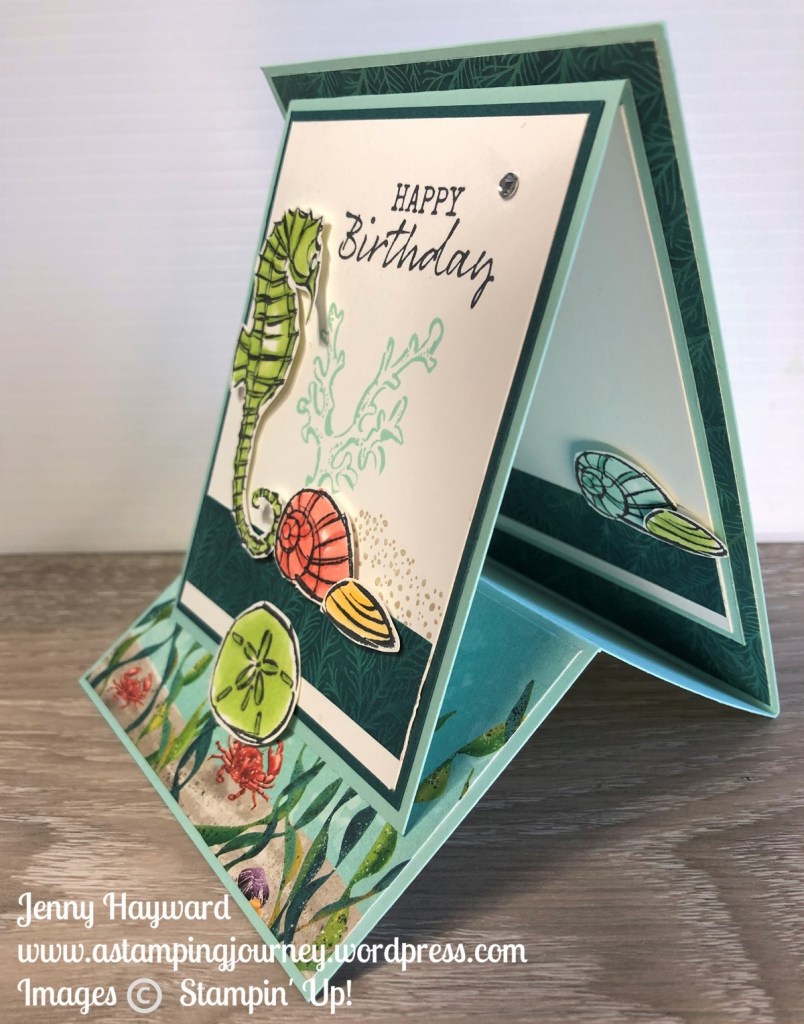
Firstly, here is the card again for you. It’s a Stand Up Easel Card.

The original idea I found on Connie’s blog -> HERE.

I will give you the measurements in Metric and Imperial.

STAND UP EASEL CARD

Base Card:

Card – 10.5cm x 28cm (4 1/4″ x 11″) Score at 7cm and 14cm (2 3/4″ and 5 1/2″). Fold on score line.

Piece of Designer Series Paper 10.1cm x 13.6cm. (4 1/8″ x 5 3/8″)

Bottom piece of Designer Series Paper 10.1cm x 6.6cm (4 1/8″ x 2 5/8″)

Front Flap:

Card – 9cm x 23cm (3 1/2″ x 9″) Score at 11 1/2cm (4 1/2″). Fold on score lines.

For Inside of Front Flap: One piece of white card 8.5cm x 10.9cm (3 1/4″ x 4 1/4″)

Piece of Designer Series Paper 2.5cm x 8.5cm (1″ x 3 1/4″)

For outside of Front Flap: Card mat 8.6cm x 11.1cm (3 3/8″ x 4 3/8″)

White card for Front 8.1cm x 10.6cm (3 1/4″ x 4 1/4″)

Piece of Designer Series Paper 8.1cm x 2.5cm (3 1/4″ x 1″)

Decorate the card as you like. You will need an element on the bottom of the base card on the front to be able to tuck the flap in to for it to stand. This can be anything you like to use.

Have fun with it.

If you need any stamping supplies and you are in Australia? Please stop by my store -> HERE.

Thanks for shopping with me. I do appreciate each and every order.

Jenny
Blog Hops, cards, Catalogues

WORLD CARDMAKING DAY BLOGHOP!

It’s World Cardmaking Day.  How great is it that there is a date that we celebrate all things cardmaking whether it be creating the cards and the pleasure it brings or in  sharing the joy of giving the cards.

Today to celebrate we have a Blog Hop with lots of Demonstrators from around the world.  The theme today is sharing a corner of your world.

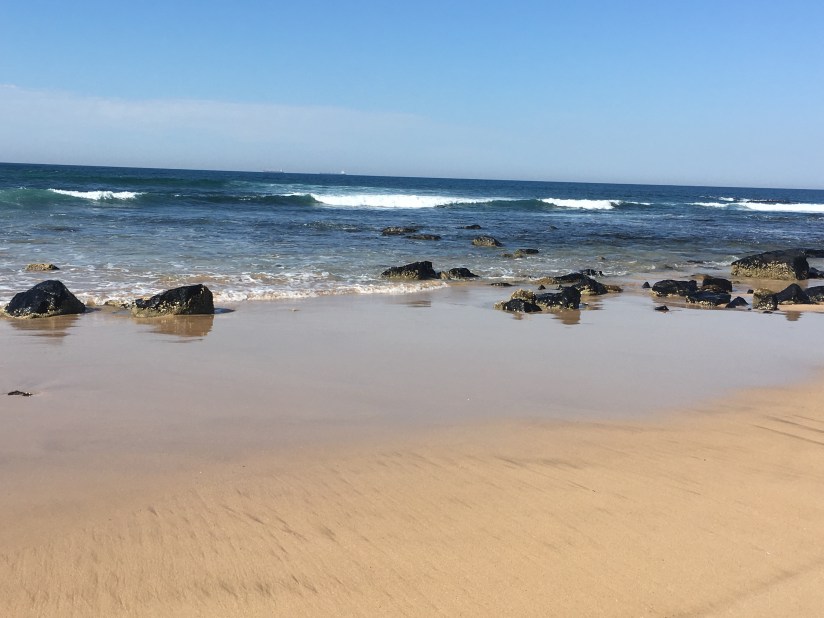
For me,  I live on the East coast of Australia just south of Sydney.  I live about 200 metres (1/4 mile) from the beach. I spend a lot of my time at the beach all year around.  It’s my happy place, my place to escape and leave the worries of the day behind.

This is my local beach.  We have so many beaches up and down the coast though which I do visit too.

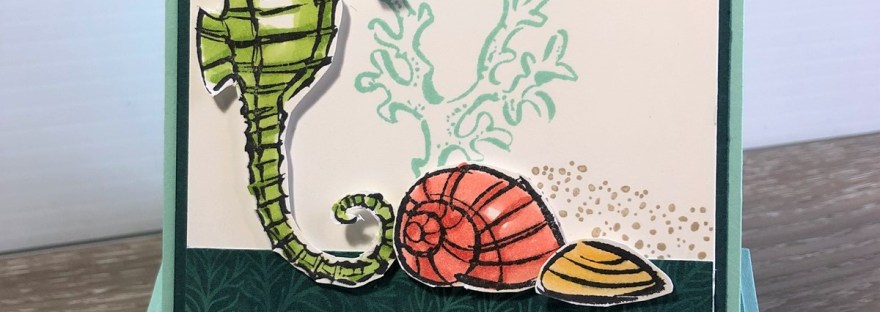
So of course since the beach is a big part of my life I had to create a card for that.  I chose to use the Seaside Notions stamp set.

I love different folds too so wanted to make something a little different.  This is a type of Easel card.

Front on.

Side view you can see the fold and the flaps.

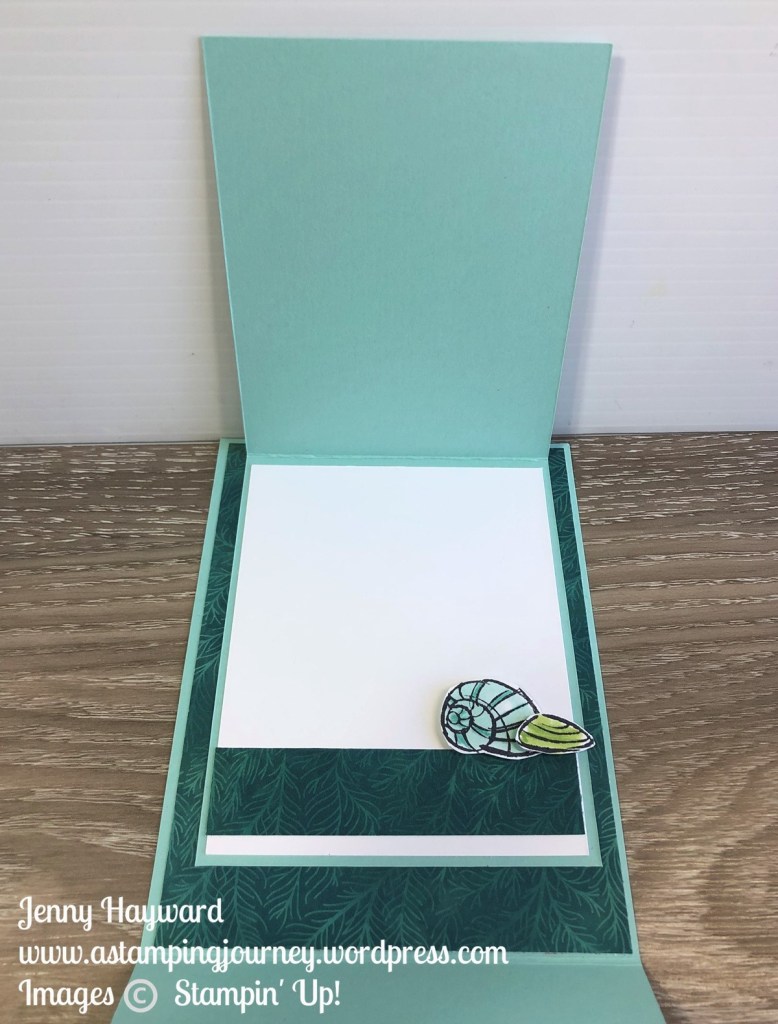
Don’t forget to decorate the inside.

See it open.

This was a fun card to make.  To save time I won’t share how to make it today.  Come back and visit me again tomorrow and I will give you the details.  Be sure to PIN one of the images to Pinterest so you know how to head back here.

You can now continue on the hop by heading to the link below where it says Click here.

Powered by Linky Tools

Click here to enter your link and view this Linky Tools list…

Happy hopping around the world.

Jenny
If you need to order your supplies to get creating your own projects and you are in Australia, I would love you to shop with me.  Visit -> HERE.

cards, Catalogues, Stampin' Up!, Techniques, Videos

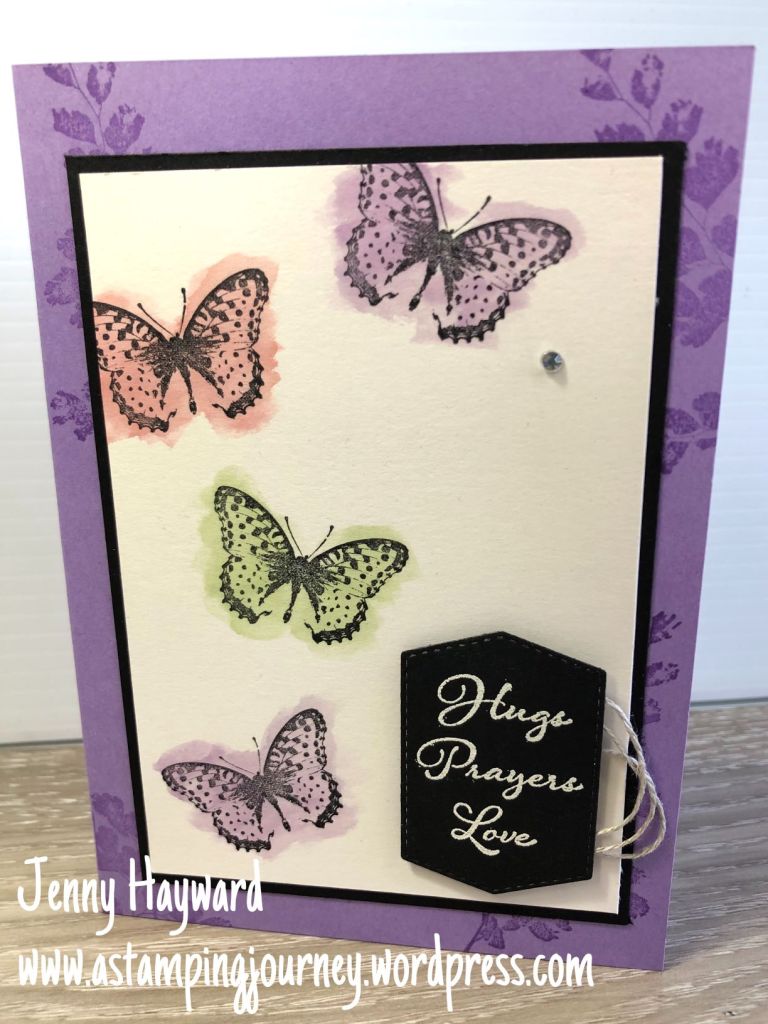
BUTTERFLY WATERCOLOUR WASH + VIDEO!

Today’s card uses a fun watercolouring technique.  I call it a watercolour wash.  It’s a great way of colouring your images freely without worrying about staying in the lines.  That’s so cool if you are not one for neat, “in the lines” colouring.

I have used the stamp set Positive Thoughts for this card.

You can check out the video below to see some tips in creating it.

Positive Thoughts is such a beautiful stamp set.  I particularly love the sentiments in it.

I hope you give this idea a go. Try it with different stamp sets.

Thanks for visiting me,

Jenny