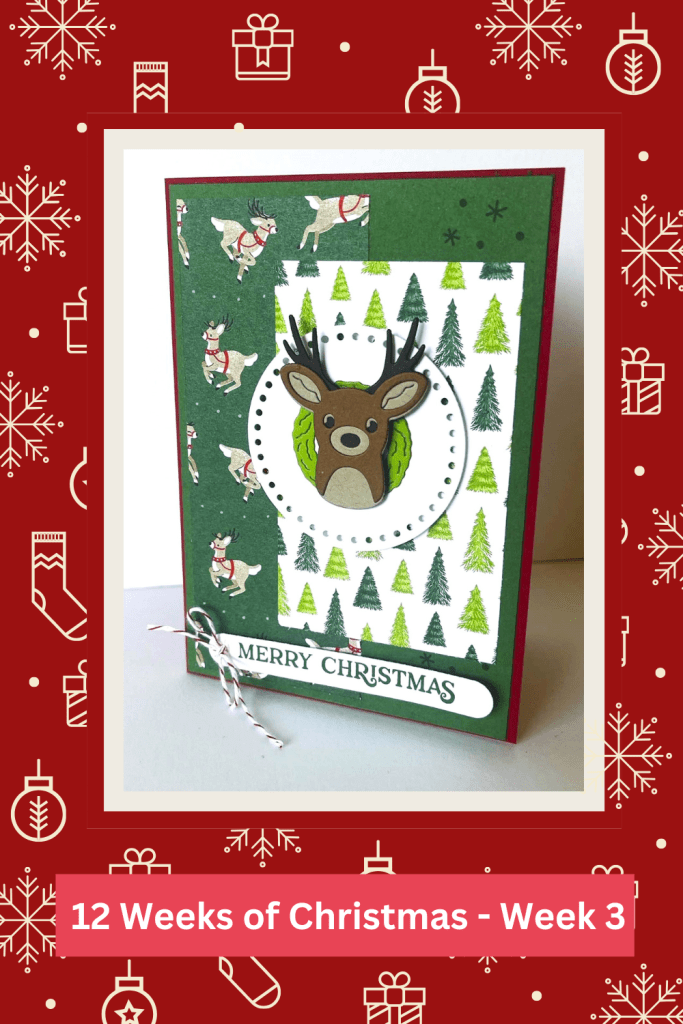
It’s Week 3 for our 12 Weeks of Christmas series.
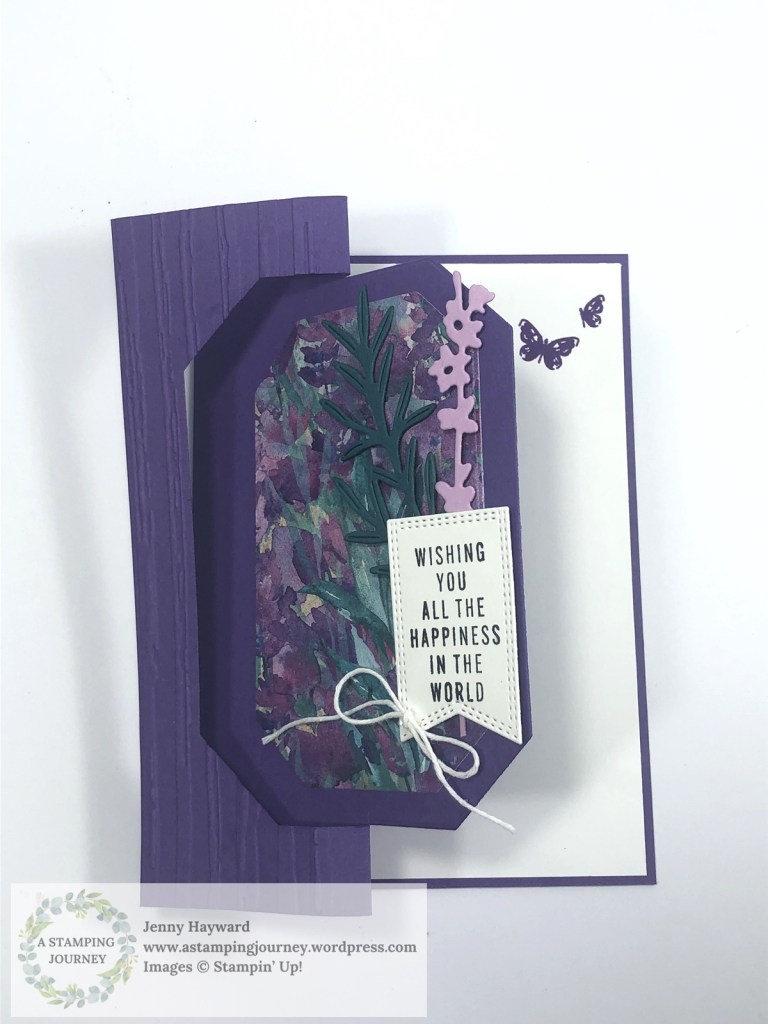
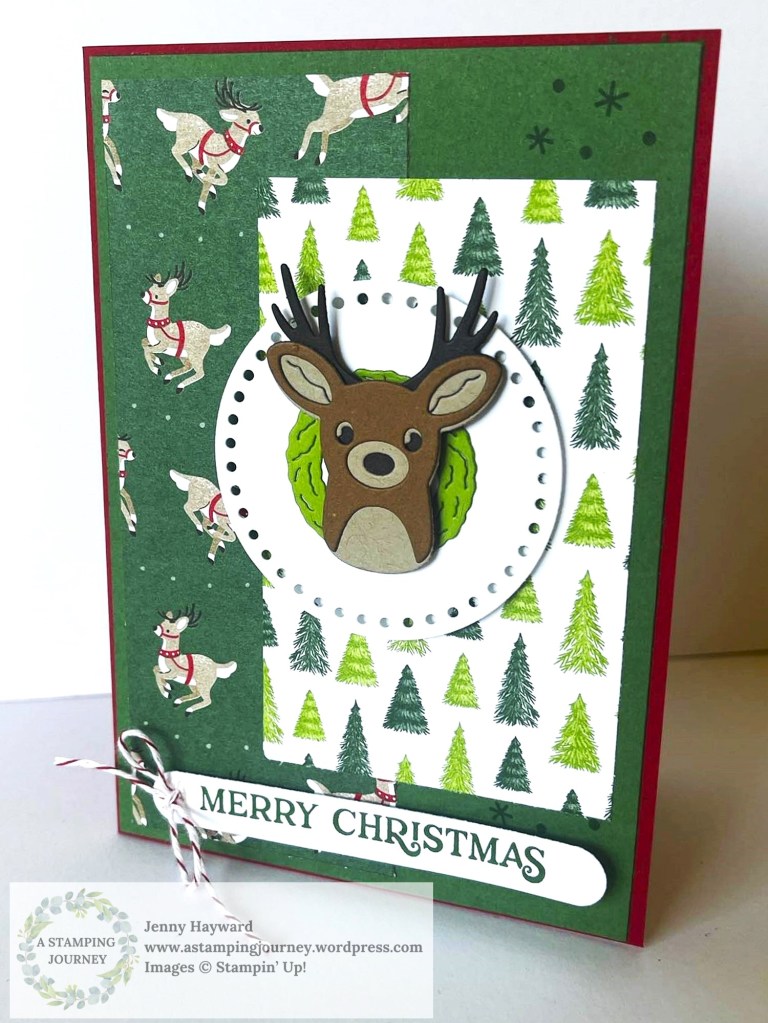
This card is using the Reindeer Fun Stamps and Dies which are just the cutest. The card shows a great way of using different papers together too. I used the Reindeer Days Designer Series Paper.
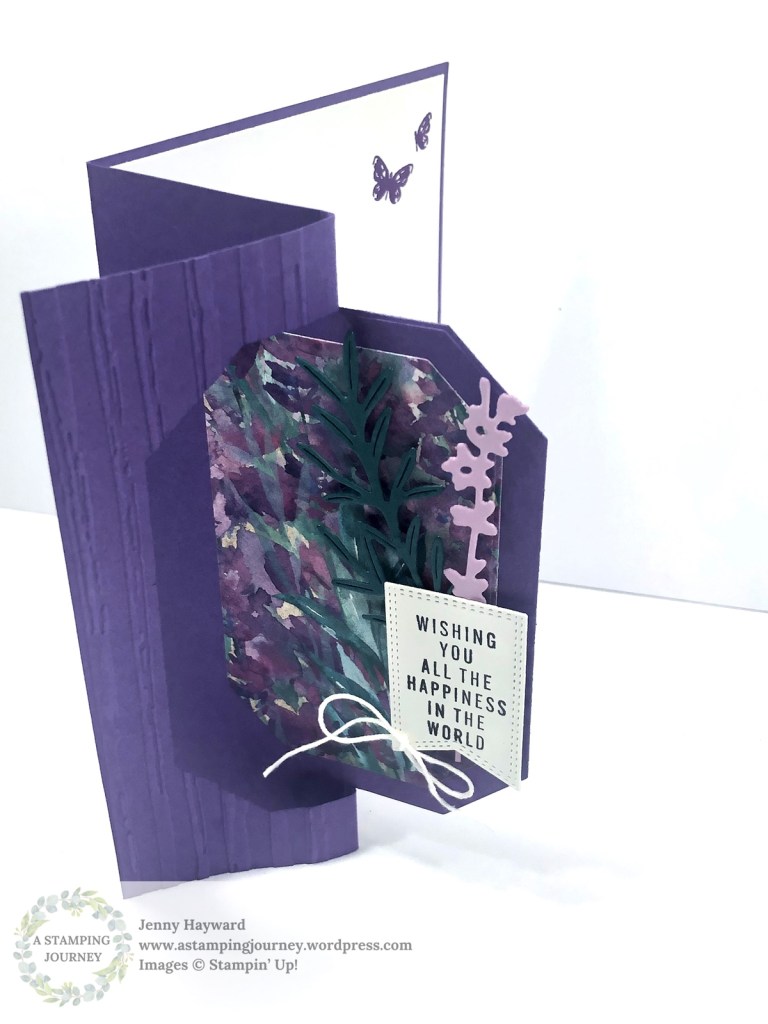
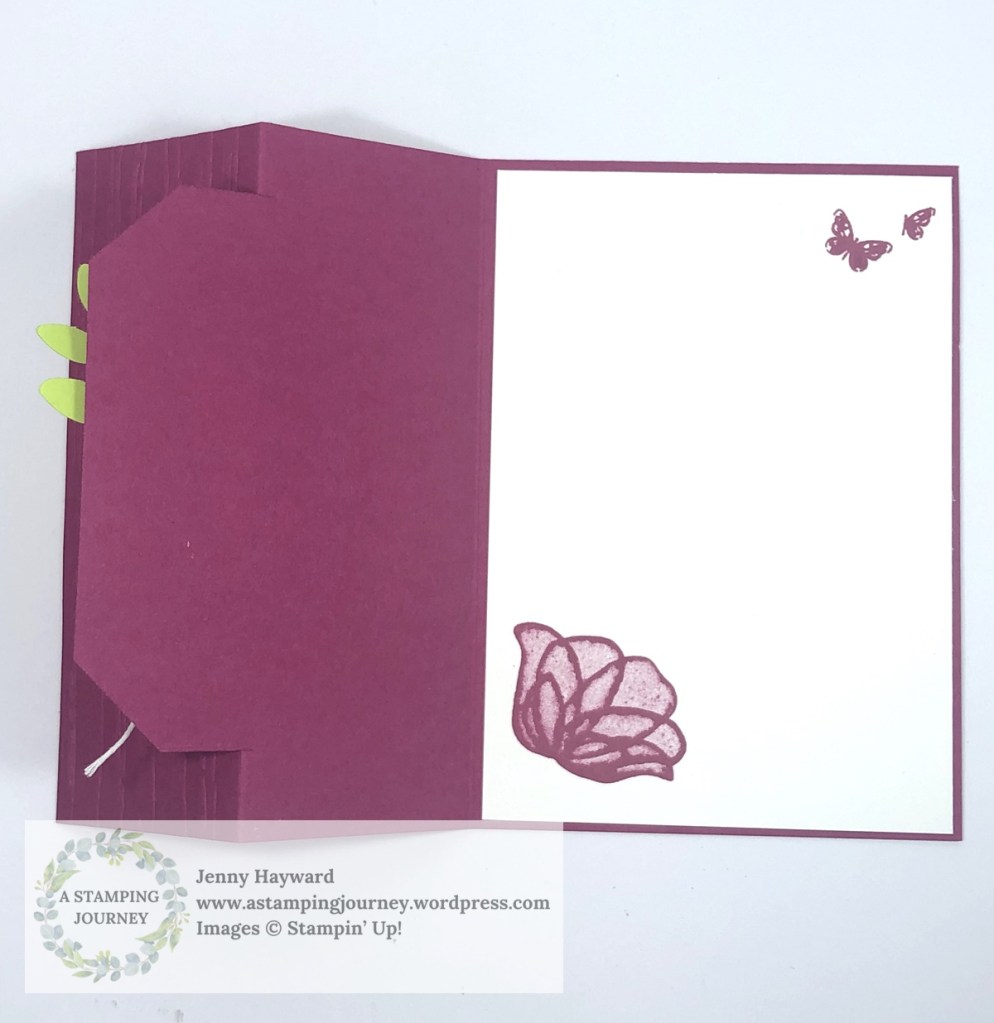
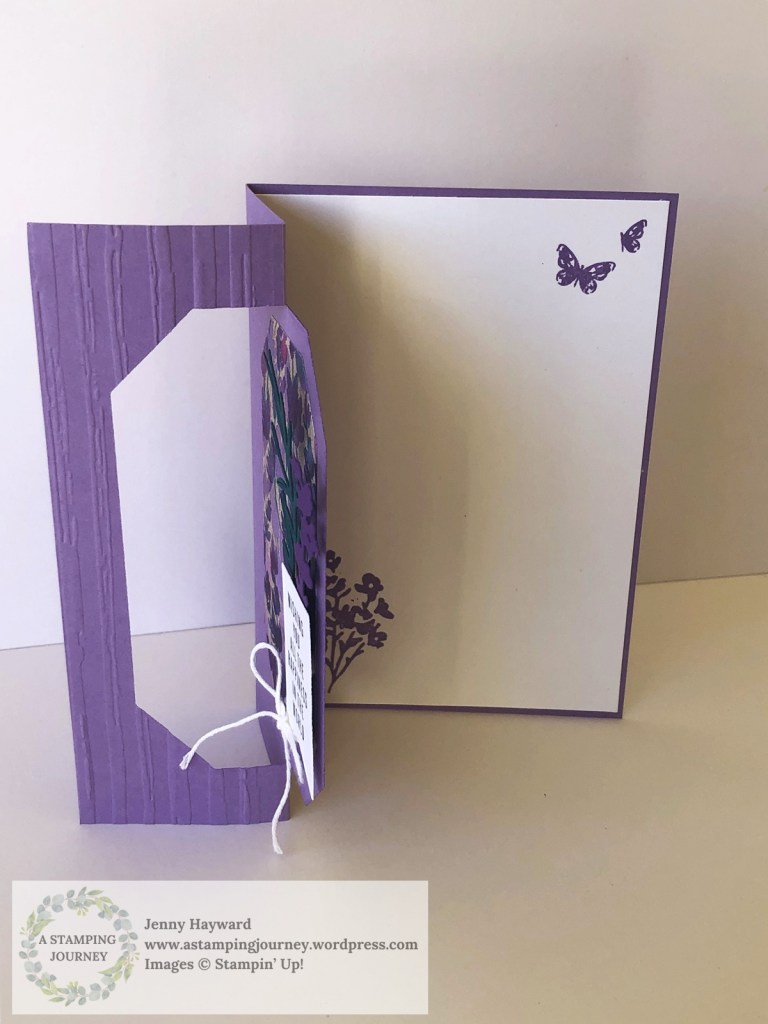
This is the card.
You can follow along with the video.
You can PIN this image now to come back to later for your creating.
The tutorial to create the card will be sent out in next week’s newsletter. If you haven’t subscribed yet to my newsletter you can find the link in the right hand column on my blog.
In the video I showed a template for variations in colour with the deer head. I have that below so you can refer back to it later.

They can look so different using different colours. Don’t forget the Red Glimmer for a Rudolph nose.
Enjoy Week 3. Be sure to check back again soon. If you have missed the last 2 then head back some posts on my blog to catch them.
Happy Crafting,
Jenny
Need supplies for any of your projects? I would love to help you.
You can head to my store -> HERE. Please use the Host Code: JDH3D9KQ OR contact me directly.